Birthday Presents Wish Pop-up Card Tutorial

Hello everyone! Marcia here today. I have a tutorial to share with you today for the A2 Birthday Presents Wish Card (SVG, Silhouette). This cut file can be found in Lori’s store along with some new 5×7 Pop-up cards with the same inside blocks that pop up when the card is opened. I used pattern papers from Lori’s Birthday Boy collection as well as coordinating cardstock from my stash. The front of the card looks like any normal card. I added a few die-cut ephemera to go along with the birthday presents from the cut file.

When the card is opened, The blocks with the word WISH pop out.

Let me show you how this card is assembled.

1. Choose your papers and cut all pieces out. I used the Silhouette print and cut feature to get the sentiment Sending you a Birthday printed on my white Neenah cardstock. I like to ink the edges of some of my pieces especially if the paper has a white core. Inking the edges also adds depth.

2. Let’s assemble the inside of the card first. Adhere your colored squares between the cut lines. Fold the big squares out and the thinner base of the card in. Using a bone folder to get a good crease really helps. Fold the card base in half on the scored line as well.


3. With the white cardstock folded in half, line it up with the scored line on the card base. I find it easier to glue half of the white cardstock to the card base at a time.

4. Apply glue to the white cardstock and fold the card closed. Flip the card base over and repeat adhering the other side to the card base.

5. Assemble the birthday presents for the front of the card. Adhere the front panel to the card base. Use the birthday presents alone, or add other fun birthday die-cut ephemera.

Thanks so much for stopping by. Be sure to check out Lori’s Store for more amazing cut files.

~Marcia

Tuesday NEW SVGs + Freebie!

ALL WEEK, this SVG file is FREE with any $1.99 purchase!

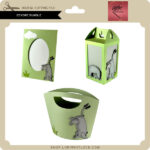
Hi Everyone! We have a FREE file with purchase all this week! All you need need to do is place your qualifying order and the free file will be added to your cart automatically! Simply place an order of $1.99+ in the Lori Whiltock SVG Shop and this Box Card Easter Bunny file will automatically be added to your order for FREE!  No coupon code necessary!  This offer is good through next Monday.


(Your cart must reach $1.99+ before the FREE file will automatically be added. The files will be available for immediate download after you pay for your order by visiting ORDERS > ORDER # > RED DOWNLOAD ARROW)
Another deal we have going on right now is the FREE 2023 March Kit of the Month with any $20+ purchase (purchase must be in one transaction). Simply place your qualifying order in the Lori Whitlock SVG Shop and this file will be automatically added to your cart for FREE. No coupon code necessary. This offer is good through March 31, 2023.
(Your cart must reach $20+ before the FREE file will automatically be added. The files will be available for immediate download after you pay for your order by visiting ORDERS > ORDER # > RED DOWNLOAD ARROW)

NEW FILES – 25% OFF this week!

Check out the new SVG files we have for this week! The NEW SVG files are ON SALE 25% OFF through Sunday at midnight in the SVG Shop.

This week I designed a new Easter Project Bundle. I also designed a bunch of phrases and we have some awesome new SVG files from Jillibean, Pebbles, Quietfire, and Dresden. Take a peek…

These downloads include SVG files that may be used with Cricut Explore, Silhouette (Designer Edition upgrade required), Eclips, Brother Scan and Cut, and any other software that will open SVG files. Be sure to go get them while they are on SALE this week.

Thanks for checking out the NEW FILES and be sure to go grab the freebies of the week.

Have a great day!

Lori

30% OFF ALL SVG Files!

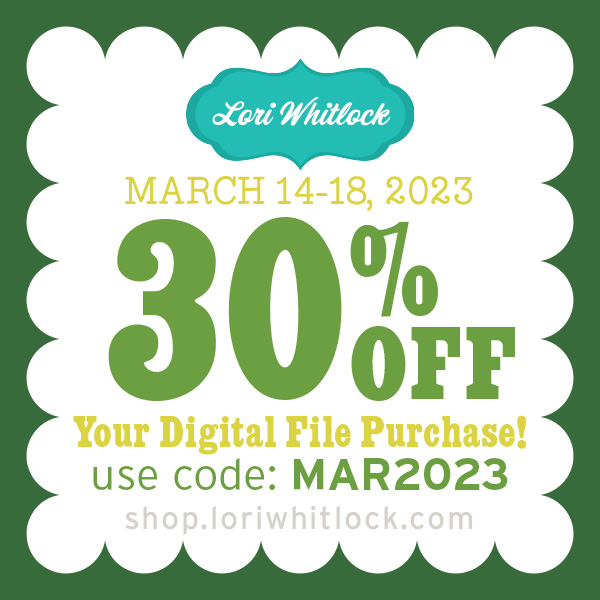
Hello to all my crafty friends!! Did you know that all digital files are on sale over at the SVG Shop? This week we have a 30% OFF SALE going on at Lori’s SVG SHOP including ALL digital files and commercial licenses now through Saturday, March 18th ! Be sure to use coupon code: MAR2023 (case sensitive) at checkout in the SVG SHOP. 


The 30% OFF sale includes the brand new 5×7 Pop Up Card Bundle that I designed and released this week. There are 9 new cards that are perfect for this time of year and all of the holidays coming up. These designs were inspired by the popularity of the A2 Birthday Presents Wish Card from last week.  Be sure to go check them all out….

Have a fantastic and crafty day!!

~Lori


30% Off SVGs + March Blog Hop + FREE File!

Happy March, everyone! Welcome to our March 2023 Creative Team Blog Hop! The creative team has some lovely new projects to share with you that will get you excited to craft!! We also have a FREE FILE for you! 
This week we have a 30% OFF SALE going on at Lori’s SVG SHOP including ALL digital files and commercial licenses now through Saturday, March 18th ! Be sure to use coupon code: MAR2023 (case sensitive) at checkout in the SVG SHOP. 
 
To thank you for joining us in the hop today and sharing the hop with your friends, we have a gift for you! TODAY ONLY, You can download this Notched Square Box with Bracket Window file by Pebbles absolutely FREE! Be sure to go grab it while you can.  (Simply add the file to your cart, it will be FREE at checkout.)
 
We have some fun new files this week and they are all 30% off this week when you use code MAR2023 in our SVG Shop!  And, as always, my new files are available in the Silhouette Design Store as well. This week I have 9 new 5×7 Pop Up Cards that are super cute! Customers loved the Birthday Wish Pop Up Card from last week so I decided to make more. There are spring, easter, Mother’s Day, Father’s Day, Graduation and many more themes that I think you’ll enjoy.
We also have new files from Bella Blvd, Jillibean, Dresden, and Quietfire.

***CLICK HERE TO SEE NEW FILES***

And, last but not least… would you like to see what our amazing team has created? Click the links below for some wonderful inspiration. If you get lost come back here to get on track Lori Whitlock, Traci Penrod, Anita Mulcahey, Brandie Adams, Ashley Cook, Cathy Harper, and Marcia Dehn-Nix.  Thanks again for dropping by! Don’t forget to use coupon code: MAR2023 for 30% off your orders in the Lori Whitlock SVG Shop through Saturday. Have a GREAT day!
~Lori

Birthday Gum Ball Card

Have you ever seen a design that immediately made the creative side of your brain start sparking?  That happened to me the minute I saw Lori’s cute birthday gumball machine (SVG, Silhouette) and I thought — shaker card! For some reason, the thought of buttons flying around in the middle of this card just made me happy!  So here’s a quick tutorial on what I did … 


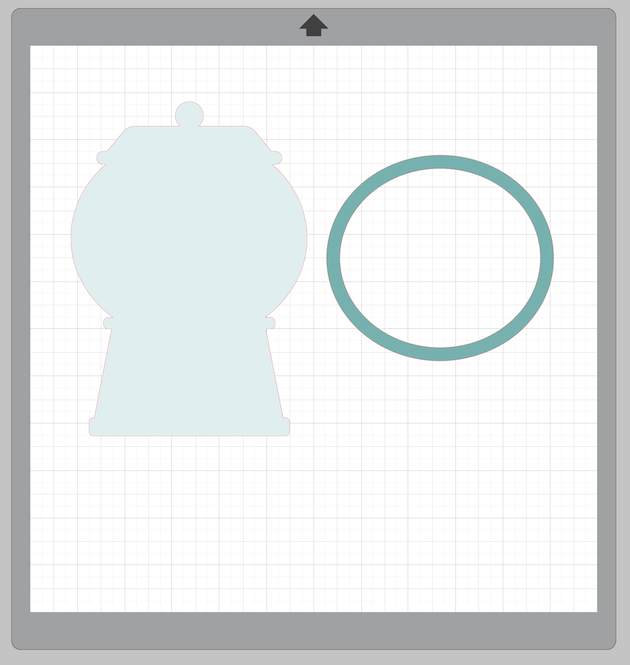
First, I cut out all of the pieces as they were in Lori’s file.  Then, I used the shape tool to create an oval.  I hovered the oval over the gumball machine to get the right size, and then I did an offset of the oval to create a frame.  


Once I had my frame shape, I cut it out 5 times from white card stock, and once from the light blue dot paper (Echo Park, First Responders, Emergency Vehicles paper).  The 5 layers of white card stock ovals will give the frame thickness and dimension so that the buttons can move freely underneath.


I layered the five card stock ovals, added small foam adhesive as shown, and traced the shape onto a piece of clear acetate.  Clearly, you don’t need to be accurate about this because you’re going to use scissors to cut inside the lines in order for your acetate to sit within the border of the oval frame.  I used a thin line of liquid glue to adhere the acetate to the top of my white oval frame.
I adhered the light blue dot oval over the acetate and then adhered everything together.  I layered the folded white card base, then the plain white template placed the buttons on the template, then added the oval over the template/buttons.  Finally, I added the red top and bottom pieces (also paper from the Echo Park First Responders collection) with more foam tape and finished the card with the sentiment and remaining cut file pieces.  The stripe is just a piece of scrap cut to 1/4″ thick to add along the bottom if desired.


Inside, the finishing touch was a cute little phrase that comes with the cutting file.


Thanks for stopping by Lori’s blog today! I hope this card will inspire you to think outside the box and create something fun with Lori’s wonderful cutting files!  Until next time, happy crafting my friends!