Silhouette Tutorial: Card Making with Mendi

Hi there!  It’s Mendi here and I’m super excited to be sharing a Silhouette technique that I’ve been having a lot of fun using lately on all sorts of cards and layouts:  Creating journaling and sentiments around the edge of a circle using Silhouette’s print and cut features!

Unfortunately when preparing for today, I realized the hard way that this print and cut technique really works best when using circles that fit within the registration marks so for those of you that have a 12×12 printer, that means your circles can be up to 10.5″ wide and sadly for me (whose wide format printer recently bit the dust) that meant I was limited to a circle 7.2″ wide.  I had planned a layout using a 11.5″ circle but as hard as I was trying to find a way around it, I decided I needed to set that aside for another day and come up with a new project that would be easier to share with all of you.
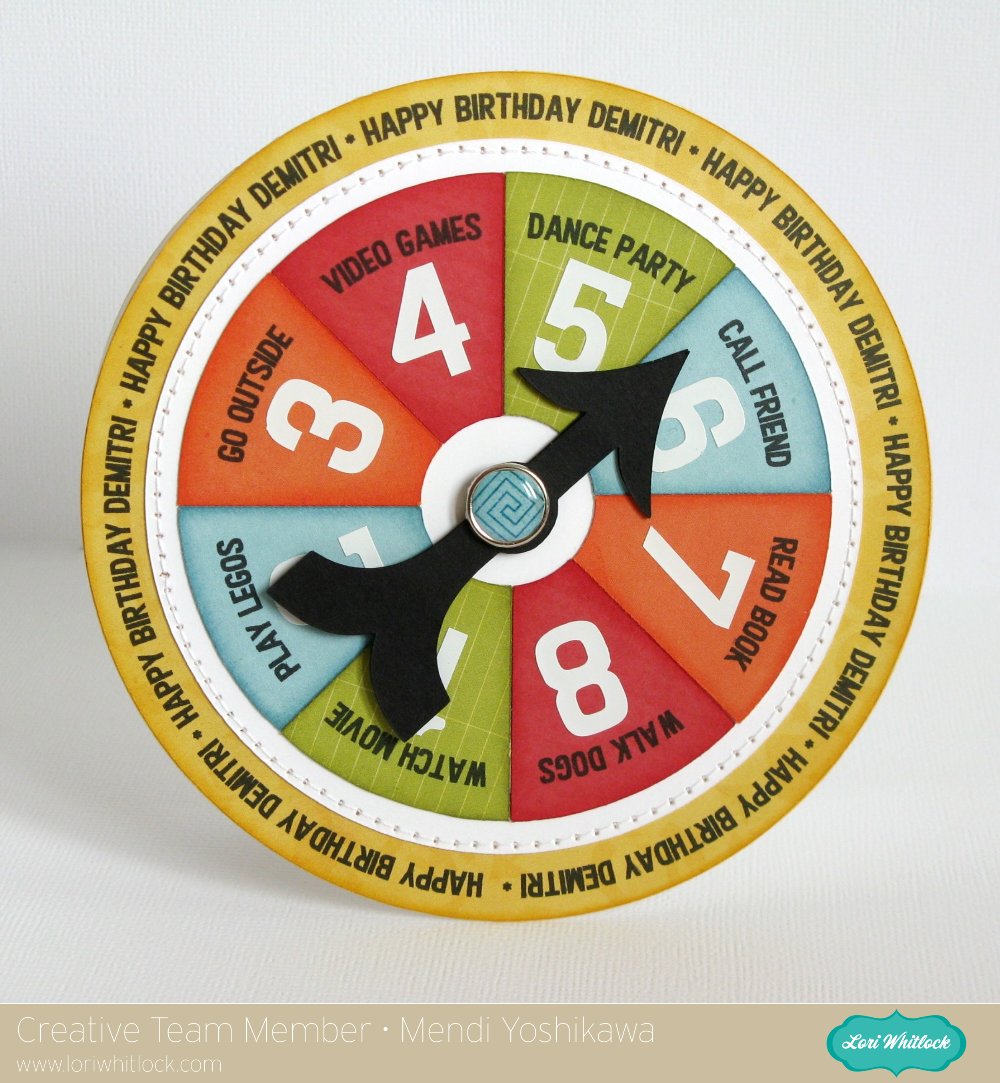
As an alternative I settled on a fun spinner style birthday card for my nephew which can double as a rainy day activity spinner (or with the addition of numbers can be a great game piece for any game a child can dream up).  I think this would also be darling idea for chores too (although I’m not sure children would agree).  😉
My papers are from Lori’s fun new 6×6 “That’s My Boy” paper pad which she designed for Echo Park.
Without further ado, here’s my video tutorial sharing how I created it:
On a side note, I layered and glued 3 of the black arrows together to give it extra stiffness and make it easier to flick for spinning.  I also enlarged the center holes a bit and made sure to not tighten my brad too much so that it can still spin freely.
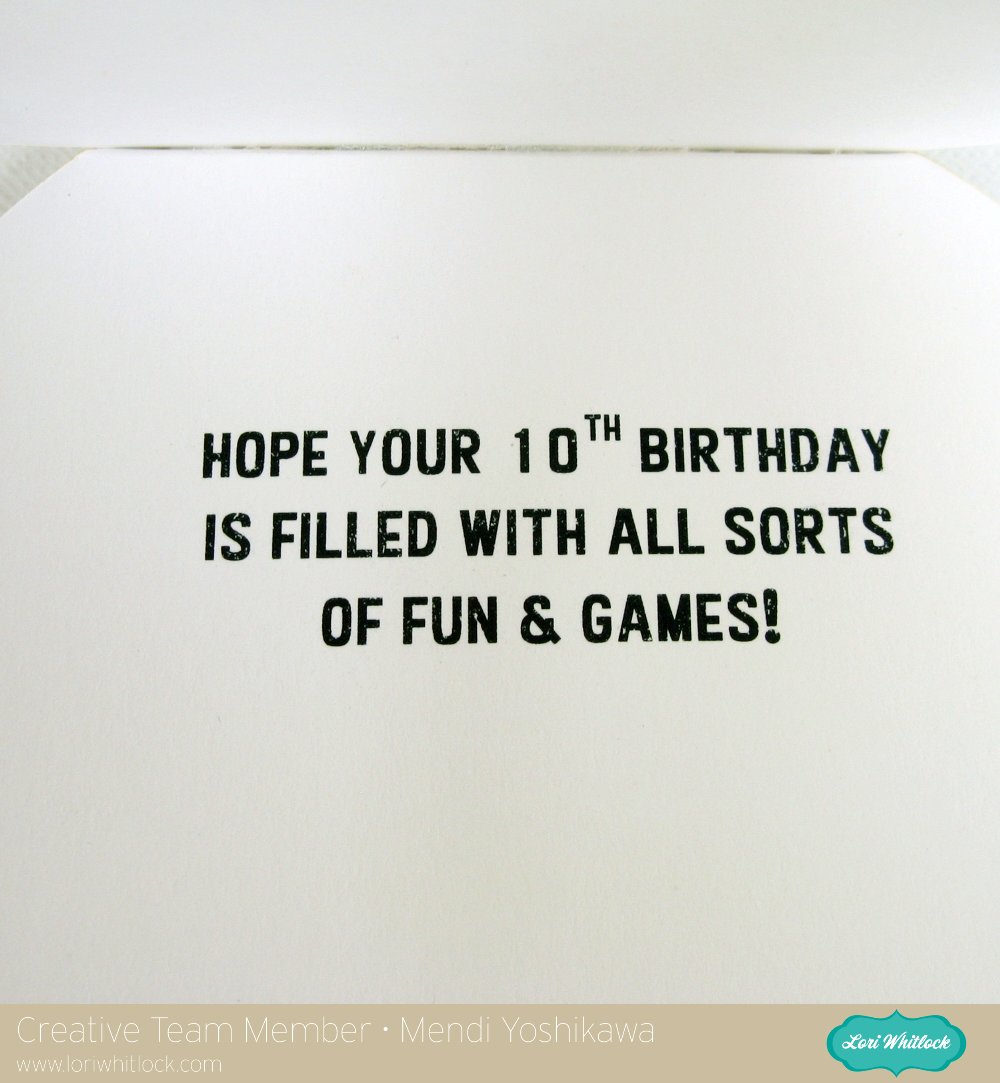
To complete my card and tie my theme together,  I decided to run the back of my card through my printer for a quick sentiment (using temporary adhesive on a piece of printer paper).
For my project I used the following cutting files available in Lori’s shop:
I have a link to another example using this same technique at my blog today.  I hope you’ll give it a try!  🙂

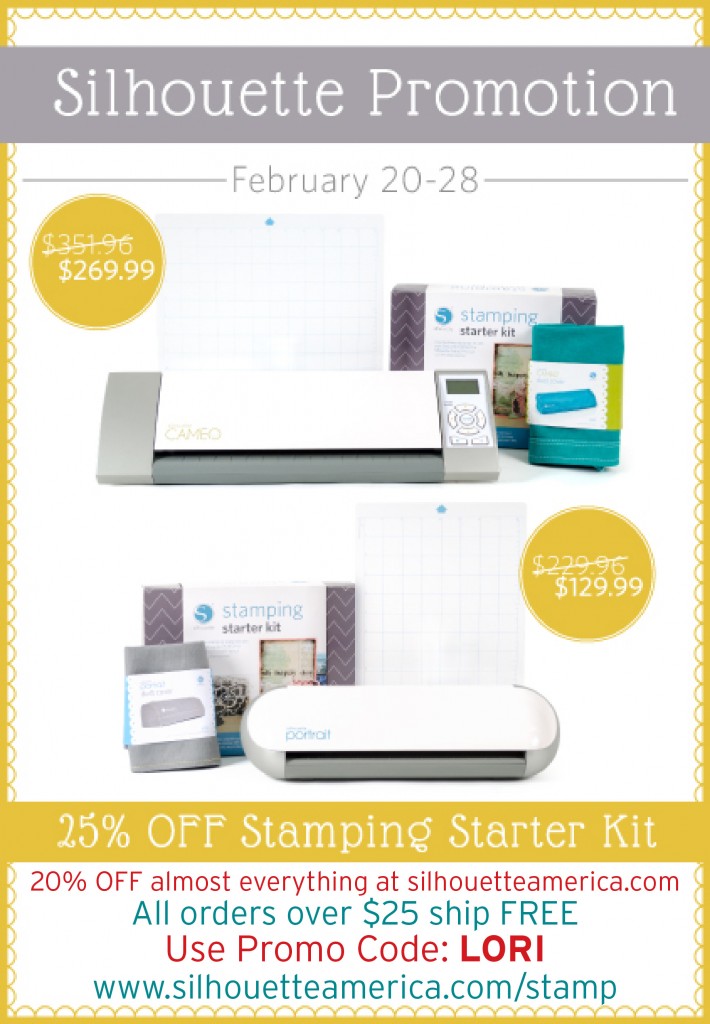
Silhouette has some great deals starting today running through the end of the month:

  • 1 CAMEO, 1 stamping starter kit, 1 light hold cutting mat, 1 teal CAMEO dust cover for $269.99 (MSRP $351.96)
  • 1 Portrait, 1 stamping starter kit, 1 light hold cutting mat, 1 grey Portrait dust cover for $129.99 (MSRP $229.96)
  • Stamping starter kit 25% off
  • Almost everything at silhouetteamerica.com is 20% OFF! (Excludes Silhouette CAMEO®, Silhouette Portrait®, downloads, download cards, subscriptions, and gift cards.)
  • PLUS: all orders over $25 SHIP FREE (that includes the machine bundles)(Reminder: FREE shipping only applies to the lower 48 states)

To get these prices use code: LORI at checkout and shop through this link: www.silhouetteamerica.com/stamp

NEW at Jessica Sprague

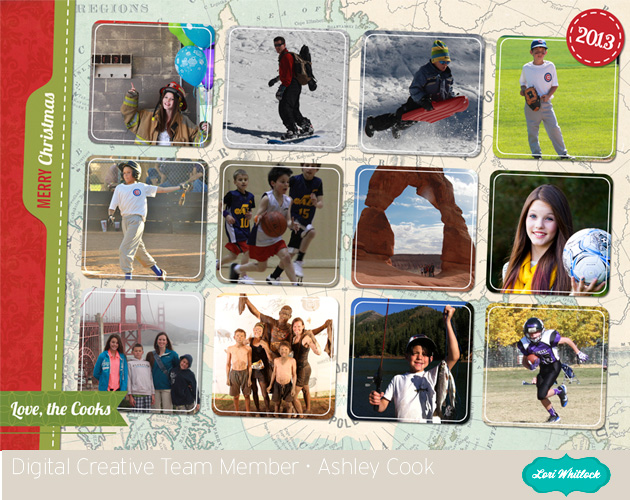
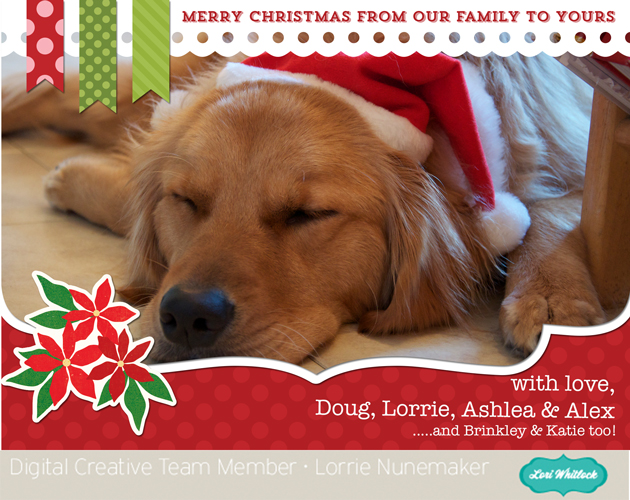
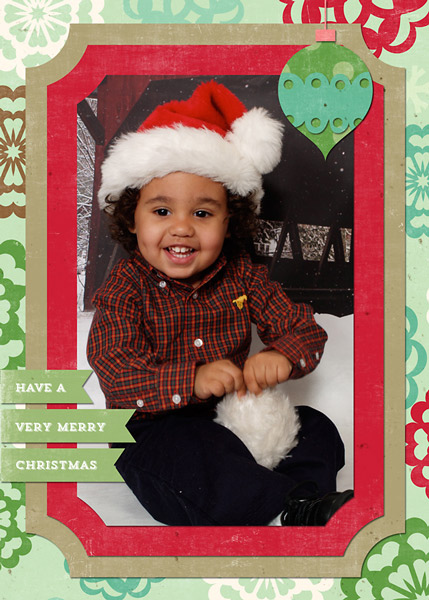
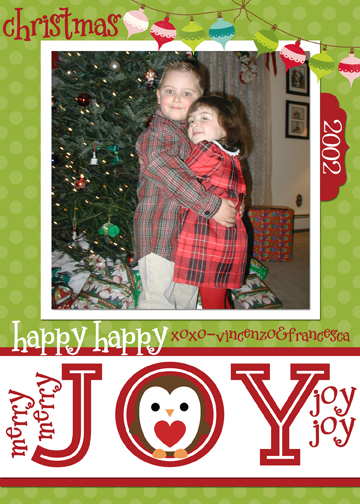
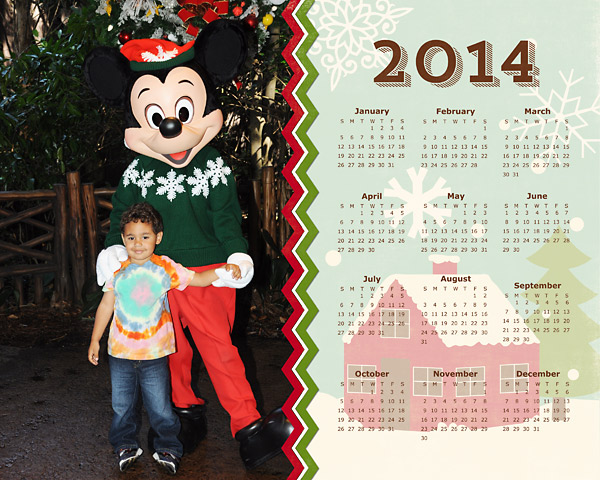
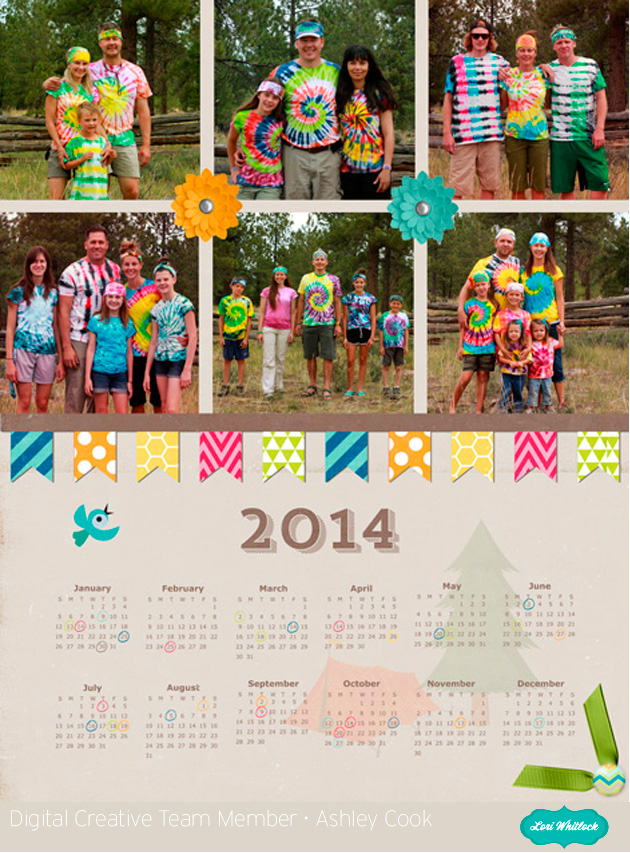
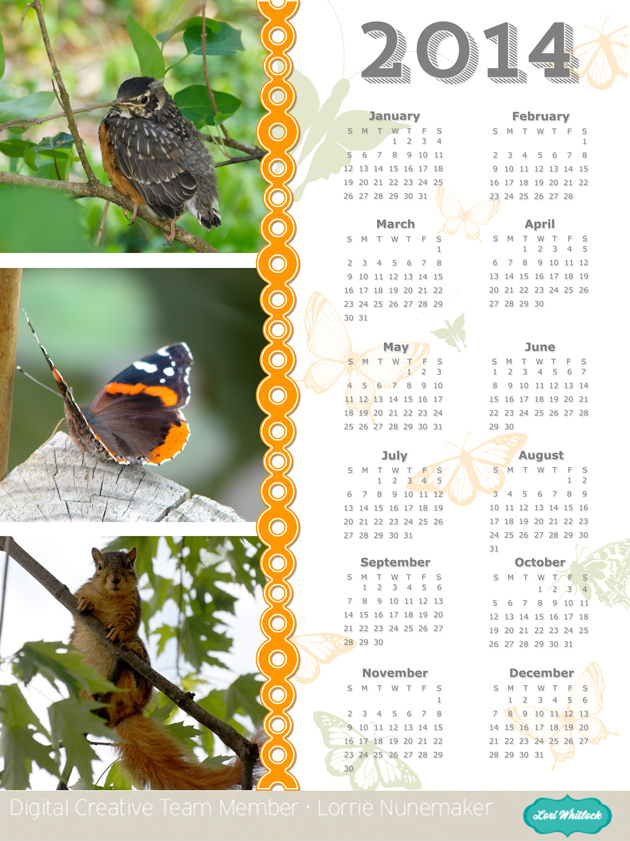
New at JessicaSprague this week is this beautiful Christmas Card Set and 2014 Calendar Template. The Christmas Card set is a great way to create fast personalized Christmas Cards. You can use them as is and drop in a photo, or like a template and change out the papers to create a different look. We released 3 other sets last week so there are many options in the shop.

You can pick them up this weekend for 25% OFF. What a deal!  This price is good through SUNDAY; Check out your different choices.

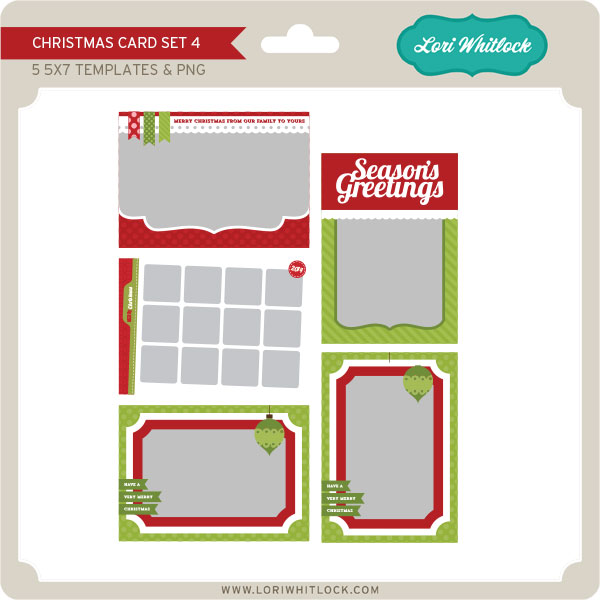
CHRISTMAS CARD SET 4

Christmas Card Set 4 is a great addition to the other 3 Christmas Card Sets we released last week. Like the others, these cards are easy to personalize with your favorite papers and elements or just place your photo in the space and print.

Layout by Stephanie Chavers

Layout by Chrissy Guido

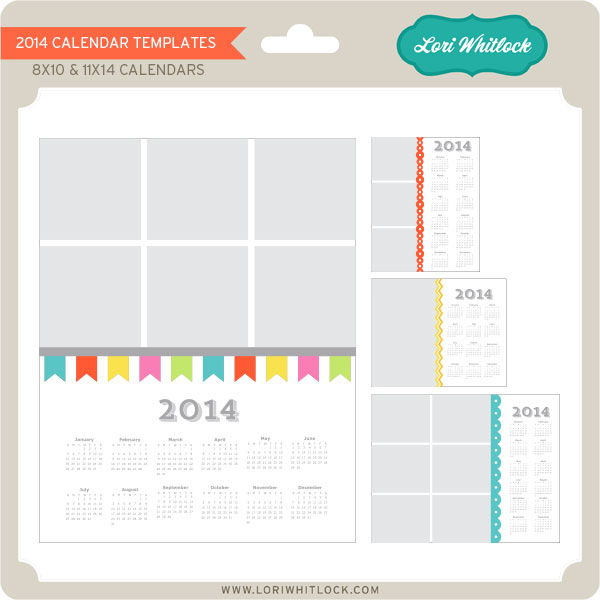
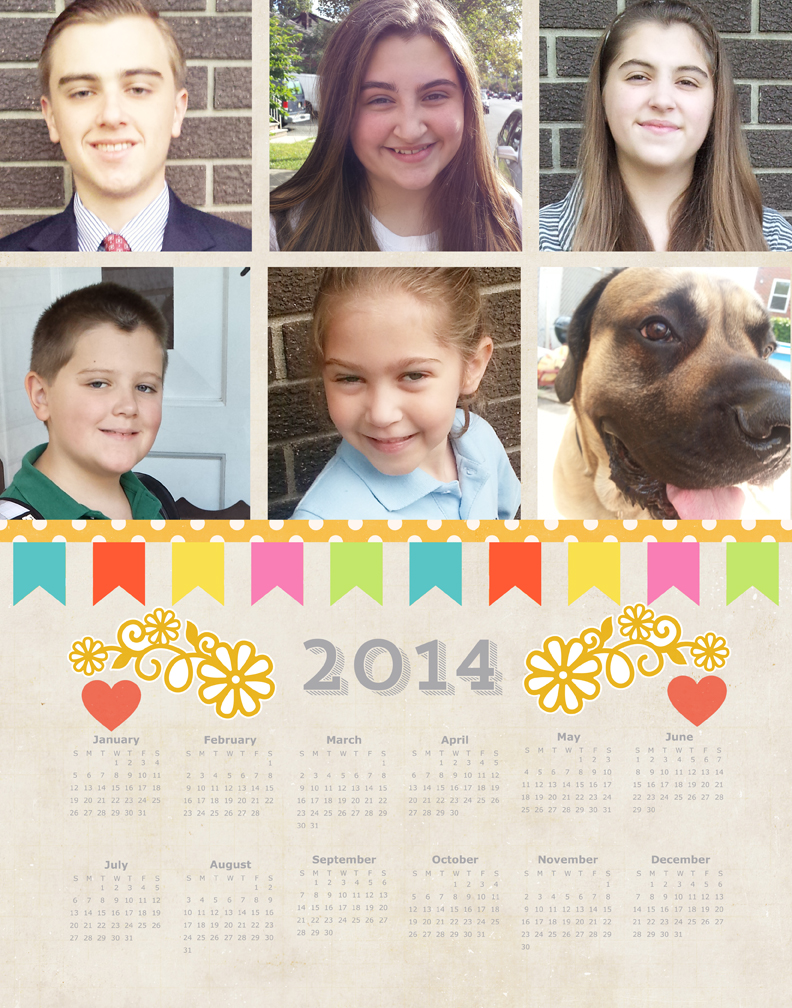
2014 CALENDAR TEMPLATES

Check out these beautiful 2014 Calendar Templates. There are 2 different sizes, 8×10 and 11×14, each size comes in both horizontal and vertical for a total of 4 templates. These templates are easy to manipulate and personalize. Check out what our amazing creative team has created.


Layout by Chrissy Guido

Layout by Stephanie Chavers


Autumn Card and Bag by Brigit

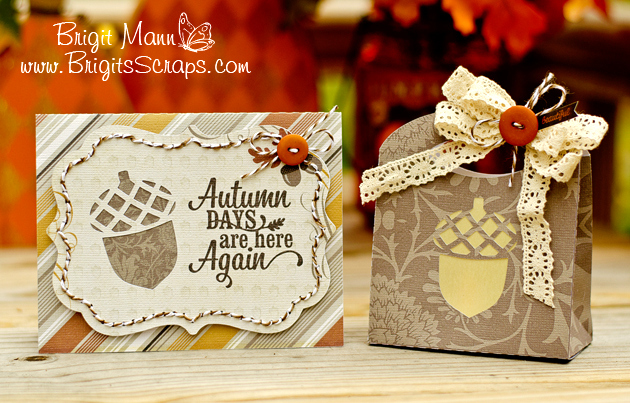
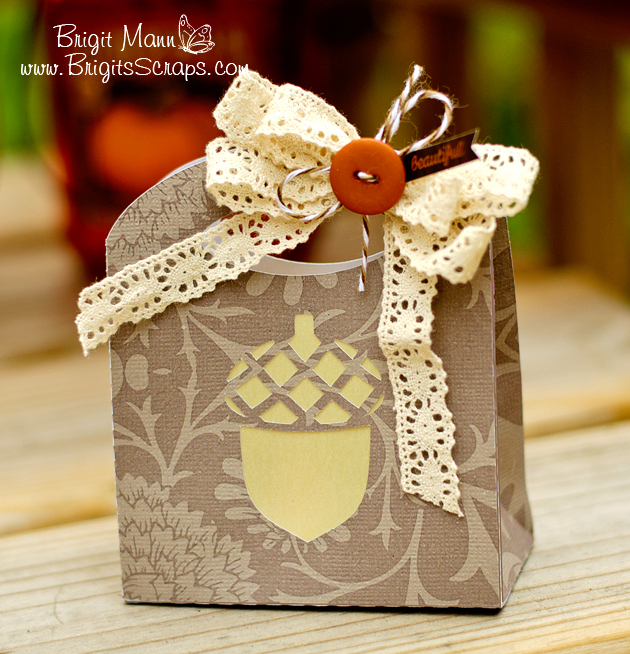
Hi everyone!  I have an autumn acorn set to share with you today. I used Echo Park’s Reflections Fall paper designed by Lorii, it’s one of my favorite collections, I used the digital version for this project.

For the Fall Acorn Pop-Up card I ungrouped and moved the acorn over so I could add the Autumn Days phase, which I did a print n cut with my Silhouette Cameo.  I weaved some Chocolate Truffle Trendy Twine through the holes with a needle, these pop-up cards of Lori’s are perfect for that.

The Acorn Treat Bag is so simple to put together, I added some vellum in the front so I could put a tealight with some potpourri inside.  Just added a pretty crochet bow with some twine, a wooden button and a sentiment from the paper collection.

Thanks for stopping by today, hope you enjoyed my project, you can visit me at http://www.brigitsscraps.com

Back To School Gifts by Brigit and Corri

Check out these beauties by Brigit and Corri. They have both shared some great back to school gifts with us. I was in love and kind of wished my kids were still in Elementary.
Hi everyone!  School is right around the corner, so I thought I’d make a cute back to school gift set.


Just a little something to brighten a child’s first day of school or maybe some treats for the teacher.

I used Lori’s A2 Tab Card and decorated it with the books from the Back to School Icons set.  For the September, which is one of Lori’s files too from the September Art set in the Silhouette Online Store, I did a print n cut.  I used a couple of digital elements from Echo Park’s School Days Mini Theme collection.

The cute bag comes as a set of two that fits on a 12 x 12 piece of paper.  You can fill it with some treats or smaller school supplies like paper clips, some post-it notes, etc.  I also used some files from the Back to School Icons and September Art sets.

Check out this beautiful set by Corri.

 Hi everyone!  I have an adorable gift for the teacher that I made using Lori Whitlock’s Stationary Box.  This would be perfect  on the first day of school.  It’s full of tags and note cards…great for labeling items in the classroom and communicating with parents.

I decorated the outside of the box with Lori’s Graduation Owl (without the cap).

Here a picture of the box open.  I included a few tags, note cards and envelopes. I added some buttons and wooden veneer speech bubbles.

Last but not least we would like to share with you our Cameo winner.  Congrats goes out to Kris S who has won herself my favorite tool of all time, a Silhouette Cameo. Please contact Lori at lori@loriwhitlock.com with your snail mail address so we can send this out to you! Thank you to ALL of you that entered! We wish we had one for each of you as we love ALL of our dedicated readers.  

~ Lori and Lisa 

Blog Party + Vinyl Tutorial + Freebie

It’s Day 3 of our Blog Party! We have another FREEBIE at the end of today’s post so be sure to keep reading…
We have a fantastic vinyl tutorial today by CT member, Mendi. Thank you Mendi for sharing your expertise with all of us!
Here’s what Mendi has to say:
“Today I have an easy step-by-step tutorial sharing how to cut and use vinyl which I used on a simple little card (featuring Lori’s super fun Here & Now collection which she designed for Echo Park).  While vinyl is perfect for so many home decor projects, I  personally adore using it for my cards and scrapbook layouts.  It’s the perfect medium for cutting delicate files that would ordinarily shred cardstock.”

“I started off by planning the basic layout of my card by assembling it visually in my Silhouette software, changing the fill colors to get a feel for what papers I might want to use to cut it out.  I changed a couple things along the way (like my sentiment color since I was sad to discover that my hot pink vinyl was not a good match for my paper).”
“I knew I wanted to cut the teeny-tiny bird legs and beaks out of orange vinyl, but they were all one piece with the branch so to get around that I made a duplicate and used my knife to isolate the birds and cut out part of the branch.  I could have cut it all off, but I decide to leave a portion to help me line up my birds just right during assembly.  The following screen shots show the steps I took to do this, deleting the extras portions I didn’t need.”

“I was now ready to cut my birds from the orange vinyl.  To do this I selected the vinyl cut setting from the menu.  With vinyl you have the option to adhere it to your cutting mat like you would cardstock or to insert it directly into your machine.  Personally I like to use my mat and use up small scraps of vinyl (and not mess with changing settings), but for the purpose of today’s tutorial I thought I would share another option. 

When using your vinyl without a mat you need to make sure to uncheck the box next to “cutting mat” within your cutting settings window.”


“If you’re using a Cameo, depending on the width of your vinyl, you will also most likely need to slide the rollers by following the directions on the inside cover of the machine.”


“Also make sure to change your setting from ‘load cutting mat’ to ‘load media’ and hit enter.”


“Change your blade setting to 2 (or in my case I accidentally took a picture of mine set to 3 which also works if your blade is getting dull).”


“After pulling my full-sized vinyl from the machine, I cut around the image to avoid waste and peeled off and threw away the negative portion of the image.”


“I then cut a small piece of transfer paper that was similar in size and peeled it from the glossy paper backing (if you’re thrifty like me, this can be saved and reused though so make sure to keep the backing it comes on to hold onto for another project).”


“Lay the clear transfer paper over your vinyl image (sticky side down) and rub with the popsicle stick it comes with (or bone folder or stylus).”


“Peel back the transfer paper and your image should now be clinging to the clear transfer paper.  If not you can help it along by rubbing stubborn areas again or sticking a fingernail in there to encourage it.”


“Now you are ready to adhere it to your actual project.  Once again your rub-it with your popsicle stick or stylus (and once again you repeat as necessary or stick a fingernail in between the transfer paper and your vinyl cutout to help it along).” 


“When images are not fragile or easily warped in their shape it’s possible to skip the transfer paper all together, but I personally love the transfer paper because it helps me line it up perfectly every time just the way it was on my computer screen.” 🙂


“I repeated these same steps to cut out the sentiment “love you” on my card.  With the small size I chose, this was even more fragile than the bird legs and would have been nearly impossible to do with any material other than vinyl.  I completed my card with more cute papers from the Here & Now collection.”


To create my card today I used the following cutting files designed by Lori Whitlock:

“For all those new Silhouette owners out there I hope I’ve taught you something new and for everyone else, I hope I’ve managed to inspire you to play with vinyl more and give it a try for your next intricate cutting project!”

If you’re interested in giving vinyl a try we have a super promotion going on right now!

You can BUY ONE GET ONE FREE on all Silhouette vinyl now through August 14! Here are the two deals you can cash in on…

(1)    Silhouette CAMEO®, 2 rolls of vinyl (chalkboard and white) and 1 roll of transfer paper: $269.99
(2)    Buy one get one free deals on all Silhouette vinyl (including transfer paper and stencil vinyl, too)

Be sure to shop using this link: www.silhouetteamerica.com/vinyl and use the coupon code LORI at checkout.

Are you ready for ANOTHER freebie? TODAY ONLY we have another FREE shape for you! This saying from Kolette Hall is perfect for cutting out of vinyl! Just incase you were not aware, Kolette Hall offers her SVG shapes in our online shop along with her Commercial use licenses for her SVG and Silhouette cutting files. Thank you, Kolette for sharing this beautiful FREEBIE today!

EXPIRED

Just a reminder… ALL SVG cutting files and fonts in Lori’s Shop are on sale, use coupon code SUMMER to get 30% OFF your entire order!

Be sure you ENTER TO WIN the Silhouette Cameo that we’re giving away!! The winner will be announced on Monday!

THANK YOU for joining our Blog Party this week! It’s been fun having you here with us! I thoroughly appreciate your support! My goal is to bring outstanding cutting files, paper, fabric, etc. to you! Just knowing that you enjoy working with the things I’m designing keeps me going! Thank you!