Cricut Cut + Write Tutorial with Courtney

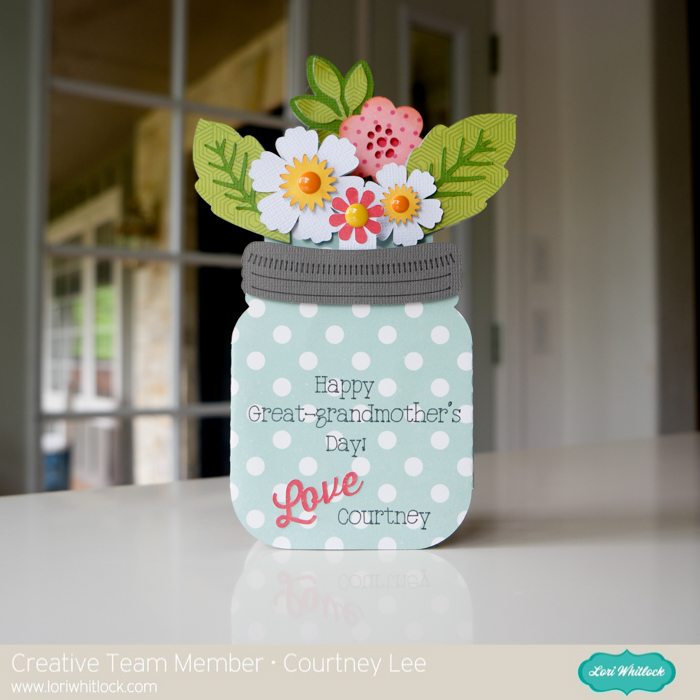
Hello!!! This is Courtney Lee from Court’s Crafts here with the new (and adorable) mason jar box card. I wanted to show you how to personalize it and make it your own using the cut and write feature of your Cricut Explore Air.

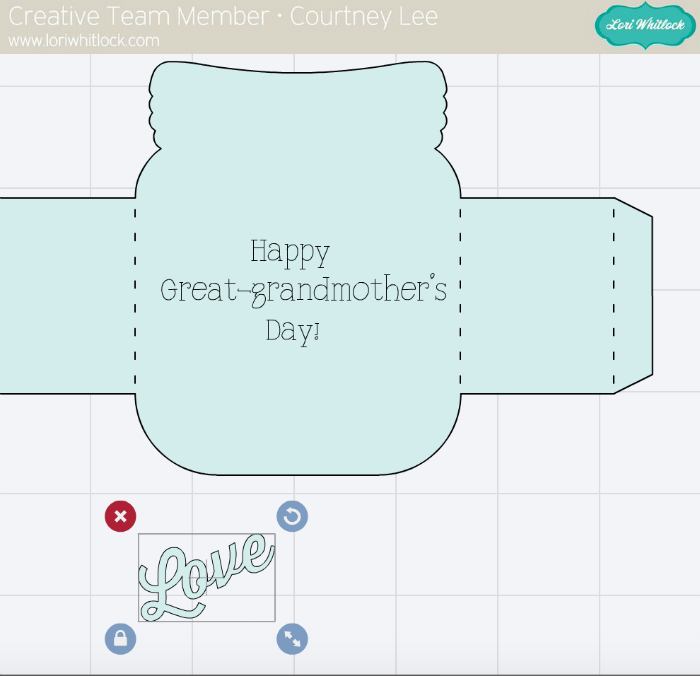
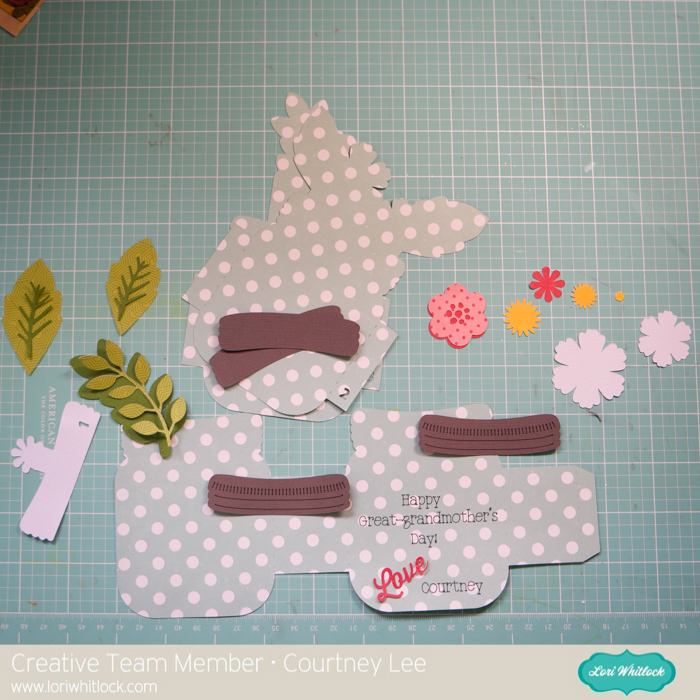
Change the marks on the jar lids to “write”.

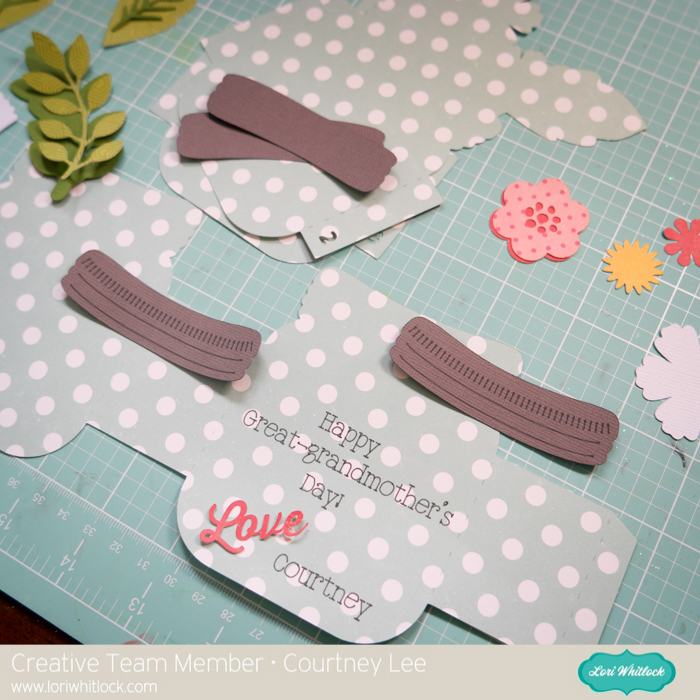
Personalize by adding text.

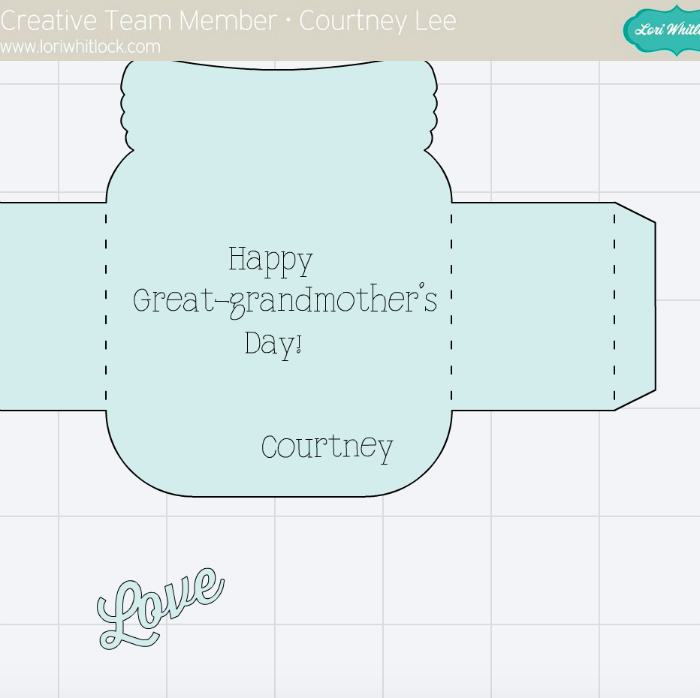
I’m never one to throw away a die cut so… shrink the “love” to fit on the bottom.

Personalize further by adding your name. (This is going to be CUTE!!!)

See that “attach” button top right? Attach all layers together by holding down “shift” and clicking all the pieces. This will make it so the cut and write feature happens at the same time. Do the same thing with all of the other pieces just to make sure the scoring marks are attached to the correct pieces, etc.

Cut out and check it out!!!! The Cricut Explore is AMAZING with the write and cut feature (with the dual tool holder!! I did it at the SAME time!!! ugh. love..)

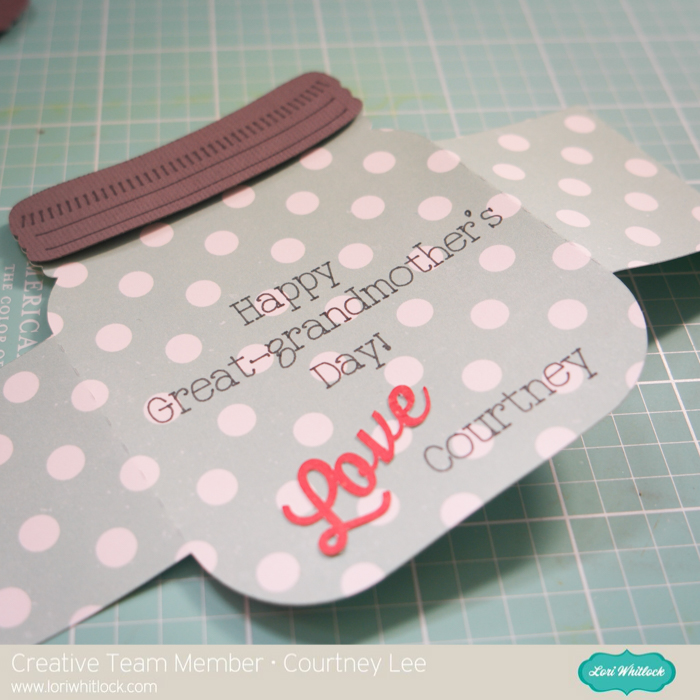
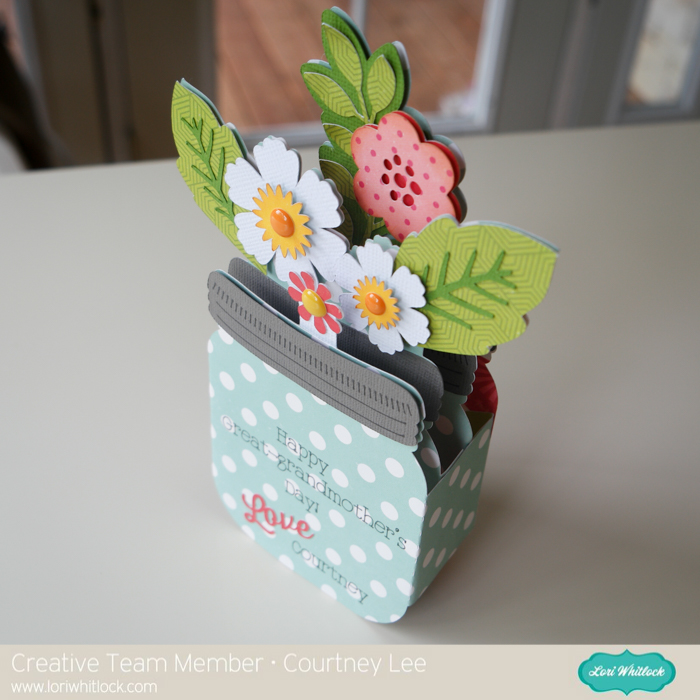
Check out how awesome the Cricut Explore Air did at the “cut and write” feature!!!

I adhered the “love” to the card and popped the jar top to the first layer.

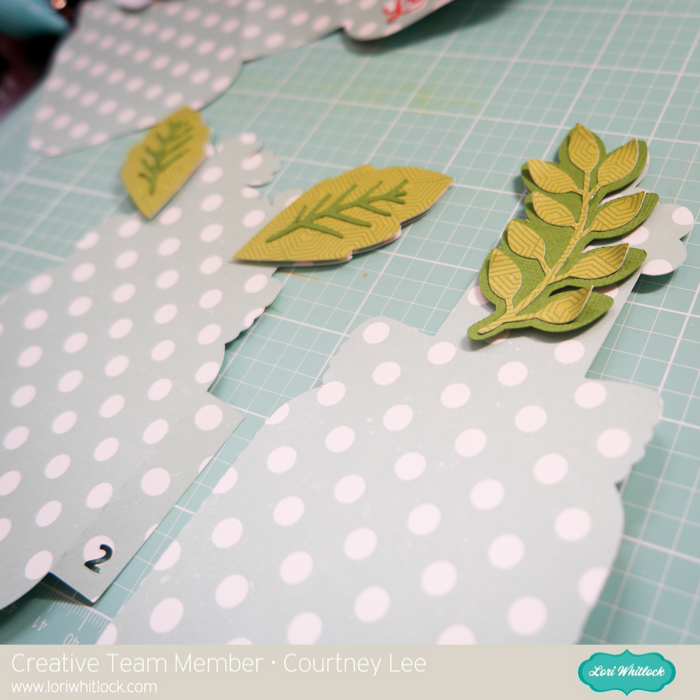
Then I glued the stems to the leaves and curled the ends up on one layer. I adhered those with pop dots too.

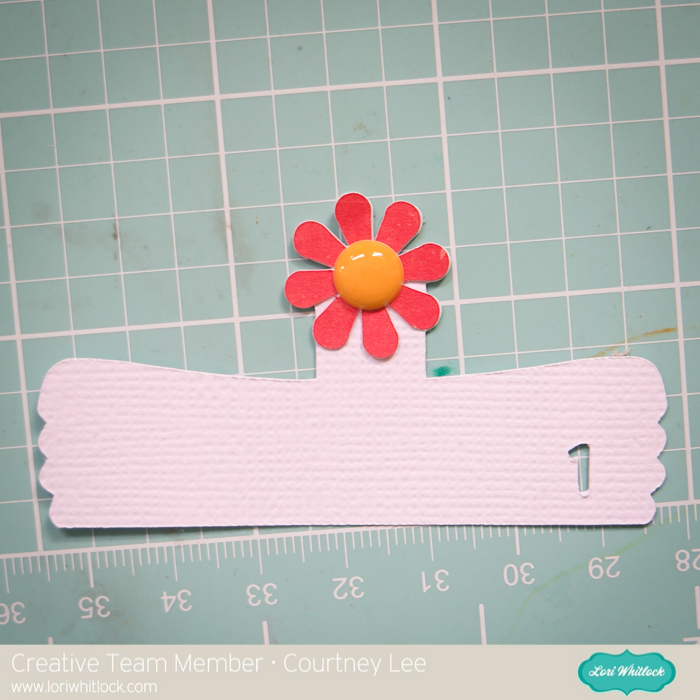
Use the enamel dots to add dimension. Paste layer one directly to the inside front of the card.

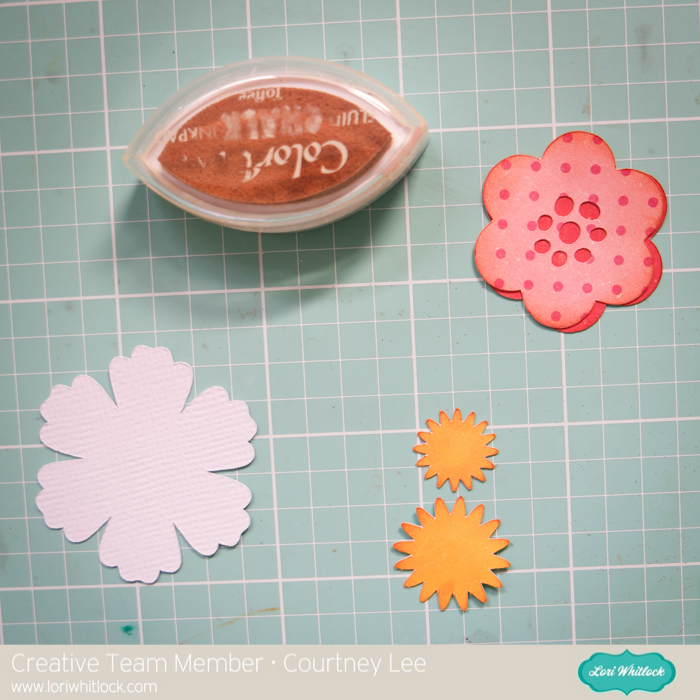
Ink the edges of the pink flower and the yellow flower centers.

Layer 2

Card complete!


I hope you enjoyed my tutorial today!!! It’s so much fun to use the Cricut Sketch pens on cards in neat and creative ways!

Recipe:

Lori Whitlock’s Shop: Box Card Mason Jar Bouquet

Silhouette Shop: Box Card Mason Jar Bouquet

Lori Whitlock’s Happy Summer collection for Echo Park Paper

Lori Whitlock’s Happy Summer Enamel Dots


5×7 Tiered Cake Gift Card Holder Tutorial with Kathy

Hi Everyone, it’s Kathy today with a quick tutorial showing how to assemble Lori’s 5×7 Tiered Cake Gift Card Holder.  (available here in the Silhouette Design Store) I have 4 weddings this year and this is sure going to come in handy!  It’s also a good way to make giving a gift card a bit more personal!

And here the card is open, with the gift card…

Here’s how to put it all together…

First, cut all the pieces.  I used some plain cardstock for the main body of my card, and some fun printed papers for the decorations.

Next, place the top tier of the cake with the slots for the gift card over the main piece as shown.

Fold the tabs on the main cake piece and add adhesive to only the tabs of the main piece.

Fold the other side of the main piece over, keeping the top tier in between the layers, pressing down to secure where glued.

Now for the fun part!  Decorate the layers using the embellishment pieces.  I also added some flower stickers and glitter to my cake tiers.  Insert your gift card in the top tier, using the tabs, and slide this piece down into the main part of the cake.

This card fits into a 5×7 envelope.  It could also be used for birthdays!  That’s it for me today, thanks for stopping by to peek!


Happy Day Flip Flap Card with Corri

Hi everyone!  Corri here today sharing my take on one of Lori’s fun new Flip Flap cards .    These cards are so fun…the middle panel flips over to reveal a spot for a sentiment.

I used the Happy Summer Collection from Echo Park Paper to make this cute card.

When you open the card the circle in the middle flips over.  I added a cute piece of ephemera from the paper collection to the back.

 Head over to Lori’s shop to see all the fun version of this easy to make card!  There is one for every occasion!


Flip Flap 3 Bars Card Tutorial with Tya

Hello – Tya here to share with you  a quick tutorial on how to put together the new Flip Flap Cards. Lori came out this week with a bunch of these adorable cards so I thought I would show you really quick how to put it together.

I am using the A2 Flip Flap 3 Bars card (LW SVG Shop) (Silhouette) and the Pinstripes line that Lori designed for Echo Park.  This card would be wonderful for Father’s Day!

To start – open the file in your cutting software. Go ahead and cut the papers out.

Here are the pieces all cut out. The brown piece is the base and the other pieces are for the front and bars of the card.

Once the papers are cut out – go ahead and start folding the card base. First fold the far left side of the card into the center on the fold line.

 Next fold the right hand side of the card back towards the left on the folded line.

Finally – Fold the left hand side over once again on the folded line. You can see the bars on this fold.

Now – assemble the remaining pieces to the card front. I added some pattern papers from the 6×6 paper pad and some word strip stickers that fit perfectly on the bars. I also added some enamel dots to the bars as well for some dimension.

This isn’t included in the cut file – but I added a 4 x 5 1/4 piece of cardstock to the inside of the car and decorated this piece with some washi tape and more stickers from the Pinstripes line. Add some twine to the tag and that’s all there is to it!

I just love fun fold cards and I can see myself using these over and over again! They are so fun! So I hope I have inspired you to try one of these out. After you see how easy they are to put together –  I hope you will want to make some of your own! Thanks for stopping by! Have a great week!


Father’s Day Toolbox Card with Karin

20160612-_MG_5139-Edit

Here is another really cute Father’s Day card from the Lori Whitlock SVG Shop. This time, it’s in the shape of a toolbox and it’s full of very useful tools.

The supplies I used include:

Lori Whitlock’s Toolbox card

Cricut card stock

Cricut pearl paper

Versamark stamp pad

Zing Pewter Metallic Finish embossing powder

Ranger black heat tool

ATG adhesive


In the video below, I show you how I set everything up in Design Space and then put the card together for you.

Have a great day!