Christmas Pop Up Box Cards with Kathy

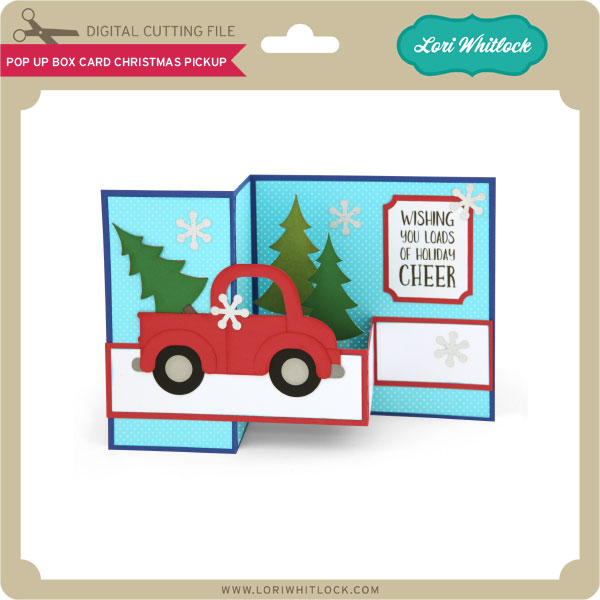
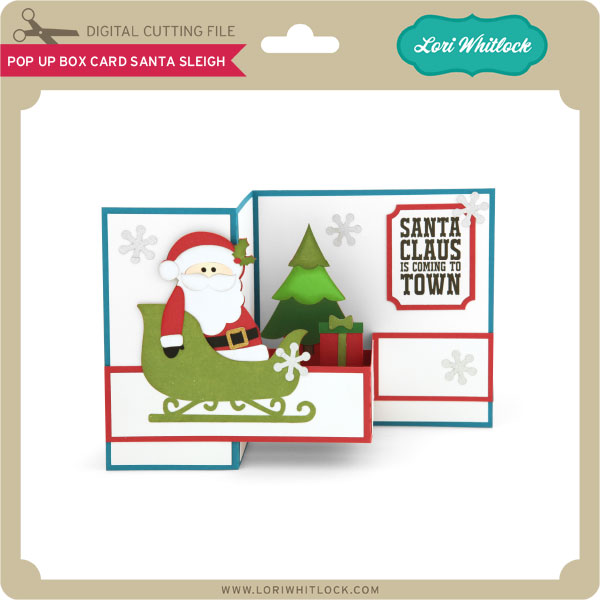
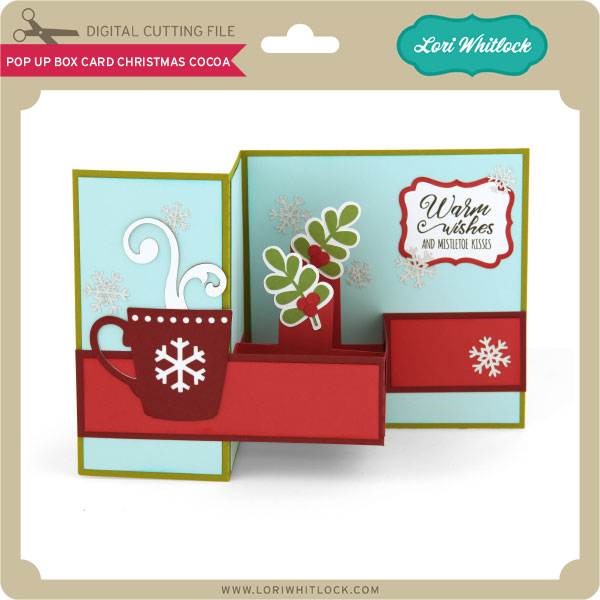
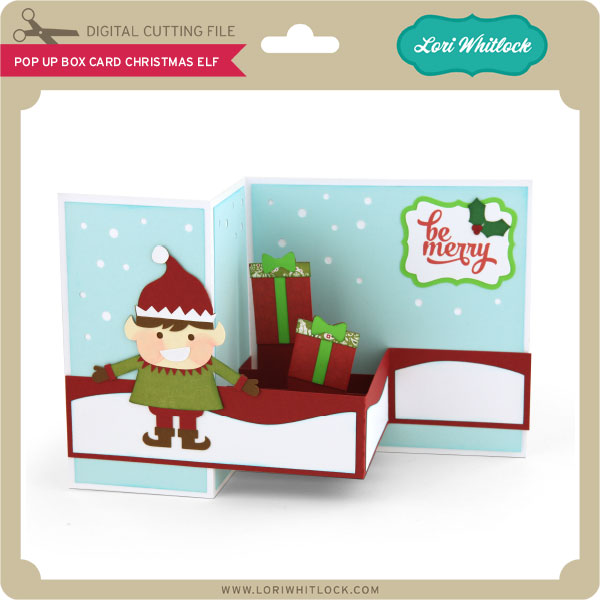
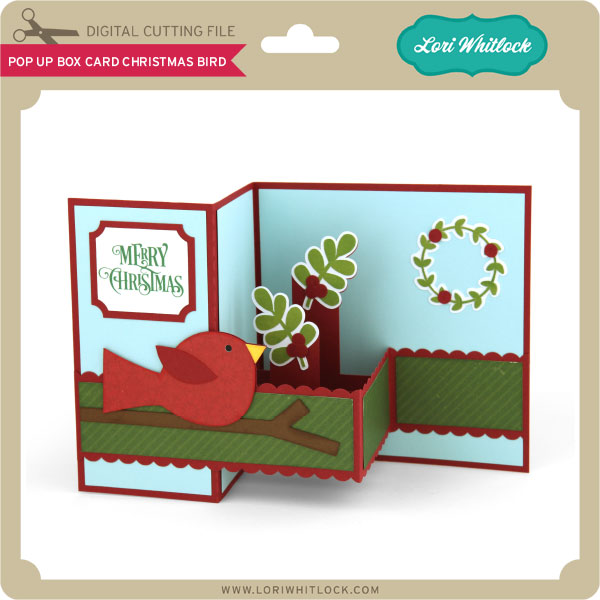
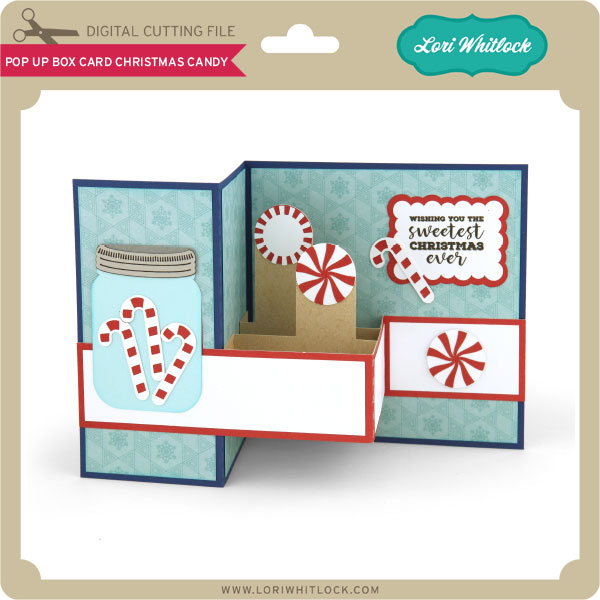
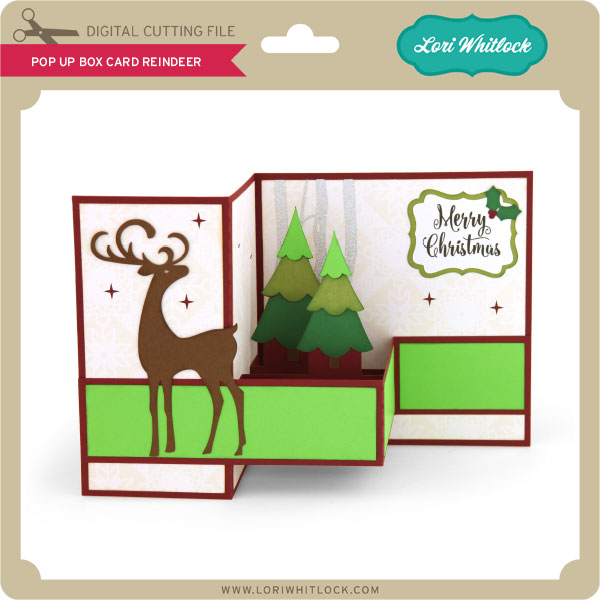
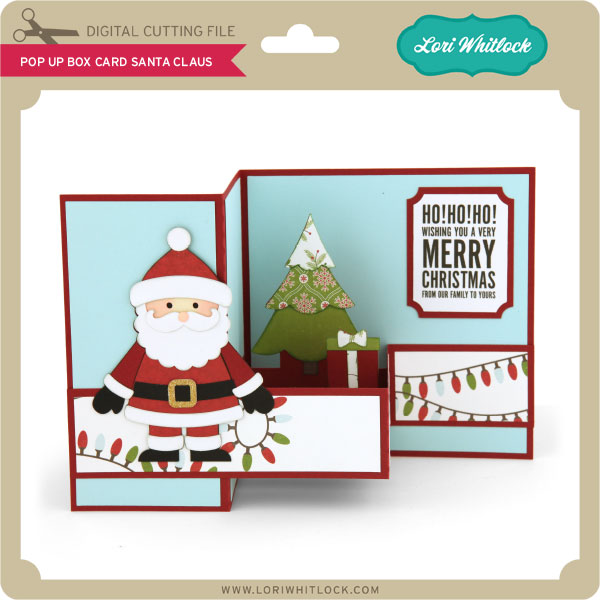
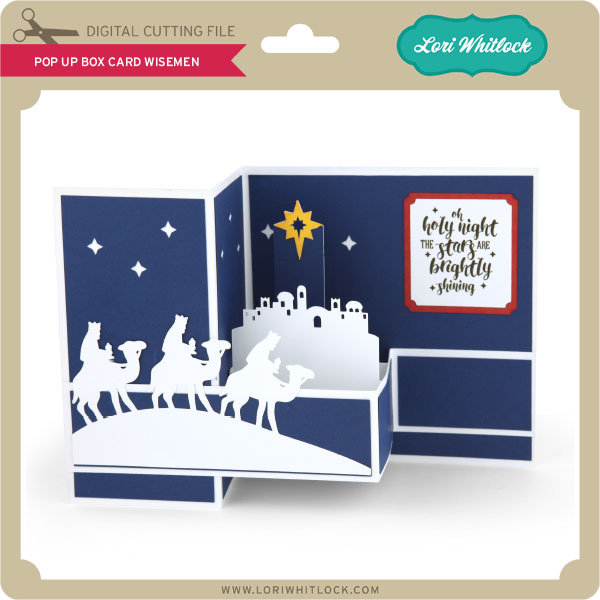
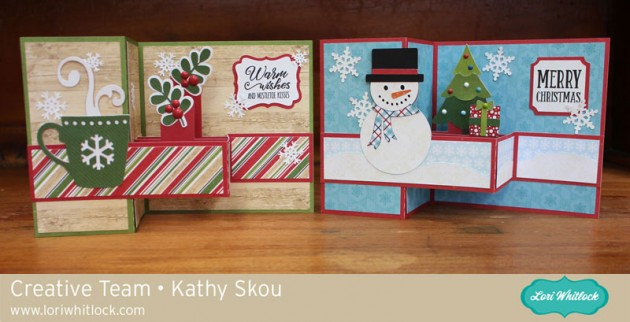
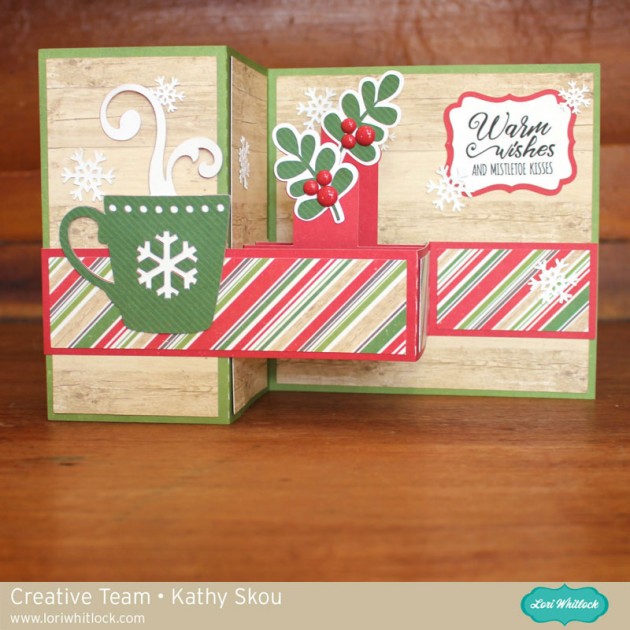
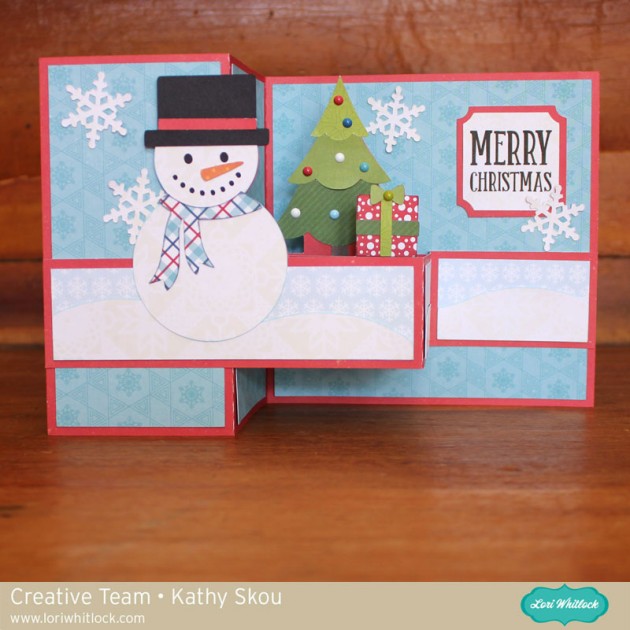
Hi Everyone it’s Kathy with you today!  You asked, you waited… and now for a sneak peek at two of the newest Christmas Themed Pop Up Box Cards!  Take a peek…

We’ve had so many requests for these and starting TOMORROW, there will be a whole bunch of new Christmas Themed Pop Up Box Cards in the Lori Whitlock SVG Shop and the Silhouette Store.  I was lucky and got to play with these in advance of their release!  Here are some close-ups…

I used the new I Love Christmas from Echo Park for this Pop Up Box Card Mug.  I just love the wood grain paper!

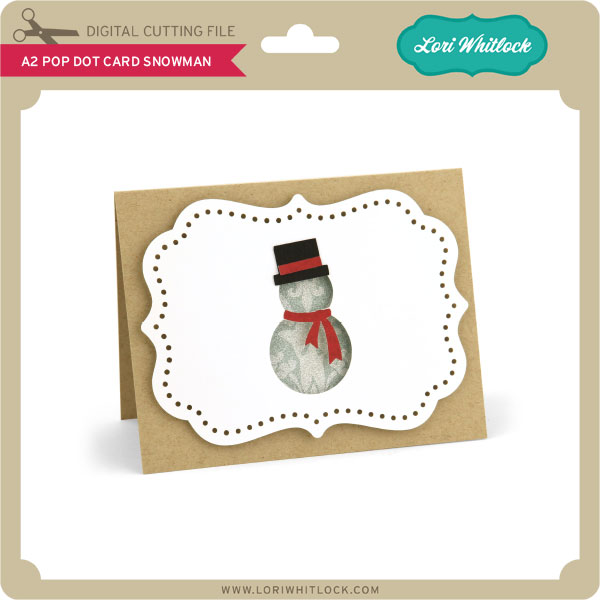
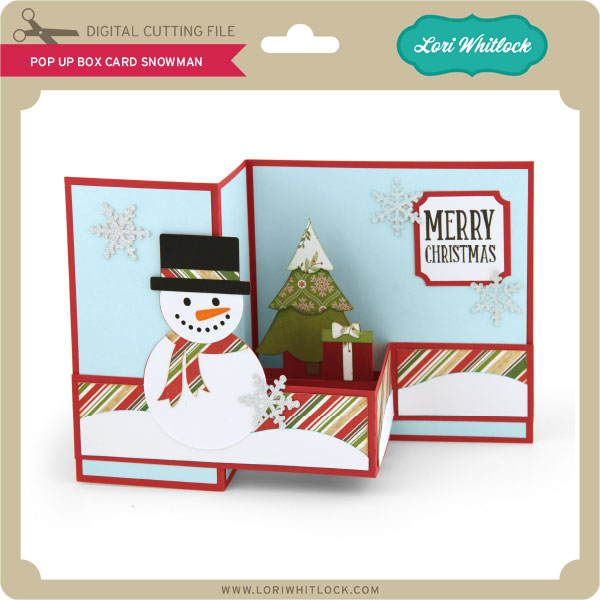
The Pop Up Box Card Snowman was put together using the new I Love Winter from Echo Park.  I just love snowmen!!  They make me happy!  Both of these cards along with a few more will be part of tomorrow’s new release.  In addition, we just might be having a giveaway for all the new Holiday Pop Up Box Cards from this release, so make sure to check the Lori Whitlock Facebook Page, and Instagram account later this week to enter to win!  That’s it for me today, thanks for stopping by to peek!
Time to Par-Tee with Lezlye

Welcome Lori Whitlock Fans! Today’s inspiration and photo tutorial provided by Lezlye Lauterbach Designs. I am a bit new at this tutorial posting, so bear with me. Today I have cut, embellished and assembled the fabulous pop up box golf cards that Lori has designed.

A few things to point out what works for me, (I toggle back and forth with Cricut and Silhoutte ) I import the SVG file into Cricut Design Space and un-group it. This next step is where you need to  each image with score lines and hit attach so that when you cut those pieces the scores happen on each piece.

I also decided to draw my sentiment instead of cut those tiny little letters. You simply highlight the whole sentiment and attach then change from cut to write as illustrated above. I used a simple uniball pen I had on hand, only because I do not own the pens made by Cricut.

I used watercolors and inks along with stickles and glossy accents for the tires to enhance the card design. Since this could potentially be for a man I didn’t want to get too fancy.

Here is my final result.

This card makes me happy and now I want to go play a round of golf! Anyone?

Have a Happy Day!

Custom Wedding Card with Courtney

It’s Courtney Lee from Court’s Crafts here! For this card I used three cut files, embossed, and did a little stamping. 🙂

I arranged the cut files on my screen so that they would be appropriately placed and colored according to my patterned paper I was using.

I had to rearrange the words so that they all fit on my background and then I switched them to “write” instead of cut.

Lastly I “attached” them all to the background cut so that it would cut and write together.

For the front of the card I used the Flourish Frame Set and sized it to take up the whole front of the card. Then I cut everything out.

I embossed the front of the card to give the black background a little “punch” and elegance.

I felt like it needed a little “dressing up”. Stamps and enamel dots to the rescue! 🙂

I stamped the flower decor onto the cake in a matching pink. Then I stamped the bird onto the tux with watermark ink and I stamped the heart flourish onto the dress and used embossing powder to set it and to bring the grey from the background onto the dress.

Check out how awesomely these stamp!

That is it! I really designed the whole thing on my computer and just cut it out and put it together. I love that. Because I can design it anywhere (like while watching a movie) and then I just whip it out!

I hope you enjoyed my tutorial today and it inspires you to combine multiple cut files into something even better!

Lori Whitlock Store:

A2 Pop-up Card Wedding

Flourish Frame Set

Wedding Script Words

Silhouette Store:

A2 Pop-up Card Wedding

Flourish Frame Set

Wedding Script Words

Echo Park Paper: Petticoats and Pinstripes: Petticoats Collection (paper, stamps, and enamel dots)

Carta Bella Cardstock: Black Felt

Using the Silhouette Intersect Tool with Kathy

Hi Everyone! It’s Kathy today with a quick tutorial on how to use the Intersect Tool in Silhouette. I actually discovered this tool by accident one day, but it is awesome! I used it to make this tag for my cousin’s wedding shower… she is having a fun and crazy Halloween wedding, so this will be perfect! It helped me create the spider web “lace overlay” on the wedding dress.

Here’s how I did it….

First, I picked the two shapes I wanted to combine, I used the dress from the Pop Up Box Card Wedding 2 file (here in Silhouette Store) and one of the spider webs from the Cat’s Ghosts Webs (here in Silhouette Store) file.

Next I overlapped the files. I moved them around until I was happy with the web design that was over the dress.

When I was happy with the placement, I clicked on the modify button on the top right toolbar of the Silhouette Studio Software. There are a variety of tools in the Modify window, but I used Intersect, which will display all the parts of the 2 files that intersect, while deleting everything else.

To use the Intersect tool, I selected both shapes on my mat, then clicked Intersect.

This is what remains after I clicked Intersect. The spider web was modified to be in the exact shape of the dress.

When I bring the dress back onto the mat, you can see that the spider web fits perfectly into the dress shape.

This is such a fun way to combine files! I added the updated dress to the tag, along with some other decorations and a sentiment I created with my sketch pens. It’ll be the perfect present topper! That’s it for me today, thanks for stopping by to peek!

Other files used:
6 Tags (here in Silhouette Store)
Halloween Spider Web Set (here in Silhouette Store)
Cute Halloween Set (pumpkin) (here in Silhouette Store)
LW Cheerful Sketch Font