May Off the Page Challenge with Kathy

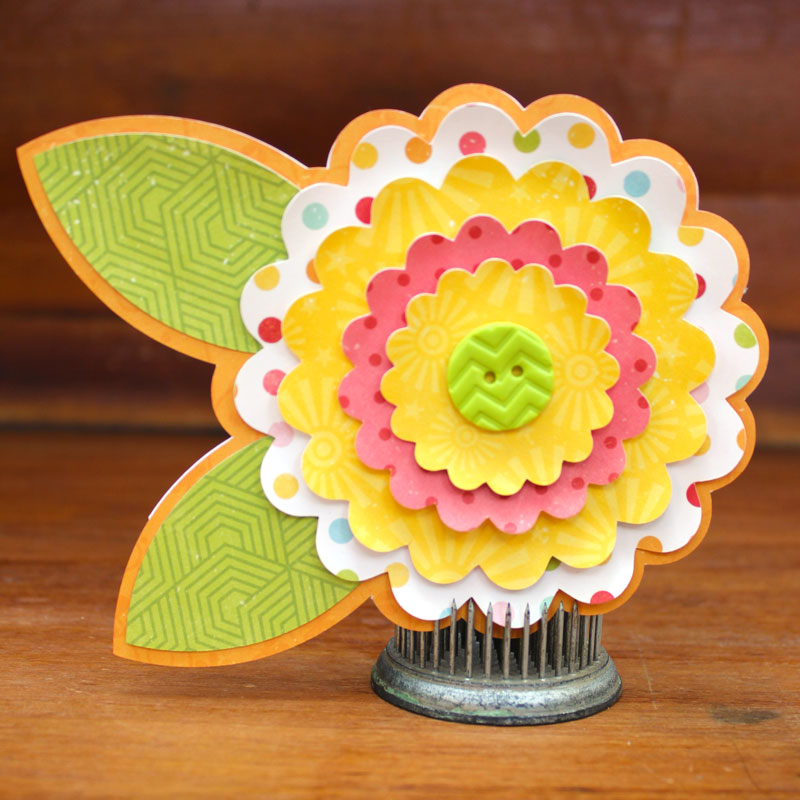
I can’t believe it’s already May!  It’s time for the May Off the Page Challenge over in the Paper Issues Friends and Fans Facebook Group!  This month’s challenge is all about Flowers! We want to see all of your paper projects featuring flowers.  You can also add in Mother’s Day and Teacher Appreciation gifts projects as well!  Of course we would love you to use Lori Whitlock files!  For my project, I used the fun files from the May Kit of the Month take a peek…
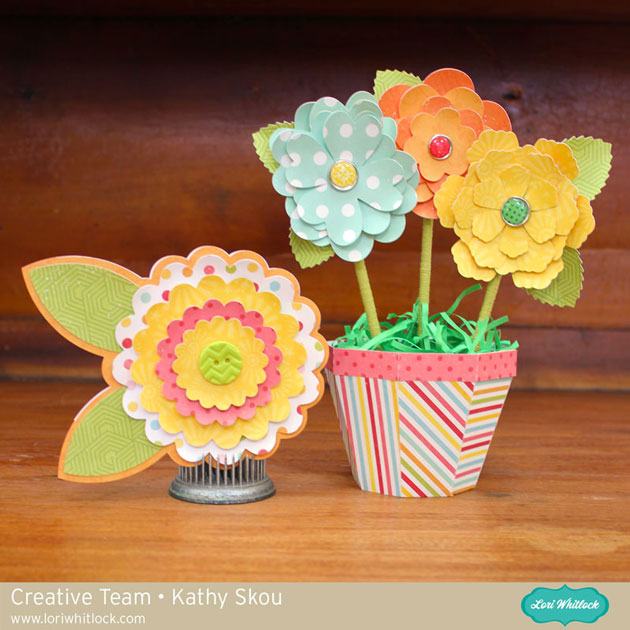
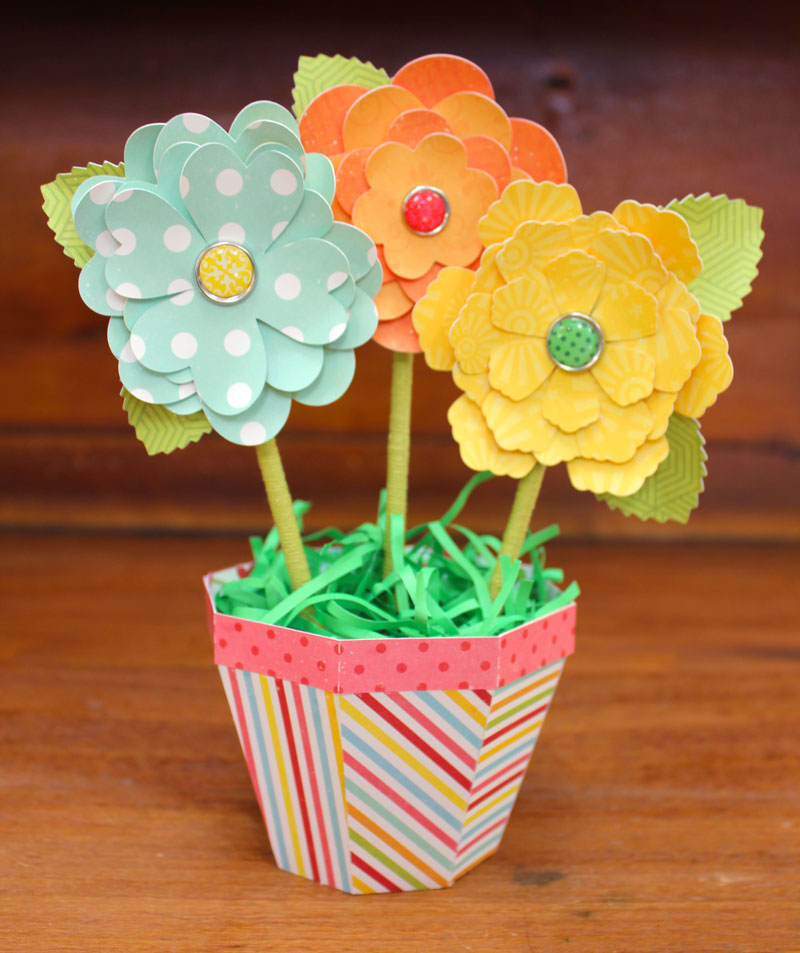
These just make me happy!  The would be so cute for a Mother’s Day gift or for that special teacher or friend. Here are some close-ups!  I used some papers from Echo Park’s Hello Summer collection, they are so bright and cheery!
 

Be sure to play along with this challenge by posting your project in the May Challenges Album in the Paper Issues Friends and Fans Facebook Group in the comments under this project.  Each project posted will give you an entry to win a $10 Gift Card to the Paper Issues Store!  You have until June 6th  to enter!  I can’t wait to see what you create!

Disney Themed Box Card with Karin

20160418-_MG_5122-Edit

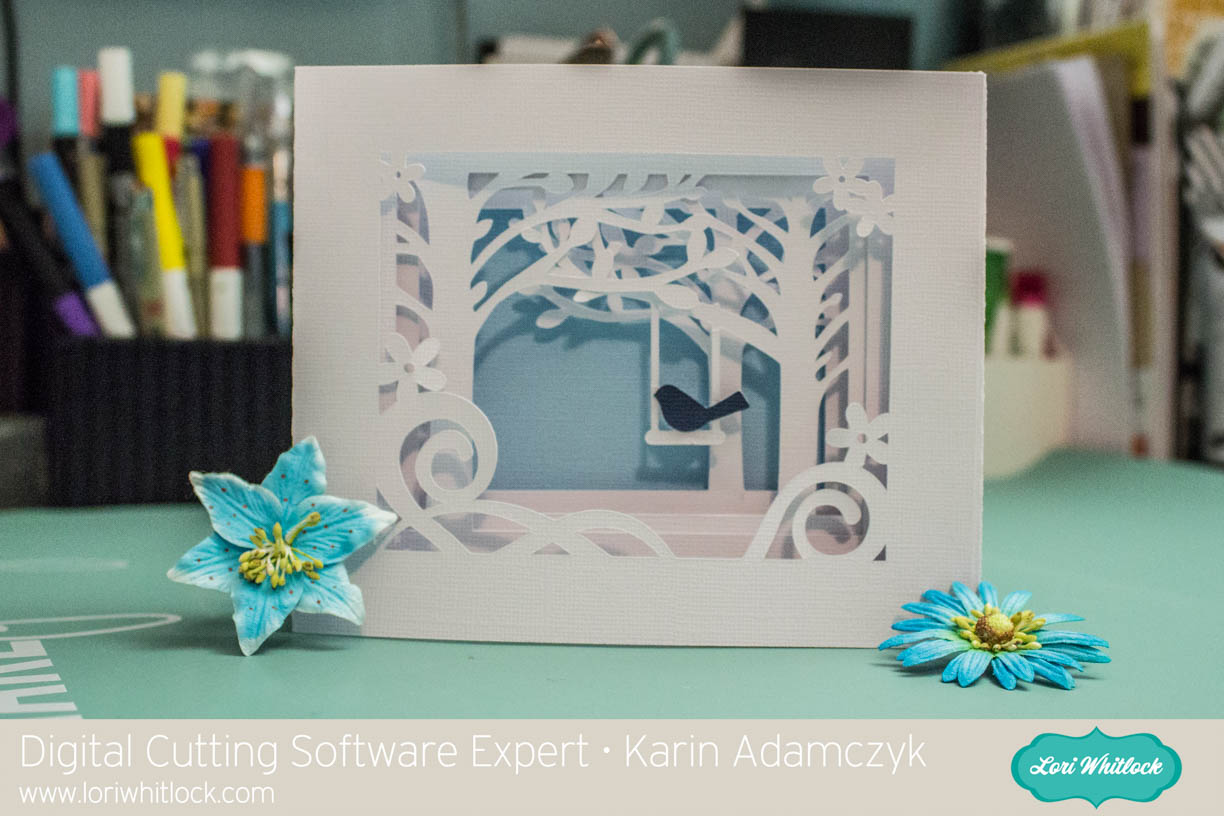
Someone in my Cricut group was asking if it would be possible to create a Disney themed box card. I answered that yes, you could take one of the box card designs from Lori Whitlock’s All Occasion Box Cards cartridge and then use images from a Disney cartridge to modify the box card and make anything you want.

In my video below, I show you exactly how you would do this. With the Cricut Explore and Design Space, you can literally make whatever you want. In the video, I used a Cricut cartridge, but you could also use SVG files or images from JPG files that you would print then cut and use in your box card.

I would love to see what you come up with. Leave comments below with your ideas.


3D Letter and Ornate Gatefold Card with Tya

Hi everyone – it’s Tya and I am so happy to share with you all a few of my favorite new cut files from Lori Whitlock. With Mother’s Day (and my Mom’s Birthday) around the corner – I thought I would get a jump start on my gift giving with this fun set.

These files were just what I was looking for. I used the Petticoats line that Lori designed for Echo Park. I love the floral, feminine feel to this line. And aren’t the colors lovely? Let me give you a closer look:

First up is this beautiful card. I used the 5×7 Ornate Gatefold Card (Silhouette) (LW SVG). I love how I was able to use one of the 4×6 cards found in the Petticoat papers for the perfect sentiment. I used some stickers from the collection as well as some jewels and washi tape to decorate the card.

 I have been so looking forward to using one of Lori’s new 3D Letters. They are so slick to put together!! Only 2 tabs on the top and bottom are all you need. I used the letter “L” (Silhouette) (LW SVG)  for my mom’s name – Leisa. She can place this on her desk at work. I also added one of Lori’s new 3D Flowers (Silhouette) (LW SVG)  to decorate it. She always does the most beautiful job on these flowers. So realistic looking!

Thanks for stopping by the blog today. I hope I have inspired you to pick up these fun new files and give these projects a try. Happy Crafting!

Thanking the Best Teacher

When you literally have no time and HAVE to throw a card together, Lori Whitlock comes to the rescue with thousands of designs and design elements that can save the day and make you look like a PRO!

All this card took was some patterned paper with a school theme and one of Lori’s designs. I used Cricut Design Space to upload the images, flatten the elements and use the print then cut function to put together my card.

20160405-20160405_221245-Edit

For this card, I used Lori Whitlock’s Teacher Thank You Tags file set.

20160406-2016-04-05_21-38-44
After uploading my files, I flattened the images I wanted to print, then cut.
I did the same with the school house I used on the inside of the card.
This is how the images looked after they were flattened.
Design Space prepared the print then cut for me.
All I had to do was print the file.
Then I chose my printer and the settings I wanted to use.
After printing, my image was ready to cut.
After printing, my image was ready to cut with my Cricut Explore.
Perfect job.
Perfect job.
Ready to cut the front sentiment for the card.
It's just too easy.
It’s just too easy.
The front of my card.
With a little schoolhouse on the inside.

It’s a simple card, but it took no more than 15 minutes and I didn’t have to go out and buy one.

Thanks so much for stopping by.

Please visit my blog at ScrappyDIVAblog.com for many more projects, tutorials and ideas.