Doodlebug Design Snips & Snails Project

Hi Everyone! Today I’m showcasing another fabulous project using Doodlebug Design’s cut files!  These fabulous cards were created by Traci Penrod for Doodlebug Design.

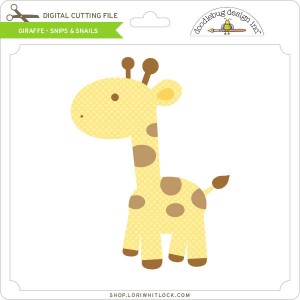
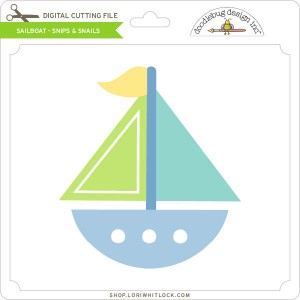
Traci used the Baby Boy Title, Car, Elephant, StarsGiraffe and Sailboat files from the Snips and Snails Collection.

I love how she used the files for more than just baby cards!  For details, you can see the original post here.

New Doodlebug Design SVG files are being added to the Lori Whitlock SVG Shop on a regular basis, so stop by to see all of the fun SVG files HERE!

Have a great day!

Fishing Vest Birthday Card with Courtney

Hello every one!!! Courtney Lee from Court’s Crafts here. Sadly, this will be my last post for Lori Whitlock’s team! I decided to step down and have loved my teammates, my awesome DT leader, and definitely Lori Whitlock’s cut files! I hope you will welcome the new and incredibly talented design team as they showcase their first projects!

I made this card for my father-in-law whose birthday it is today!

We are planning on going fishing in the next couple of days with the girls so this is a great way to kick it off! See the little fish in his pocket? 🙂

Grab this awesome Father’s Day/man card/birthday card here:
In Lori Whitlock’s Store
In the Silhouette Store

Thank you SO much for letting me be a part of your lives and inspiration. Thank you so much to Lori Whitlock for having me on this awesome team!


My Favorite Place- Flower Card

Hello, Crafty Friends! Mitsyana Wright here, back again and now officially part of the New Lori Whitlock Creative Team! Woohoo!!   I have this wonderful Flower Card Tutorial to share with you all using one of the flower files from Lori’s Bird Tree Flower Bundle Set. (here in the Silhouette Store)

This card is perfect to give to your significant other or your bestie.   And makes a great ‘feel good’ or ‘just because’ type card, because you don’t need a special holiday to let someone know you’re thinking of them.

I used my Sizzix eclips and ecal software to cut the flower file #6 from the bundle set. I sized the flowers to 3″ tall and cut two sets of flowers.

I inked edges of my die cuts for more depth, choosing an ink one or two shades darker than my cardstock.

Then attached the layers of the flowers together using a glue pen.

Once both flower pots were assembled, I snipped off the ‘pot’ to of one of the flower cuts, just leaving the stemmed flowers intact.

I used this shape from Lori’s 5 Labels set, to create a card mat & shadow, and sized it to 3.460″ x 4.406″ (white cardstock) and 3.66″ x 4.606″ (brown cardstock).

I layered the pieces together using Xyron Mega Runner and attached it to a matted A2 Sized card base (patterned paper “mat” measures 4″ x 5.25″).  Next, I attached double stitched ribbon along across the bottom of the card and trimmed off the ends.  Then, I attached both flower cuts. Stacking one on top of the other and placing the trimmed one in the back.   I used a stamping tool to stamp my sentiment onto the front of the card.  Finally, I attached the little bow with a dab of strong clear glue.

And here is my finished card…

I really love the detailed layers on these flowers!!! These were so much fun to make! I’m sure these flowers will bring a smile to anyone’s face!!  Hope you all enjoyed this tutorial and give these pretties a go!

HAVE FUN CREATING!

~Mitsyana Wright

A New Friday $5 Bundle

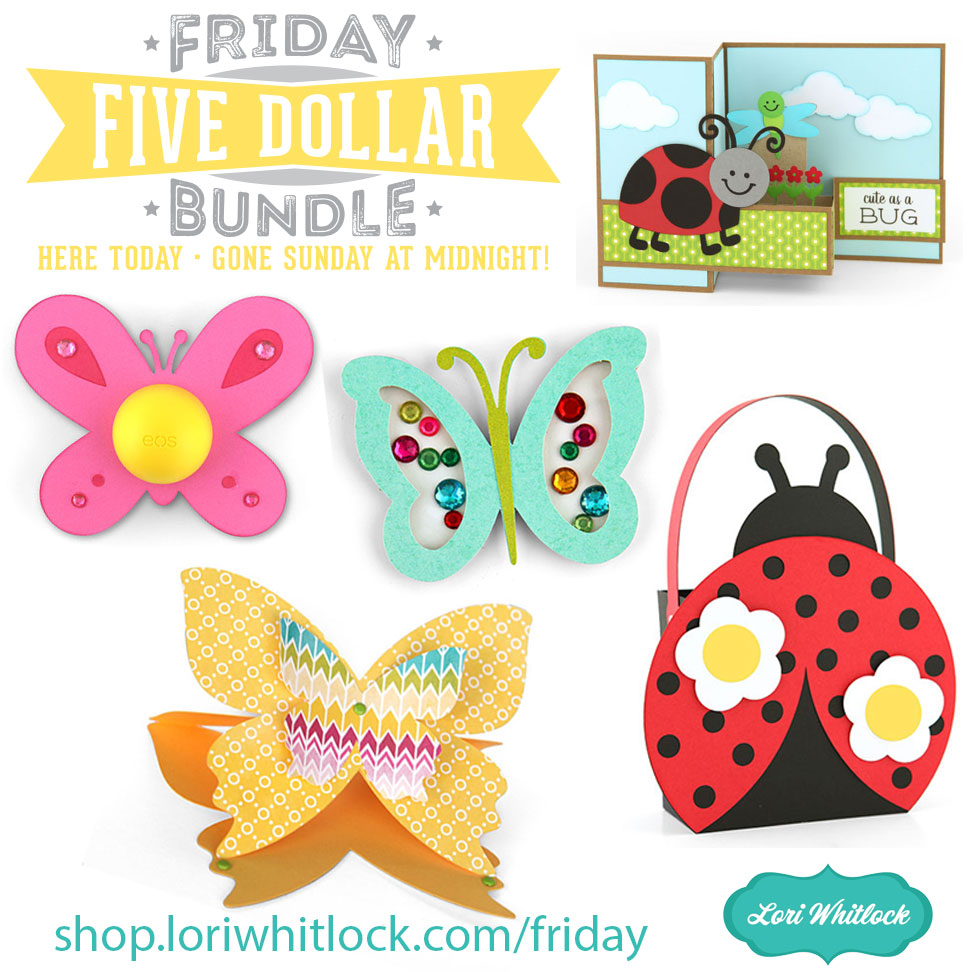
Hi Everyone! Today we have a new Friday $5 Bundle! It will ONLY be available until Midnight Sunday and when it’s gone it’s gone. These SVG files can be used with Cricut Explore, Silhouette Studio (with the Designer Edition upgrade), Scan N Cut, and any other cutter that will work with SVG files. Help spread the word by telling your friends and announcing it on social media!

Now through Sunday, you can pick up this cute “bug” themed bundle including 5 beautiful SVG files for just $5! These are perfect for your summer crafting projects!


The cost of this bundle is $5, for $9.95 worth of SVG files, over a 49% savings! A perfect bundle of files to have on hand! But don’t wait, this bundle will only be around until Sunday at midnight!

Have a great day!

Side Step Card Tutorial with Kathy

Hi Everyone!  It’s Kathy today with a tutorial showing how to assemble the Side Step Card – Birthday Cake.  (available here in the Silhouette Store) This is such a cute card and it’s really pretty easy to put together!  I made this one for my daughter’s birthday.

I started by cutting all of my card pieces.  I used Lori’s Perfect Princess Collection for Echo Park.  It’s such a fun, girly collection with great colors and patterns.  The sentiment piece was created using the print and cut feature of my Silhouette.  If you’re not sure how to use Print and Cut you can refer to this tutorial for Silhouette and this tutorial for Cricut.

The first step is to fold the base piece.  It looks complicated, but it’s really pretty simple.  I recommend starting with the left side of the card, then folding each “step” on the right side one at a time.

Once the card is folded, you can add the decorative strip to the left side of the step card base.

The next step is to assemble the cake pieces.  I find that it is easiest to do this before gluing to the steps in the card.

Once your cake pieces are together, add them to the steps.  The cake pieces should be centered on the steps, and the bottom of the cake pieces should be flush with the “bottom” of the step.  I also added the sentiment strip at this point.

The final step is to piece the balloons together, and add them to the left side of the card.  I attached mine with some foam tape to give them a little dimension.  I also added the number 19 to one of the balloons (it was her 19th birthday) using Lori’s Awesome Font (available here in the Silhouette Store)

That’s it for me today!  Thanks for stopping by to peek!