Digital Inspiration with Tya

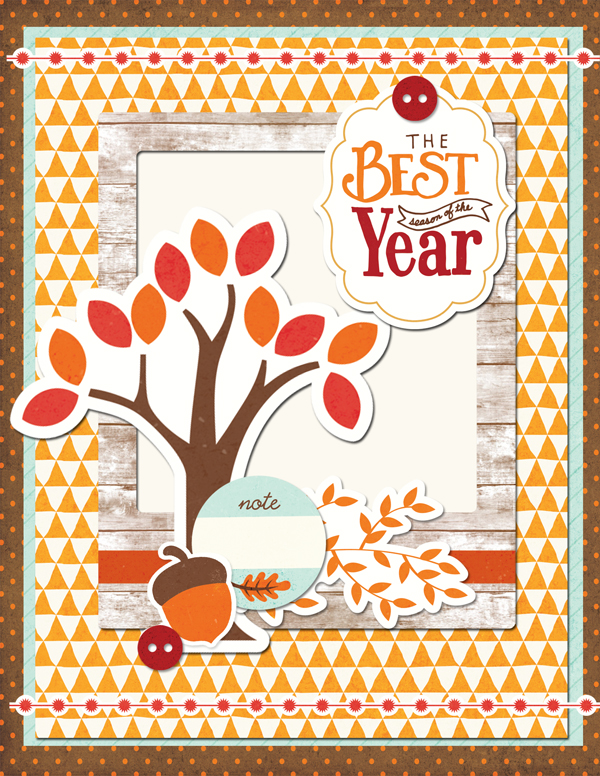
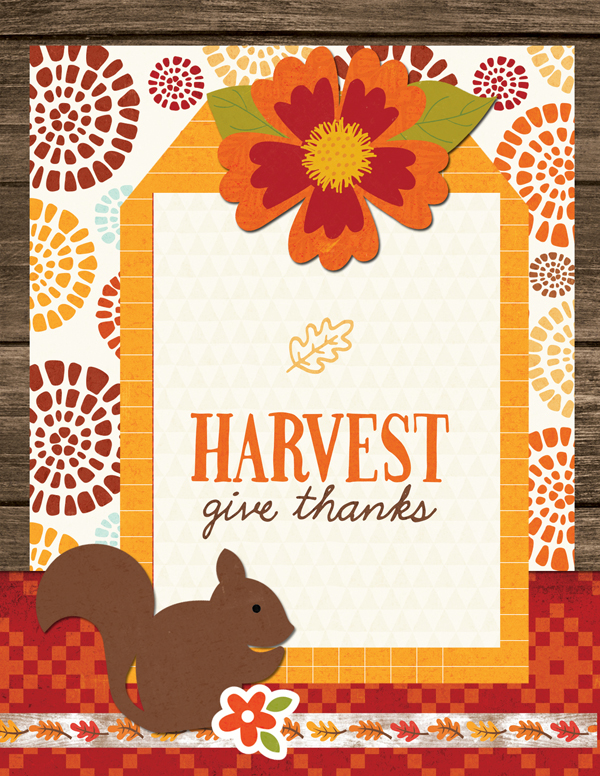
Hello Lori Whitlock fans! It’s Tya here with some digital scrapbooking inspiration. I have recently started making greeting cards digitally and they are so much fun to put together! I shared some birthday ones a few months back and  decided to do a Fall/Thanksgiving themed set for my designs this month. The great thing about these cards is all you need to do is create them, print them out and then glue them to a card base.  I like to add real buttons, twine and other embellishments as well. Here are the cards I made:


I used the following products to make these cards:

The Story of Fall Mega Digital Collection

Basic Embellishments

Basic Shape Masks

Thank you so much for stopping by today! I hope you give these fun digital cards a try! Happy Crafting  and Happy Thanksgiving!

Pumpkin Spice Everything with Mitsyana

Hello, Friends! How many of you are ready for Thanksgiving Day? Do you have a special feast planned? Any PUMPKIN on that menu?  Well, if you are like me you then you love all things Pumpkin Spice. In fact, you probably wait for this time of year to come just so you can kick up your heals and indulge in all things pumpkin spice related!!

Lately, I have really enjoyed coloring and find it very relaxing. So I used images from Lori Whitlock’s Pumpkin Pie Print & Cut Stamps set to create this CAS (Clean and Simple) Pumpkin Spice EVERYTHING card!

Image 1

I started by opening my ecal software and creating my digital card front by opening each image and adding it to my virtual “mat”.

To get your images centered perfectly within your card shape, highlight the group of images (everything you want to be centered) and click on the “Align” button. Here’s the tricky part…Click on “H Align” to align images vertically, meaning images will line up in a row from up to down/ down to up… and “V Align” for images to align horizontally, meaning the lineup side to side.

I’m making a long A10 sized card, so I want them to be centered/ lined up vertically so I click on the center “H Align”.

Once I get the layout of my virtual card to the way I like, I duplicate the image. I  do this because I can make multiples of the same card or I have a back up in case I butcher my first attempt I have a spare. LOL

Don’t worry about the lines being there, these were just guides to remind me where the parameters of the card are. I intend to trim this off.

Then, I print from directly inside my ecal software. Click “File” on the menu bar and select “Print”. Easy peasy! I printed my images onto kraft cardstock using a laser printer. I used a laser printer as opposed to an ink jet because the ink is automatically heat set and will not run when if you plan on using markers.

I colored the little whipped topping with a white opaque marker. This would’ve definitely re-activated the ink if it was an ink-jet printer and it would have created nasty smearing and smudging.

For this project, I chose to color the rest of the images with color pencils. I love the way color seems to pop when applied to a darker paper. They almost look like they are glowing!

I printed another set, this time on white cardstock. Then, I cut out the banner pieces.

I ran the banners through my Xyron Sticker maker.  I then attached them to their matching digis on the kraft print.

I cut the Kraft card down to measure 3.75″ x 9″. I mounted it onto mirror cardstock measuring 4″x 9.25″. Then layer it onto patterned paper measuring 4.25″ x 9.5″.

I attached my card front to a 4.25″ x 9.5″ (folded) card base.

And here is my finished card.

I really hope you enjoyed today’s project and hope you have a very memorable and delicious Thanksgiving!!

Happy Crafting!!

~Mitsyana

One Buck Wednesday at Snap Click Supply & Digital Inspiration with Ashley

Today at Snap Click Supply I have two items featured for $1 on Wednesday!. That means you can pick up 2 of my digital scrapbooking products at a steal. TODAY ONLY!

Christmas Card Set 2


Christmas Card Set 3


Be sure to go grab these great deals while you can. These offers will end at midnight!  And check out the fabulous card Ashley created using one of the card templates…

Guess What?  It’s Christmas Card time.  Today for One Buck Wednesday, two sets of Lori’s Christmas Card templates are up for $1.  That is a total of 10 card templates to pick from.  The templates are so easy to use.  You can just drop a photo in and save it, or add different paper and elements to customize it.  I used a card from Christmas Card Set 2 and added some papers from  A Perfect Autumn Collection.

Have a great day!

Bobbin Shadow Box Card Scene with Brandie

Hi Everyone! Brandie here with one of Loris shadow box card scenes.

I love that this card goes with the new I’d Rather Be Crafting paper collection by Echo Park. This card will be perfect for all your crafty friends.

The print and cut feature makes assembly so quick and easy. The hardest part is picking out your paper! You can find the file here in Lori’s shop and here in the Silhouette Store.

Thanks for stopping by!

Give Thanks Pumpkin Card

Hi, Crafty Friends!! Creative Team Member, Mitsyana Wright, here. It’s a new month and I’m not going to lie, I’m missing Halloween already.  It’s ok, I have lots to look forward to and lots to be thankful for. And speaking of thankful… Today, I’m bringing you this Give Thanks, Pumpkin Card.

Let me show you how I made it…

Here are the supplies you need:

  • Pumpkin Mini Album (here in the Silhouette Store)
  • Give Thanks (here in the Silhouette Store)
  • Patterned Cardstock (Autumn Leaves Stack- DCWV)
  • Xyron Creative Station
  • Tim Holtz Distress Ink- Vintage Photo
  • Hemp Twine
  • Glue Pen

I used Lori Whitlock’s Pumpkin Mini Album to create my card base.
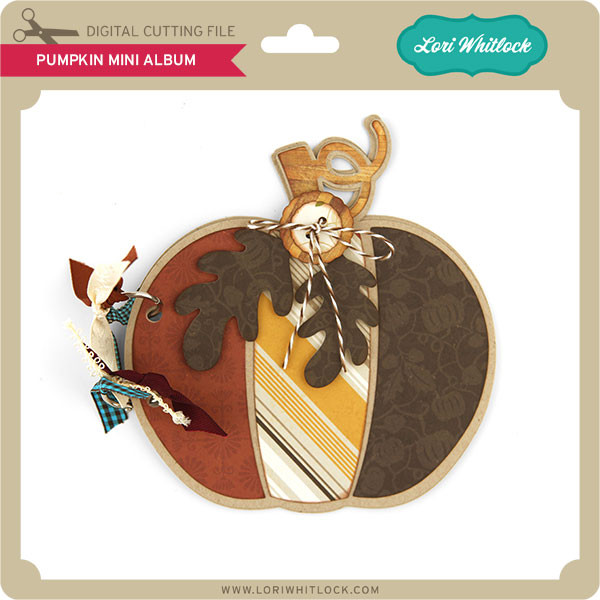
I opened the SVG file using my ecal software.

Then “UNGROUP”ed the holes from that are in the pumpkin base and files.

Then, I cut and pasted the window base onto a new page.

I made a mirror image then slightly had them overlap at the center. Then I highlighted the whole and “WELDED” the two pumpkins together.

Once the welded pumpkins were cut, I used my bone folder to crease my card.

Then I die cut the panel pieces, stem, and accessories that come with the file.

Next, I ran the patterned paper through my Xyron Creative Station Lite. Then I inked up the edges with Tim Holtz’ in Vintage Photo. Then All I simply did was peel and stick! Easy-Peasy!!

I also used Lori Whitlock’s Give Thanks Title for my cards sentiment.
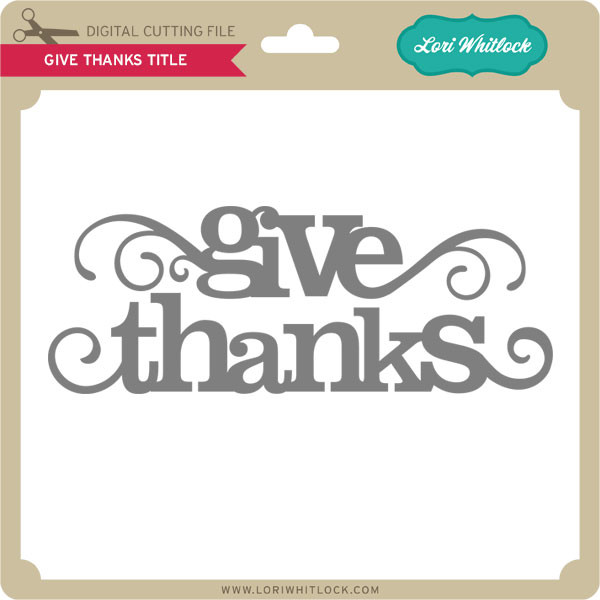
I sized it to fit the pumpkin cover in my ecal software. Then opened a new window and cut and pasted it there.

After cutting these words out, I left them in their negative space and inked the edges. Keeping them in the negative space helps to reduce bends and tears.

I used a glue pen to attached my sentiment onto the front cover.

Then, I  added the leaves and button. I  fastened them together with hemp twine.

I also used a micron pen to add details to the words and swirls for a little definition.

And here is my finished card…

Now, it’s ready to give to someone I am very thankful for…

It’s so hard to choose!! I’m going to have to make more!! There are too many people I am incredibly thankful for! I guess that is a good problem to have!

Hope you all enjoyed my project for today!! See you soon!!

~Mitsyana