Sneak Peek of the New Flexi Cards with Kathy

Hi Everyone it’s Kathy today with one of the new Flexi Cards being released in the Lori Whitlock SVG Shop tomorrow, as well as in the Silhouette Store.  I got a chance to play with one of the files a little early!
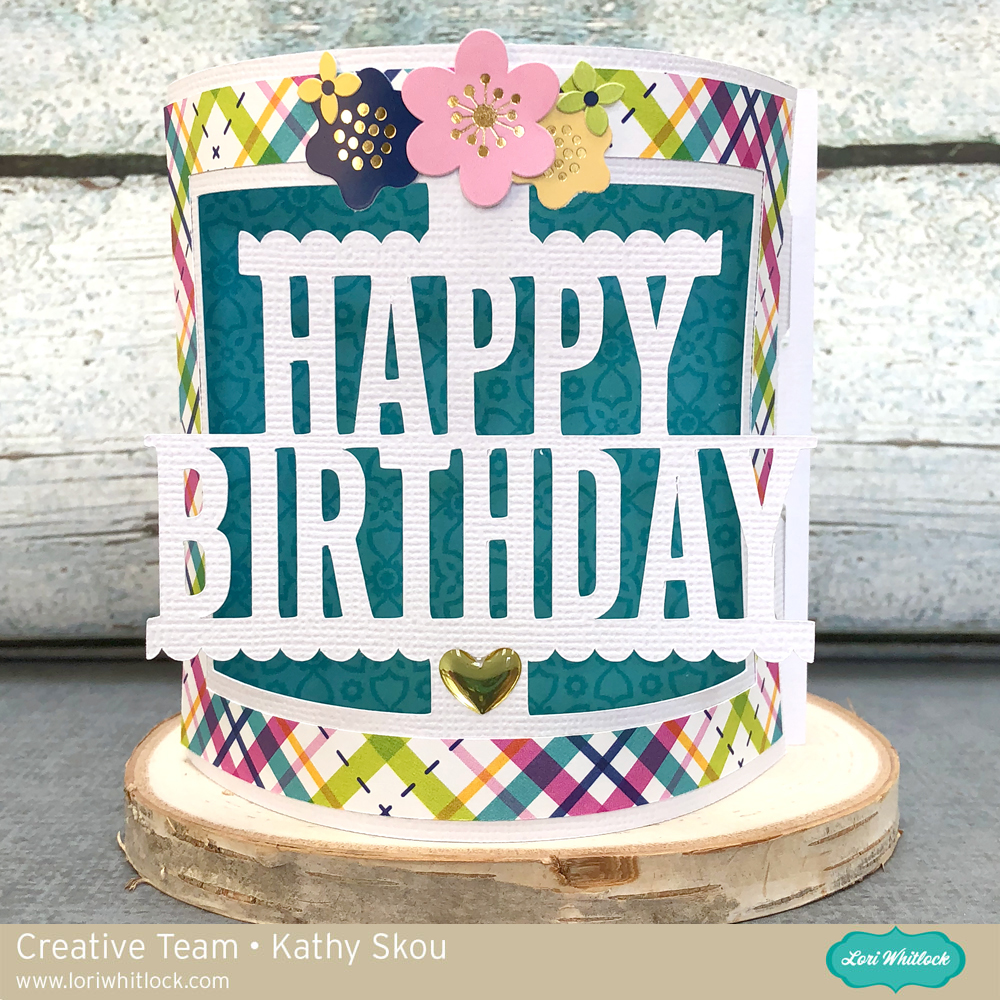
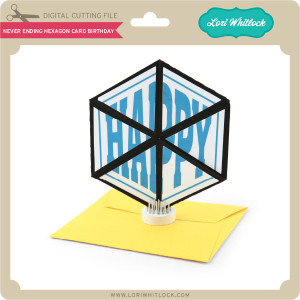
These cards are so cute and they are so easy to make!  Even better, they can be made for a man or woman depending on the colors you choose!  They also stand up nicely for display, but fold flat for mailing!   I added some flower stickers and an enamel heart to embellish my card, the possibilities are endless.  This Flexi Card Happy Birthday will be in the Lori Whitlock SVG shop tomorrow and is in the Silhouette store here.    There are a number of different sentiments including Mother’s Day, Father’s Day, Anniversary, Friend, Thank You and more on their way, so be sure to check them out.  That’s it for me today, thanks for stopping by to peek!

One Buck Wednesday at Snap Click Supply + Digital Inspiration with Ashley

Today at Snap Click Supply I have two items featured for $1 on Wednesday!. That means you can pick up 2 of my digital scrapbooking products at a steal. TODAY ONLY!

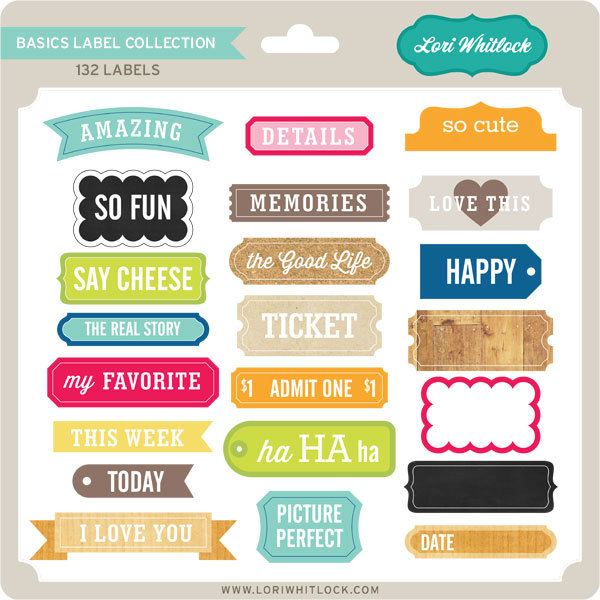
Basics Label Collection


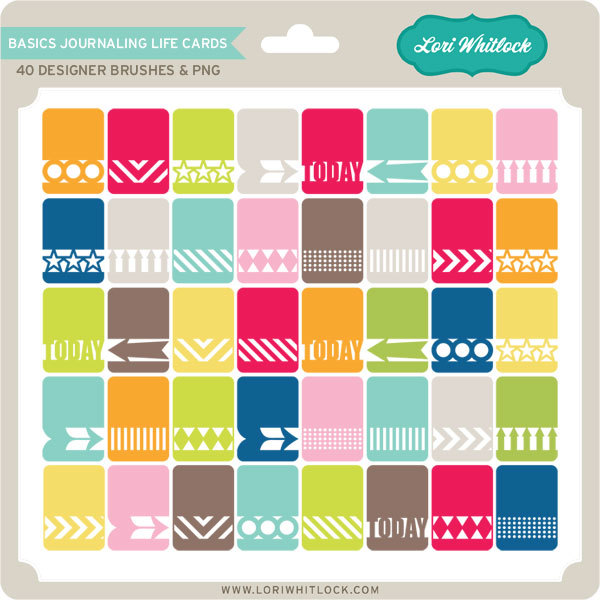
Basics Journaling Life Cards


Be sure to go grab these great deals while you can. These offers will end at midnight! And see the fabulous project Ashley made with these files!
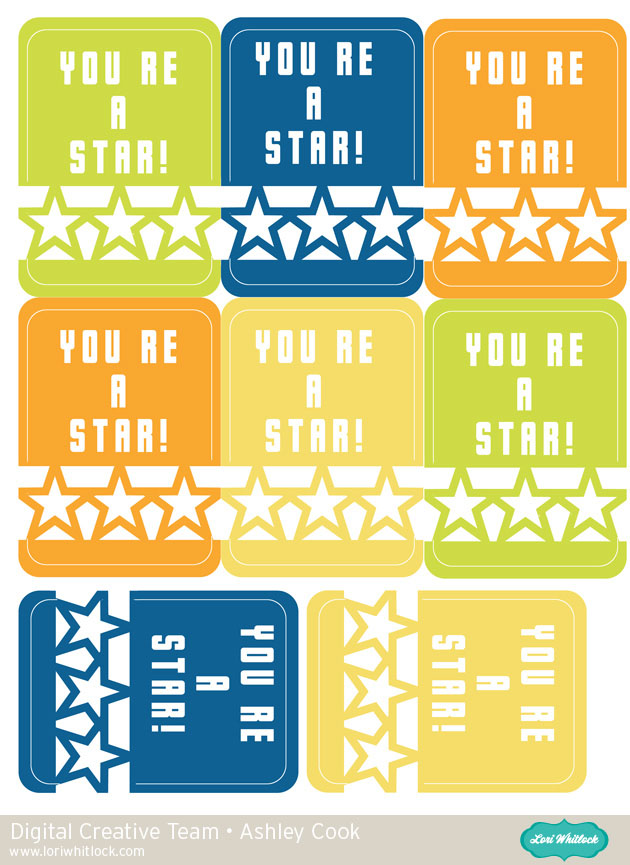
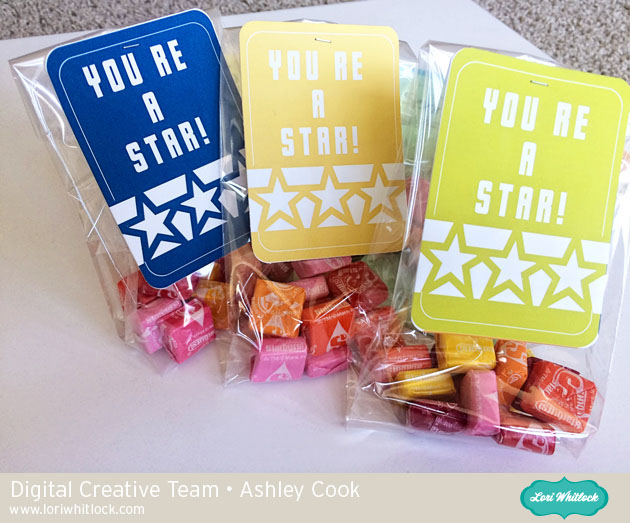
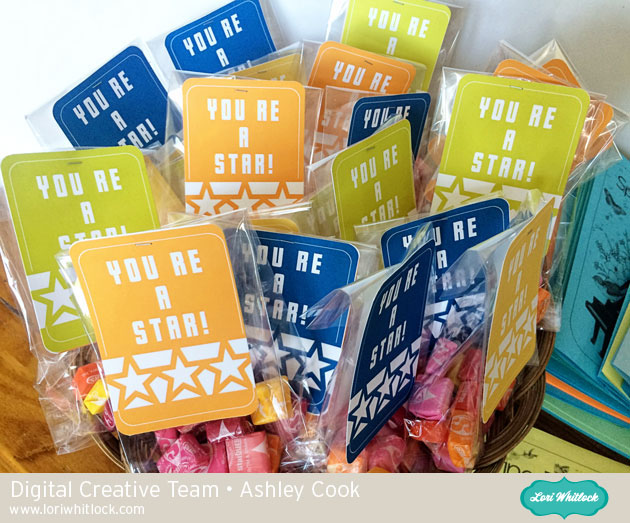
Ashley here today bringing you some digital/hybrid inspiration.  Lori’s Basics Life Journaling Cards are a versatile file that you can use in your pages as well as other projects.  I used the star card for a little gift tag for my music students.

I used Lori’s Thick Font to add the text to the cards. Then I fit 8 cards to the page. Printed them out and cut them apart.

This was quick to put together for my busy Recital Day!  Grab these Cards today while they are only $1.  Have a great day.

Tuesday Freebie and New in Shop

ALL WEEK, this SVG file is FREE with any $1.99 purchase!

We have a FREE file with purchase all this week! Simply add this A2 Flip Swing Card Mom file  to your shopping cart along with ANY $1.99+ purchase from the SVG Shop and this file is yours FREE. Be sure to use Coupon Code: BESTMOM (case sensitive) at checkout. This offer is good through next Sunday.

(Your cart must reach at least $3.98 before the coupon will be applied and then $1.99 will be subtracted from your total at checkout. The files will be available for immediate download after you pay for your order by visiting MY ACCOUNT>COMPLETED ORDERS>ORDER DETAILS inside of your account. Only one discount code per order allowed.)


In addition, don’t forget about this special ! You can get this Free Kit of the Month with any $20 purchase (Purchase must be in one transaction.) Simply add the 2018 May Kit of the Month to your shopping cart along with ANY $20.00+ purchase from the SVG Shop and this file is yours FREE. Be sure to use Coupon Code: MAY18KOTM (case sensitive) at checkout. This offer is good through May 31, 2018!

(Your cart must reach at least $27.95 before the coupon will be applied and then $7.95 will be subtracted from your total at checkout. The files will be available for immediate download after you pay for your order by visiting MY ACCOUNT>COMPLETED ORDERS>ORDER DETAILS inside of your account. Only one discount code per order allowed.)
 
 
Check out our exciting new SVG files releasing this week! And, just like always, the NEW SVG files are ON SALE 25% OFF through the weekend in the SVG Shop! These downloads include SVG files that may be used with Cricut Explore, Silhoeutte (DE upgrade required), Eclips, Brother Scan and Cut, and any other software that will open SVG files. No coupon code necessary, the files are all discounted in the shop! Be sure to go get them while they are on SALE this week. 
 
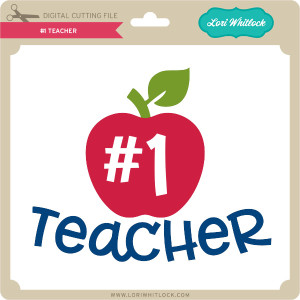
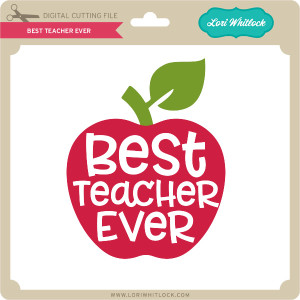
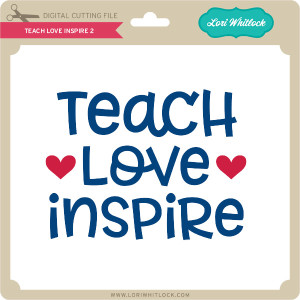
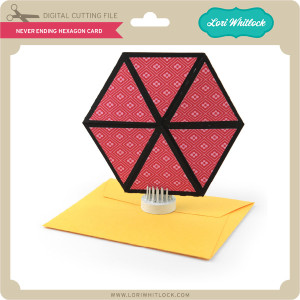
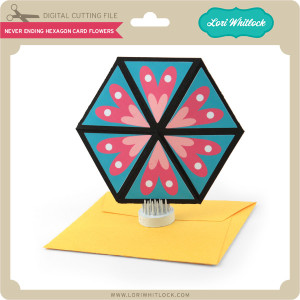
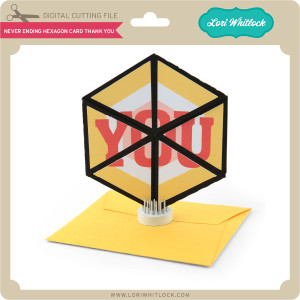
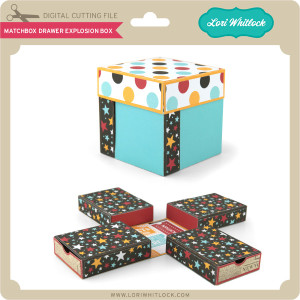
I have two new bundles… just in time for Teacher Appreciation, I have a Best Teacher Phrase Bundle and I also have a new Bundle of Never Ending Hexagon Cards!  Videos for both the Never Ending Cards and the new Matchbox Explosion Box are coming to my YouTube Channel!


Thanks for visiting the blog today! Please let us know if you need any help with your files. We want to make sure everyone is happy with their purchase. Have a great week!

Mother’s Day Card and Gift Card Box Set with Anita

Hi Lori Whitlock Fans:

Anita here with a pretty card which was so easy t make and a gift card box.  It’s time to start thinking about the mothers in our lives.  I am impressed and amazed every day by the strength, humor and resilience that I see in the mothers around me.  For this set I used several different files.  The card is part of Lori’s Center Box Card series and it is called Center Box Card Mother Flowers and you can find it here in her store along with a tutorial to put it together and here in the Silhouette store.  I am in love with the soft sweet colors in Lori’s new Echo Park line called Sweet Baby Girl. I used some pearls for the flower centers and some twine to finish off my card.

The box is called Gift Card Wrap Box and is simple to put together.  You can find that file here in Lori’s shop and there is a tutorial there as well.  You can find it also in the Silhouette Store.  I didn’t want my box to have the same sentiment so I used the sentiment from the A2 Tea Shaped Box Card  Teapot which you can find here in Lori’s store and here in the Silhouette store.

Here is a photo of the card folded flat.  It folds into a 5 1/2″ X 6 1.4″ almost square.

Here is the open box.

Finally, here is the completed box.

That’s it for me.  See you soon and enjoy your week.

Hugs,

Anita

Pop Up Birthday Cake Card Tutorial with Kathy

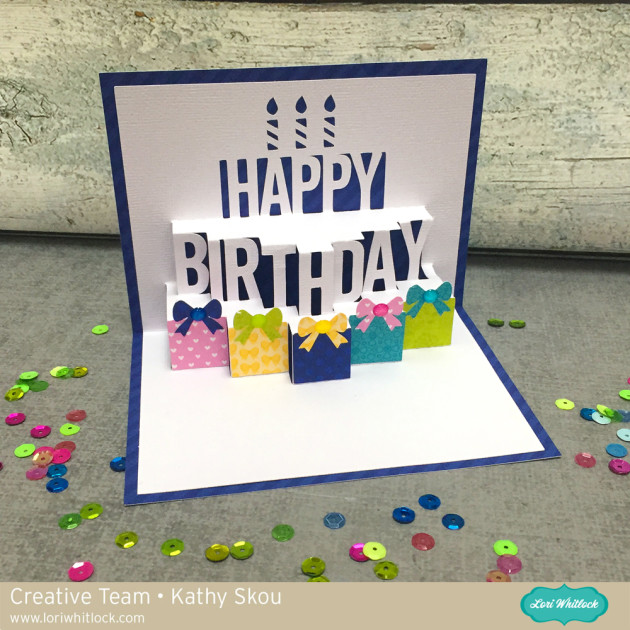
Hi Everyone!  It’s Kathy today with a tutorial showing how to fold and assemble the new A2 Pop Up Birthday Cake Card, which is available here in Lori’s SVG Shop and here in the Silhouette Store.

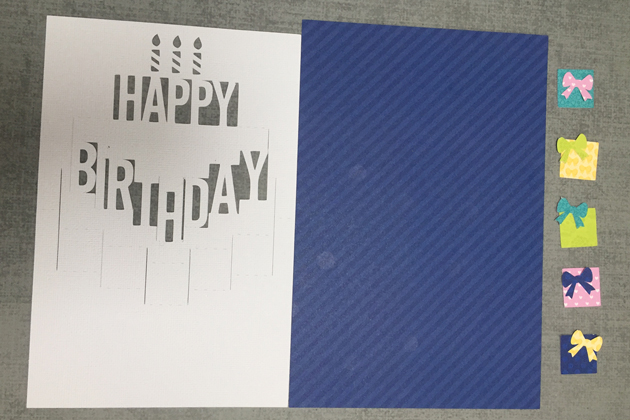
This card is really pretty easy to make,  but I know a lot of people get intimidated by the folding.  I started by cutting my pieces.

Next I started folding the insert or pop up piece.  It’s easiest to start folding from either the very top or very bottom score lines.  That way it’s a little easier to keep track.   I put together this graphic showing which way to fold which lines.   The V means a valley fold, the upside down V means a mountain fold.

Here is what it looks like from the side when it is folded:

And from the front.  I do recommend you go slowly and have a little patience.

Once you have the pop up insert folded, it helps to open and close it a few times to sharpen the folds.  Next step is to add adhesive to the back of the insert.   You want to add adhesive only to the outer parts of the card.  The blue area on the graphic below shows the pop up portion.  You do not want to add any adhesive to those parts.

Once you have the adhesive added, I find it easier to fold the insert and center it onto one side of the card base.  Make sure the outermost side folds are flush with the center crease on the card base.   You can then fold the other side over to adhere, and it should be centered.

Lastly, add the presents with their bows to the front panels beneath the BIRTHDAY letters.  I also added some enamels to the bows for some sparkle!

That’s it for me today, thanks for stopping by to peek!