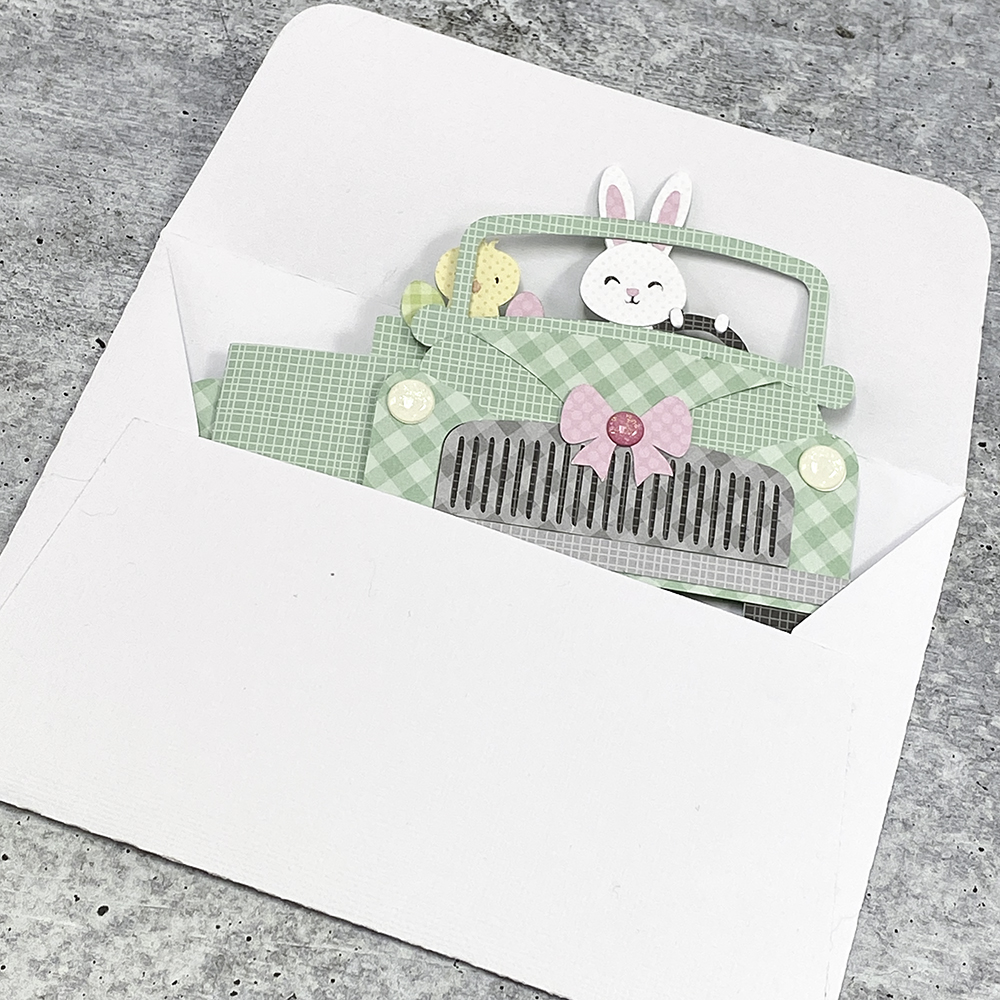
Hi Everyone! Have you seen the adorable Box Card Truck Front End Easter Bunny file (SVG, Silhouette) ? I think this is just about the cutest card I’ve ever seen! I love the little bunny with his paws on the steering wheel! Take a peek…
And the card is even cute from behind… In fact it’s just like Lori’s Box Card Truck Back files, and it’s assembled in the same manner.
Best of all it folds flat and fits into a 5×7 envelope.
This card might look complicated but it’s really easy to assemble. I’ve outlined the steps for you below.
Above are the pieces that make up the file. Before starting the main assembly, I print and cut the Easter License plate and glued it to it’s backing piece. I also glued the chick & bunny to the insert piece and backed the gray grill with the black paper. Finally I added the tires to the card. If you ever need help with where to place the little pieces, it’s helpful to reopen the file in your cutting software… Lori groups all of these pieces together so you can see how they go.
I began with the back of the truck. You can see how I layered the pieces above. I started by gluing the back base piece to the card base, lining it up just above the tires. Next I added the decorative rectangle. It’s positioned slightly towards the top of the card rather than centered. To finish I added the bumper (there are 2 bumper pieces in the file, the back one is slightly shorter in length), the tail lights and the license plate.
Next I assembled the front of the truck. Starting with the front base piece, glue on the “butterfly” looking piece, alighing the bottoms and centering the pieces. Center the triangular piece along the top edge of the base. Next add the longer bumper piece, the grill and headlights. Finish off with the bow. Glue this to the front of the truck, aligning the bottom of the front piece with the bottom edge of the card base.
At this point I added some enamel dots to both the front and back. It’s easier to do this now.
With the front and back of the truck done, I folded the card base into a “box” shape and glued. The tab goes on the inside of the card. Fold the side tabs on the insert backward, and add adhesive to both tabs. Slide the insert into the box and press the tabs to the sides to secure. I did mine about a half inch back from the front of the card. The tops of the tabs should be flush with the top of the card base. Lastly I added the steering wheel. It’s glued behind the front of the car, so it sticks up slightly. It’s easier to do this now because you can line it up with the bunny.
The bunny and chick are now ready to drive off on their adventure!
That’s it for me today, thanks for stopping by to peek.


