Hi everyone! Corri here.
I have a quick tutorial for you today using the Offset feature in Silhouette Studio software. The offset feature is great for creating a shadow layer around your image.
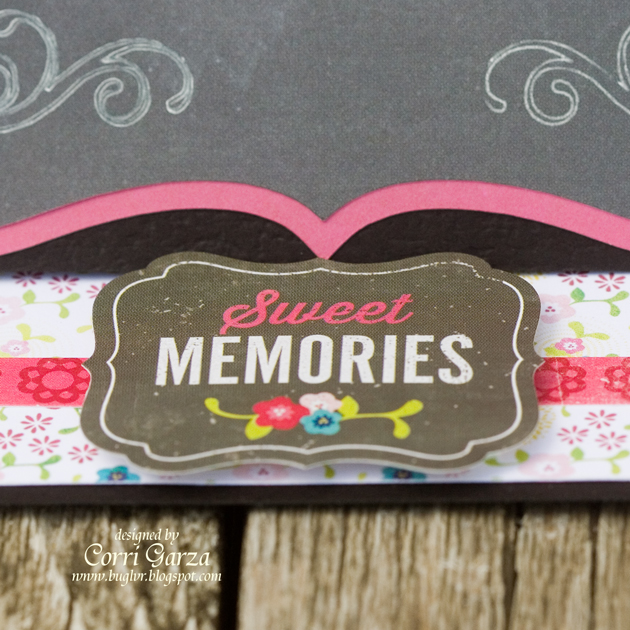
I used paper and a sticker from the Echo Park “Here & Now” Collection . I love the chalkboard paper!
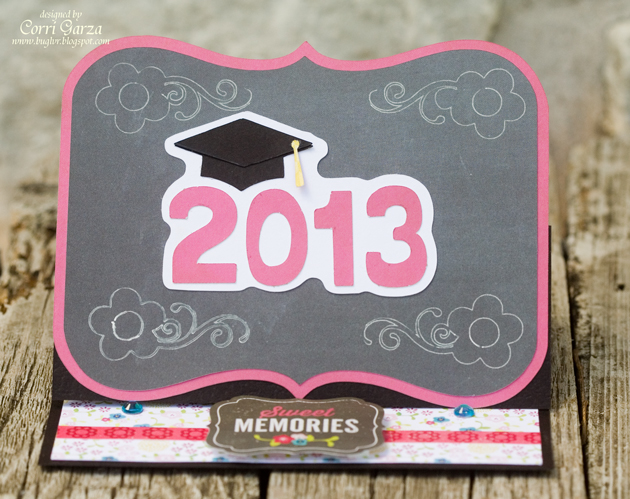
First, I typed 2013 in Lori’s Happy Font at 1.5″h.
Next, I opened this graduation cap file, ungrouped and deleted the 2012. I sized the cap file (including both layers) to 1.75″h and positioned the cap’s base layer on top of the numbers. Select the offset menu from the tool bar in the upper right of the screen and click offset.
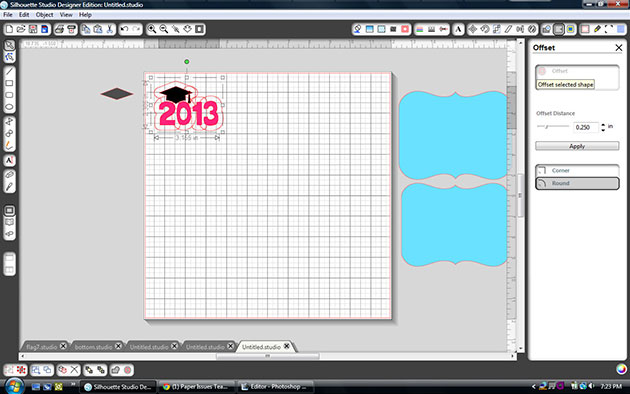
You can adjust the slider to make the shadow smaller or larger. I left it at .25 so that I wouldn’t get a cut out in the middle of the “O”.
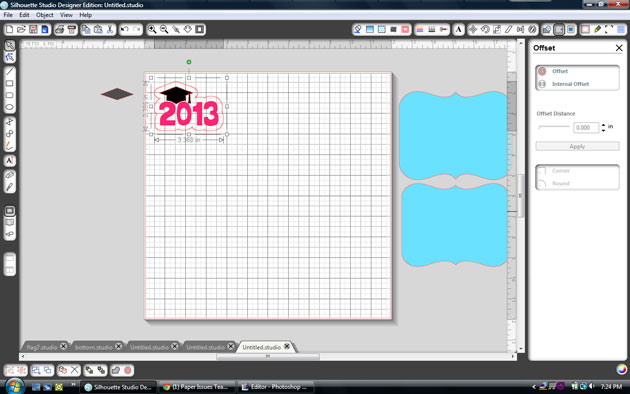
Click apply.
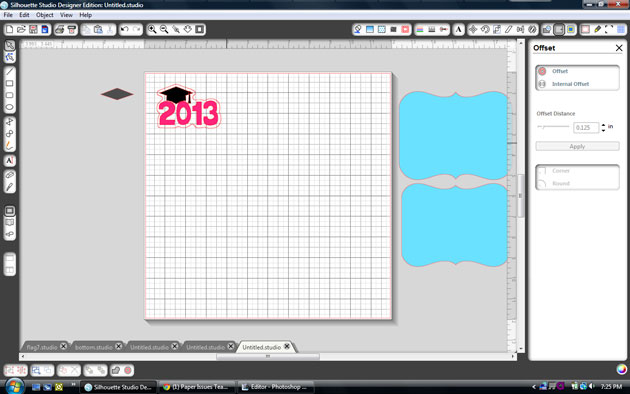
To create a little tighter shadow, click the new offset layer that you just created and click internal offset and then apply. Now you can drag the layers apart and cut.
For the base of my card, I used the Easel Bracket Card. I used my new sketch pens to draw this pretty flower flourish in each corner.
To get your Cameo to sketch the flourish, first select the bracket shape.
Click the cut style menu at the top of your screen and select no cute.
Replace your blade with a sketch pen and select sketch pen in your cut settings.
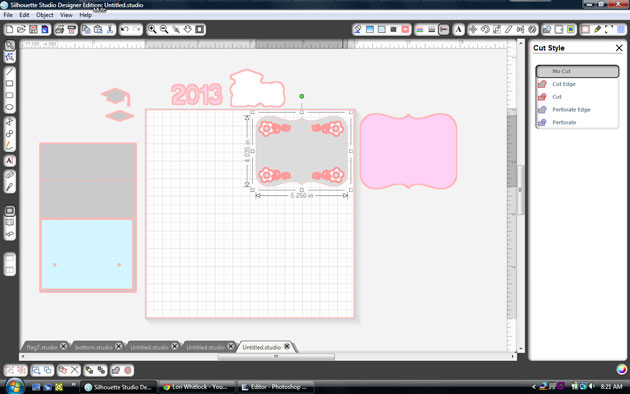
Do not unload your mat. Replace the pen with the blade.
Select the bracket again, go to the cut style menu and change it to cut.
Select the flourishes and change them to no cut. Adjust your cut setting back to pattern paper and then cut.

















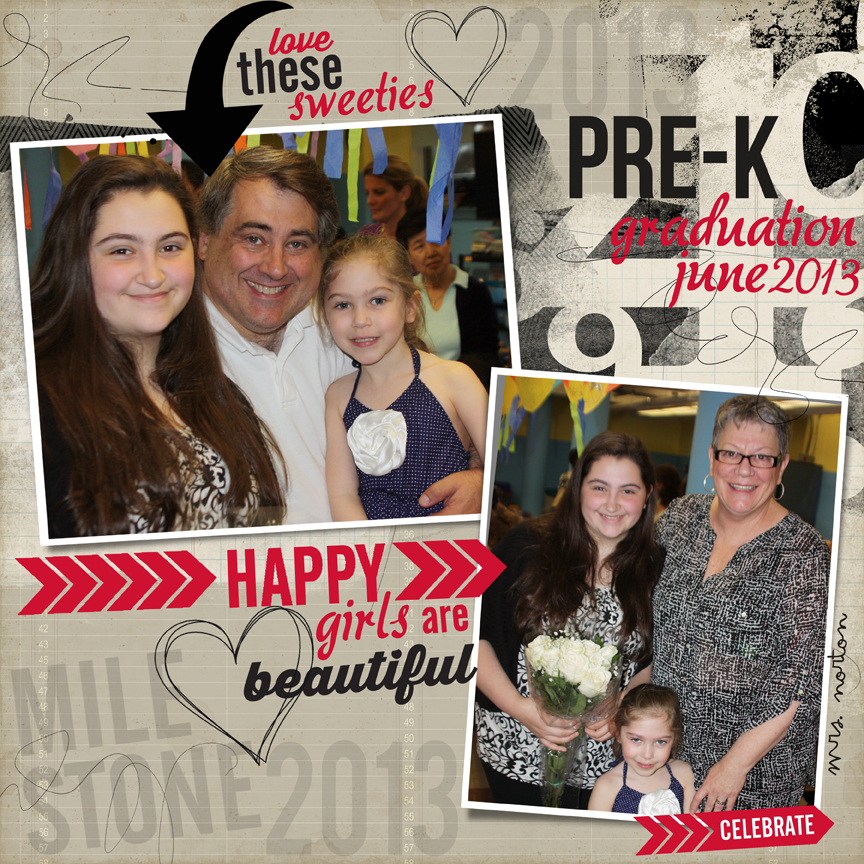 layout by Chrissy
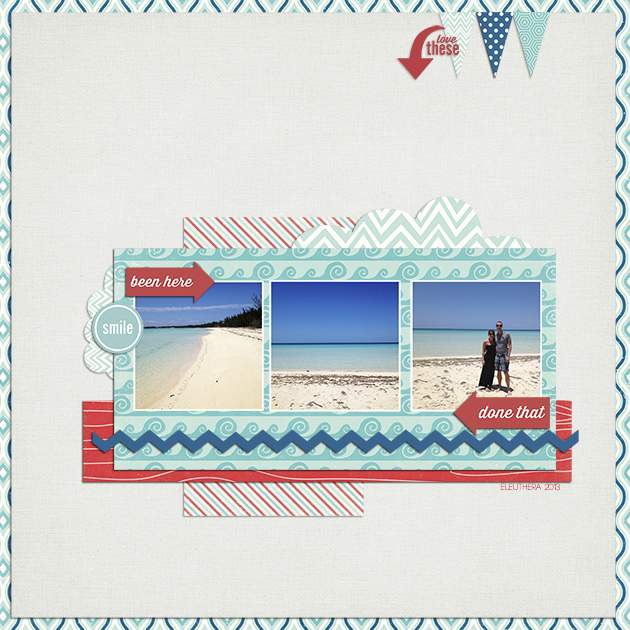 layout by Haley Ney