Tuesday Freebie and New in Shop

ALL WEEK, this SVG file is FREE with any $1.99 purchase!

We have a FREE file with purchase all this week! Simply add this Box Card Awesome file is to your shopping cart along with ANY $1.99+ purchase from the SVG Shop and this file is yours FREE. Be sure to use Coupon Code: AWESOME (case sensitive) at checkout. This offer is good through next Sunday.

(Your cart must reach at least $3.98 before the coupon will be applied and then $1.99 will be subtracted from your total at checkout. The files will be available for immediate download after you pay for your order by visiting MY ACCOUNT>COMPLETED ORDERS>ORDER DETAILS inside of your account. Only one discount code per order allowed.)

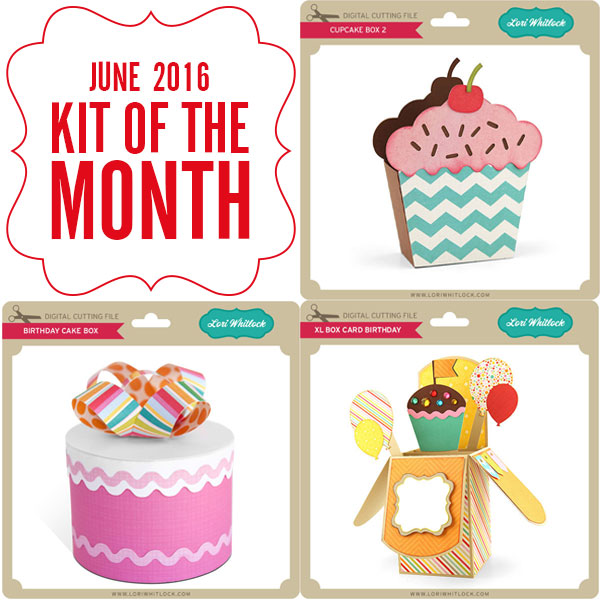
In addition, don’t forget about this special available the entire month of May! You can get this Free Kit of the Month with any $20 purchase (Purchase must be in one transaction.) Simply add the May Kit of the Month to your shopping cart along with ANY $20.00+ purchase from the SVG Shop and this file is yours FREE. These would be perfect for Mom or a Teacher! Be sure to use Coupon Code: MAYKOTM (case sensitive) at checkout. This offer is good through May 31st!

(Your cart must reach at least $20.00 before the coupon will be applied and then $7.95 will be subtracted from your total at checkout. The files will be available for immediate download after you pay for your order by visiting MY ACCOUNT>COMPLETED ORDERS>ORDER DETAILS inside of your account. Only one discount code per order allowed.)


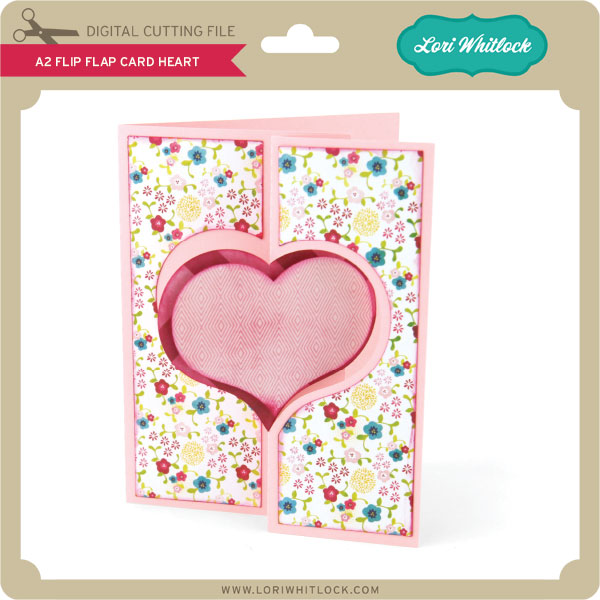
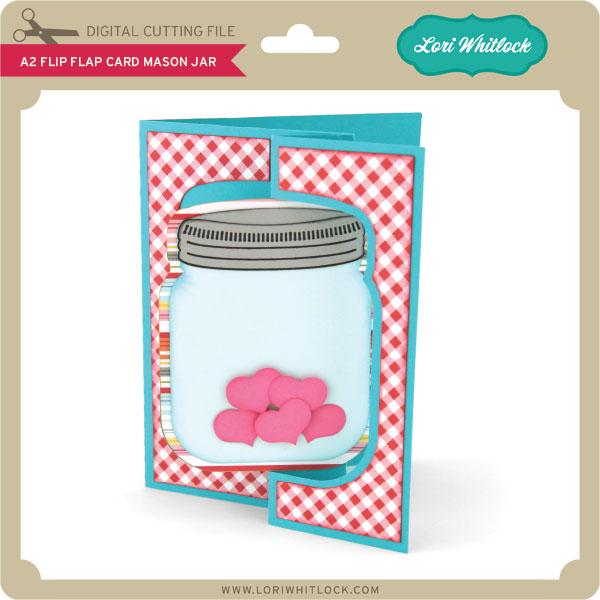
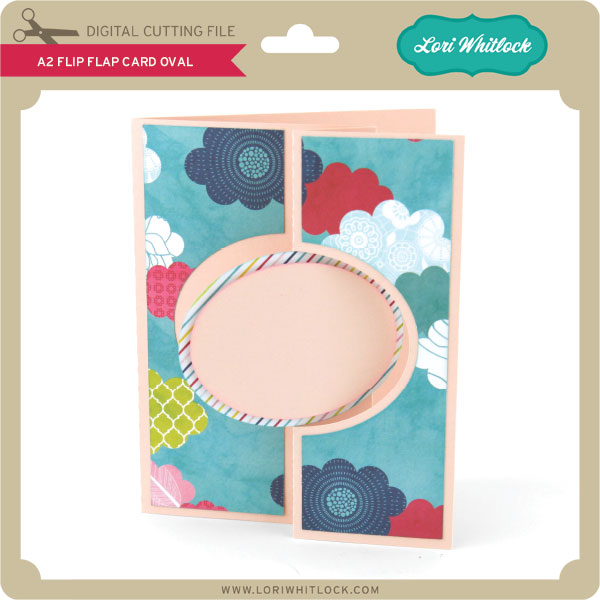
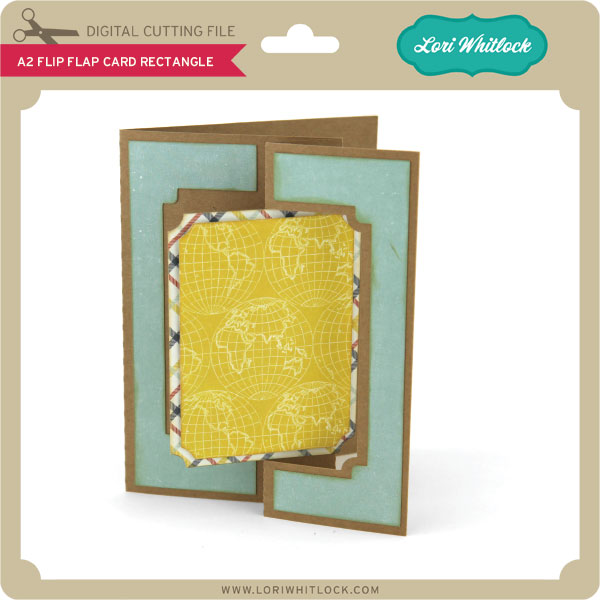
Check out our awesome SVG files releasing this week! And, just like always, the NEW files are ON SALE 25% OFF through the weekend in the SVG Shop! These downloads include SVG files for sure and PNG or PDF files when appropriate. No coupon code necessary, the files are all discounted in the shop! Be sure to go get them while they are on SALE this week.

Thanks for visiting the blog today! Please let us know if you need any help with your files. We want to make sure everyone is happy with their purchase. Have a great week!

My Favorite Lori Whitlock Projects

Hello everyone! Angi from Twenty Five Smiles here to share some of my favorite projects made with Lori’s cut files. Her designs are so versatile and fun. Here are just some of the ways that I have used them.

I really love super heroes and attend Comic Con each year. That’s what inspired this party idea.  I used Lori’s popcorn box  and cupcake flags to make these. The cupcake flags are very versatile too. You can use them for other things besides cupcakes.


My  next project is a handmade card. I used a Lori Whitlock 3D bow tie cut file for this one. The bows are so super adorable and can be used on any type of project.


My last project is a camera card. This is my favorite of Lori’s cut files. I used my Silhouette and her camera cut file. I used pop dots behind the heart and a “perfect vacation” sentiment to add some dimension.


As you can see Lori’s files are very versatile and can be used on all types of fun projects. I hope you enjoyed seeing the variety today! Happy crafting!

Craftsy Class Sale: 50% OFF

Have you ever taken a Craftsy Class? They are truly the best way to learn new skills in the creative field! And, they are celebrating their birthday with the best birthday sale ever!

Get 50% off most-loved Craftsy classes to celebrate turning five! Save today through my affiliate link HERE . This includes my Silhouette Class, too! HURRY THIS OFFER ENDS AT MIDNIGHT TODAY!

Fonts are Awesome!

Many of you saw my post a few weeks ago HERE showing you how to use glyphs in Silhouette Studio. I wanted to make you aware of another great font bundle for just a few more days called “The Font Collection.” FontBundles.net has done it again with this offering of $571 worth of gorgeous fonts for just $29. Yep, you read that right just $29. This is an amazing way to collect several great fonts for under a dollar each and most of these fonts include glyphs which will cut beautifully on your Silhouette CAMEO or Cricut Explore machines. But, this deal won’t last forever, it will be gone in 14 days.

Be sure to go visit THIS video to learn how to use Glyphs on a Mac in Silhouette Studio. And, if you’re on a PC THIS video will teach you what to do.

Now a gift for you!  I’ve created this fun file for you with the Summter and Lightening Sans Fonts which are part of this new collection!

Click HERE to download the FREE Silhouette Studio and SVG file for the “Fathers Hero Love”  phrase.   I hope you enjoy this FREE file… and be sure to go pick up the The Font Collection while it’s still available.

And be sure to check out these other bundles over at FontBundles.net!  They are the perfect way to add to your font library!

Auction Style Fonts Bundle

Sandy Font

They also have FREE Fonts available HERE.

Have a great day!

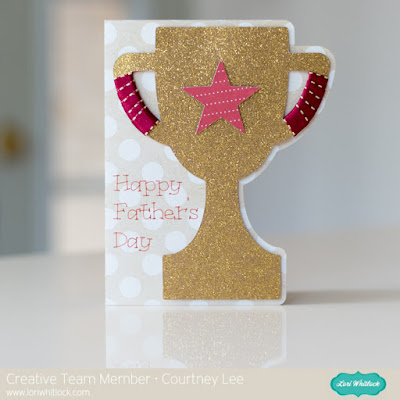
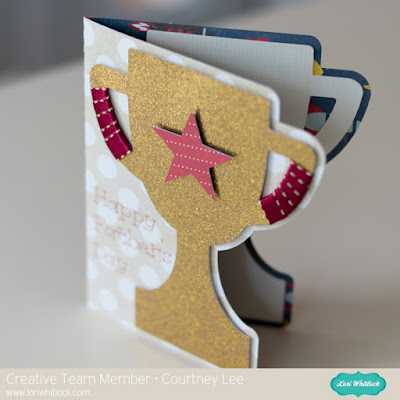
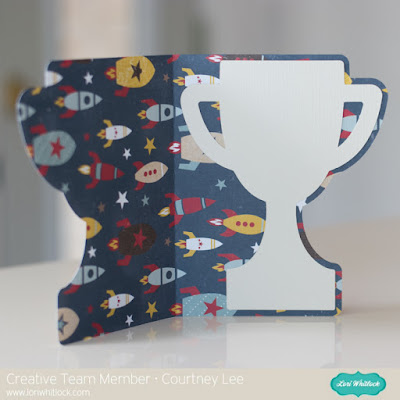
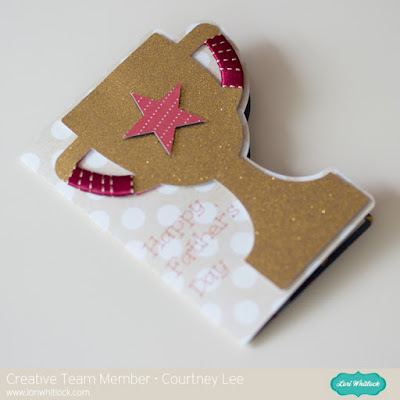
Tri-Fold Shadow Box Card Tutorial with Courtney

Hey all! It’s Courtney Lee from Court’s Crafts here with your Thursday tutorial!

Okay, so this is both a tutorial and a “what you can do with the product” tutorial so I am going to show you the traditional way this is put together, but I am going to then deviate slightly by making the stars into mini shakers.. so hang with me.

Before you start anything when you import to the Cricut Design Space software you want to right click and ungroup everything. Then you want to highlight a whole segment and “attach”. The reason you want to do this is so that the scoring lines actually end up in the correct places. It’s a weird funny “glitch” but if you don’t then the scoring lines think they want to cut out of black and even if you make them white they still will try to “cut” as a different object. This took me quite some “you-tubing” to figure out. 🙂

First of all I duplicated both the mirror looking layer and the background rectangle. The extra mirror looking layer is for the front of the card and the extra background rectangle is for acetate to make this a shaker-shadow box. Those are shown as a red piece and a black piece (not pictured) respectively on my screen shot. I’m so sorry I cannot get all of it into view! The Cricut software doesn’t put it on different mats it just puts it in different colors (or you choose them) and it divides it onto different mats accordingly. I LOVE it for saving me time, but it’s not super for pictures for a tutorial. 🙂

Step 1: I adhered the red polka dot panel (the extra mirror looking layer) to the front of the card.

Step 2: I adhered the red polka dot rectangle to the back middle of the card.

Step 3: Adhere the acetate to the back of the tan and white polka dotted panel.

Step 4: I added the foam dimensional tape around the stars and then added a second layer of tape to increase the thickness and then fill the stars with sequins.

Step 5: Put the cream layer upside down onto the foam dimensional tape. Line it up by using the top and the bottom line of the bottom panel.

Step 6: Put liquid glue on the skinny sides of the cream layer, the outside of the whole panel you have been working on, and the top and bottom of the “box”.

Step 7: Tuck the top and bottom of the box in between the cream layer and the rocket layer.

Step 8: Adhere the panels to the sides of the frame and decorate! 🙂

Recipe:

Lori’s Shop: Tri-Fold Shadow Box Card: Birthday

Silhouette Shop: Tri-Fold Shadow Box Card: Birthday

Lori Whitlock’s Pinstripes collection for Echo Park Paper

Pinstripes: Boy Bingo Cards (PS104010)

Pinstripes: Rocket Ships (PS104005)

Pinstripes: Alpha Stickers (PS104015)

Pinstripes: Adhesive Chipboard (PS104022)

Pinstripes: 6×6 Paper Pad
acetate

liquid glue
tape runner