Chocolate Lovers Valentine Treats with Tya

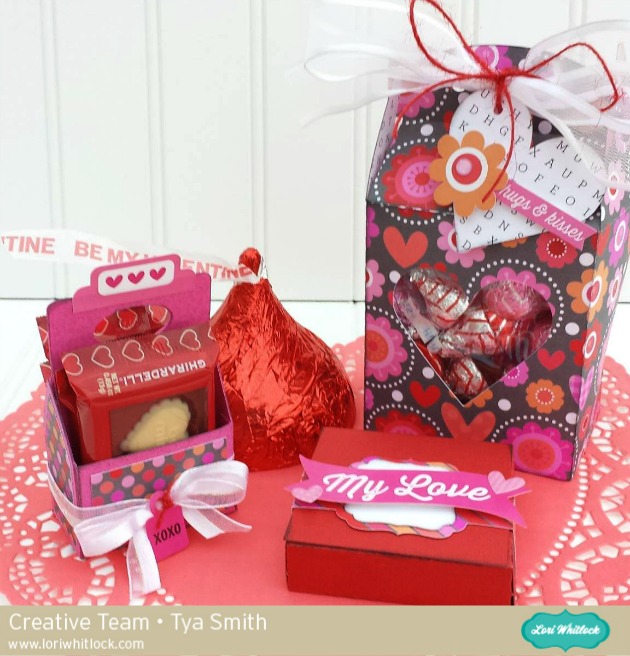
Hello Lori Whitlock fans! It’s Tya here to share with you some yummy treat boxes using a few of Lori’s darling files. Do you know anyone who is a choc-o-holic? If so , then today’s post is for you! While I love all the mushy Valentine cards, and lovely flowers that accompany this holiday – in my opinion, Valentines Day is meant for CHOCOLATE! So I went through and chose 3 of my favorite little treat boxes and favors and added a yummy, different chocolate treat to each type. Let me show you what I did!

For this box I used the Candy Tote (LW Shop) (Silhouette Store). This little box was perfect and fit 4 Ghiradelli Chocolate squares.

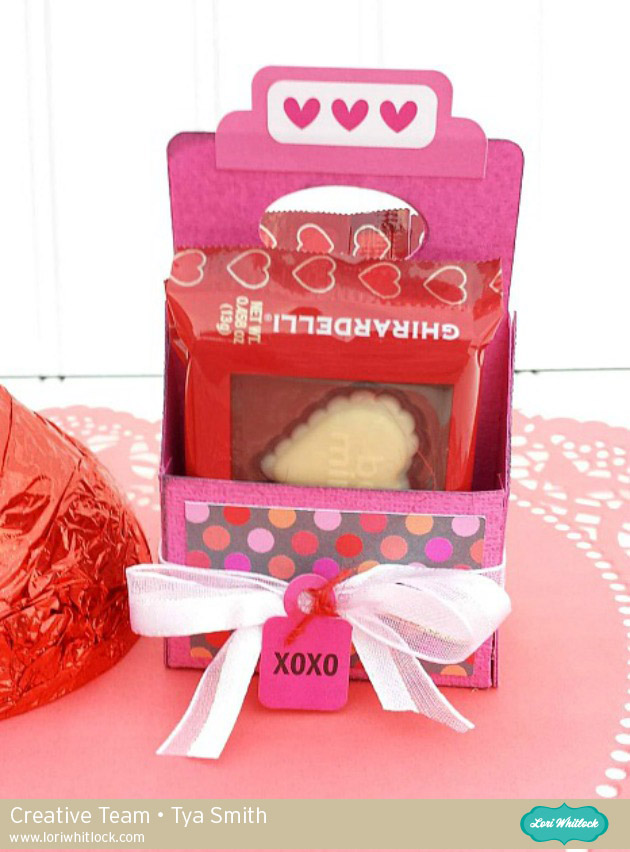
This box uses the Tall Heart Gable box (LW Shop) (Silhouette Store). I added a small sheet of acetate to hold all of those yummy Hershey’s Kisses in. I loved the little heart shaped cut out in this box! Perfect for showcasing the chocolate!

This last box uses the 3D Candy Box with Window file (LW Shop) (Silhouette Shop). I filled this darling little box with M&M’s and added an acetate window to this box as well.

I used the adorable Lovebugs line from Doodlebug Design for all of my boxes.

Thanks so much for stopping by and if you have a chocolate lover for a Valentine – I am sure they would love any of these! Have a wonderful day!


Print and Cut New Years Eve Party Favors by Tya Smith

Hi blog friends! Thank you so much for stopping by during this crazy time of year! It’s great to have you here! My design style is based on simplicity! I adore a quick and easy, yet super creative idea especially during the busy times of year – So today, I thought I would share with you a couple of New Years Eve party favors. One of the main reasons why I love using Lori Whitlock’s files is that they are darling (of course) and they are so easy to put together. I also utilized my Print and Cut feature on my Silhouette Cameo – another time saver for me and a great way to use some of my favorite digital papers from Lori’s collection. Let me show you what I did!

 All papers are from the Birthday Fun Patterns Digital papers found on Snap Click Supply.


I did a french fry style box for my Midnight Kisses favor. Add a few Hershey Kisses to the bag, tie a bow and you are set!

 The label on the front highlights one of my favorite new fonts called LW Curious- isn’t it darling! I also added some enamel dots for some dimension as well.

Midnight Kisses Box Supplies:

The next favor was originally a candy holder, but what New Years Eve celebration is complete without a little confetti? I added some fun star shaped confetti to the inside of the box.


One little change I did to this file is that when I went to tie the tuelle, there was a big hole in the box ends that the confetti would leak out of, so I just added a 3/4 inch circle punched from cardstock to cover the ends up.

Confetti Popper Supplies

So hopefully I have inspired you to whip of some of these fun little favors for your New Years Eve festivities.

If you have kids at your party, how fun would these be for them? Thanks for stopping by, and stop by my blog http://simply-tya.blogspot.com/ and say hi! Happy Holidays!

Silhouette Tutorial with Tya – Custom Card Sentiments

Hi everyone- Its Tya here to share with you a fun and easy Silhouette tutorial! I love using Lori’s shapes in all sorts of fun ways. Today I wanted to share with you how to add a custom sentiment to a card front.

For my card base I used Lori’s A2 Snowflake Ornament Card that you can find here in her SVG shop and here on the Silhouette website.

As you can see, I removed the snowflake from the card front and added some festive holiday sentiments on my card front instead using the handy subtract tool in the Silhouette software. Let me show you the steps that I followed to make the cards.

1- Ungroup the shape and delete the snowflake.

2- Grab the card front. Using the Draw a Rectangle tool, draw a 1.5×4.5 inch box right in the center of the ornament.

3-Open the modify window, select both shapes, and then click on subtract.

4-You will now have the top and bottom section of the shape with a space in the middle.

5- Type out your sentiment. I typed the word Merry in all capitals using the LW Block font I downloaded from the Silhouette store. I suggest using block fonts, or fonts with a serif on them for this technique. I also like to use capital letters just to make things easy and even. Resize your sentiment so that the letters slightly overlap the top and bottom lines of our space we cut out of the middle.

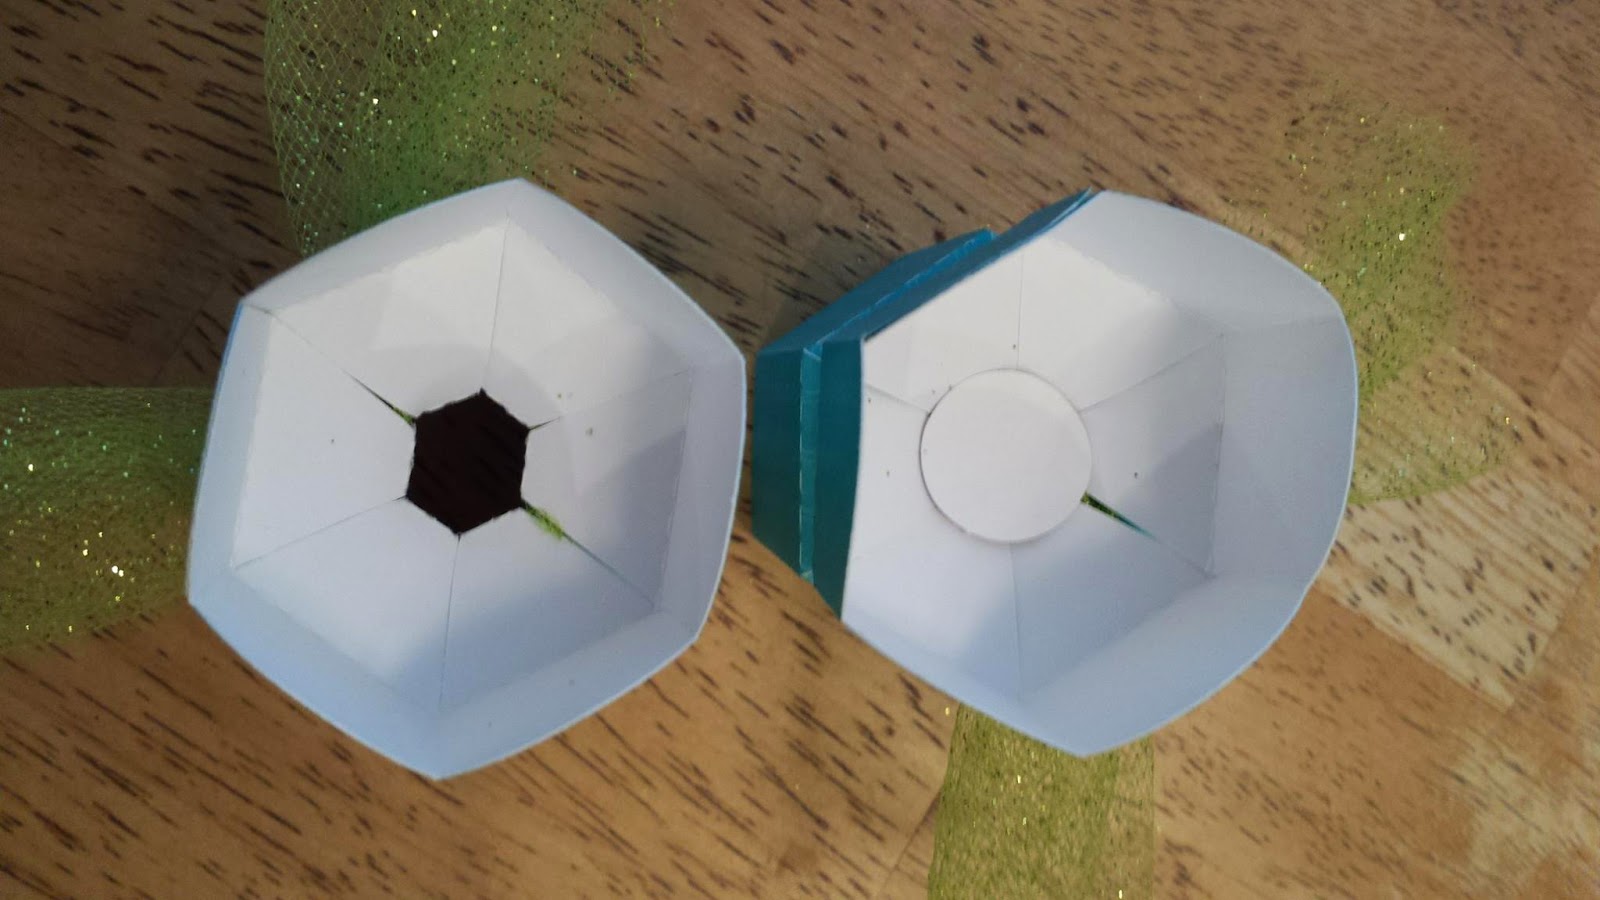
6- Select  just the top section of the ornament, right click and click on make a compound path. This keeps the hole in the top section of the ornament.

7- Select the whole shape, right click and select Weld. You can see now that the shape of the ornament is still intact, and we added a custom sentiment to our card front – this is a fun way to add a personal touch to your cards and to get more use from your card shapes.

Here are all the cards I made using this technique. I really enjoyed using Lori’s Christmas Cheer Echo Park paper line for my cards. The colors just pop! Love it! For this card, I used the Merry Christmas flourish phrase found here and here.

Thanks so much for stopping by today and letting me share this tutorial with you! I hope that you will give this nifty technique a try! And I would love it if you would stop by my blog and say hi! Happy Holidays and Happy Crafting!