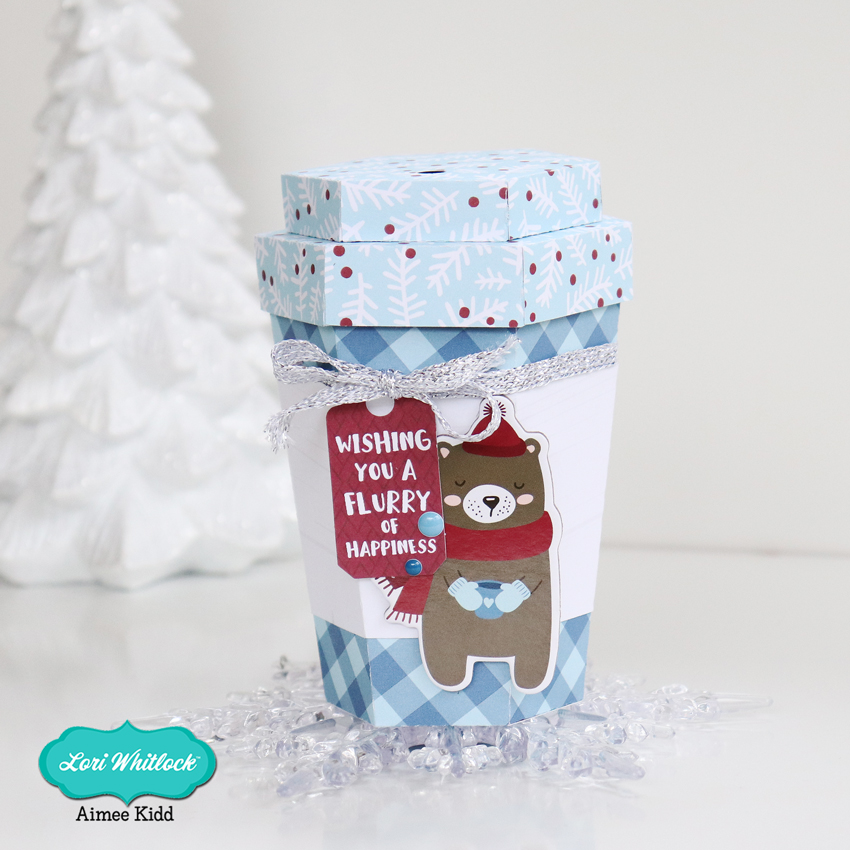
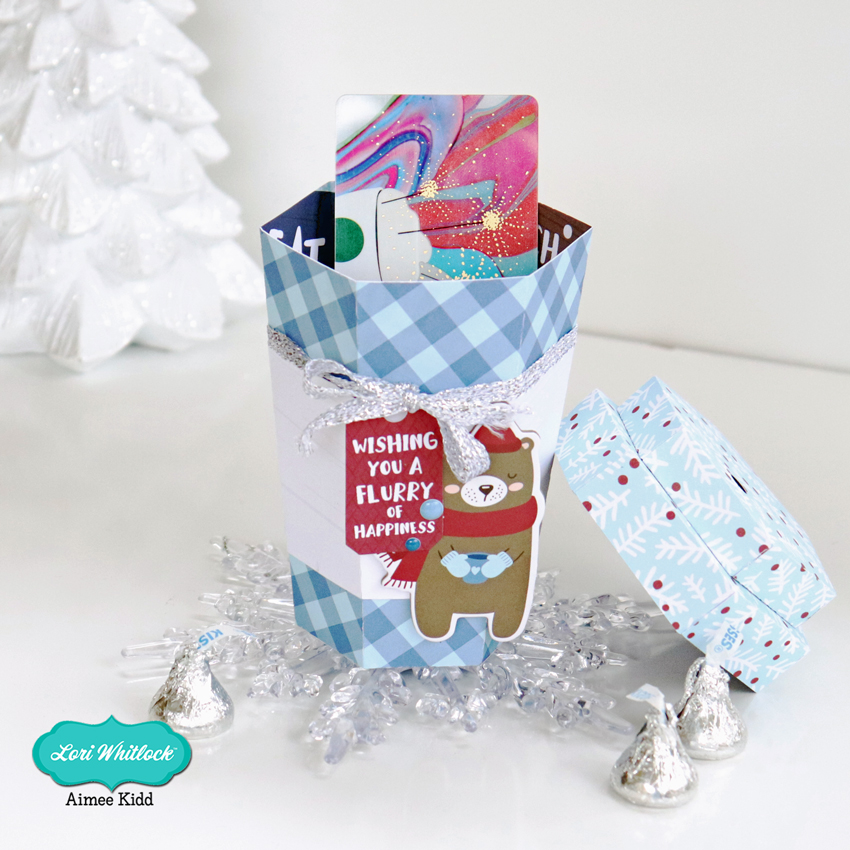
Hello crafty friends! Hope everyone had a beautiful Christmas and is settling down into Winter. If you have a coffee-lover friend’s birthday coming up soon, this is a perfect way to give them a gift certificate to their favorite coffee store. I used the adorable 3D Coffee Cup (Lori’s SVG Shop, Silhouette Design Store) and it looks even more adorable cut from the Echo Park My Favorite Winter.
Today I have a tutorial for you on how to put this little guy together! So if you’re ready let’s go!

This little cup is plenty big enough to add a gift card along with some candy. It measures just under 5 1/2″ completed which leaves you lots of room to add many goodies.

The first thing you need to do is to choose your papers and cut out all of the pieces

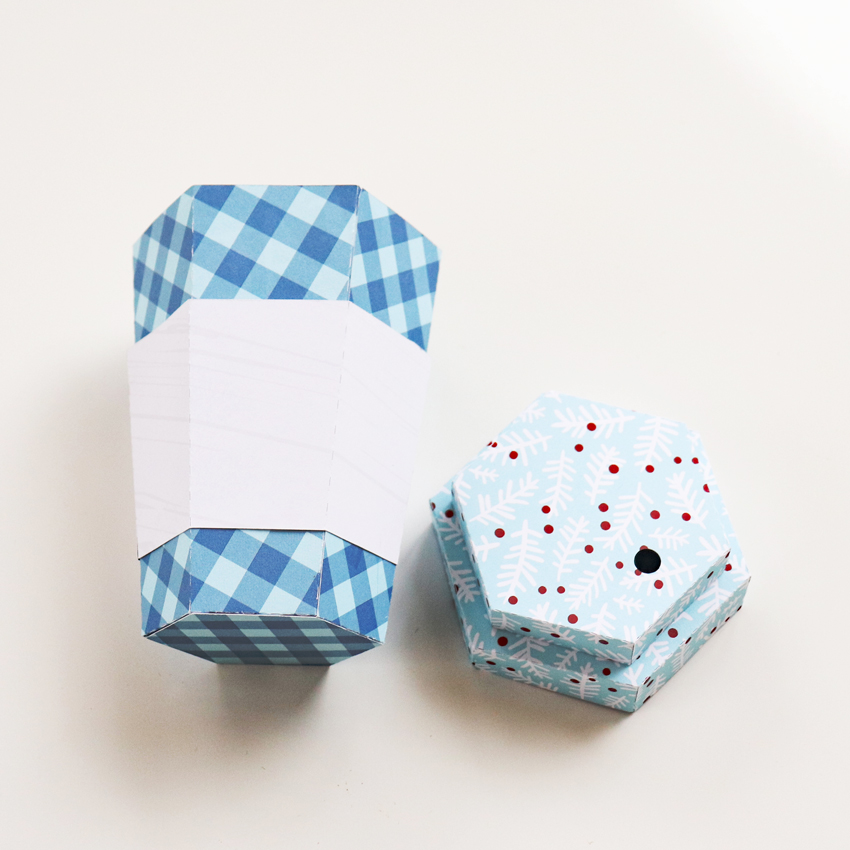
For the lid: fold on all of the perforated lines and adhere all of the tabs to the underside of the neighboring piece.

Add your adhesive to the tabs shown in the picture. Flip both pieces over and adhere the smaller piece in the center of the bigger piece. This will complete the lid to the coffee cup.

For the body: Fold on all perforated lines for the cup and the sleeve. Adhere the tabs to the main part of both pieces.

Next you will need to adhere the bottom piece to the tabs.

This will complete both pieces of the coffee cup. When I added the sleeve to the cup I added some adhesive to make sure it doesn’t come off.


And the last thing to do is have fun decorating your coffee cup! There are so many great pieces in the ephemera packs, chip-boards, and sticker sheet of the My Favorite Winter collection to make your coffee cup look fun and festive! I can’t wait to give this little cutie away…I know it will make someone’s day!

So that’s all from me today! Hope you give this a try and hope everyone has a beautiful day!
Aimee
