Hey all! It’s Courtney Lee from Court’s Crafts here with your Thursday tutorial!
Okay, so this is both a tutorial and a “what you can do with the product” tutorial so I am going to show you the traditional way this is put together, but I am going to then deviate slightly by making the stars into mini shakers.. so hang with me.
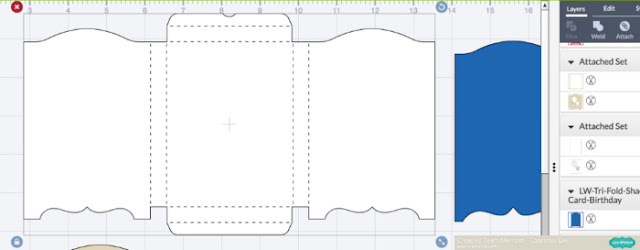
Before you start anything when you import to the Cricut Design Space software you want to right click and ungroup everything. Then you want to highlight a whole segment and “attach”. The reason you want to do this is so that the scoring lines actually end up in the correct places. It’s a weird funny “glitch” but if you don’t then the scoring lines think they want to cut out of black and even if you make them white they still will try to “cut” as a different object. This took me quite some “you-tubing” to figure out.
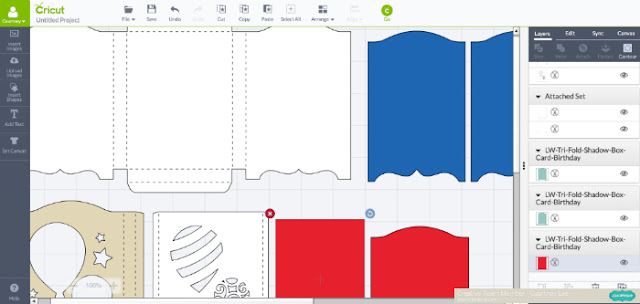
First of all I duplicated both the mirror looking layer and the background rectangle. The extra mirror looking layer is for the front of the card and the extra background rectangle is for acetate to make this a shaker-shadow box. Those are shown as a red piece and a black piece (not pictured) respectively on my screen shot. I’m so sorry I cannot get all of it into view! The Cricut software doesn’t put it on different mats it just puts it in different colors (or you choose them) and it divides it onto different mats accordingly. I LOVE it for saving me time, but it’s not super for pictures for a tutorial.
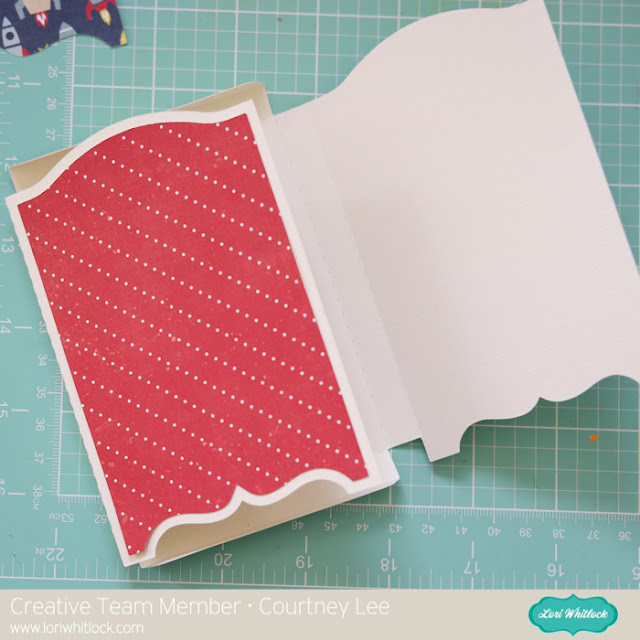
Step 1: I adhered the red polka dot panel (the extra mirror looking layer) to the front of the card.
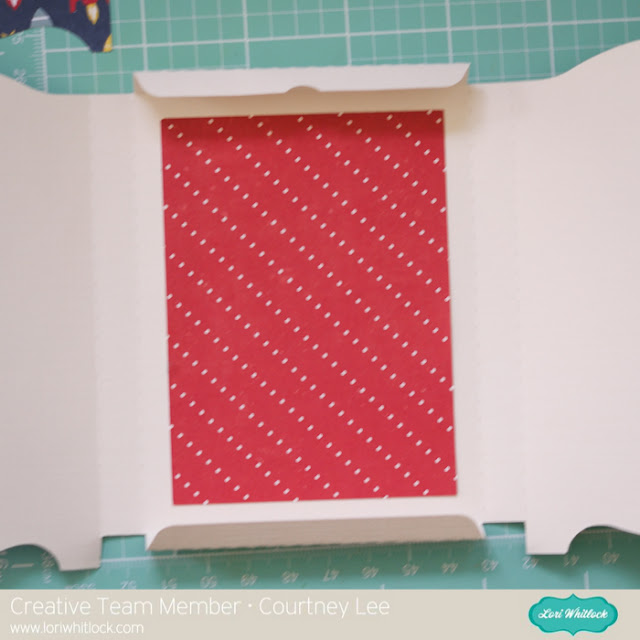
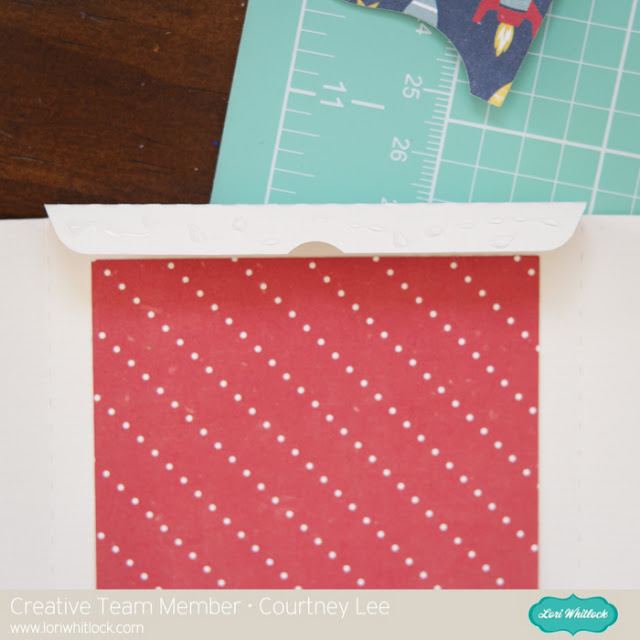
Step 2: I adhered the red polka dot rectangle to the back middle of the card.
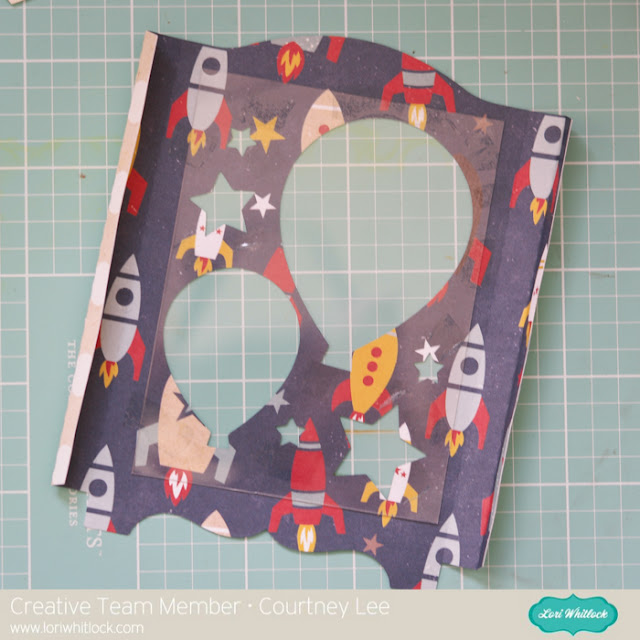
Step 3: Adhere the acetate to the back of the tan and white polka dotted panel.
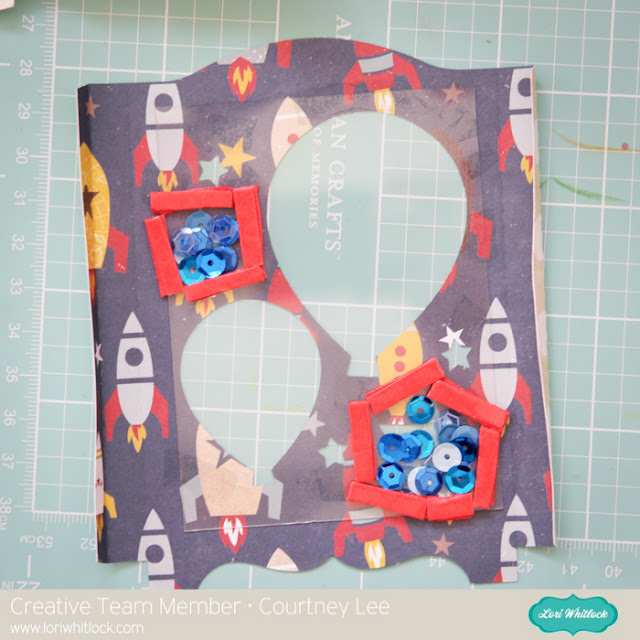
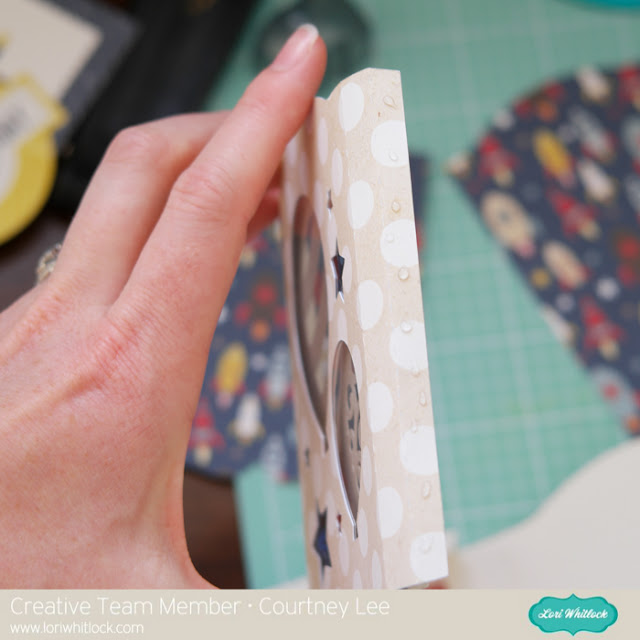
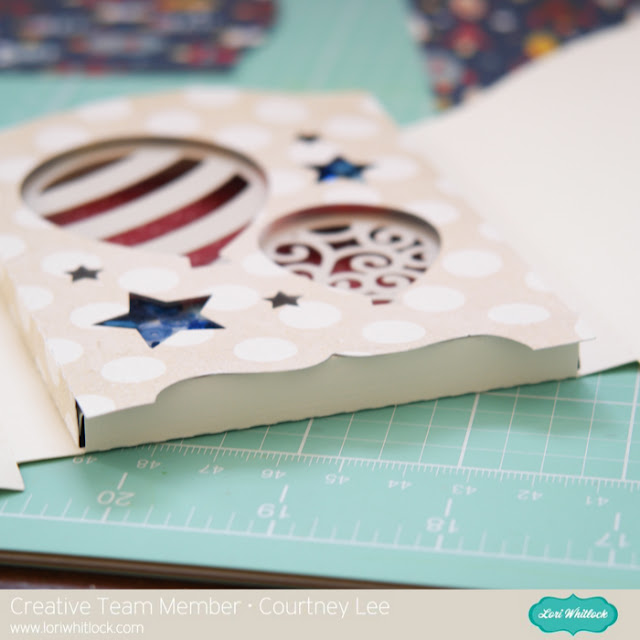
Step 4: I added the foam dimensional tape around the stars and then added a second layer of tape to increase the thickness and then fill the stars with sequins.
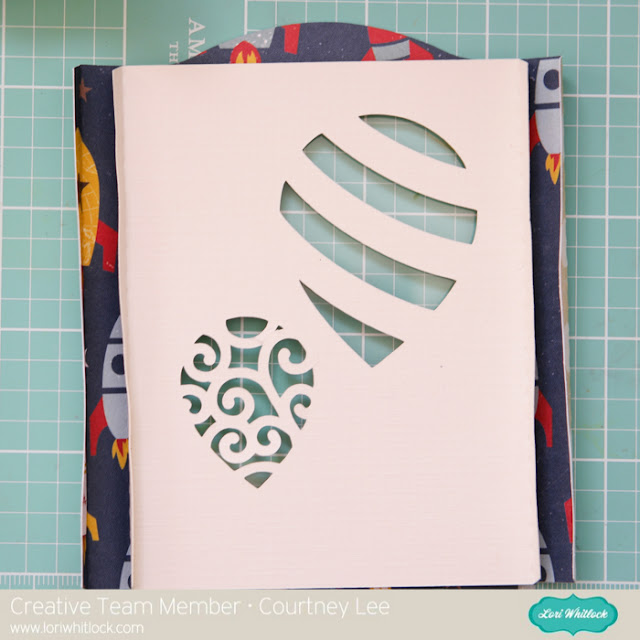
Step 5: Put the cream layer upside down onto the foam dimensional tape. Line it up by using the top and the bottom line of the bottom panel.
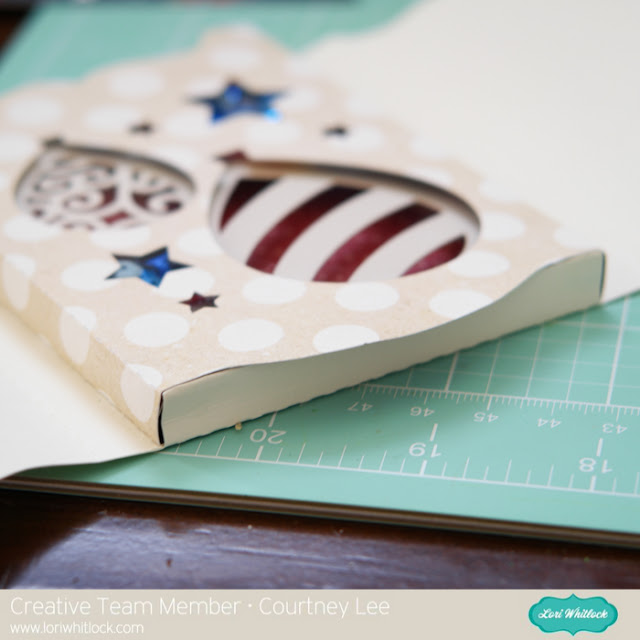
Step 6: Put liquid glue on the skinny sides of the cream layer, the outside of the whole panel you have been working on, and the top and bottom of the “box”.
Step 7: Tuck the top and bottom of the box in between the cream layer and the rocket layer.
Step 8: Adhere the panels to the sides of the frame and decorate!
Recipe:
Lori’s Shop: Tri-Fold Shadow Box Card: Birthday
Silhouette Shop: Tri-Fold Shadow Box Card: Birthday
Lori Whitlock’s Pinstripes collection for Echo Park Paper
Pinstripes: Boy Bingo Cards (PS104010)
Pinstripes: Rocket Ships (PS104005)
Pinstripes: Alpha Stickers (PS104015)
Pinstripes: Adhesive Chipboard (PS104022)
Pinstripes: 6×6 Paper Pad
acetate
liquid glue
tape runner

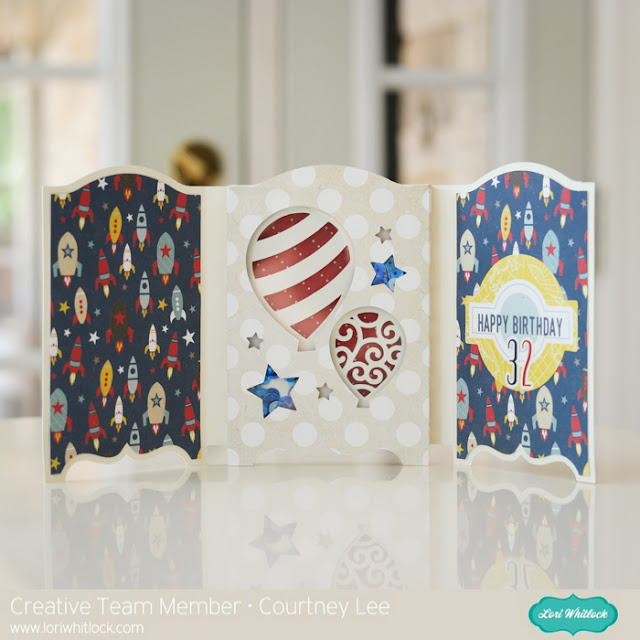

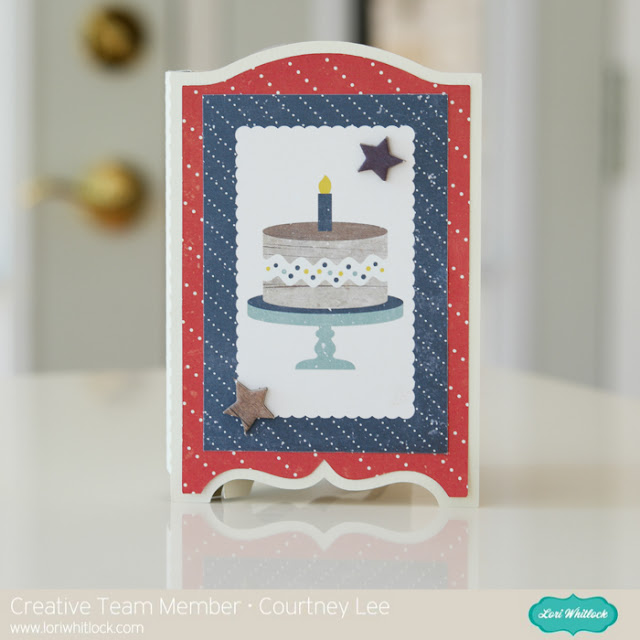
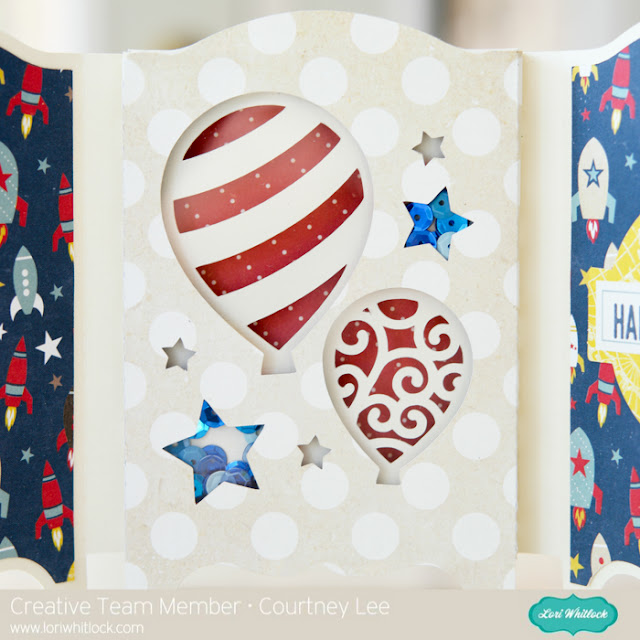
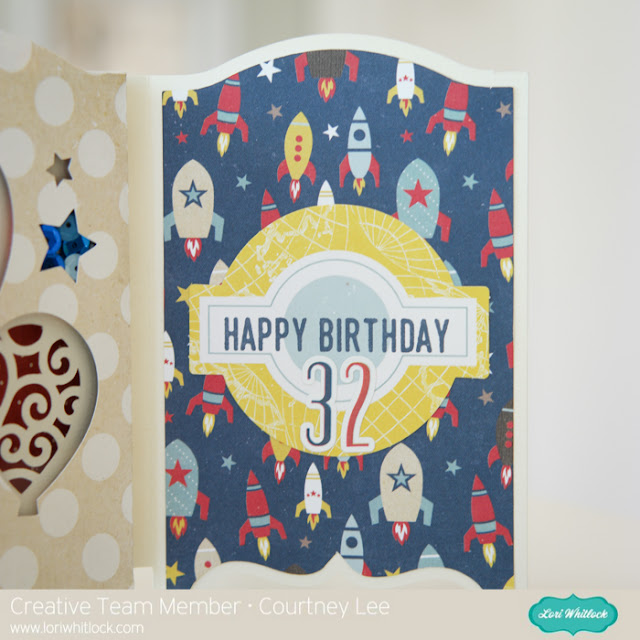
This turned out super cute Courtney!
This is adorable! Fantastic tutorial.
Like the shaker style idea of this. Have had problems with some other LW SVG files where the images show up all black & no score lines and instead cut lines happen so I’ll give this a try. Thanks for the heads up. Have a Bee-utiful day!
Melissa
“Sunshine HoneyBee”
Hi Melissa, If you have any troubles with a specific file, just email me and I’ll replace the file with a colored version all ready for Cricut Explore.
What a really cute card!
On the tri fold box what are the deme sins of each item after you ungroup I have Cricut