The Cutest Miniature Christmas House!

Today I’m sharing this cute miniature house that can be use in a snow globe or independently in your Christmas decor. The SVG file is called Miniature Christmas House for Snowglobe. Find this house in Lori’s Shop or the Silhouette store.

The file includes the pieces to make the round covering for the bottom of the snowglobe. Be sure to get THIS snowglobe so it all fits as planned. You can find Lori’s recommended supplies on the project page listing here. This tiny house is so cute and fun to add to a snow globe! Feel free to watch the Miniature Christmas House in a Jar assembly tutorial on Lori’s YouTube Channel for a closer look at this house and some other miniature houses and how to put them together.

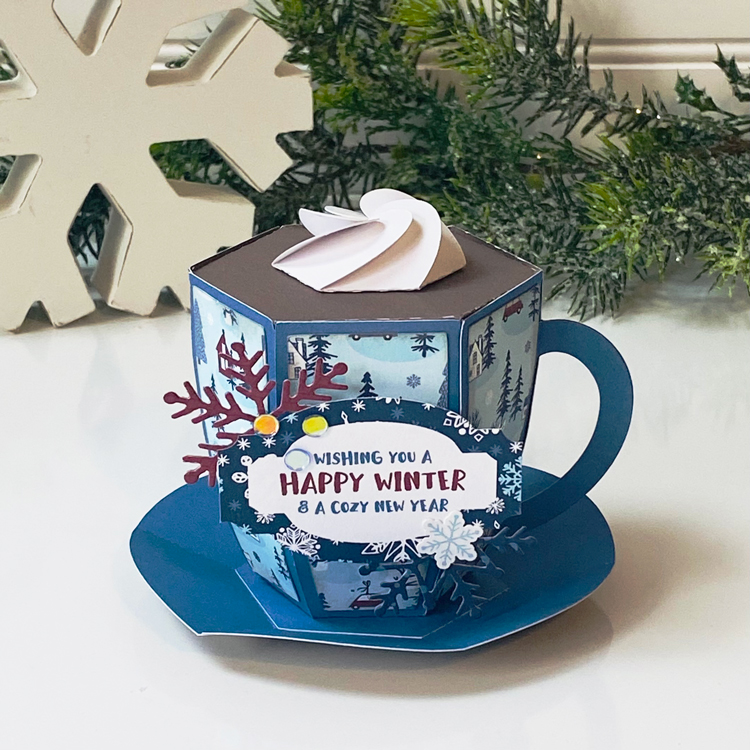
3D Hot Cocoa Mug

Hello crafty friends! And Happy New Year! Aimee here with you today. With all of the cold dreary weather here to stay for a couple of months, it’s time to cozy up to the scrap area and get crafty. And although Christmas is over I wanted to show you that some of those Christmas files can be turned into Winter or another occasion. I took the 3D Hot Cocoa Mug (Lori’s SVG Shop, Silhouette) and turned it into a cup of cozy Winter Cocoa using some ephemera from my stash!

Hope everyone is having a wonderful start to the new year!

Aimee

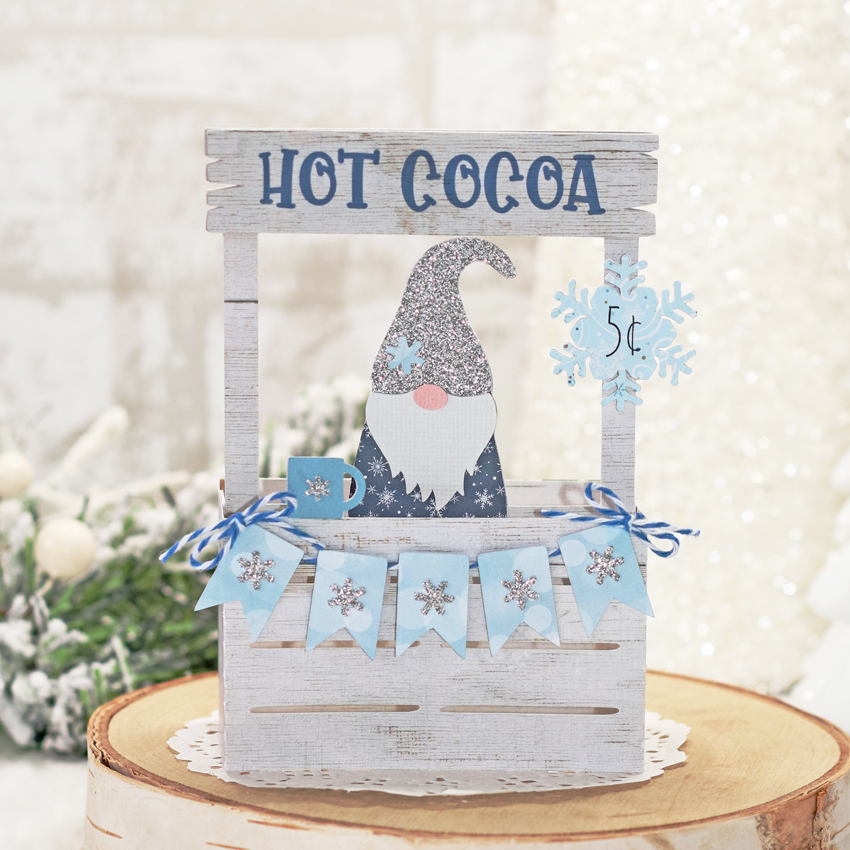
Gnome in Hot Cocoa Booth Card

Hello crafty friends! Aimee here with you and all I can say is…..How cute is this little guy?!?!? But then again, I love all of the sweet little gnomes in Lori’s SVG files! So today I have for you the Box Card Hot Cocoa Booth Gnome (Lori’s SVG Shop, Silhouette).

With Winter touching pretty much every part of America, this is a perfect card to send anyone to put a smile on their face and warm their heart! To add some sparkle in this card, I used some silver glitter paper for the snowflakes and the gnome’s hat. The “hot cocoa” sign is a print and cut piece of the card and I changed the font color from black to navy blue to match the Winter blues scheme of the card. And it turned out beautifully! Some other special touches I put on the card are the twine bows (on the banner) and I used a pop dot for the 5 cent sign.

I am really loving how this card turned out! This is the perfect season to find some time to get warm and cozy and craft in your jammies. There are so many fabulous new Lori Whitlock SVG files out that there are so many wonderful choices!

Hope everyone is having a lovely day!

Aimee

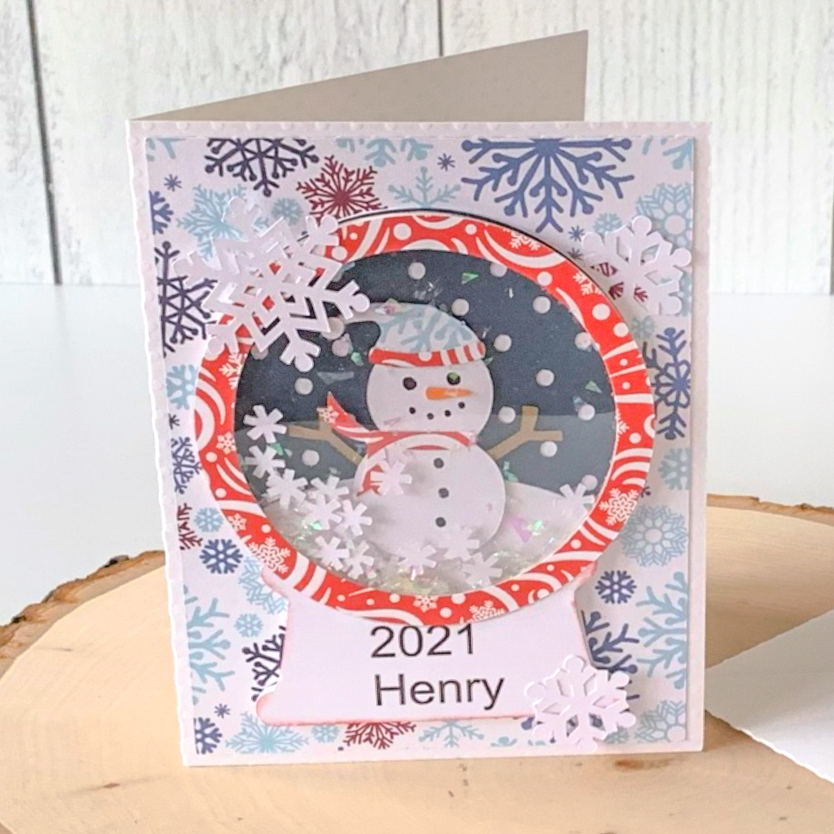
Snow Globe Shaker Card Snowman

Happy President’s Day Everyone:

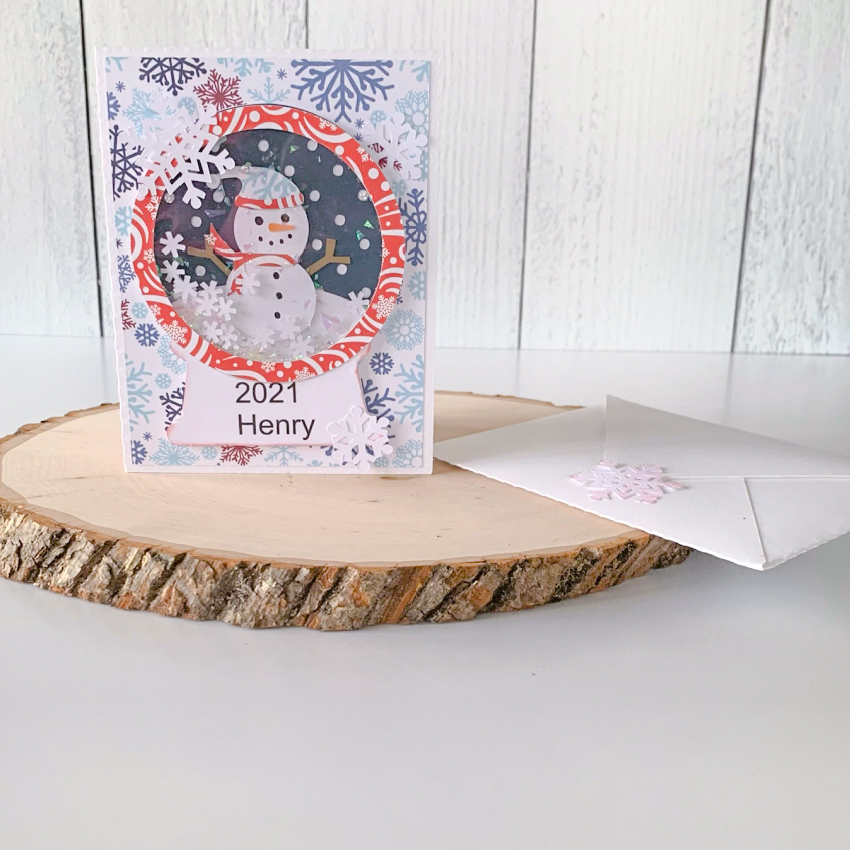
Anita here with a card that I made to send to my sweet grandson for mail day at his daycare center.  I made this A2 Snowglobe Card Snowman and you can find this file here in Lori’s SVG Shop and here in the Silhouette store.  It even comes with the envelope file to mail your lovely interactive card in.  Lori also has a tutorial for this card on her blog by my friend, Kathy Skou and you can find that here.  I used several different Echo Park Paper collections of Lori’s on this card including A Perfect Winter, Celebrate Winter and My Favorite Winter.

Thanks for looking and have a great day.  Be sure to check out all of Lori’s shaker cards.  They are so much fun and my grandson and his daycare teachers loved it.

Hugs,

Anita

3D Coffee Cup Tutorial

Hello crafty friends! Hope everyone had a beautiful Christmas and is settling down into Winter.  If you have a coffee-lover friend’s birthday coming up soon, this is a perfect way to give them a gift certificate to their favorite coffee store. I used the adorable 3D Coffee Cup (Lori’s SVG ShopSilhouette Design Store) and it looks even more adorable cut from the Echo Park My Favorite Winter.

Today I have a tutorial for you on how to put this little guy together! So if you’re ready let’s go!
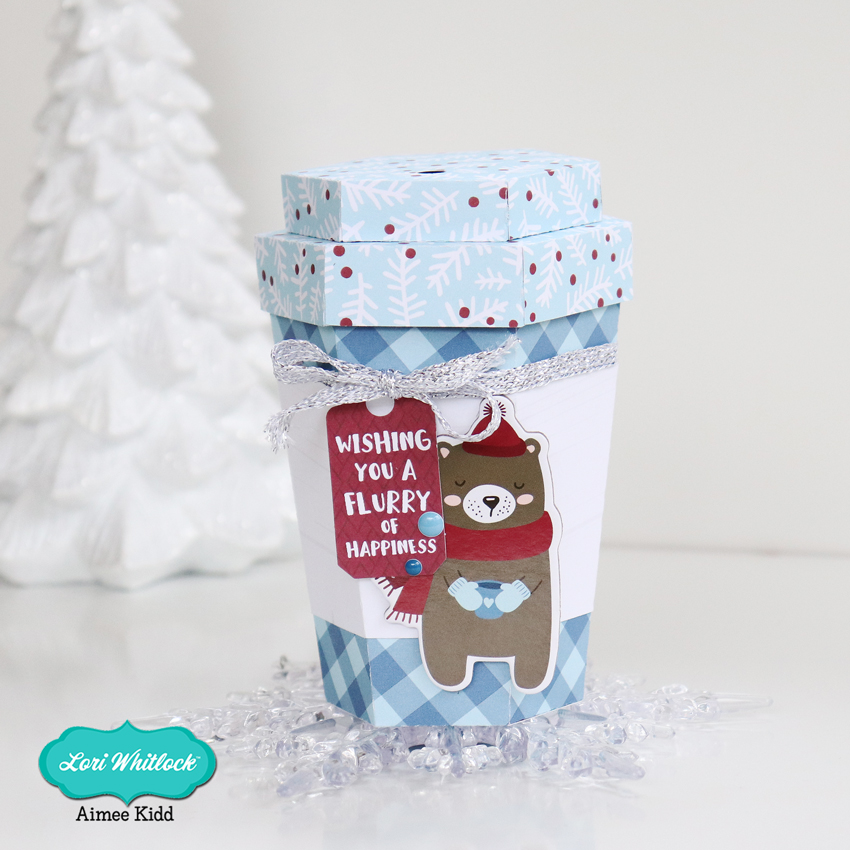
This little cup is plenty big enough to add a gift card along with some candy. It measures just under 5 1/2″ completed which leaves you lots of room to add many goodies.
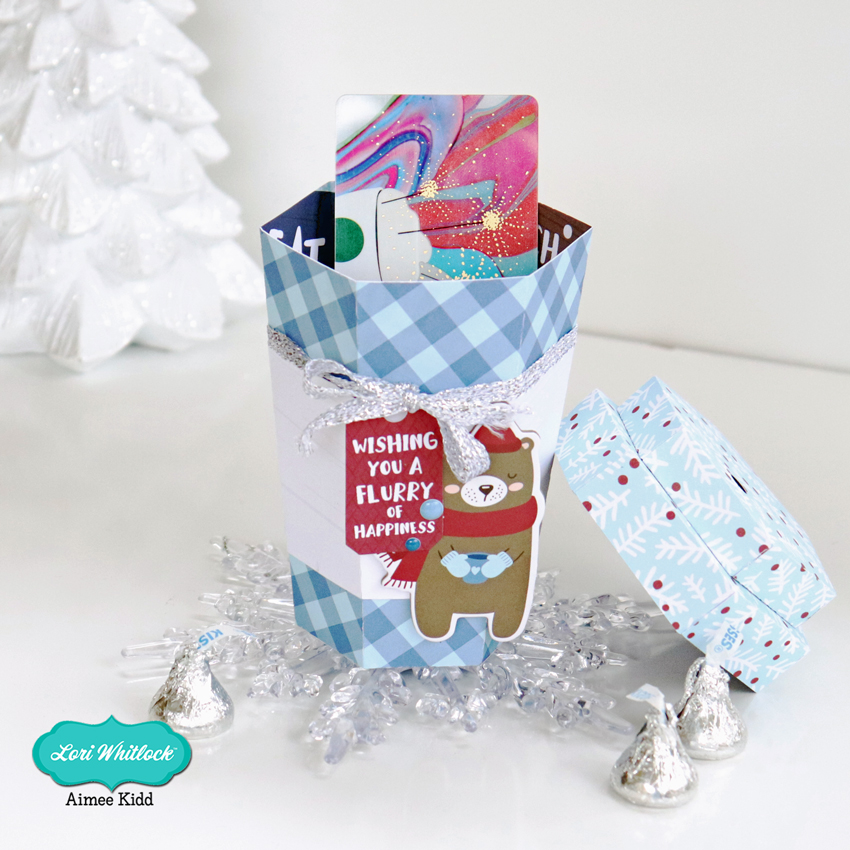
The first thing you need to do is to choose your papers and cut out all of the pieces

For the lid: fold on all of the perforated lines and adhere all of the tabs to the underside of the neighboring piece.

Add your adhesive to the tabs shown in the picture. Flip both pieces over and adhere the smaller piece in the center of the bigger piece. This will complete the lid to the coffee cup.

For the body: Fold on all perforated lines for the cup and the sleeve. Adhere the tabs to the main part of both pieces.

Next you will need to adhere the bottom piece to the tabs.

This will complete both pieces of the coffee cup. When I added the sleeve to the cup I added some adhesive to make sure it doesn’t come off.

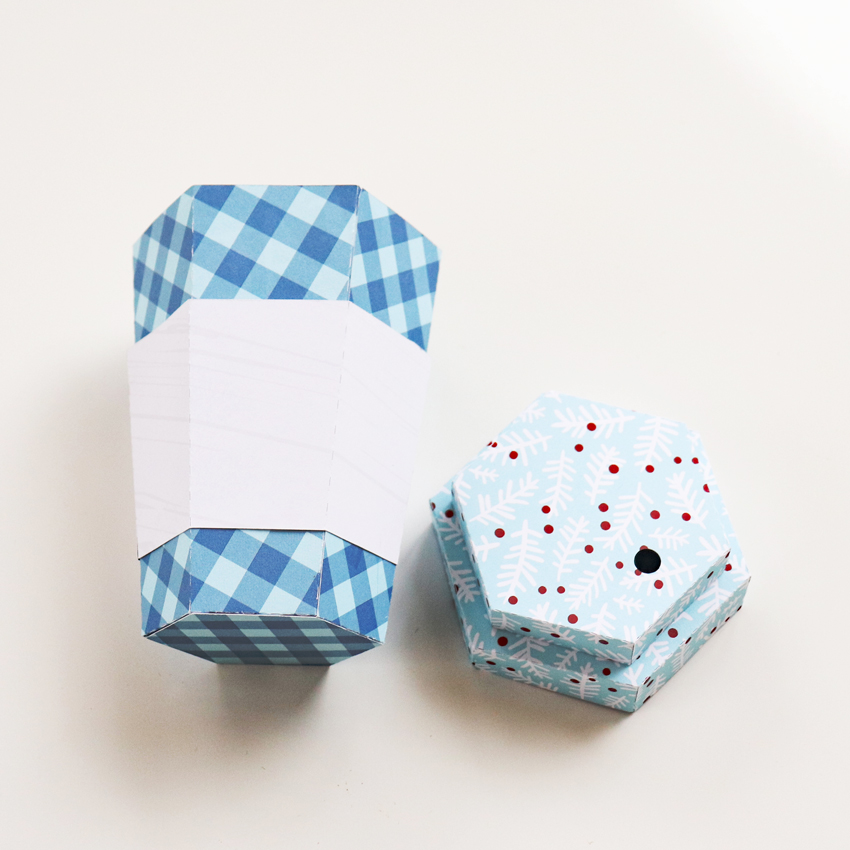
And the last thing to do is have fun decorating your coffee cup! There are so many great pieces in the ephemera packs, chip-boards, and sticker sheet of the My Favorite Winter collection to make your coffee cup look fun and festive! I can’t wait to give this little cutie away…I know it will make someone’s day!

So that’s all from me today! Hope you give this a try and hope everyone has a beautiful day!

Aimee