Custom Tumblers and Tag

For the last couple of years, I have helped make or prepare birthday gifts for the ladies at my church.  Last year I featured a tag from Lori Whitlock. Two years ago, I made a postcard for the gifts. I am so excited about this year’s gift.  We are giving the cutest tumblers personalized with an initial.  I am using a Circle Flourish Monogram for the tumblers, and I am using a sticker from the Birthday Stickers (svg, silhouette) for the the little card tag.

To alter this sticker, I’m going to give you a few tips.  In Cricut Design Space you will first upload and open the Sticker File.  Upload as an image.

Ungroup the stickers. I deleted all the stickers I am not using from the canvas.

Now ungroup again. Select each layer and adjust color as you would like.  I wanted to also have the Happy Birthday to you be different colors.


Now select Happy Birthday and duplicate twice. Select one of the duplicated Happy Birthday, and Contour.

On this one, I am hiding all the words except for Birthday.

Select the other Happy Birthday.  On this one I hid everything except for the flourish at the bottom.

Recolor these Happy Birthday layers by choosing a color that is next to the Line type box.  Now line up all those Happy Birthday words.

Select all your layers, and click Flatten. This will make it the Print and Cut file.  Now you can print and cut on paper or sticker paper.

In Silhouette Studio Software, you will ungroup the stickers, ungroup the Happy Birthday Sticker, then Release Compound Path on the Happy Birthday Words.  Re color as needed, then select and Make Compound Path.
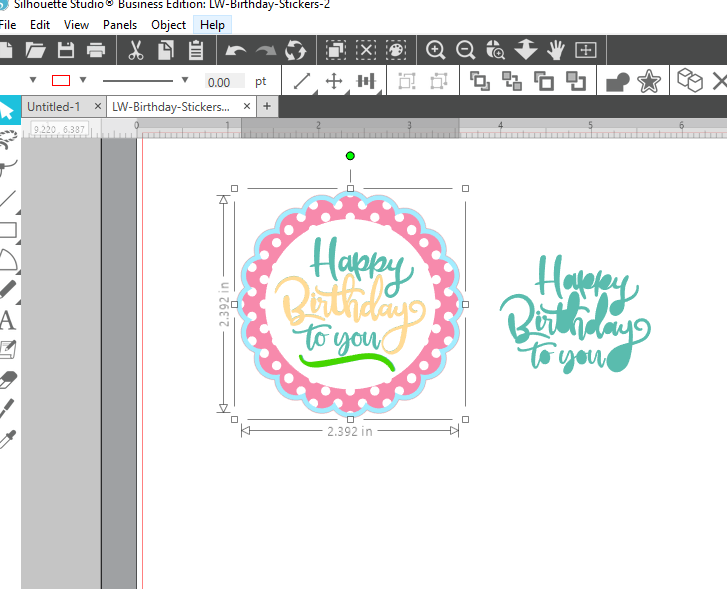
In the Send screen, make sure to select all the sticker parts, and Choose Cut Edge.  Now it’s ready for Print and Cut.

I hope everyone likes the gift this year.  I think they are so fun.

Vintage Style Christmas Sign Tutorial with Brandie


Hi there! Brandie here with a tutorial on how I made this Christmas sign using the Sleigh Rides on Santa Claus Lane file. You can find it here in Loris shop and here in the Silhouette store.

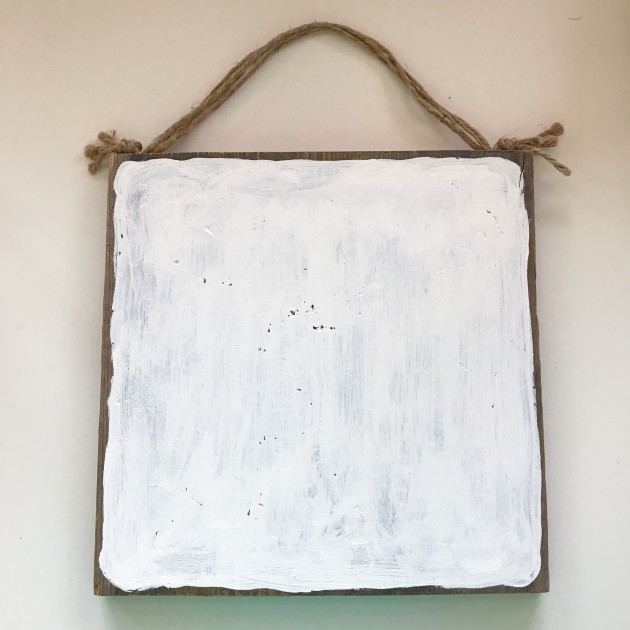
After I got my image uploaded and sized accordingly I cut  out the image on vinyl to create a stencil. While my machine was cutting the images I painted the white layer on my barn wood square.


I painted one thin layer of white acrylic paint and did not go all the way to the edge of the wood to help give it an aged look.  While the paint was drying I weeded the vinyl. To create the stencil I removed the inside parts and kept the negative image.
To apply the stencil I cut the image into thirds  and applied to the dry painted wood. I am the queen of eye-balling things and did that here. But transfer tape would help with applying the stencil to the wood.
Once the vinyl was applied to the wood I rubbed everything down with the long flat side of a bone folder being careful not to gouge the wood. I used red acrylic paint and a stencil brush to apply the paint in thin layers.
After I had the color and coverage I wanted I gently pulled the vinyl off the wood.
I then used a hand-held sander and carefully went over the sign.
Here it is all ready to add to my Christmas décor. I love how it turned out and have plans to make another one with a  nativity file next.
Thanks for stopping by!
Brandie

Heat Transfer Vinyl Potholder by Brigit

Hello there, it’s Brigit, I have a fun heat transfer vinyl project to share today. When I saw Lori’s homemade gingerbread phase (here in the Silhouette Design Store) I knew it would look so cute on one of the potholders from the Dollar Tree.

I used white siser easyweed heat transfer vinyl, it cut out beautifully and so easy to weed. To apply I used my new Cricut Easy Press which worked like a charm, but an iron works well also. These are quick and inexpensive gifts for Christmas time, I can’t wait to make more.
Thanks for stopping by and have a wonderful day!!

Silhouette Vinyl & Heat Transfer Vinyl 40% OFF!

Hi Everyone!  I have an exclusive offer to bring to you from the Silhouette Store!  For the entire month During March, Silhouette will be spotlighting their Vinyl and Heat Transfer Starter Kits with tutorials, blog posts, and sales—including this exclusive deal for my readersFrom March 1st to March 15th, both the Silhouette Vinyl Starter Kit and the Silhouette Heat Transfer Starter Kit will be 40% off, bringing the price down to just $24 each!

To take advantage of this special, just add these kits to your cart in the Silhouette Store, and use code LORI at checkout! Don’t miss out, this special ends March 15th!

Glitter is my Favorite Color with Karin

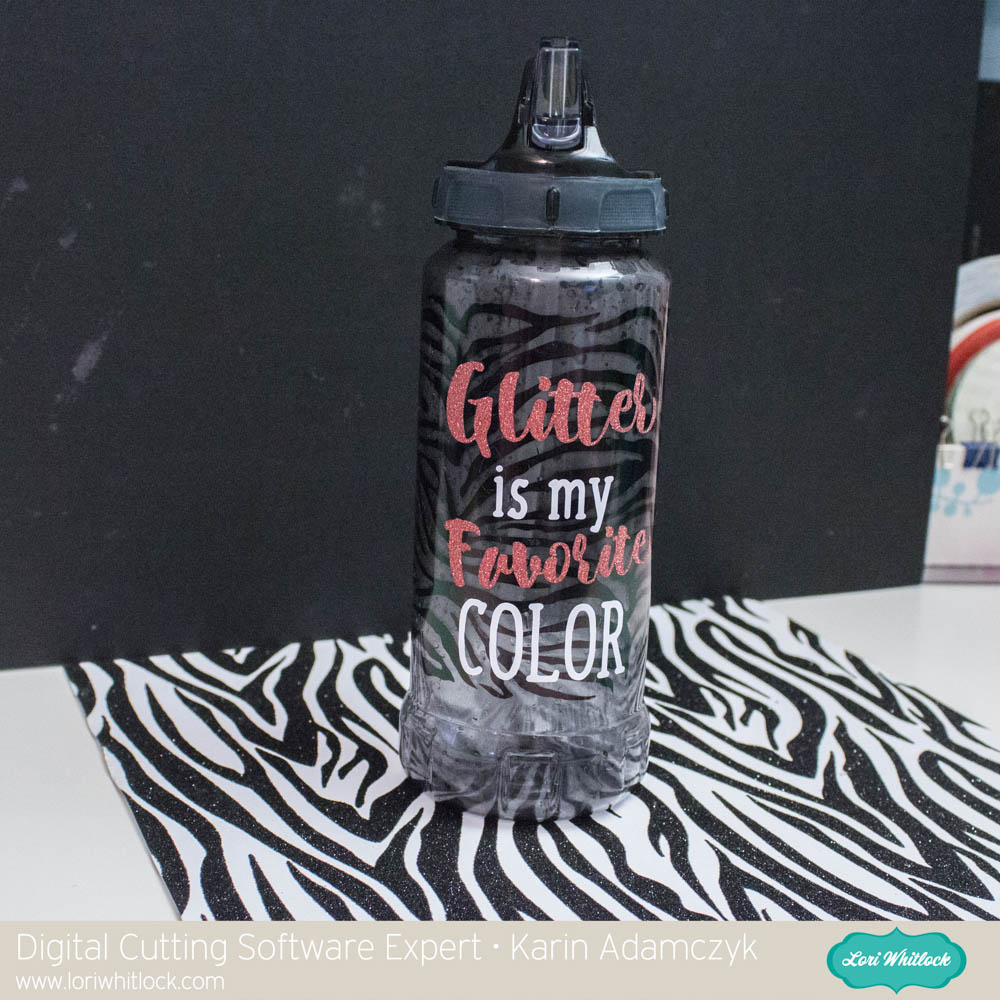
Hi everyone! Don’t you just hate when work gets in the way of having fun? That’s what it has been for me for way too many weeks now, but when I saw this design in Lori’s SVG shop, I had to use it to decorate my water bottle. You could use this design on many different things, such as a coffee mug or Yeti cup.

For this project, I used Cricut Glitter Vinyl in Crimson Red and their Premium Outdoor Glossy Vinyl in white.

I had to make sure that “Glitter” and “Favorite” cut in the exact position I had it on screen and that “is my” and “COLOR” also cut exactly where I had them placed. To do that, first I grouped all the gold letters and attached them. Then I grouped all the black letters and attached them. I changed the gold letters to red letters to remind me which words would be cut out of the Glitter Vinyl.

Once this was done, I clicked Go and above is how my mat was set up for me.

Here is how the red mat was set up for me.

After I cut both colours of vinyl, I weeded the vinyl and then used the included Strong Transfer Tape to pick up the white vinyl and place it where I needed it on the backing of the red glitter vinyl. I then picked up both the white vinyl and red glitter vinyl and placed both on my water bottle.

This project shows you that although this cutting file was designed with a baby in mind, many of the cutting files in Lori’s shop can be used for other purposes.

Thanks so much for stopping by!

Karin