Lumberjack Santa Tuxedo Box Card

Hello everyone and Happy Thanksgiving! Marcia here today. I have to admit, I slacked off in sending Christmas cards the past few years. Sometimes life is just so crazy busy! I want to rectify that this year. With Covid restrictions going back into place, it doesn’t look like I’ll get to see distant family for a while. Plus I should have lots of time on my hands since I won’t be going out anywhere. I love making box cards because they do double duty as Christmas decor. Don’t worry, these do fold flat for mailing! I was drawn to the new Lumberjack Santa Tuxedo Box Card cut file because I thought it would appeal to the young and old alike. This cut file can be found here (SVG / Silhouette ).
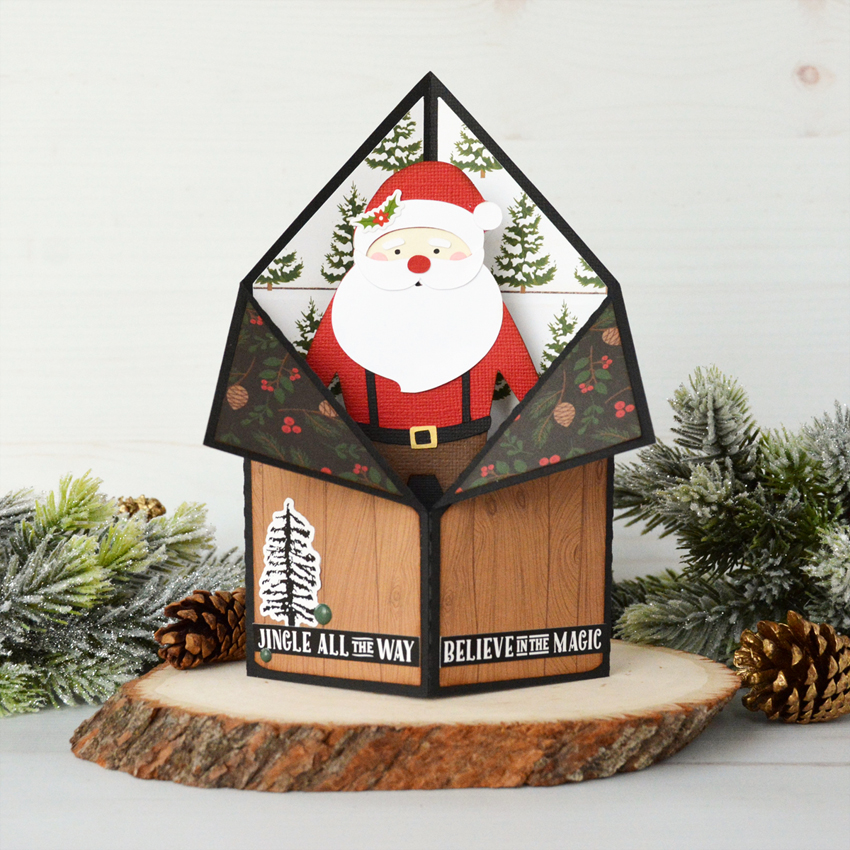
I used the Lori Whitlock A Lumberjack Christmas collection to create my card. The woodsy pattern papers are perfect! I added a just few stickers to embellish. Santa would look awesome in a plaid shirt too, I think. I’ll have to make another card and try out that look. For an assembly tutorial, see Lori’s YouTube Channel here.
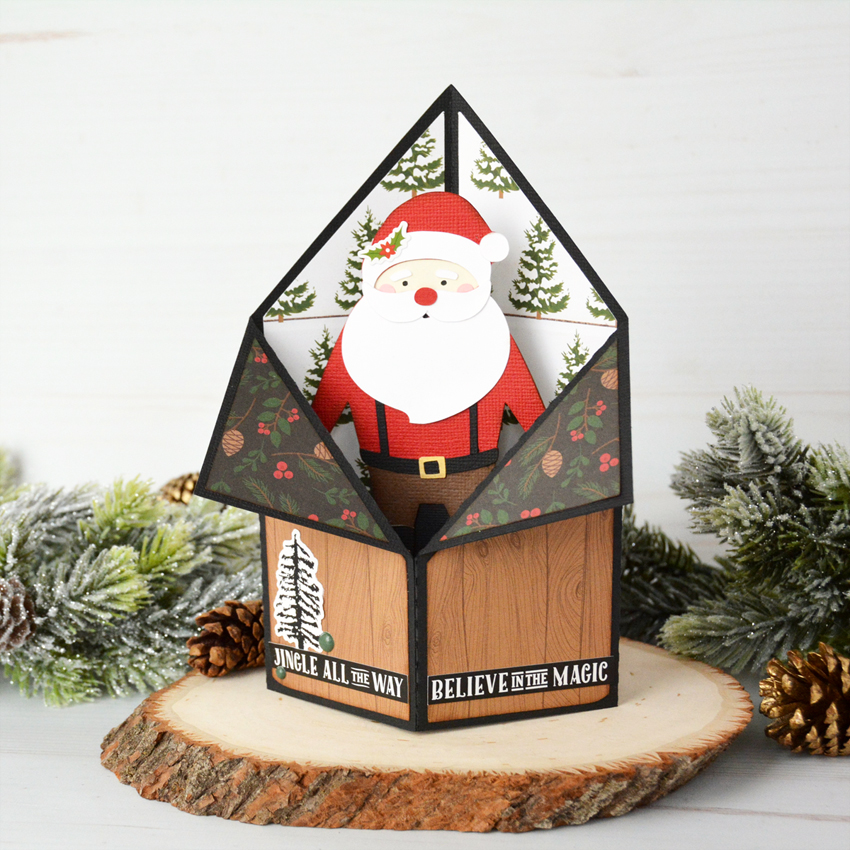
There are lots of Holiday themed cut files available in Lori’s shop. Go check them out and join me in my card making frenzy. Thanks so much for stopping by.
~Marcia

Fox Tuxedo Box Card Tutorial

Hi there friends! Brandie here sharing an assembly tutorial for the Tuxedo Box Cards (SVG Bundle). I made the Tuxedo Box Card Fox (SVGSilhouette). I love this fun twist on the standard box card.

First assemble the decorative elements. Two trees, a fox, leaf, and berries. Then fold the card base on the score lines. Most of the score lines are valley folds. The two mountain folds are for the flaps. Next glue in the inside decorative panels. I ran my inside panels through a Fall leaf embossing folder. Once the panels are secure fold the left side over and add glue to the outside of the tab and fold right side over and press and hold until glue is set.

Then glue the outside decorative panels in place. Fold down the flaps and glue those panels in place. For the insert that the fox is glued on fold the tabs in and apply glue to the outside of the tabs.

While the card is laying flat slide the insert into the card base while holding the glue tab down lining it up to the center fold line. Press down on the card where the tabs are to help secure them. The tabs will be glued to the inside front of the card base. When the card is standing upright the inside tab forms a u shape. Glue the fox into place on the center of the tab. Then glue in the trees and cloud and decorate the front of the box with remaining elements.

I used papers and a couple of stickers from the My Favorite Fall collection by Echo Park Paper.

That’s it for me today! Thanks for stopping by.
Brandie