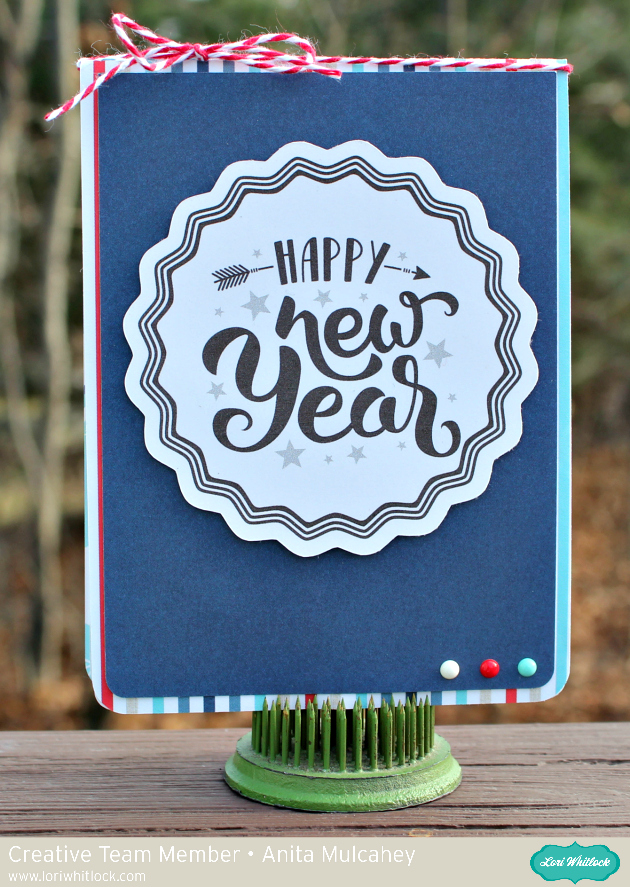
Gatefold Wreath Card Tutorial

Hello Everyone:

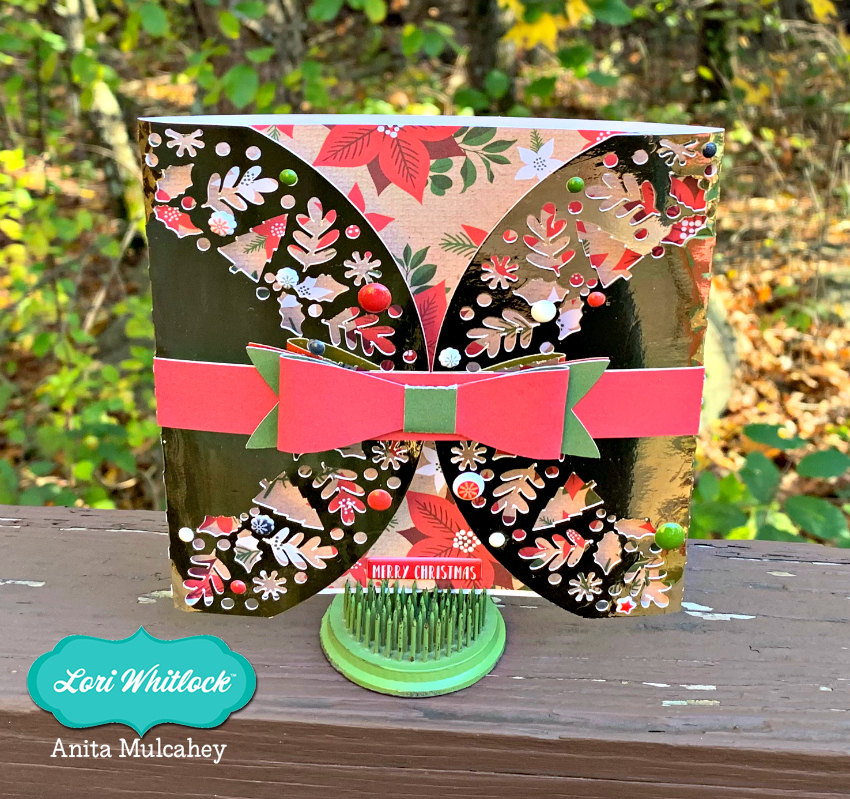
I hope that everyone is enjoying the most magical time of the year.  I have a tutorial for all of you today on how to put together Lori’s Gatefold Wreath Card.  I love Lori’s Gatefold cards and even used one of hers to make all the wedding invitations for my son and daughter-in-law.  They are so elegant and so easy to put together.  You can find this Gatefold Wreath Card file here in Lori’s store and here in the Silhouette store.  I used one of Lori’s new Echo Park Paper collections called My Favorite Christmas.

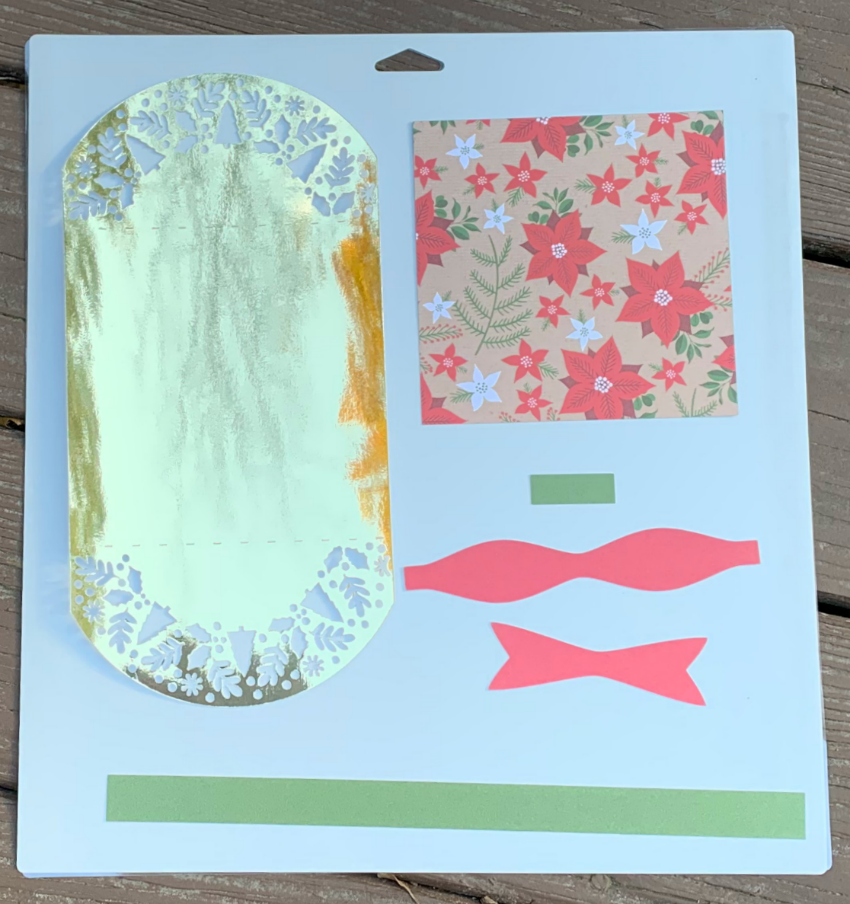
Here is a photo of the cut file pieces.  You want to start by adding the square insert inside the folded card base.

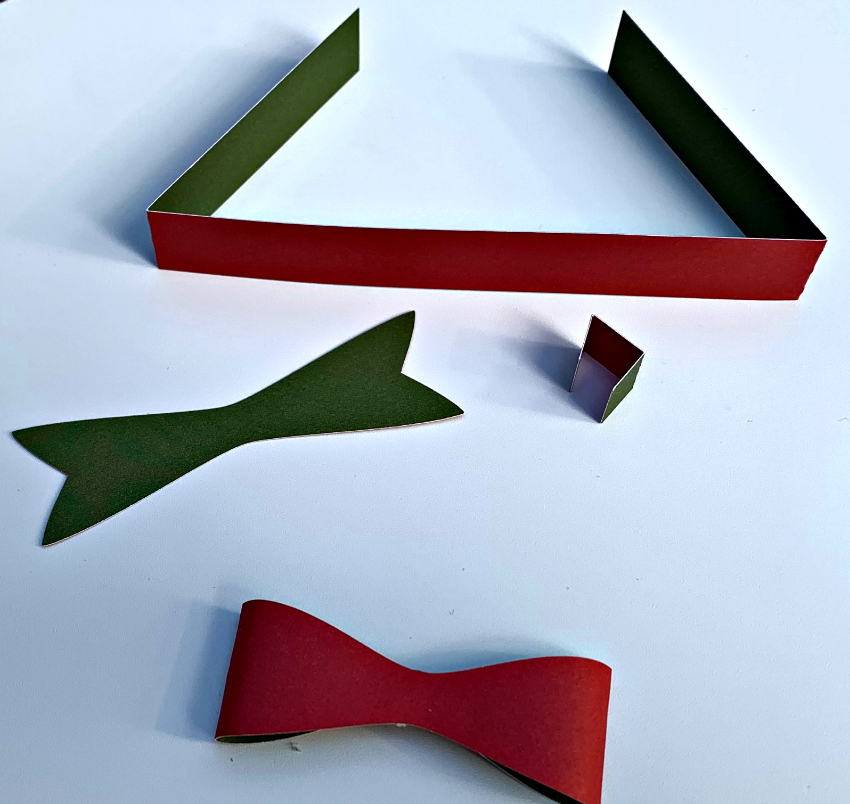
Here are the ribbon pieces folded along their score lines. Glue together the overlapping ends of the bow. Next glue the flat ribbon segment to back of the formed bow and lastly wrap the center around both piece using a tiny bit of glue on both sides.

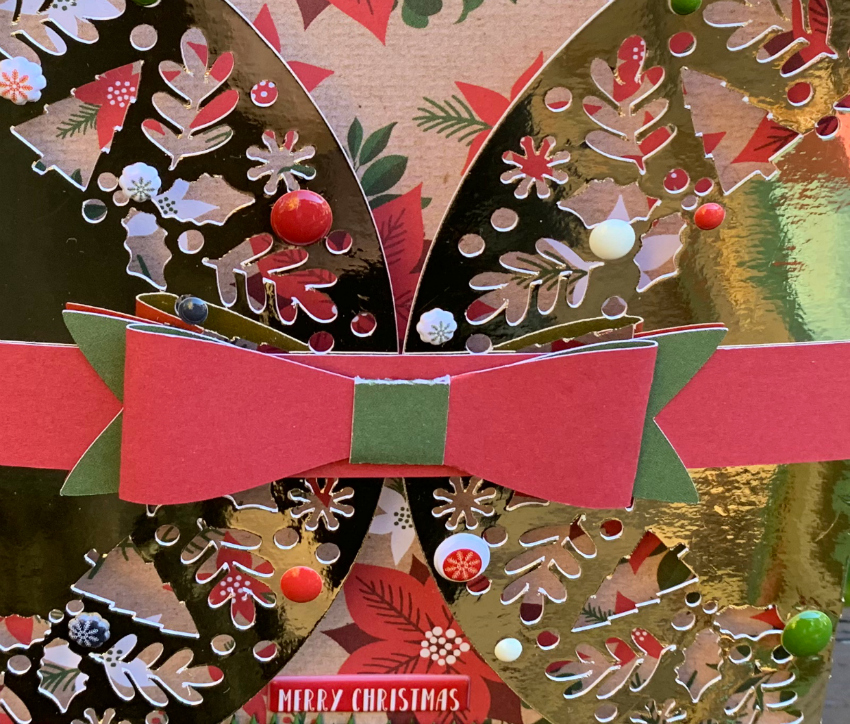
I slipped the band on the folded card and added some embellishments which are a wonderful part of this collection.

Here is the last photo which is a close up of the embellishments.

That’s it for me today.  Have a great day and be sure to check out Lori’s gatefold card cut files.

Hugs,

Anita

Easy Paper Flower Tutorial with Michelle

Hello Crafty Friends! Michelle here with you today to share a paper flower tutorial to make what could be the world’s easiest paper flower, but no one will know that except for you! You don’t need any tools or any experience to create this full, lush, dimensional bloom. You just need your electronic cutting machine and Lori’s cute cut files! Let’s get started!

Lori Whitlock Easy Paper Flower Tutorial DIY with Michelle Zerull

For this flower, I used “3D Flower 43” that can be purchased at the Lori Whitlock SVG Shop or at the Silhouette Design Store. The flower looks different in the photo, but that’s only because we’re using the super easy construction method. Download all of the files and cut them out in your choice of colors. I made mine pink to coordinate with the paper from Lori’s “I Love Summer” Echo Park Paper Collection. Even the tag matches. Isn’t that the cutest?

Cut out all of your petals and group them by size. You should have five groups of three.

Starting with the smallest group, curl the petal strips that are the same size, upward with your fingers and glue them on top of each other as shown. Don’t stress about the curling them because we have more to do with them anyway and the curling will barely show. Use whatever glue you’re comfortable with. A fast drying glue, or hot glue is recommended. Glue all five groups in this manner.

Place your index finger in the middle of each petal, and gently pinch the petal ends so the form a “cup”. Do this to each group and set aside.


Pinch the “leaves” together just as you did with the petals. Your groups will look like the above photo. But we still need to complete the center!

The center will be completed in two steps. First, glue the two sides together. Do not fold a crease in the strip. Instead gently hold the the sides together until the glue sets, and move down along the sides until it is all glued together.

Add a line of glue down the cut edge and gently roll the strip. I tried to keep my roll tight. You can roll it tight, or loose. It’s up to you! When it’s all rolled up, set it aside to dry.

While your center is drying, start combining your petal sets. I started with my smallest set and glued it to the set that’s a little bigger, by placing a drop of glue in the middle and holding it down with finger as shown. Make sure your glue has taken hold before adding your next set. For best results, stagger the petal placement so that they are not right on top of each other.

Finish the flower by placing your center in the middle and by adding your leaf piece to the back.

I cut my flower in the dimensions shown when I opened my file. It makes an impressive size! You can scale the size of your flower up or down depending on the project. These would be great for wall decor or used in place of a bow like I made mine. In fact, I scaled up the size of my gable box in order to accommodate the flower’s width. I used the Gable box here in the Lori Whitlock SVG Shop, and also found in the Silhouette Design Store.


That’s it! You are going to impress everyone with your flower making skills!

Have fun!
 

Leprechaun Gable Box Tutorial with Brigit

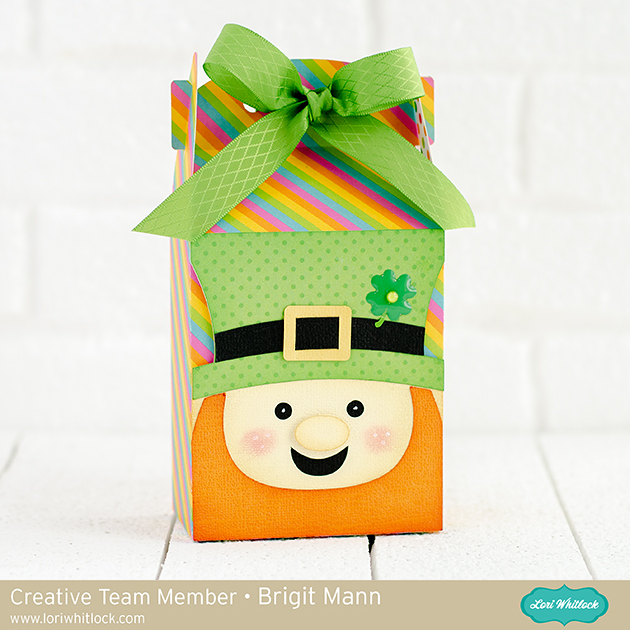
I love boxes or bags with cute little character faces on them and with St Patrick’s Day coming next month I thought I’d make a little leprechaun one.

You can start with any bag or box, I chose the tall heart gable box (svgsilhouette) and did a ungroup to delete the heart.

I like to do all my designing in Silhouette Studio and cut on my Cricut Maker since I have the Business Edition I can save my file as an svg and bring into Design Space to cut. I usually will change my score lines to solid lines so I can use the scoring wheel in Cricut. For this box I ungrouped all the score lines and deleted all but the lines I have circled then I selected one and dragged the handle, you can select all the ones going the same way and drag, just grab the center handle not the corner one.

This is what they will look like, I also filled in the box makes it easier to see. I then selected all the lines right click and make compound path, and then selected both the lines and box and grouped. In Cricut Design Space I will change the lines to score and then attach the bag and lines together.

For the face, I used the bobblehead card leprechaun (svgsilhouette). I ungrouped and deleted all except for the leprechaun’s head, buckle and one shamrock which I didn’t end up using. I sized the head to the front of the box and then made a duplicate of them. (you won’t need the extra leprechaun head I just always make a copy in case I mess up)

With the knife tool I cut down on the four lines on the front of the box trimming away the leprechaun. I delete the cut up box and trimmed pieces of the leprechaun and zoom in to see if I have to make adjustments.

I want the beard to be square to the box so I double clicked it to bring up the point editing menu, selected each of the points and changed them to make flat, and pulled the center one to the corner to make it square.

This is what it will look like, do the same to the other side.

I wanted the face to be square also so I made a duplicate of the leprechaun and selected the beard and face and welded together, makes it much easier to line up.

Here’s my project ready to save as an svg, I did also make an internal offset of the face by .05 and releaseed the  compound path the eyes and mouth, I like having a solid piece for the background.

Thanks for stopping by and have a wonderful day!

2019 Twist Pop Card with Anita

Happy New Year’s Eve everyone.  Anita here to share with you this awesome and easy to make twist pop card.  I used Lori’s new Echo Park collection
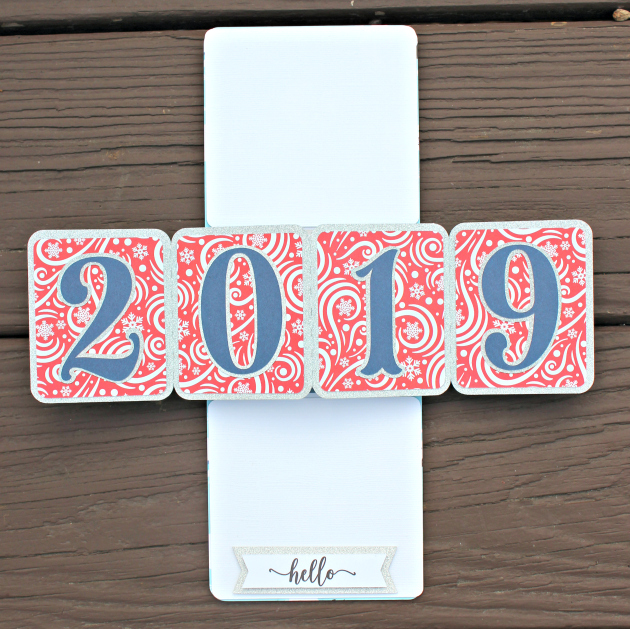
called Celebrate Winter and her cut file called Twist Pop Card 2019 which you can find here in SVG format and here in the Silhouette store.  Lori has a wonderful tutorial on how to assemble this card here ,

When you open the card the center pops out!
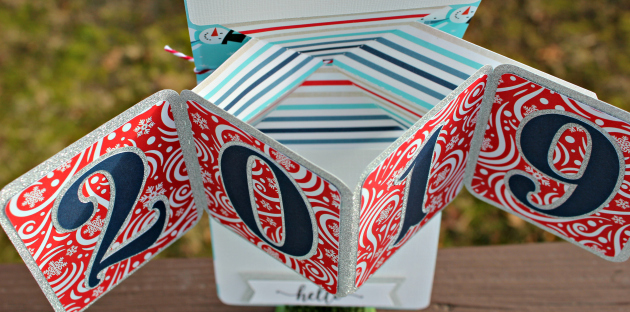
Here is the view from the top down while the card is open.
That’s it for me today.  Hope that 2019 is wonderful to you and your loved ones in all ways possible.

Hugs,

Anita

3D Witch Hat Tutorial with Brigit

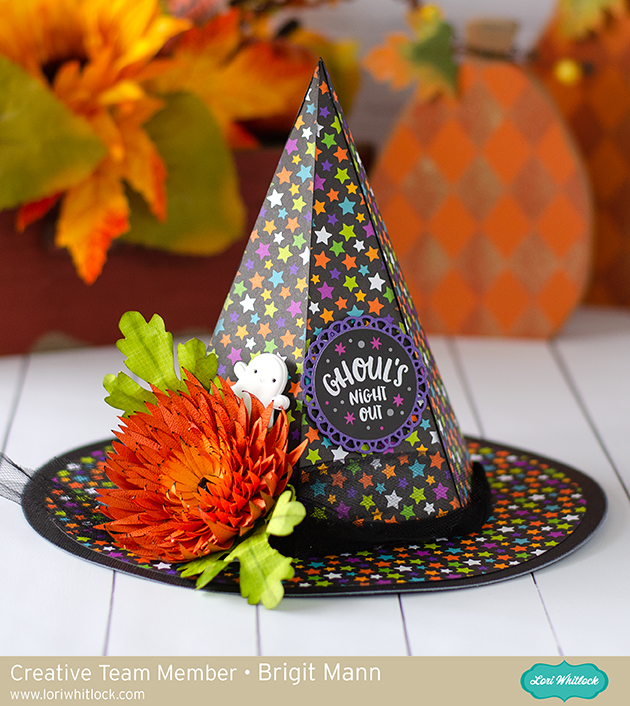
Hello there, today I’m sharing a tutorial on this 3D witch hat project. This hat can also be purchased from the Silhouette Design Store here and also as a set in the 3D Halloween Bundle from Lori’s shop.

This is such a cute home decor piece to add to your Halloween collection, I really love how it came out.

The first thing I did was add all the pieces onto my mat in Silhouette Studio, this included the 3D Chrysanthemum Flower, (Silhouette Studio chrysanthemum). You will need 6 duplicates of the triangle layer and 2 duplicates of the hat top. I used patterned paper from Doodlebug Design’s Pumpkin Party  I did a release compound path on the triangle layer and removed the circles.  Tthis way I’d have solid pieces to show off the pretty star paper.

I resized the hat so I could fit one piece of the hat top with the hexagon bottom on one sheet, this saved me a black piece of cardstock, I also sized the flower so the orange color pieces would fit all on one sheet of cardstock.

I cut all my pieces out and inked the edges of the patterned paper, flowers and leaves.

I assembled the top of the hat first, this thing went together perfectly, I love Lori’s files!!

I then added the triangle layers onto the sides and glued down the circle patterned paper to the black circle rim.

For the leaves I bent them by hand and used ink to create some vein lines, I then sprayed them with some water and crinkled them by hand a little.

I used my McGill tool and mat and a paint brush to curve the flower petals up.

I Glued all the petals together and added a black jewel in the center.

To complete the look, I added some black tulle around the hat, glued the flower and leaves to the side and added the ghost clip and ghouls sticker from Doodlebug’s pumpkin party,

Thanks for stopping by and have a wonderful day!