Nugget Box Tutorial

My cute little neighbor kids always get a little holiday treat from me and so when I saw these nugget boxes (found HERE) I knew thats what they were getting. I did alter my box some so you can see my wrapped nuggets. I cut the wrap/outside of the nugget box in acetate.

First, cut your pieces and get your nuggets.
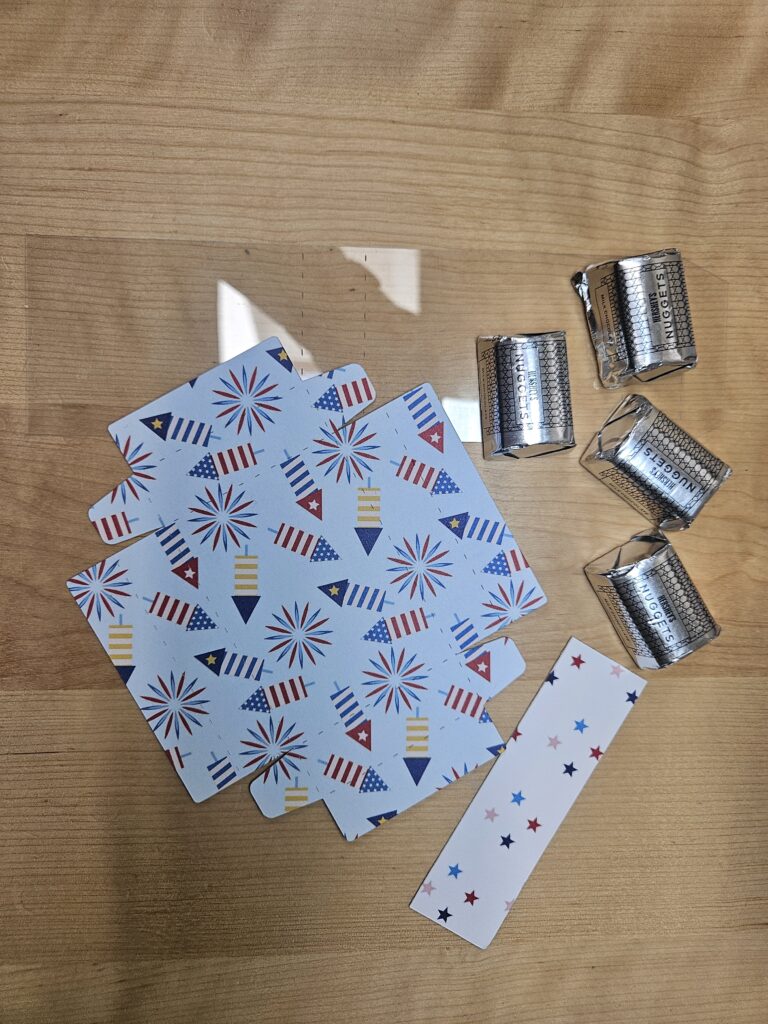
Fold on the score lines. Below will show you where to add your adhesive. I like Scor-tape for a secure hold. When assembling the box make sure you adhere the tabs inside before folding the edges over or else your tabs will show.
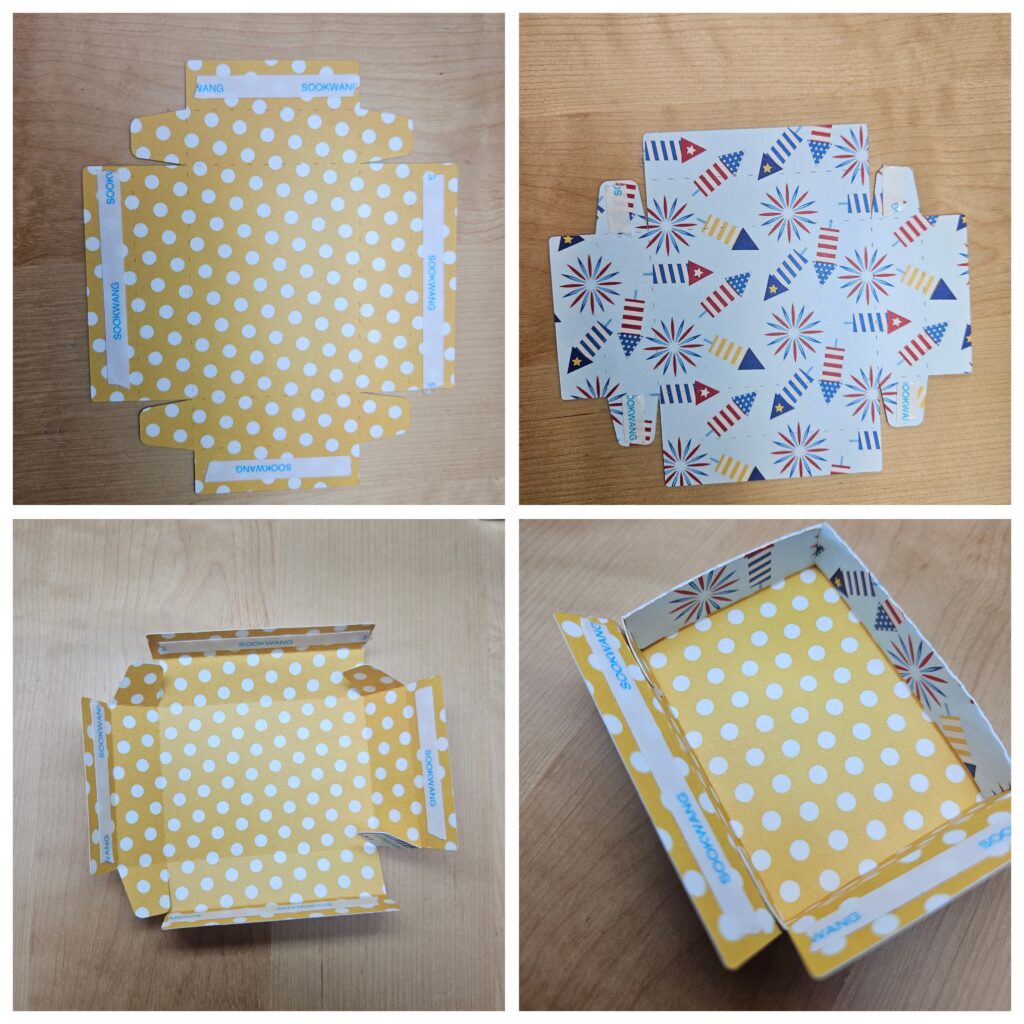
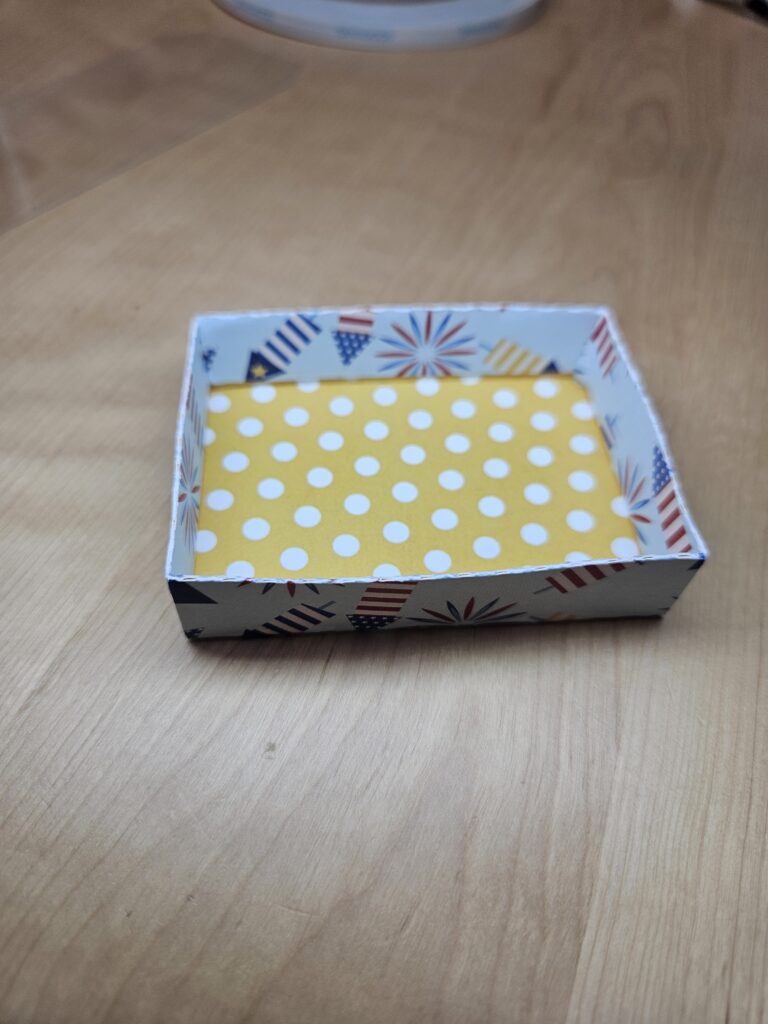
After gluing your tabs, fold the edges over and glue them in place. Below is what your completed nuggest box will look like.
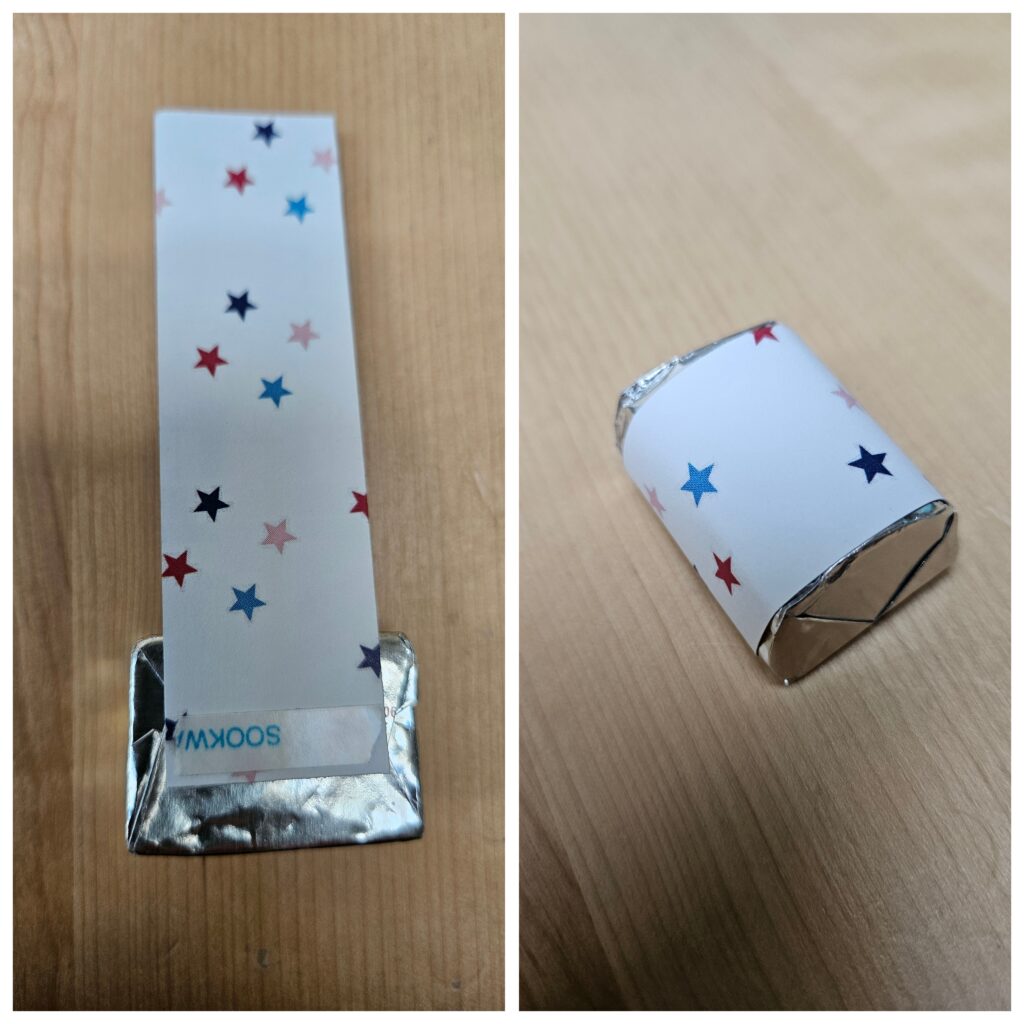
The wrap for the nuggets isn’t on the file but those just need to be cut 1 inch x 3 inches. Add tape to both sides on the same end of the paper and attach it to the nuggest.
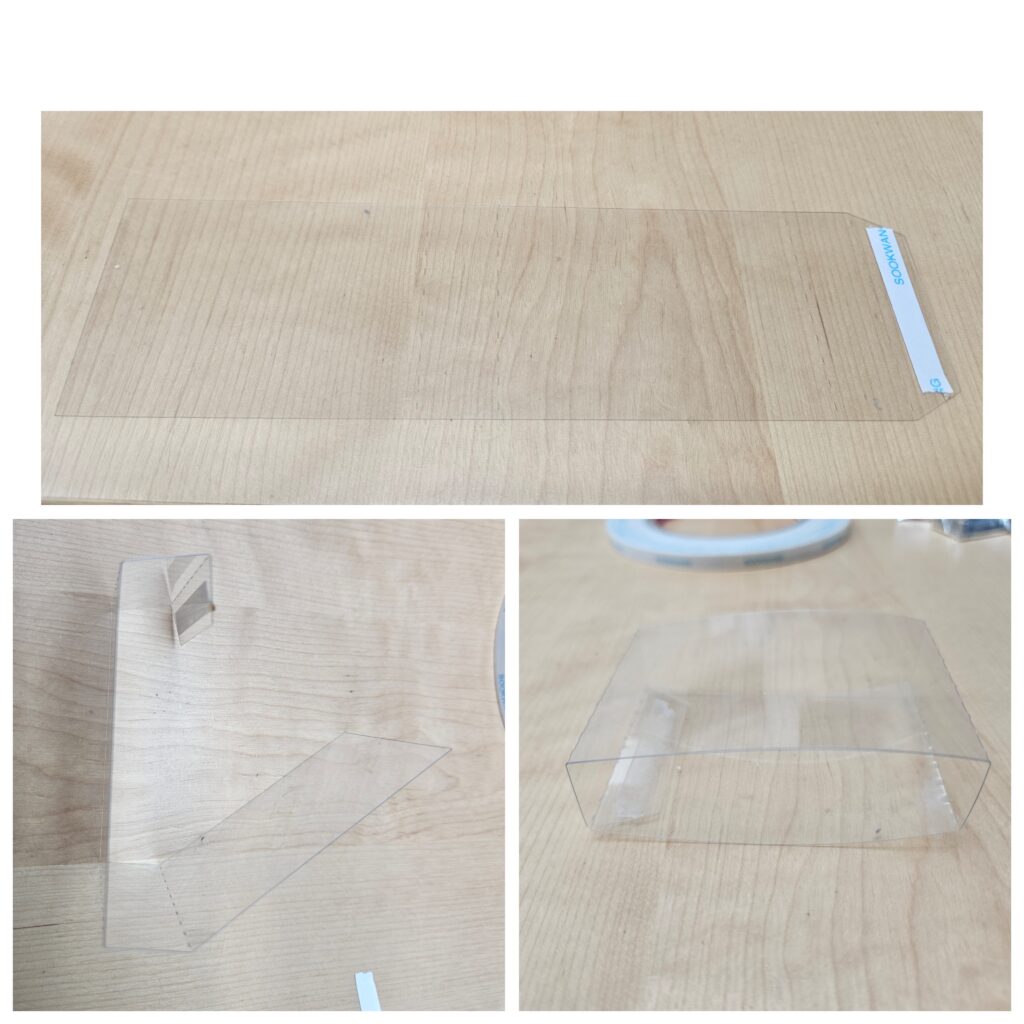
The acetate in the following photos is hard to see but essentially just cut the slide part of the file and fold on the score lines. Adhere with strong adhesive on the tab to complete the box.
Slide your nugget box into the acetate sleeve. I added some twine around the box for a little extra love.
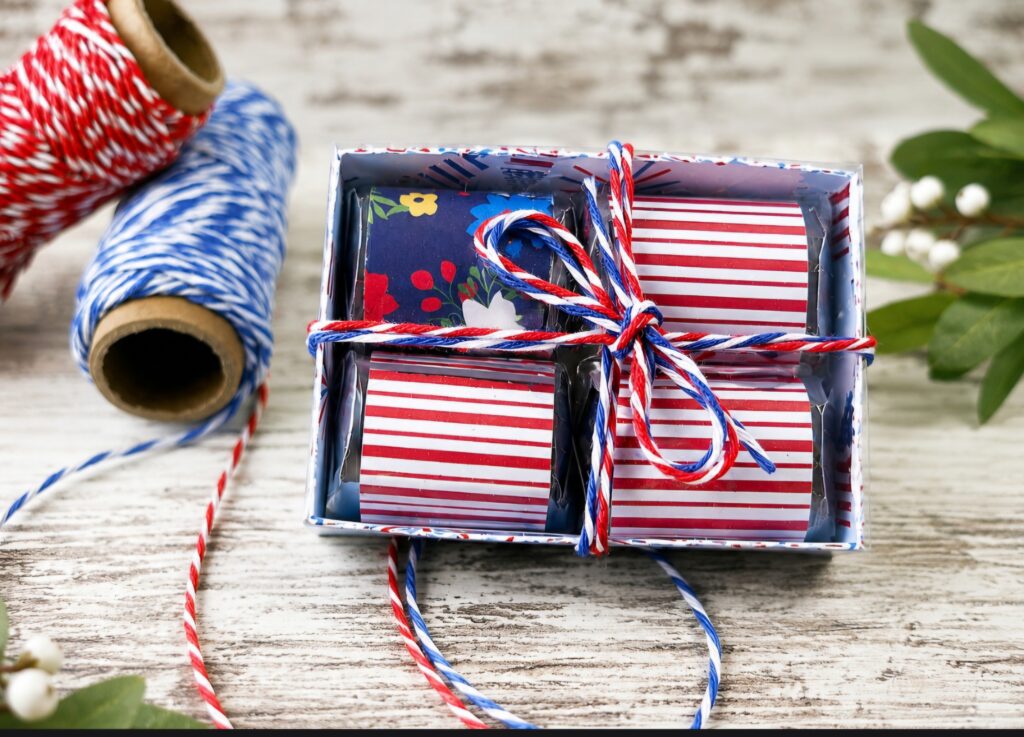
I wrapped my nuggets to resemble a flag using paper from Lori’s Echo Park Have A Holly Jolly Christmas and paper by Fancy Pants called Hometown Summer.
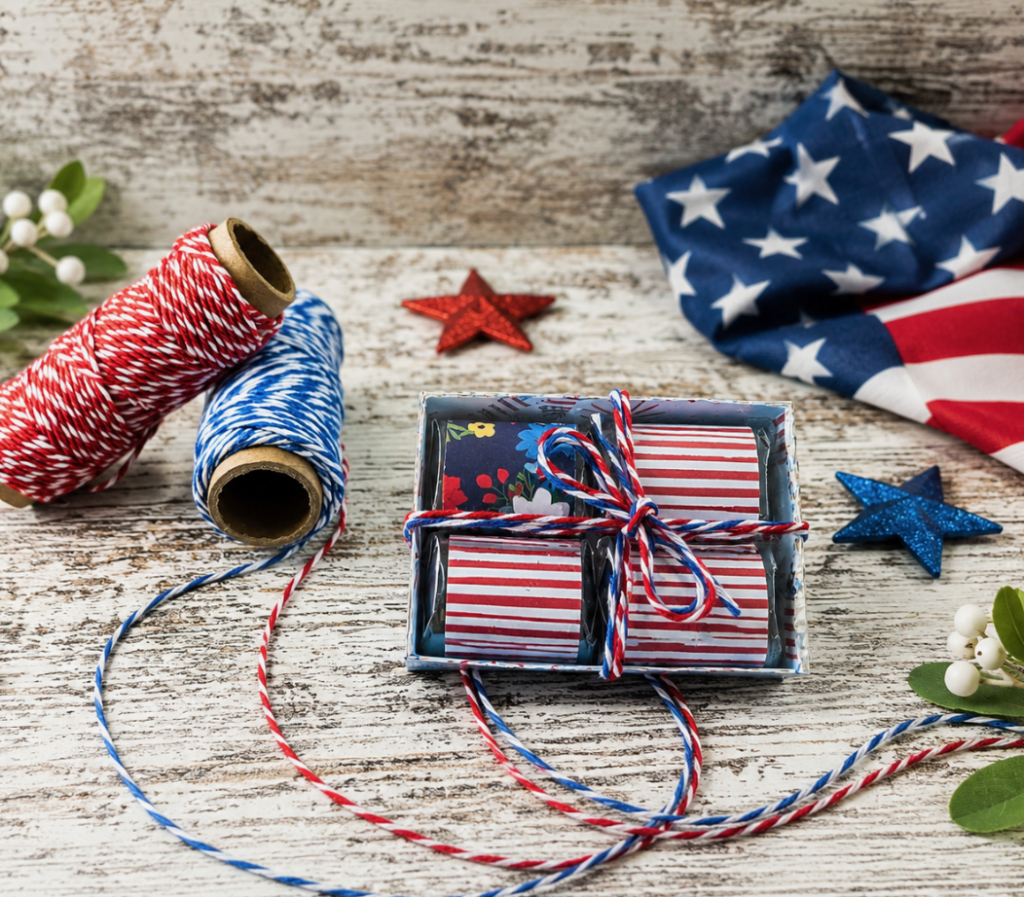
 

Thanks for stopping by and happy crafting.

Pillow Box with Curved Handle Tutorial

Hi there friends! Today I am sharing a quick little treat idea for all the back to schoolers. I used the Pillow Box with Curved Handle (SVGSilhouette) and the School Stickers (SVGSilhouette).

Once I had everything uploaded to Cricut Design Space I resized the pillow box to 5.5×9.33. I wanted to be adle to fit two boxes on one sheet of 12×12 paper. I also flattened the sticker images and printed them out on plain white cardstock. For the tag I used one out of Cricut Design Space, but here is one from Lori’s site if you need one (SVGSilhouette). I used papers from the School Rules collection by Echo Park Paper Co.


I cut four pillow boxes and two sets of the stickers. I also punched some tiny hearts. I layered up some of the stickers on the tags leaving room at the top for the recipient’s name. I used a liquid glue to attach everything because I didn’t use a sticker paper. For the box I pre folded the score lines as mountain folds. I then added glue to the inside of the box on just the handle.


After the glue was dry I folded in all of the side tabs.
I then used some bakers twine to attach the tags. I filled my boxes with a rice crispy treat and a little note for each kiddo.
This little pillow box is so versatile and great for any occasion all you need to do is change up the papers. Definitely worth having a few in the file library. Thanks for stopping by today and happy back to school!

Brandie

Coffee and Candy 3D Pocket Card Bundle

Hey there crafty friends! Tamara here and today I’m sharing a fun project that makes an cute card for a birthday. 

It’s a 3D pocket card that’s sized perfectly to fit a mini choco bar, or other sweets of course. I created mine for a 9th birthday using the “Simple Split Birthday Numbers”  but … you could embellish this for ANY occasion! You can find it here in Lori’s shop, SVG.


The green card with the Split birthday number has enough space on the back to leave your birthday wishes!

This model is also available in other styles!

Have a great day!

Tamara


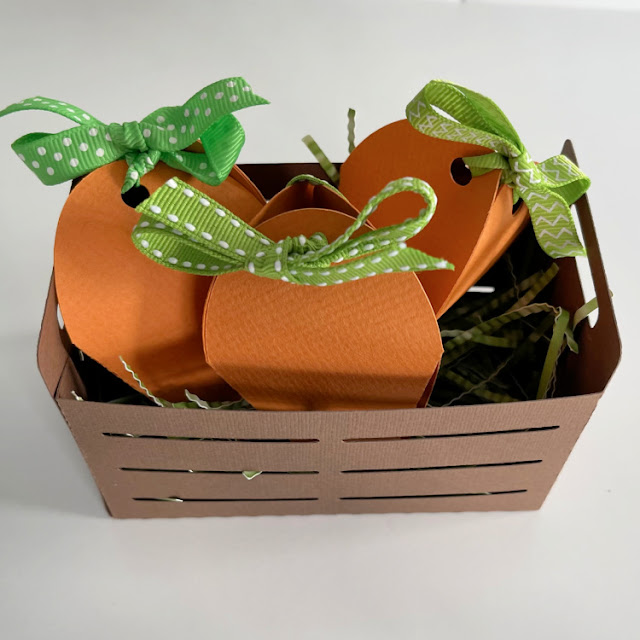
Carrot Favor Box with Crate Tutorial

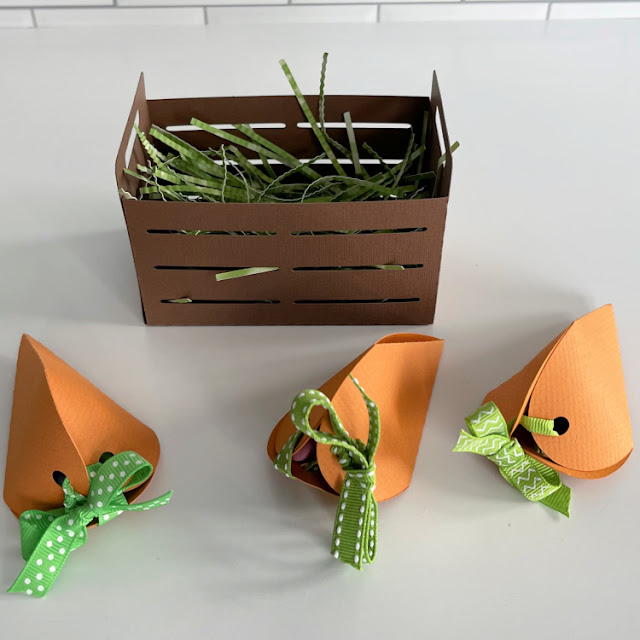
 Anita here with a tutorial on Lori’s Carrot Favor Box. I made this for my niece who is away at college. I filled the boxes with jelly beans and M&M’s. You can find the file here (SVGSilhouette).
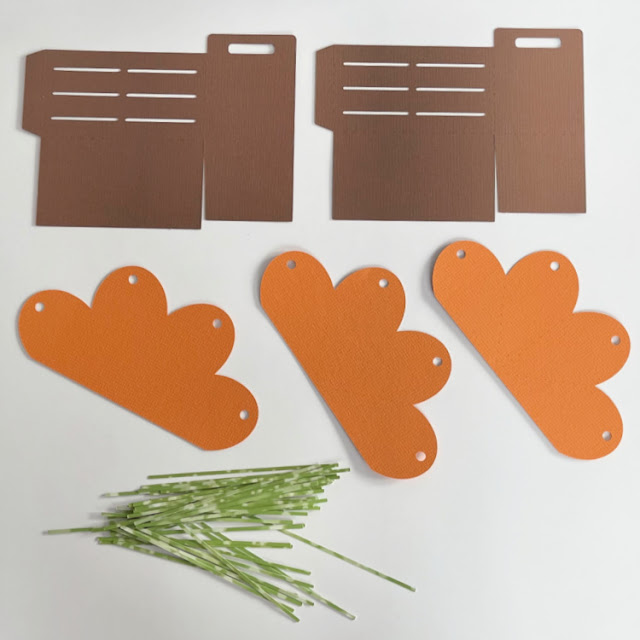
Here are the pieces that come with this file:

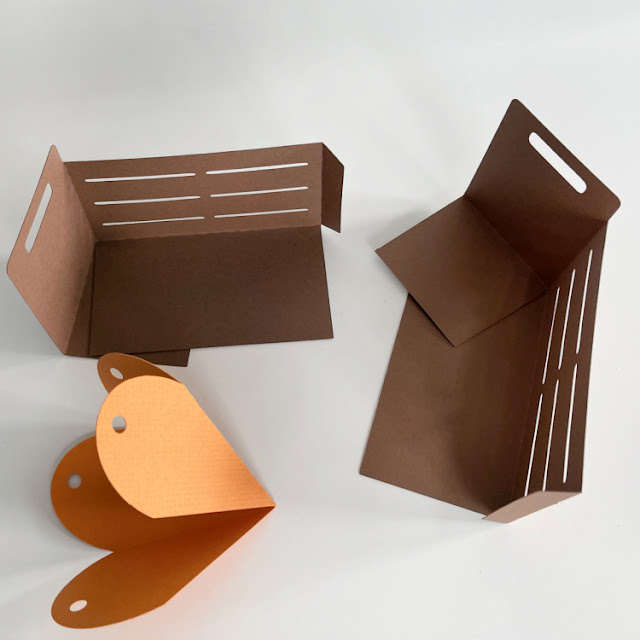
This shows the items folded on their score lines.

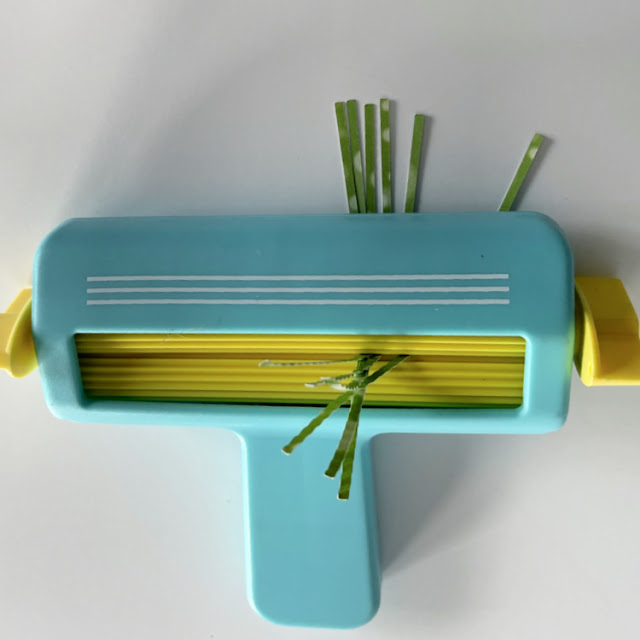
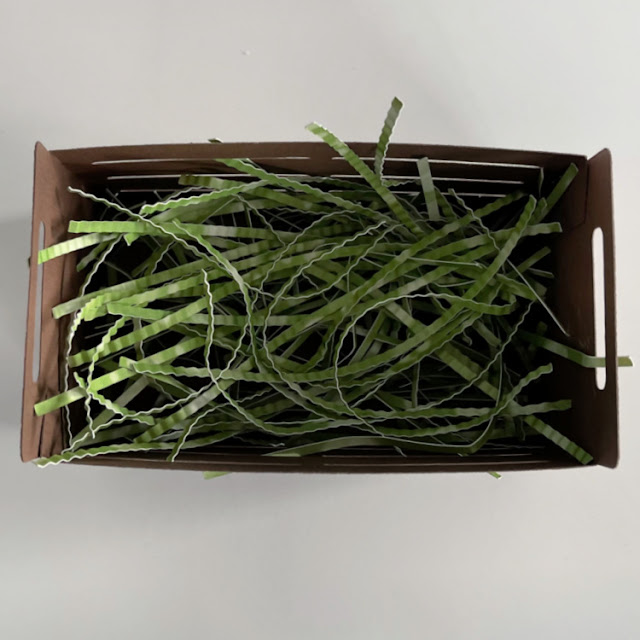
I decided to use a paper crimper to crimp my grass the give it some more fluff in my crate.

This shows the grass in the crate.

This last photo shows all of the items separately before I put them together into the crate.


Such a fun and easy project and I know that she will enjoy opening her carrots up to see what treats are inside for me.  Have a great day.
Hugs,
Anita

Easter Treat Wraps by Brigit

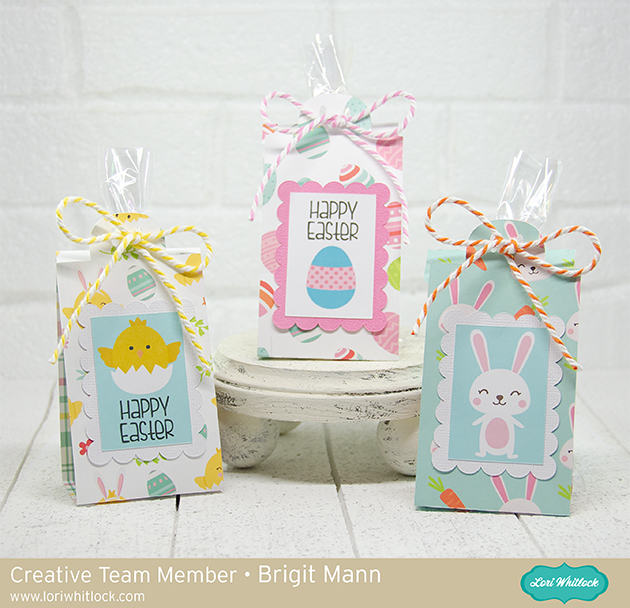
Hi there, with Easter right around the corner I thought I’d make some of these adorable treat wraps for a quick and easy project. I had a couple of slim bags that I filled with some jelly beans, but these wraps can be used with any kind of treat.

The labels were print and cuts matted to a scalloped rectangle. The paper used, Echo Park’s Easter Wishes designed by Lori matches the cute little labels. You can get these wraps as a bundle at Lori’s shop here or individually. Here’s the three I used, Wrap Easter Egg, (svgsilhouette), Wrap Easter Chick, (svgsilhouette) and Wrap Easter Bunny, (svgsilhouette).

Thanks for stopping by and have a wonderful day!