Hello friends, Marcia here.
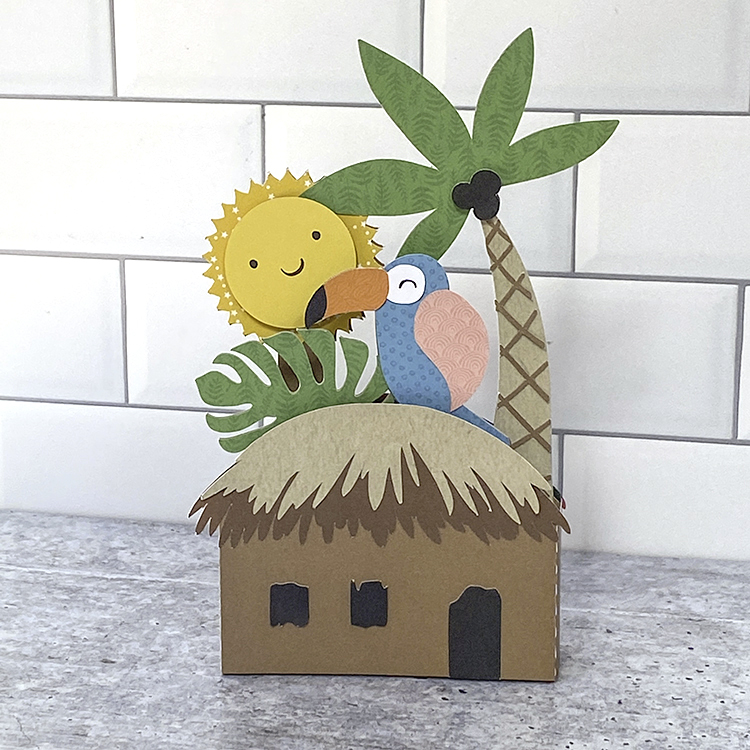
I have a tutorial for you today for this fun summer Island Hut Box Card (SVG, Silhouette). I used solid pattern papers from the Here Comes The Sun, Bee Happy, and Pets collections. I love the beachy vibe of this card.

Box cards are actually much simpler to put together than you may think. Plus once you have done one, other cards will be so much simpler. Let me show you.

2. Let’s do our card base first. Glue the door and windows on the front of the island hut as indicated in the photo below. Then adhere the two layers of grass roof, lining up the curve at the roof’s top.

3. Bend at the dotted lines to form a box. Glue the small tab to the back of the island hut’s front panel. Fold the card flat to ensure it will fold flat to fit in an envelope.

4. Let’s piece together the back panel next. Adhere the sun’s face to the black circle and then onto the sun rays. Glue this onto the card panel matching up the notches as best you can. Glue the palm tree trunk overlay to the palm tree trunk. Then adhere the palm tree’s trunk to the card base. Glue the palm tree leaves to the top of the palm tree and add the coconuts.

5. Bend the tabs of the back panel back and adhere to the card base lining up the edge of the tab to the back of the card base. After adhering both sides, ensure you can still fold the card flat.

6. The front panel is next. Adhere the orange beak piece to the black beak leaving the tip of the beak black. Glue the white eye on top of the black beak too. Adhere the beak in place on the parrot’s body. Glue the parrot’s wing in place. Adhere the parrot onto the card base. Glue the palm leaf on the card base too.

7. Bend the tabs of the front panel forward and adhere to the card base lining up the edge of the tab to the front of the card base. After adhering both sides, ensure you can still fold the card flat.

8. Add embellishments if you want. I added the You’re so Cool! die cut ephemera piece from the Here Comes The Sun Frames and Tags ephemera pack and added a puffy flower sticker.