Extreme Pop Up Card Print and Cut Tutorial

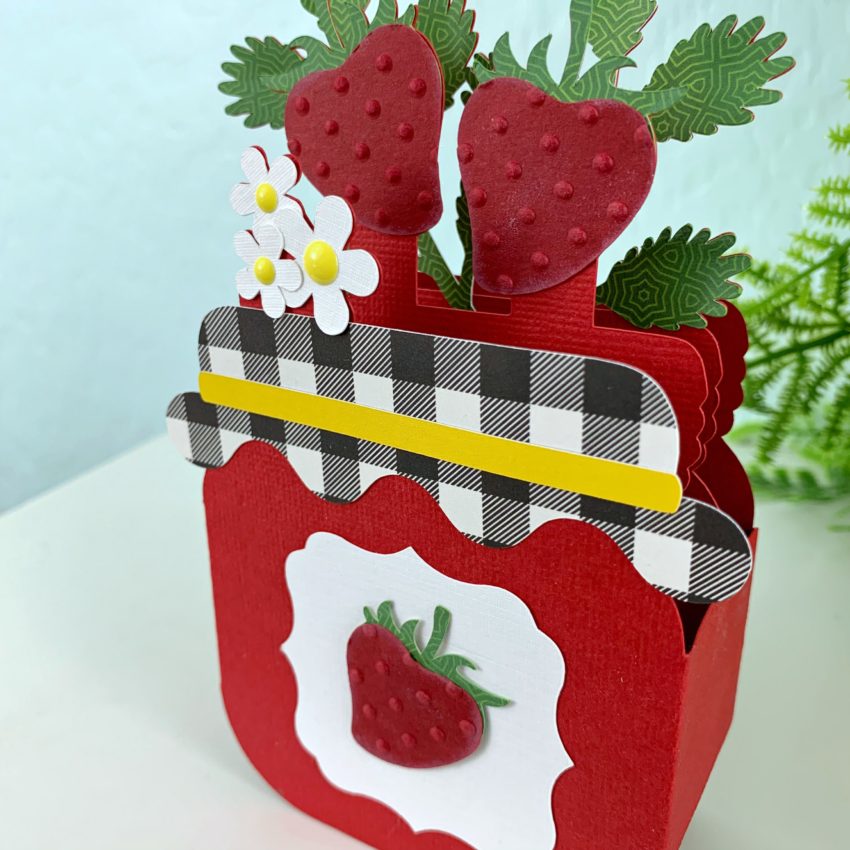
Hi everyone!  It’s Cathy and I have a quick print and cut tutorial with Lori’s new Extreme Pop Up Card Thank You Flowers (Silhouette) or here at Lori’s shop .  I changed the front of the card so that I could use more of Lori’s new collection for Echo Park called Forward with Faith.  It’s so pretty so for the  front of the card, I layered tags, stickers and ephemera from the collection but other wise my card is pretty close to the original file.

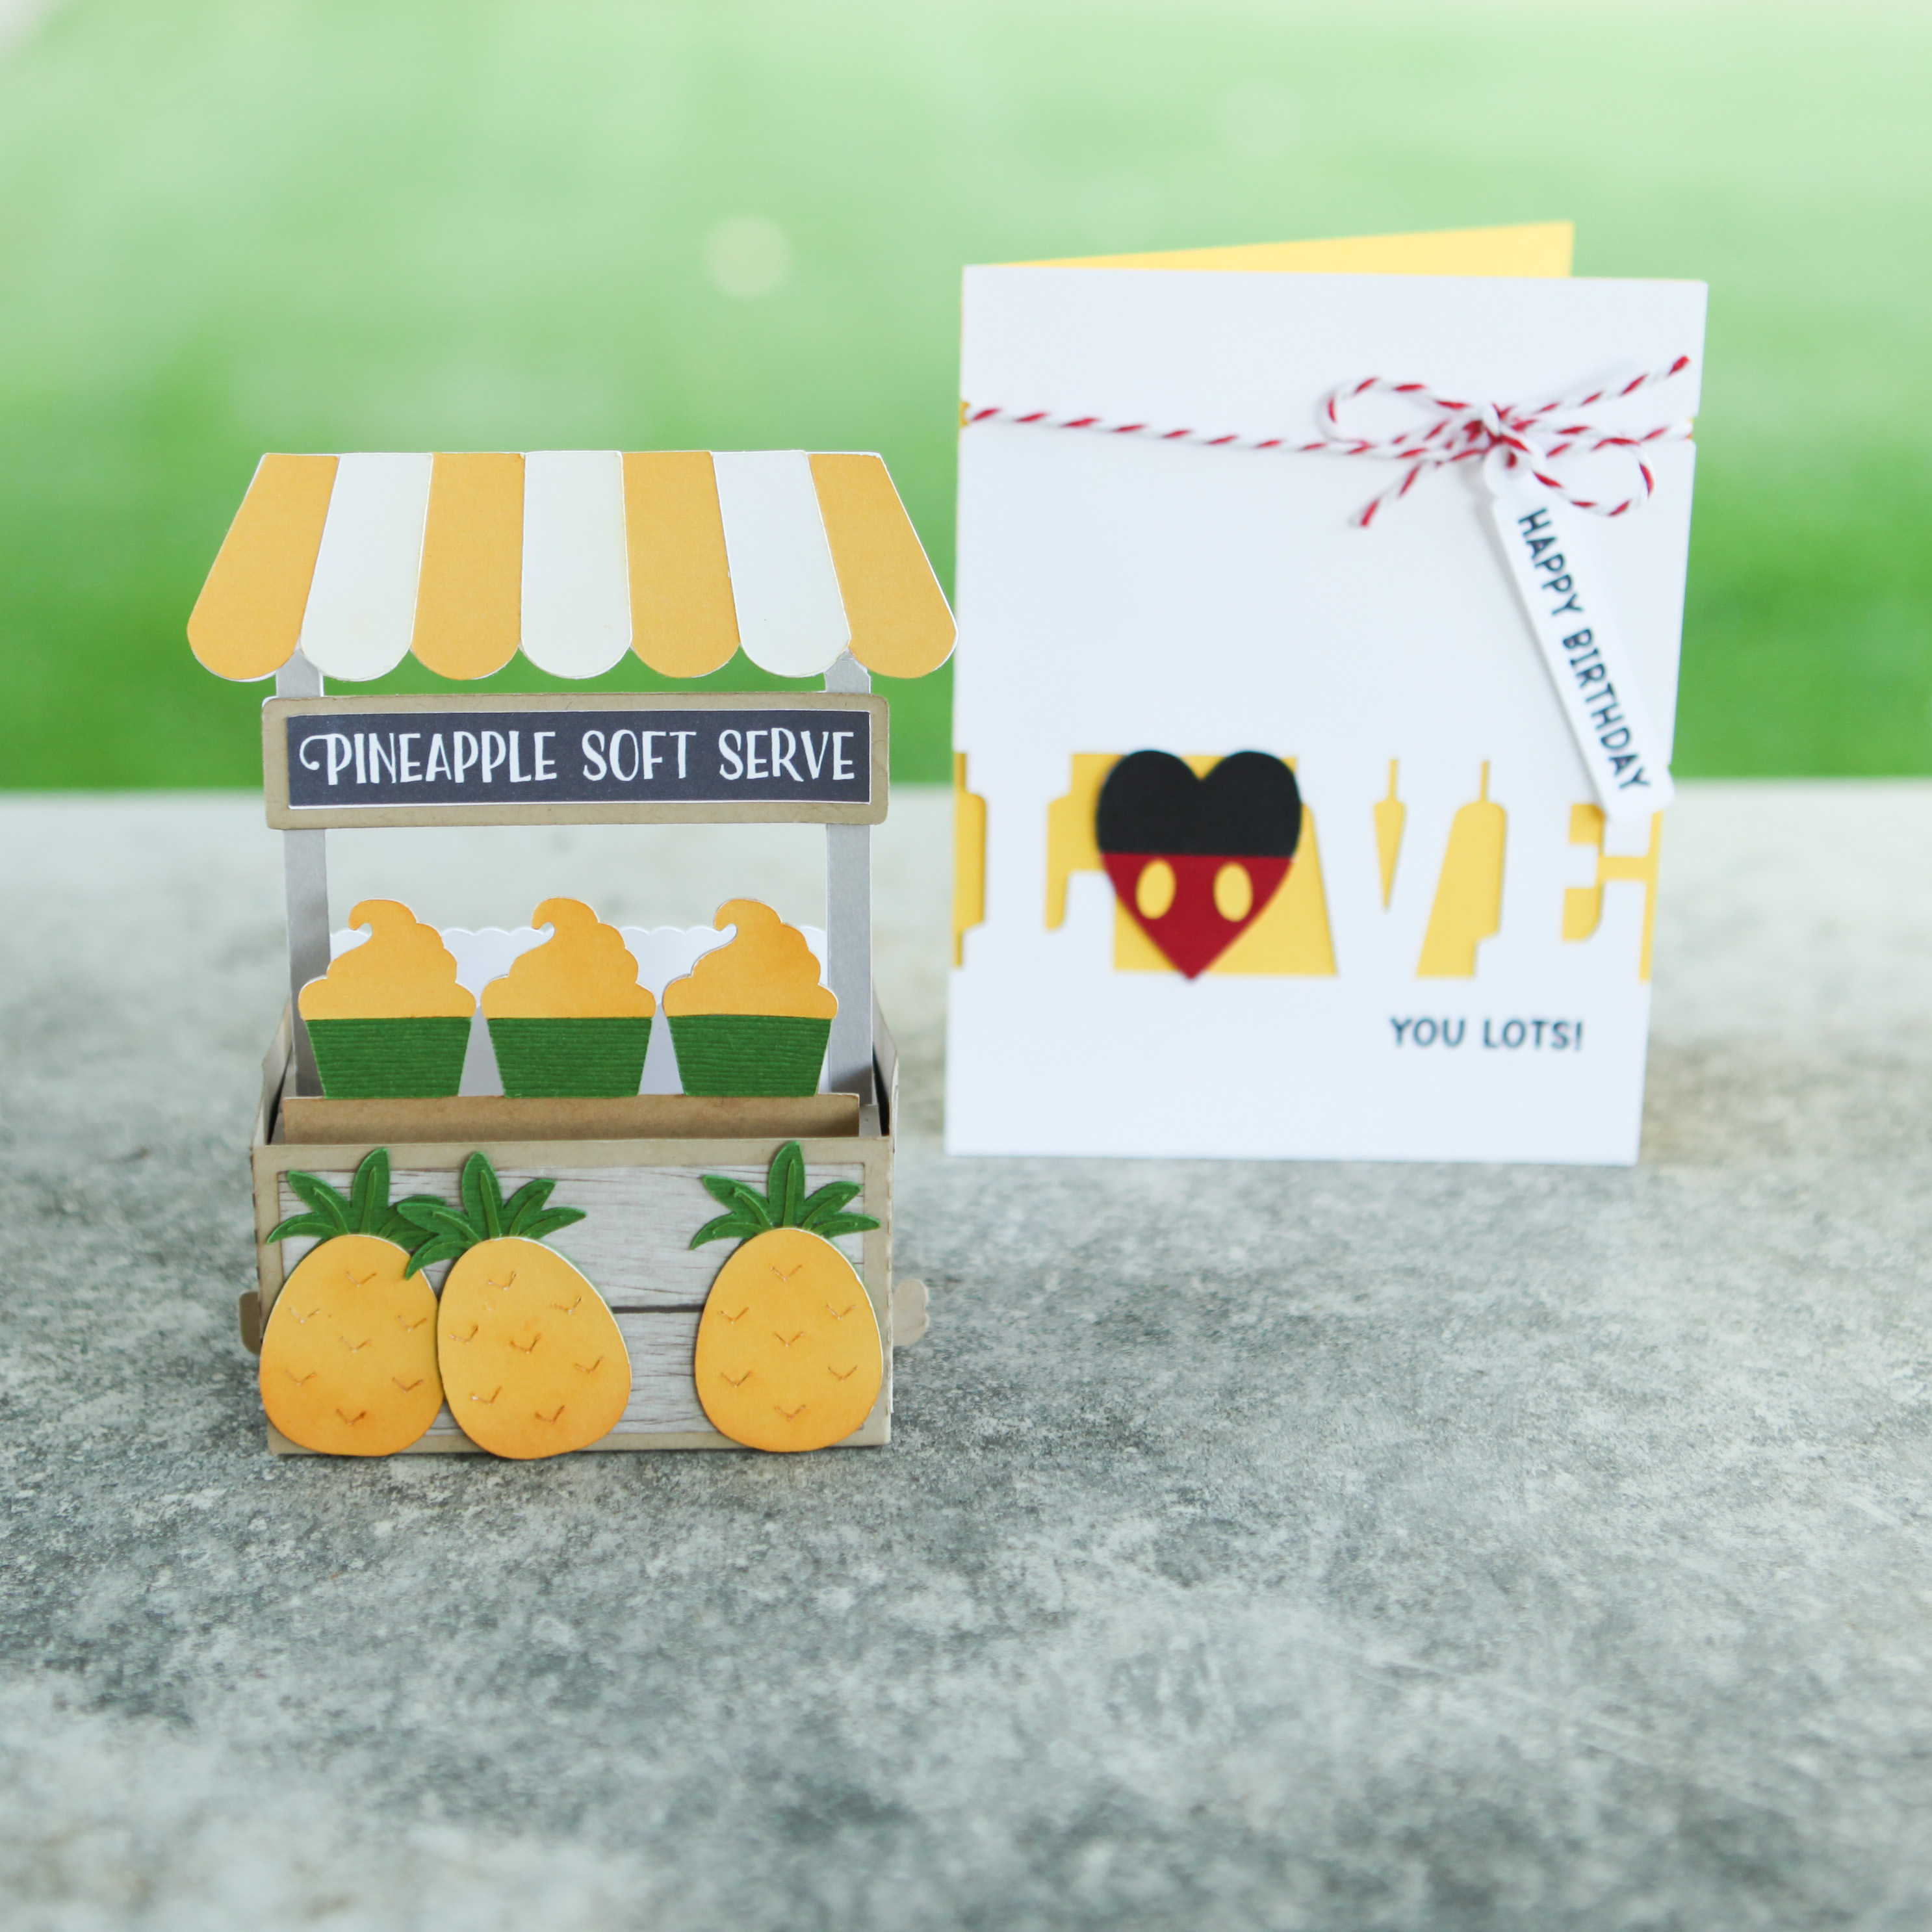
Here you can see the inside of this super fun card.  There are four different cards on the Silhouette Store and Lori’s Store.  The dimension you get is just unbelievable and even better, they fold flat for mailing.  I used a pearl card stock to print the pop flowers, just added more shimmer.

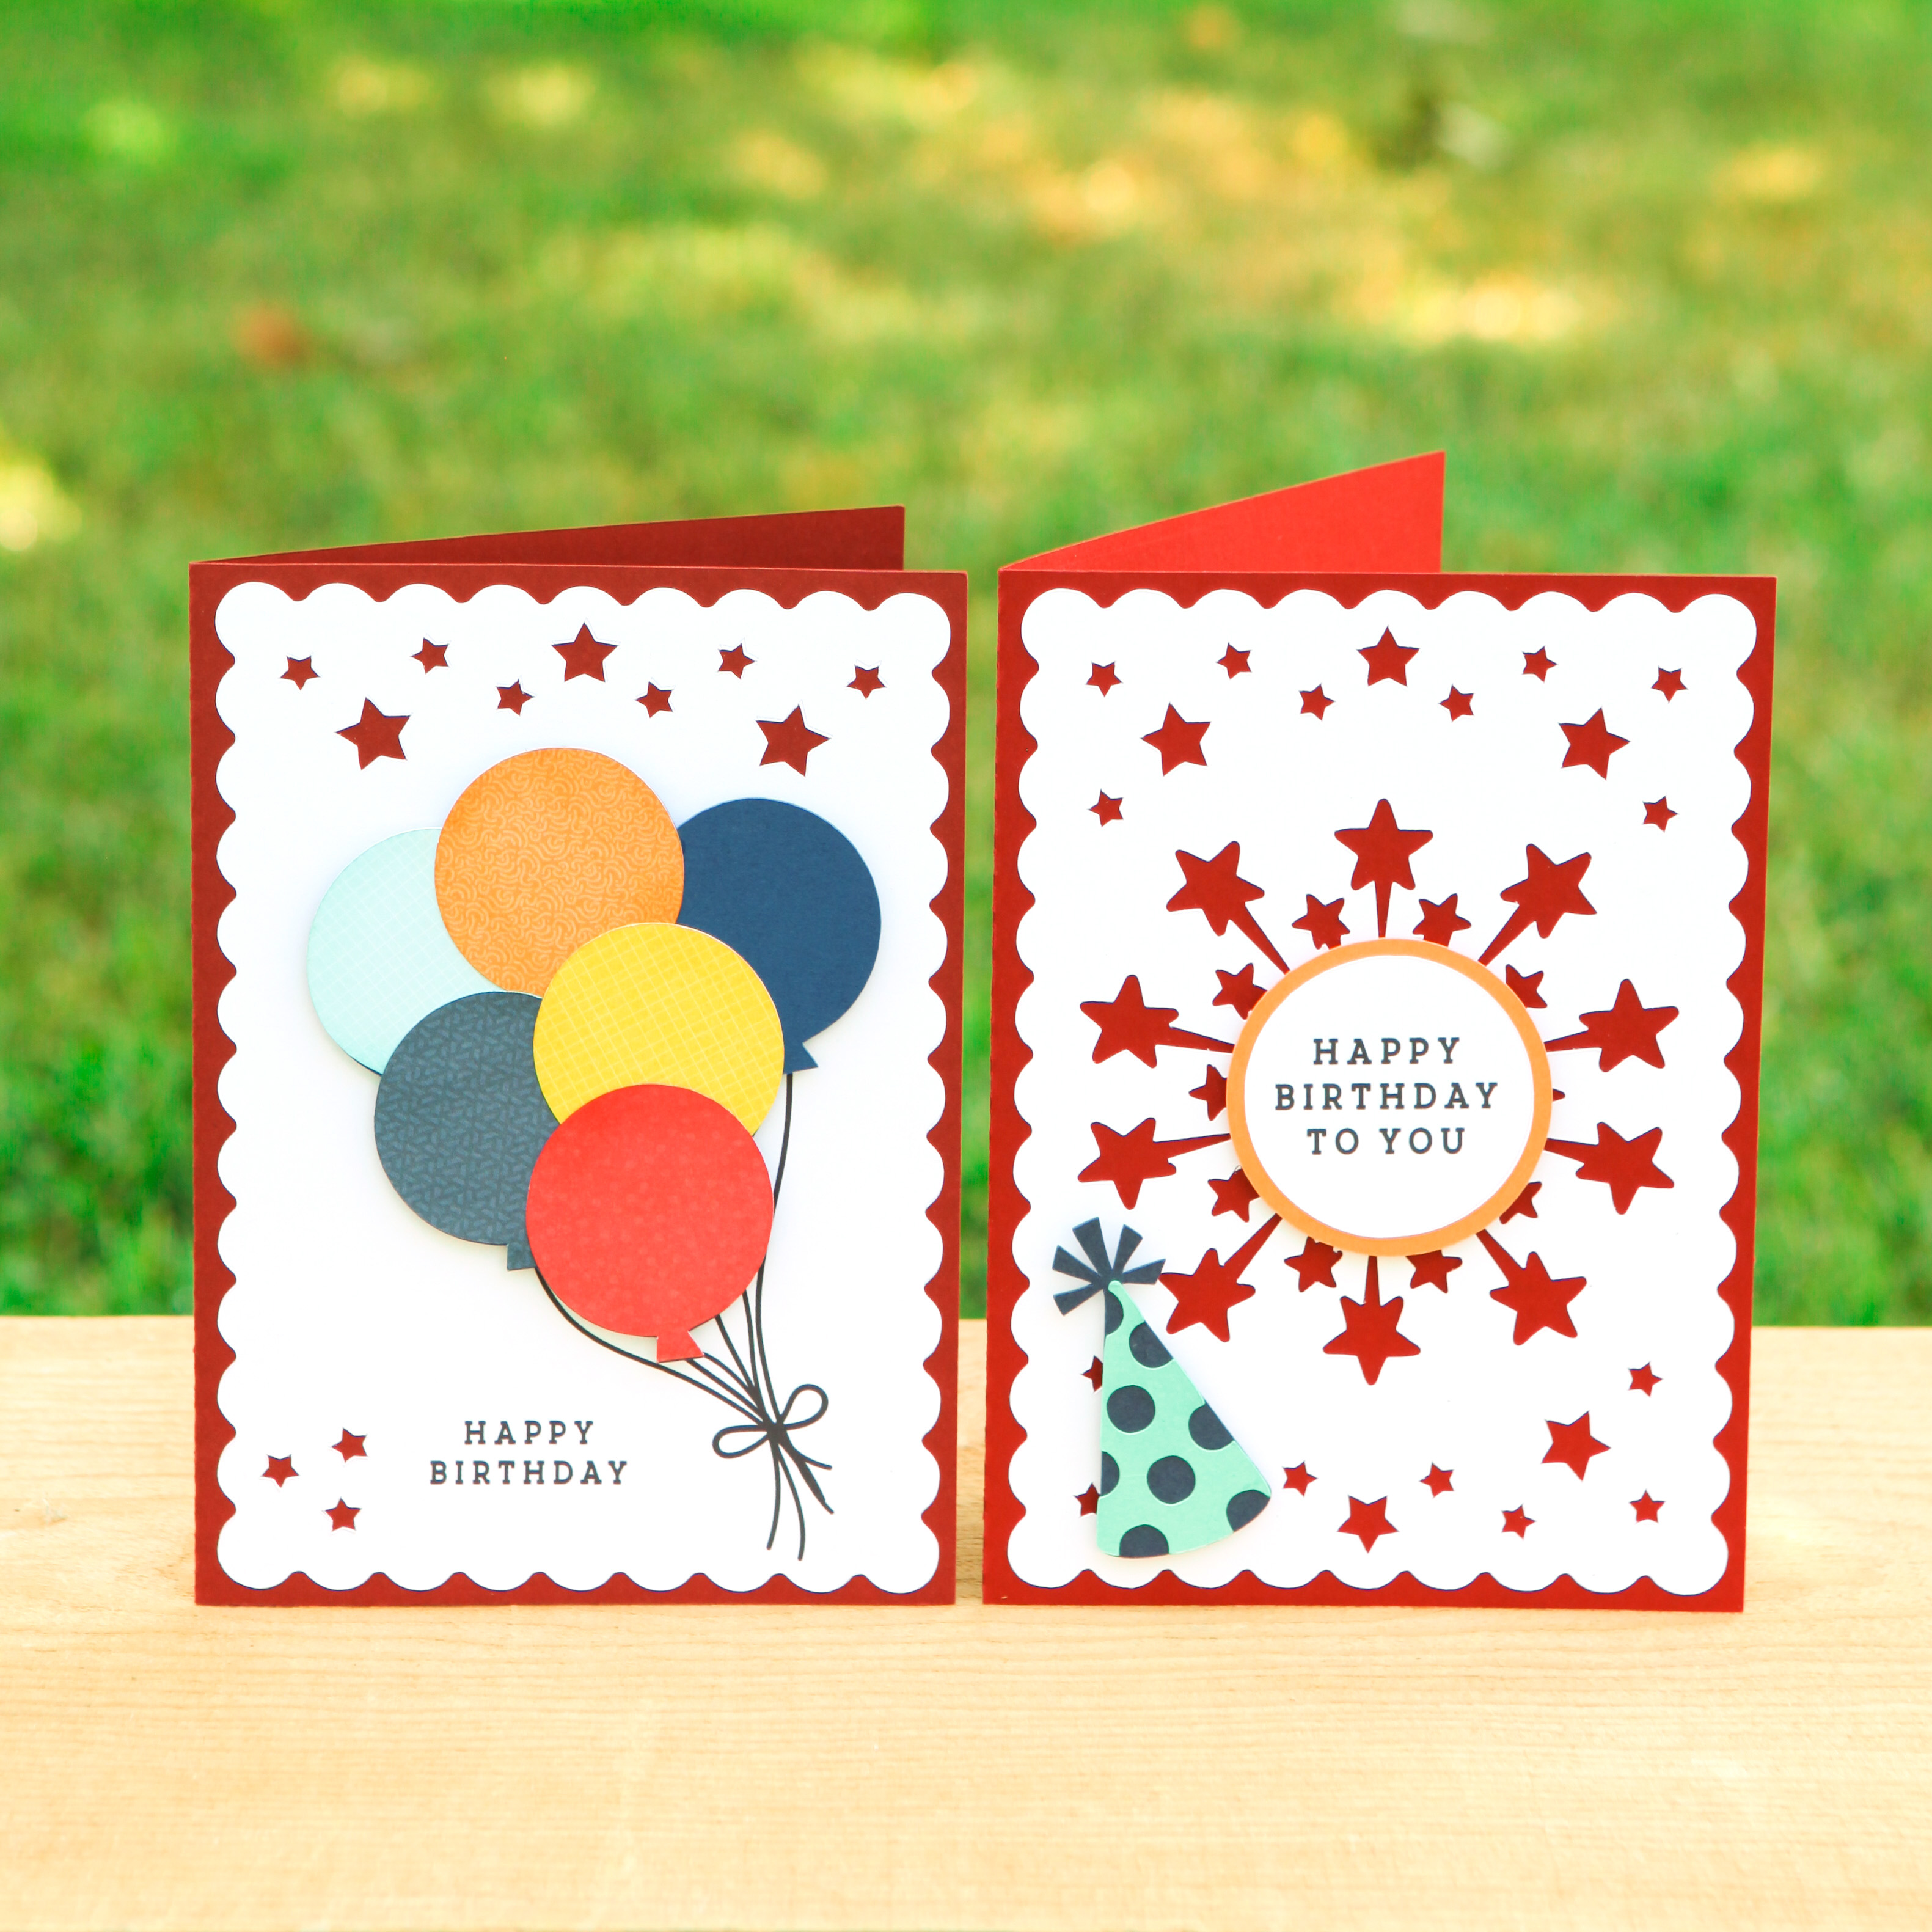
So print and cut sound intimidating, but it’s really so easy and there are so many unbelievably cool files from Lori that use this feature.  Your cutting machine does it all for you in just a couple of easy steps. First, open your file and separate your pieces.  Select your pieces that need to be printed, and open your mat to add registration marks.  You need your printer to print these registration marks in the corners so that it can read them when it goes to cut.  The registration marks also show you your allotted design space. You want to make sure your design is all inside theses marks.   Once you have your design up on your screen and position where you want, simply send to your printer.

Now take your printed image from the printer and line it up on your cutting machine mat.  Load and send it to cut, adjust your settings if needed for the type of paper you will be cutting and hit send for your machine to begin cutting.  It will automatically look for those four corners printed on your paper.  It’s pretty cool how it knows to do that.  It will cut accurately around your image.  It’s like magic.

So from here I am going to send you over to Lori’s You Tube video that shows you how to assemble these awesome cards.  You can find the link here:  Extreme Pop Up Card tutorial.  They go together in a matter of minutes!

Camera Box SVG Cut File Assembly Tutorial

Hi there friends! Brandie here with a tutorial for the Camera Shaped Box (SVG, Silhouette). This little box is darling and would make a cute gift box, décor piece, or to hold a mini album! I will be placing pictures from a vacation in mine and setting it on the bookshelf with my other photo albums.

I wanted my box large enough to hold 4×6 pictures. I added a 4×6 rectangle then I selected all of  the camera images and enlarged until the rectangle fit inside the middle box shape.

For the lens and top dial. I folded all of the score lines as mountain folds.  I then applied a small amount of  liquid glue to the triangle tabs. The triangle tabs attach to the rectangle next to it creating a corner of the octagon. Once the octagon is complete I folded the tabs in creating a base for the bottom of the octagon box. I applied liquid glue to one of tabs and anchored the bottom piece of the octagon box. After the anchor was secure I applied glue to the remaining tabs and folded the bottom into place. Hold the octagon for a few seconds while the glue takes hold.

Each of the octagons has a layering piece. The large octagon has four layers and the small octagon has one. I inked around the edges of the octagon and applied the layers with liquid glue.

While the box was still flat I glued the decorative panels into place. I then folded all the score lines into mountain folds. I glued the smallest tabs into place first creating the base of the box. The remaining open side of the camera body is a little shorter so I applied glue to the side of body flap rather than the tabs.

The lid only has four tabs to glue and no decorative panels. I applied glue to the tabs and tucked into place.

With the lid on the box I glued the two octagons into place as well as the viewfinder rectangle and flash circle

 I also added a few little things to embellish my camera box. All of the papers and embellishments are from the Echo Park collection I Love Summer.

That’s it for me. Thanks for stopping by and  I hope you all are enjoying your summer!

Brandie