More Christmas Fun by Corri and Joy

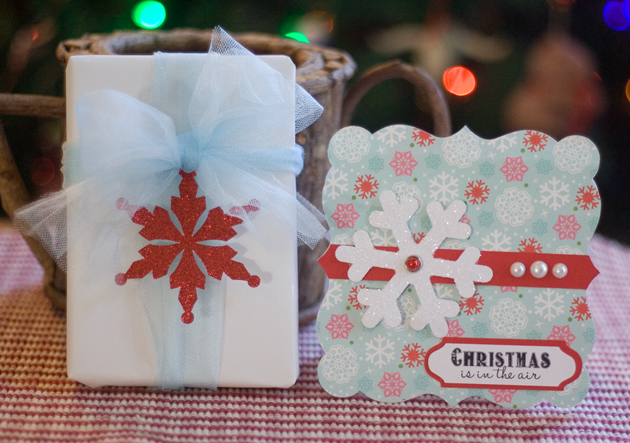
I love our Creative Team! They always have such great projects to share with us. Today on the blog we first have Corri. She has used some of the newest shapes in the shop to create these adorable pieces. She used the “Snowflake Charms” to tie to her package. Check out her blog for more info.
 

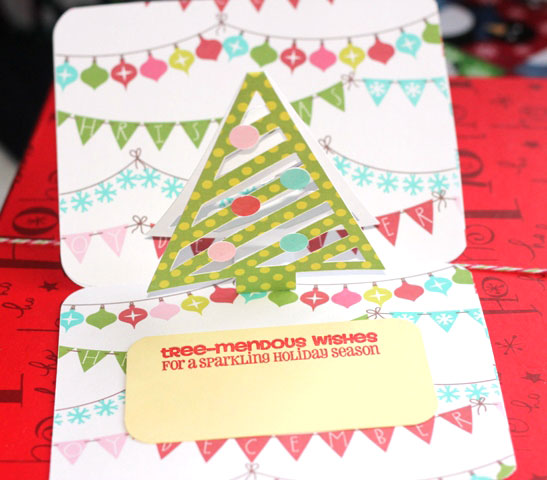
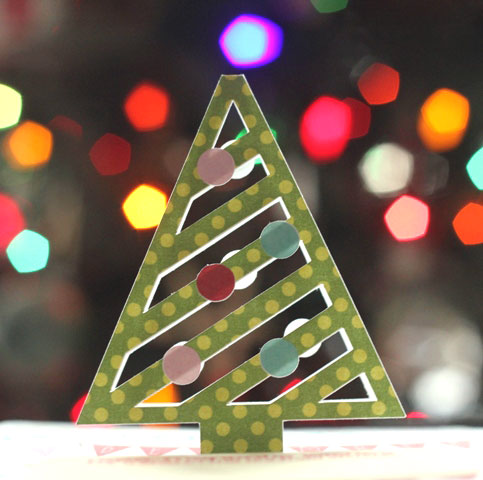
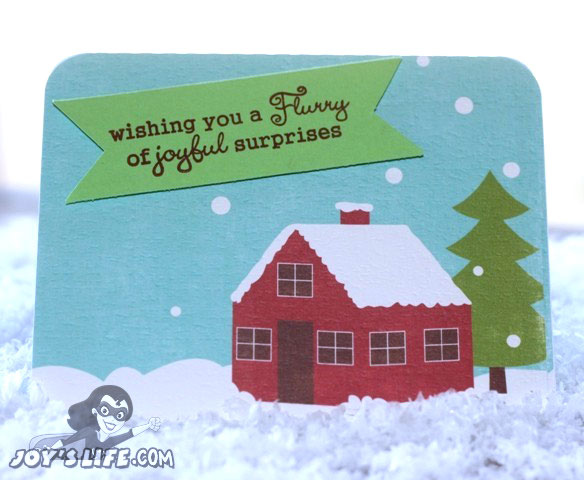
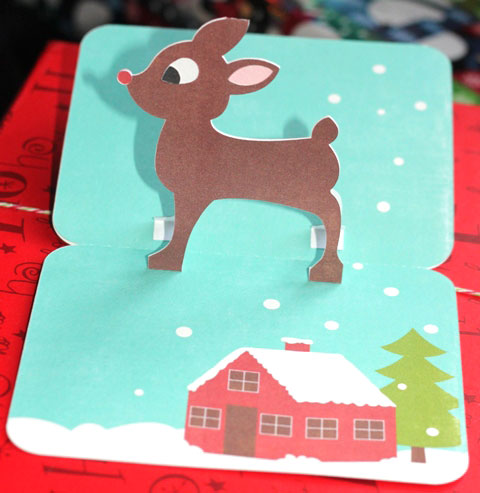
Joy has used the “Christmas Tree Pop-up Card” and the “Reindeer Pop-up Card.” These are both so adorable. Not only is this an SVG cute file, but also uses a digital scrapbooking file. Joy printed Lori’s “Christmas Day Paper” found at Jessica Sprague (and on sale right now for 40% off) and lined the card up perfectly with her machine to cut it. She gives directions on her blog if you need help. Thanks Joy. These are both adorable.
Silhouette Shop News

With all the changes to the Silhouette Online Store it has caused some issues with the site which I’m sure you’ve noticed. Things have been slow and images have been hard to find. I know their programmers have been working diligently to resolve the problems. So, things are getting better.  I just thought you’d want to know that ALL Christmas shapes are on sale for 25% off. During that crazy down time, Lori has added some NEW shapes, that I LOVE, and I want to make sure you saw them. And, right now you can pick them up on sale at the Silhouette Online Store. All of these shapes are available in SVG format at the Lori Whitlock Shop, also. Hope you are safe and sound this holiday season.

Glass Etching with Joy

Today Joy is sharing with us another way to use the word art titles Lori has in the shop. I absolutely adore her project. What a fun way to showcase type, which I also love.  Joy says,

“I love working with Lori’s files in a number of ways.  They’re great for paper, fabric, vinyl, paint, just about anything you can think of!  Today I used her Christmas Word Art Vinyl 2 file .  They really are perfect for working with vinyl!  Instead of just applying vinyl to a mirror, which is a cool project on its own, I used the vinyl as a resist and added Armour Etch glass etching cream.  I let it sit for about 20 minutes…or so…actually, I ate dinner and lost track of time but then I got back to it!  I washed the cream off, removed the vinyl and voila, I had this awesome mirror.  I added washi tape around the edges to add a little color.  Don’t hesitate to try a glass etching project.  Just do what I did, buy your mirror at the Dollar Store.  Now with all that money you saved on a mirror, you can shop for more fun files!  See, I’m always thinking!  LOL!  Happy crafting!”

here is another view, no the words are not white, the light just reflects differently, creating a different look. Joy this is adorable. Thanks for sharing. Go check out more detailed instructions on Joy’s blog.
Christmas Love by Natalie and Joy

I love Friday, don’t you? One of my favorite things is have 2 projects to share with you!

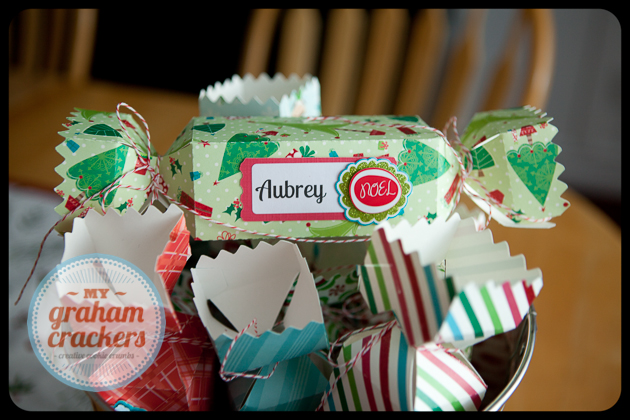
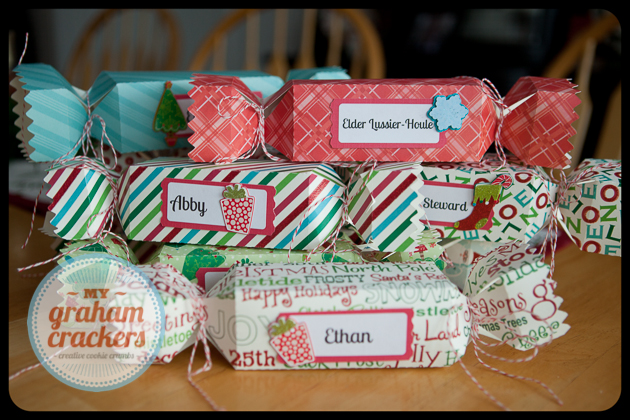
I have wanted to make these ever since Lori created this file,“Candy Shaped Box”. I was so happy when I saw that Natalie did it too! She made these adorable party favors for each member coming to dinner. They served double duty as table decorations, place cards and party favors (or should that be triple duty?). What a great idea. For more info head over to Natalie’s blog


Also to share with you today is this adorable sign/plague that Joy created. She used the new “Naughty is Word Art Title.” Before adding the vinyl, she painted the wood with paint and glitter (a girl after my own heart) and made it sparkle for Christmas. As always Joy has wonderful tutorials about how to cut and add vinyl to any project, so don’t be afraid to try. Her blog will lead you through, step by step.  Thanks ladies, your projects are beautiful!

Christmas Village

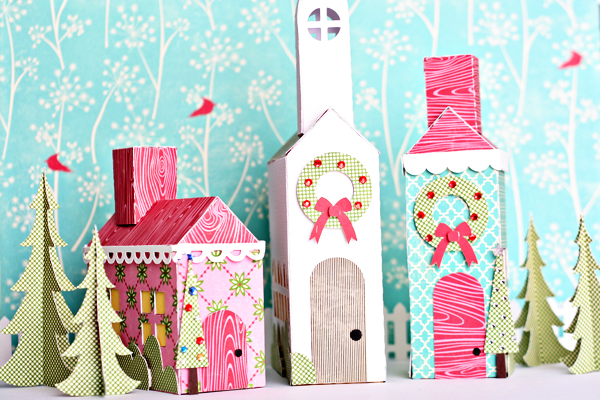
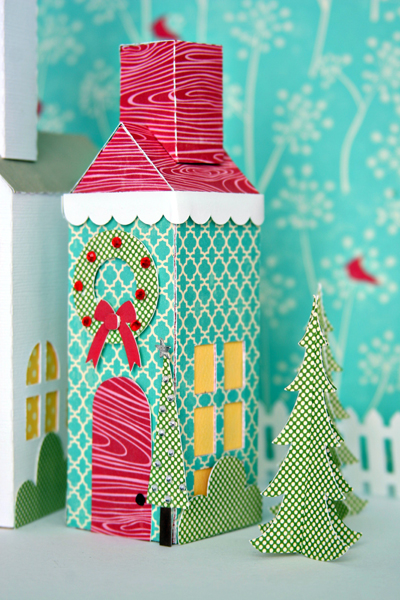
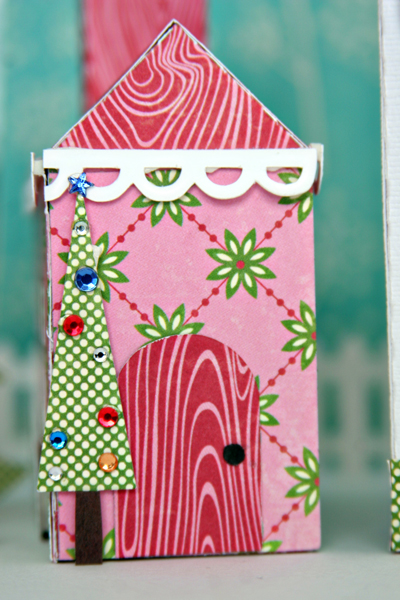
I have always wanted a Christmas Village in my house, but I could never find a safe place to put one, until now. Look at what Christine has created. By making these out of paper, I wouldn’t worry about the table being bumped and/or them being knocked off (I have some rambunctious boys.) I love that she created such a beautiful decoration out of paper.

Christine says “The time to decorate for the holidays is upon us and I am adding a few new things to my home decor this year.  This sweet little Christmas Village is one of them.  Every little bit of this village was made with files from Lori Whitlock’s shop.
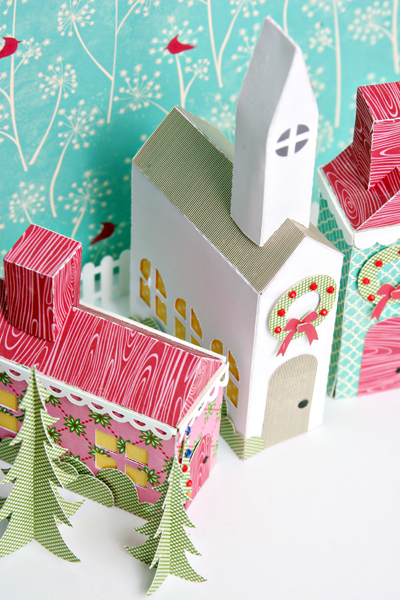
The three buildings that I used are the house, church, and tall house.  I cut out the building outside pieces on the two houses twice so that I could have the roof and the sides of the houses two different patterned paper.  There is a second bottom piece in each of the files that is the base of the house.  Each of these were cut out of yellow cardstock so it looks like lights are on in the houses and church.”

I love the detail she has added to each little house.

“I used many different files to decorate the buildings.  I really tried to think outside the box, using files that were intended for other purposes than what I actually used them for.  The best example are the shrubs next to the houses.  They are actually Lori’s Clouds file.  I did trim a little on the bottom so they were totally flat on the bottom edges and then I adhered some flat and others with foam adhesive.”
Christine shares MANY tips on how she created these buildings on her blog, so go visit and leave her some love. Adorable as always Christine!

Shapes used