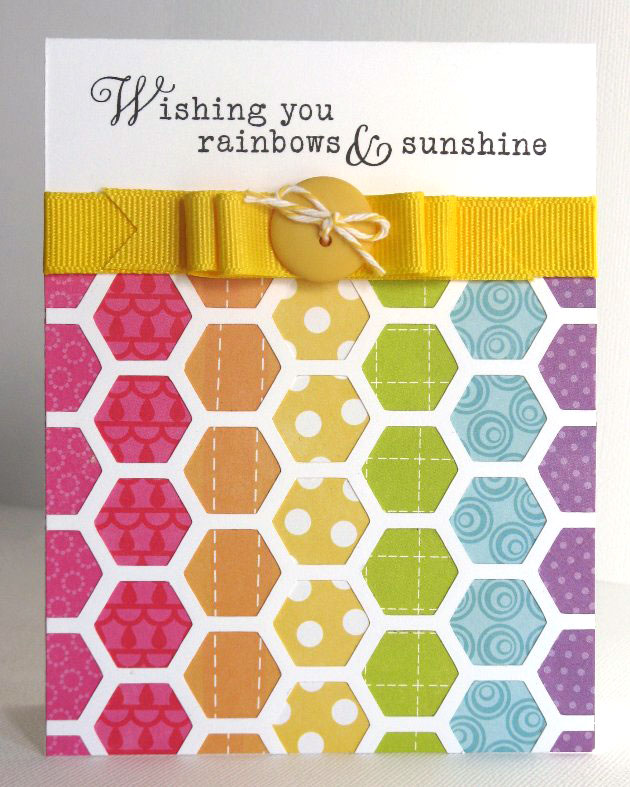
Hexagon Card by Mendi and Frame by Joy

I always love to see what our Creative Team has done and today is no different. Look how fun and bright this cute card is. I agree with Mendi, I am ready for Spring right now, how about you? Mendi says…

“I don’t know about you, but I’m seriously ready for some sunshine so for today’s card I altered Lori’s Hexagon Card cutting file to form my card’s rainbow background pattern (using my favorite Summer Days paper collection which Lori designed for Echo Park).    I hope it shows that with some great basic shapes and a little creativity, you can really get a lot of mileage and different looks from a single cutting file!  Hop over to my blog today where I am sharing a video tutorial to better explain how I used Lori’s file to create my card.”
Next up is Joy. She is so great and creating decorative items for her home.

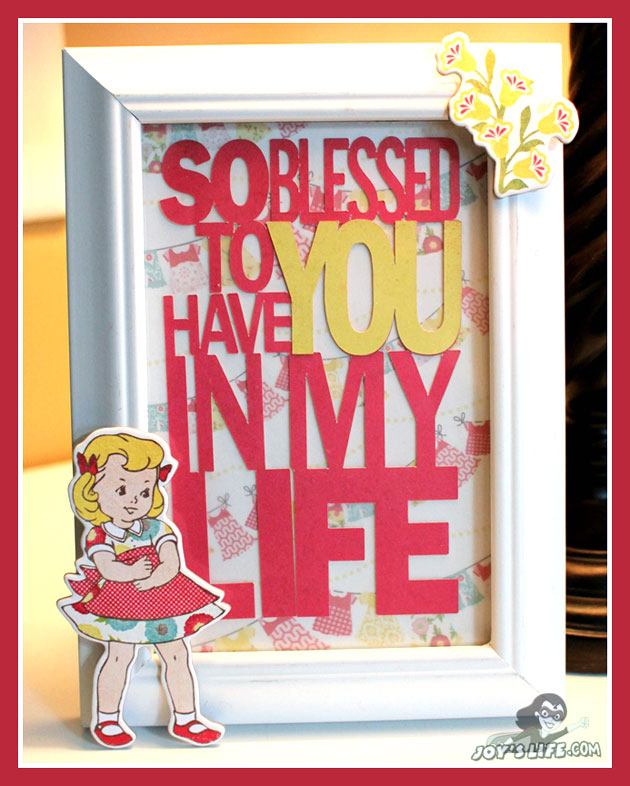
When I saw Lori’s Family Word Art Titles file in her store, I just had to have it!  This phrase is something that I tell my husband and children all the time, so it is especially meaningful to me.  I did something very, very simple.  I used my Cameo to cut the phrase out.  Then I cut a piece of paper from Lori’s new Sweet Girl paper line to use as the background.  There’s a trick though!  The patterned paper was just what I wanted to use, but the brightness of it competed with the phrase.  To solve this, I covered it with a piece of vellum.  Problem solved!  It muted the print just enough to make sure that the saying really stood out.  I put everything in the frame and added those precious chipboard images from Lori’s Sweet Girl embellishments.  I hope you’ll come by my blog for more projects and ideas.  Here are some things I’ve pinned on Pinterest that I made using Lori’s great files.  Happy crafting!
 

February Blog Hop

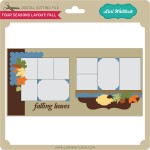
Have you missed seeing our Creative Team goodness this week? Well, we have a lot of talent to share with you today. Lori has recently released some double page layouts in both SVG and Digital Scrapbooking/PSD format. I want you to see what you can do with these different files and our creative team has so happily obliged, told you they were the best.

First the SVG’s, these files are designed to be used with Silhouette machines and can be found here in Lori’s shop. After opening the file you will see how the layout is assembled. Ungroup the pieces, sort and cut from your favorite pattern paper/cardstock. Assemble all pieces onto background paper (not included in cutting file) and VOILA, a beautiful layout to add to your scrapbook. Pieces can be moved around and placed/used any way your heart desires.

SVG FILES in Lori’s Shop

IF you are not a die cut kind of paper crafter, these files also come as digital scrapbooking kits, and are found at here at Jessica Sprague . They have been created as layered PSD’s, which means you can use the pieces as clipping masks in Photoshop Elements and Photoshop. These are ready for you to add your favorite pattern papers, ribbons and photos and the layouts are done.

PSD FILES in the Jessica Sprague Store

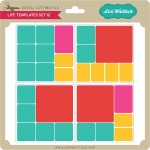
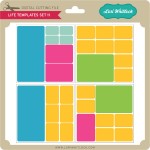
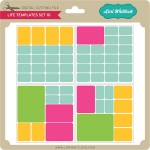
We created these layouts with the idea that you could throw these into your Project Life albums and mix it up a bit. The smaller photos slots are 3×4, which is a perfect fit for any of Lori’s Life Cards in her shop both here and at Jessica Sprague.

Without further ado, please let me show you the order of our blog hop today. These ladies are truly amazing and have shown you different ways to use these layouts, both digital format and SVG’s.  When you are done be sure to come back here and leave a comment so you can be entered in our drawing for a $20 gift card to Lori’s shop. She has amazing shapes there and more coming each week.

Lori Whitlock
Natalie Graham 

Corri Garza 
Joy Dickson 
Lisa Bell 
Mendi Yoshikawa 
Christine Ousley 
Lisa Barrie
Roelien VanDenBerg 

Don’t forgot to leave a comment here about your favorite project for a chance to win a $20 gift card to Lori’s shop!

all banners were created using Lori’s Love Story Collection by Echo Park, available both in paper and digital formats.

Eye Candy by Amanda and Corri

Amanda is also here today to share a really fun technique with us for some adorable organizational tag embellishments. She says…
I used the 5 charms file 
Other supplies:
Distress ink
cardstock
gold and clear embossing powders
Versamark inkpad
Heat tool
Typewriter or computer to print the label names
I used the 5 charms file to create some faux-metal tags to label some of my crafty storage jars.
 
Step 1: I cut the charms out with my Silhouette from smooth white cardstock.
Step 2: I typed out the labels I needed and trimmed them to fit my tags. I distressed them a little with some brushed corduroy distress ink.
Step 3: I inked the charms with versamark ink and embossed with gold powder. I repeated this 3 times to get a very thick coat of enamel.
Step 4: Whilst the powder was still melted, I pressed the printed label into the enamel, so that it sunk in.
Step 5: I added another embossed layer over the top of the whole charm, this time using clear embossing powder. This sealed in the cardstock labels and gave the whole charm a nice glossy sheen. It also had a bit of a reaction with the gold powder and gave the charms a nice antiqued appearance.

Next I have a cute treat box and card by Corri…

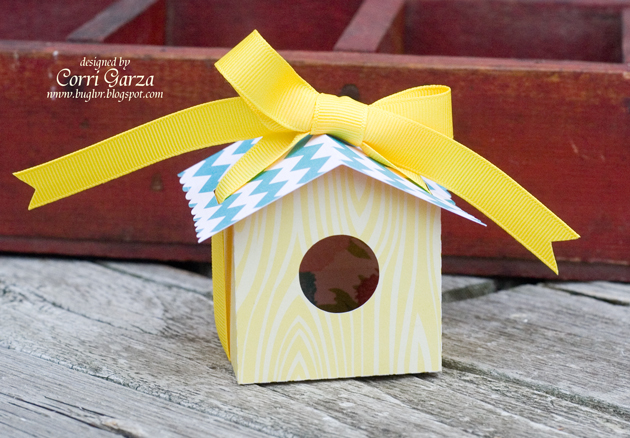
I have a cute Spring project today using the Echo Park – Sweet Girl collection that was desgined by Lori Whitlock.  This collection will definitely get your in mood for Spring….the colors and patterns are so beautiful!

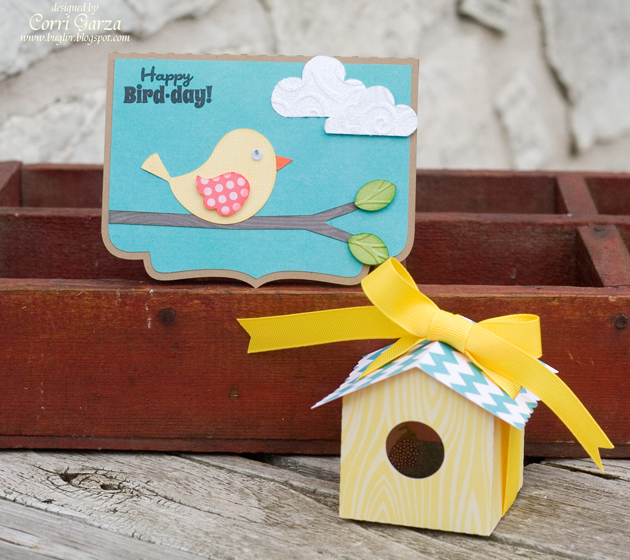
Lori recently added this adorable Bird House Treat Box to the shop.  It’s so adorable and perfect for Spring! 
I used the yellow wood grain paper from the collection for the base and the turquoise chevron for the roof.  The roof is secured with ribbon that threads through the base of the box….so cute!
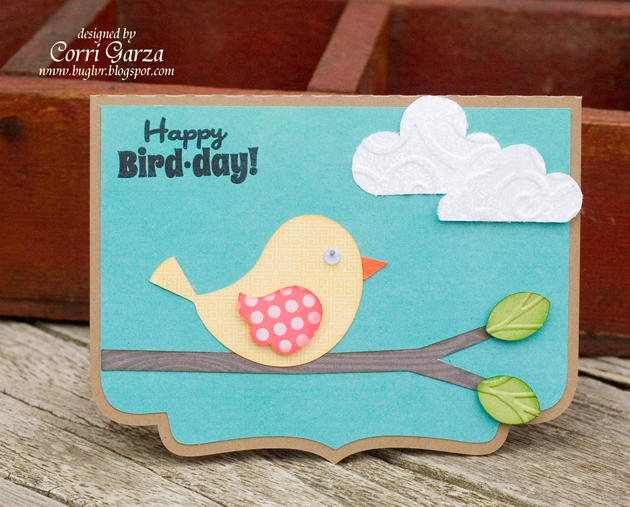
Of course, I had to make a card to match….

The files I used on my card are
Bird on Branch 2
Clouds
Card Base


Cards by Christine and Flowers by Natalie

I LOVE that so many of our Creative Team Members are in the card making mode. It has been great inspiration for me. Today we have Christine and Natalie sharing their adorable projects with us.  Christine says…
It’s time to stock up on cards.  Already this year, I have been caught without a card when I really needed one.  So I found this cute little card file in Lori Whitlock’s shop and decided to make a couple.  There is actually 4 different styles and I am showing two of them.  

What I love about making this cards is that if you use double sided paper, you can do the card base and accent panels from one piece of paper and one cut!
The belly bands are the different elements in the four cards.  The other two, not shown, are square and star shaped.  Look for those in an upcoming post because I am hooked.
Here is my second card.  This one has a circle shape on the belly band.  Instead of using the circle accent, I decided to use the space to attach some coordinating cardstock stickers.
The papers I used on both of my cards is  For the Record Documented by Lori Whitlock for Echo Park.  It’s a beautiful paper collection.
These cards are really easy and quick to cut out and decorate.  A really good card to use to build up your stash!
Supplies used:
Other Supplies used:
For the Record “Documented” paper collection by Lori Whitlock for Echo Park
Papertrey Ink Stamps
Next I have some very clever hair flowers to share with you. Natalie has created these beauties with one of Lori’s SVG files, I was shocked…
I’m excited to share with you this cute little project. I would bet you would have never bet that this was made from my silhouette?  When I saw the rolled flowers in Lori’s shop I knew that I wanted to try them out of fabric, and they worked.  The key is to use either stiff fabric with some stabilizer under it or, use this thin fabric to cut from.  The fabric I chose was thin polyester lining.  It’s used to line skirts or dresses with out adding a lot of bulk.  I came in an array of colors, and it was super cheap.  I cut the fabric 12×12 to fit on my cutting mat, then cut out the shape with my silhouette.  There were a few places that didn’t cut all the way through, which I hand trimmed, which is OK because these are not suppose to be perfect.  After I cut them, I grabbed my lighter and singed the edges, making them pucker and curl.  Then I got a needle and thread and had sewed the curls into place, then attached the rhinestone button.  Then hot glued a clip and some felt to clean it up.  Now I have some cute little flowers for my girls hair.  I think they turned out darling, now only if I had the time to make about 100 more!
The file I used was from Lori’s shop and you can find it here.

New Today in Lori Whitlock’s Shop

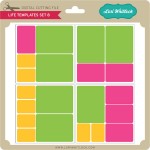
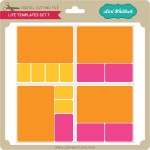
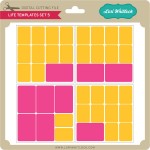
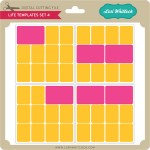
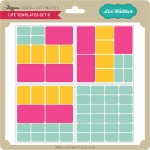
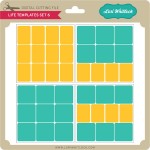
There are many great and exciting things being created at the Lori Whitlock office. Today I have one of these things to share. Have you seen the Life Templates at Jessica Sprague? There have been some requests for making this available for digital die cut machines: ie Silhouette, Cricut, etc. I have been working on making that possible. All 12 Life Templates are in the shop along with some fun double page layouts that you could also cut out and add to your Project Life books. If you are wanting to create Project Life like pages, but do not want to invest in the page protectors, these grid overlays work great in 12×12 sheet protectors. If you want to make your own project life cards, use the inside shapes and decorate to your hearts content. There are plenty of additional shapes in the shop to personalize your cards.

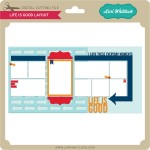
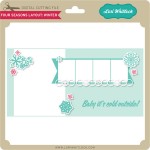
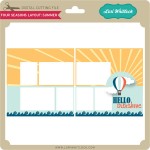
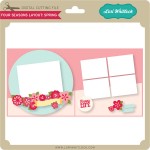
The 4 Season Layouts, Life is Good Layout,and You Make Me Happy Layout, would be great additions to add between the grid pages of your Project Life books. Just cut these files with your die cut machine, assemble and place in a 12×12 sheet protector. These files sold at Lori Whitlock ARE NOT print and cut files, but SVG’s ready to cut your favorite pattern paper. If you are not a paper scrapbooker, but digital instead, head over to Jessica Sprague and grab these files in layered PSD templates.

Don’t forget about the Valentines Day Sale. You can get 30% off now through Thursday on these new shapes!