
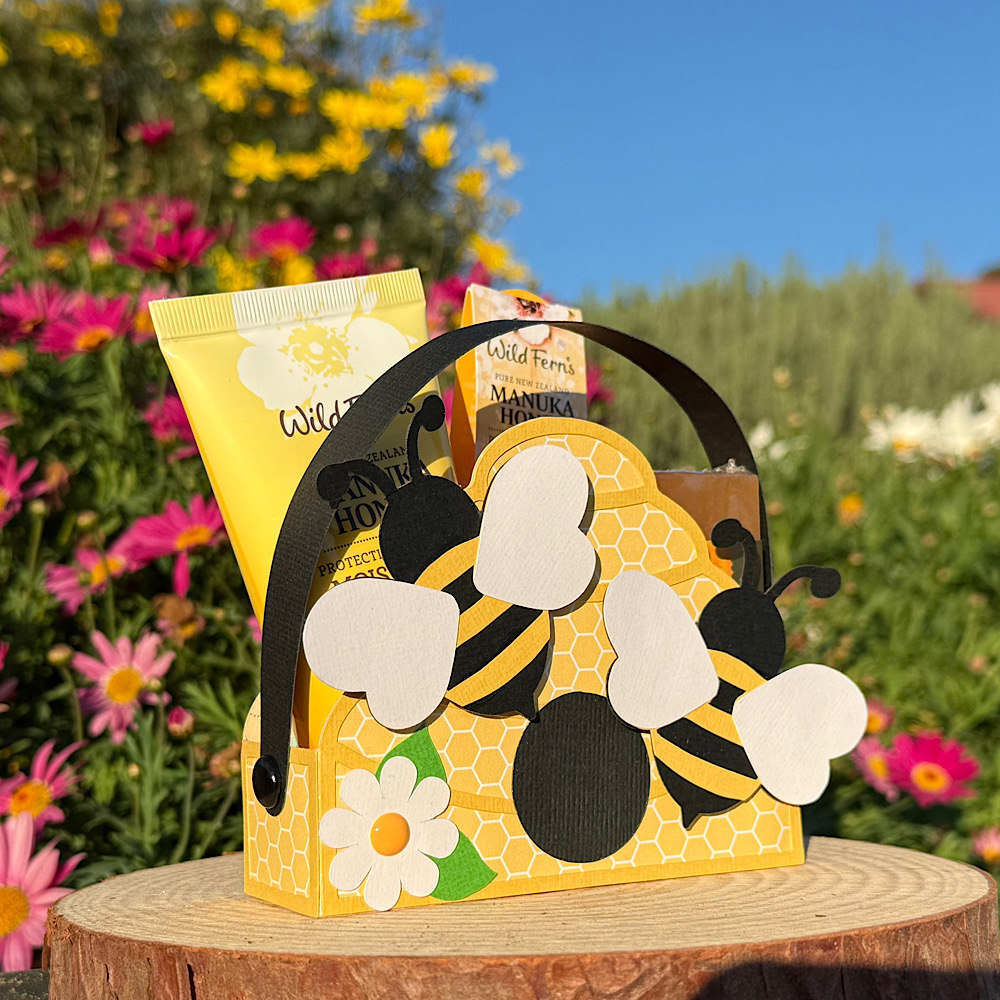
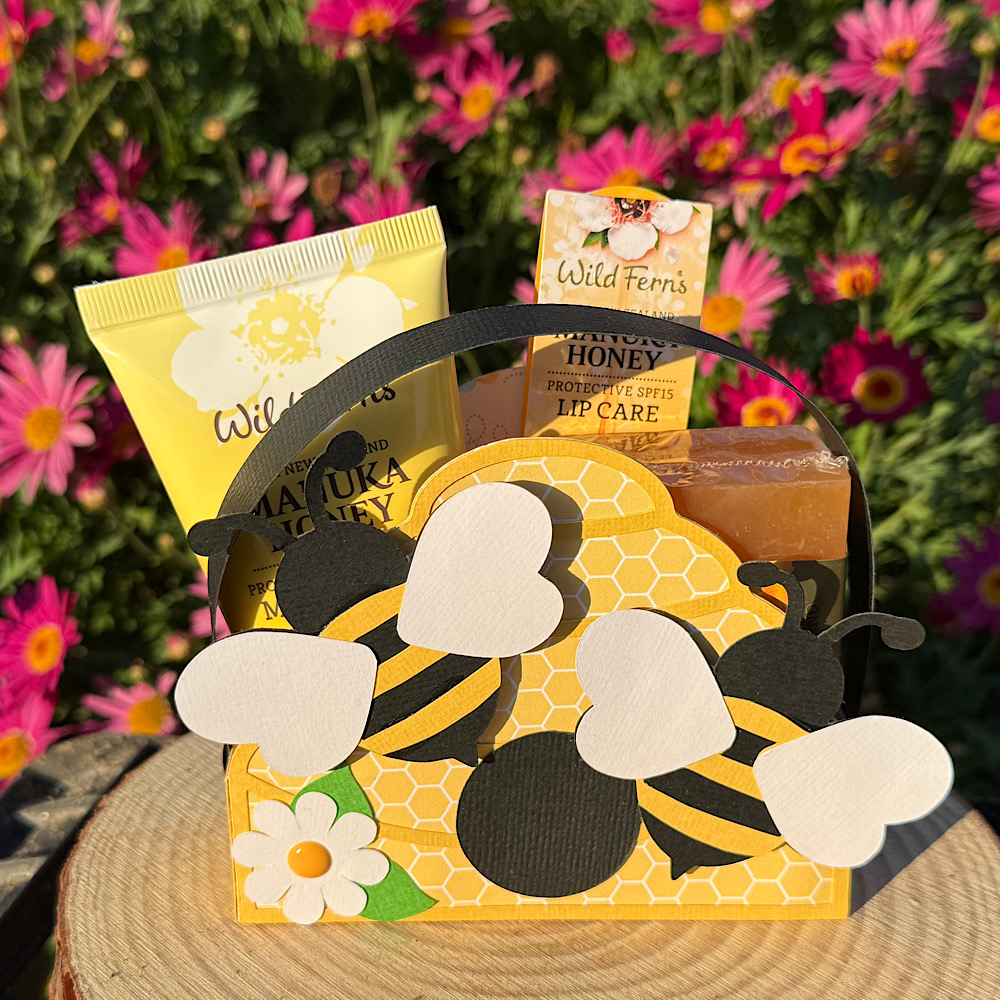
Hello Crafty Friends, did you catch the new Bee-autful Beehive project bundle (SVG) from Lori Whitlock released last week?
Today I am sharing one of those projects called Beehive Box (SVG, Silhouette).
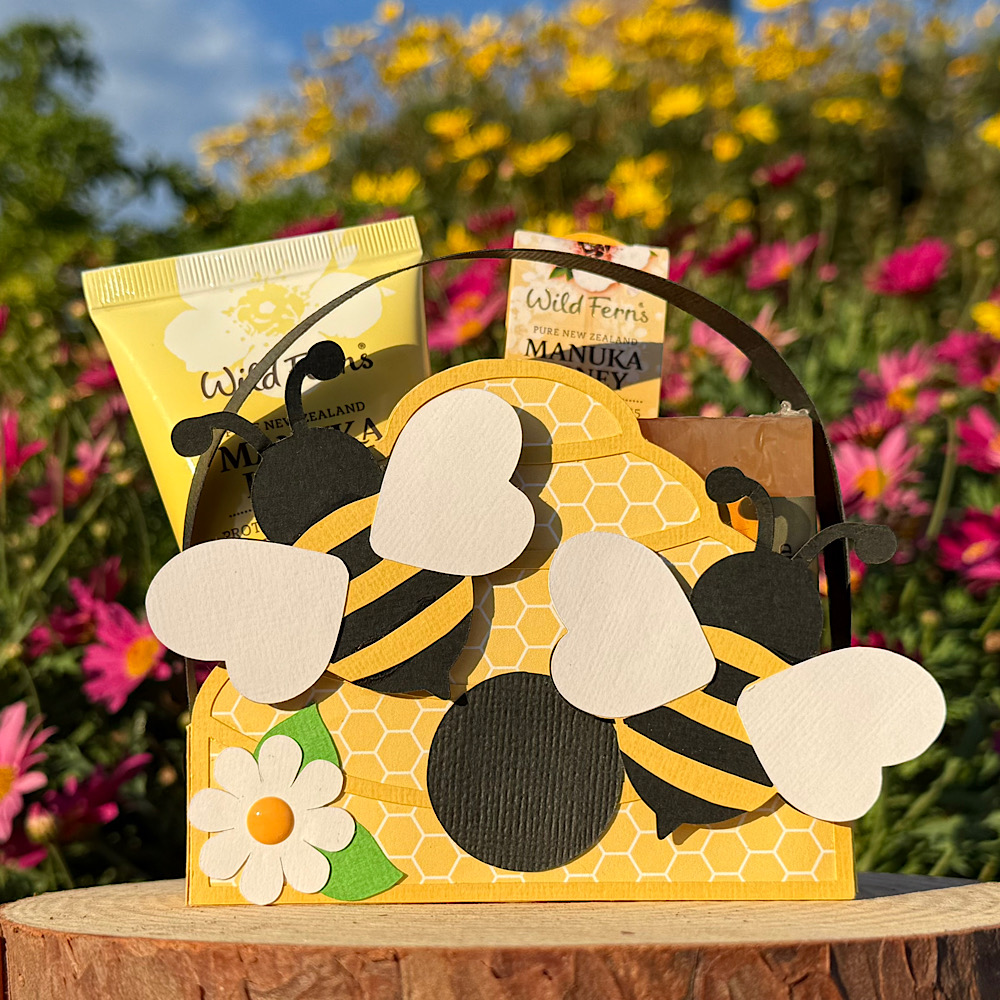
The bees on it are so adorable. I have used mine today to make a little bee themed spa gift box. It has many other uses too! Change it up with some honey cough drops, honey & lemon herbal tea & some tissues to have a get well gift for someone feeling a little under the weather.
Don’t forget to check out the other 2 Beehive projects Beehive with branch box card (SVG, Silhouette), & the A2 Beehive Easel Birthday card (SVG, Silhouette).


.jpg)

.jpg)