Box Card Envelope Strawberries

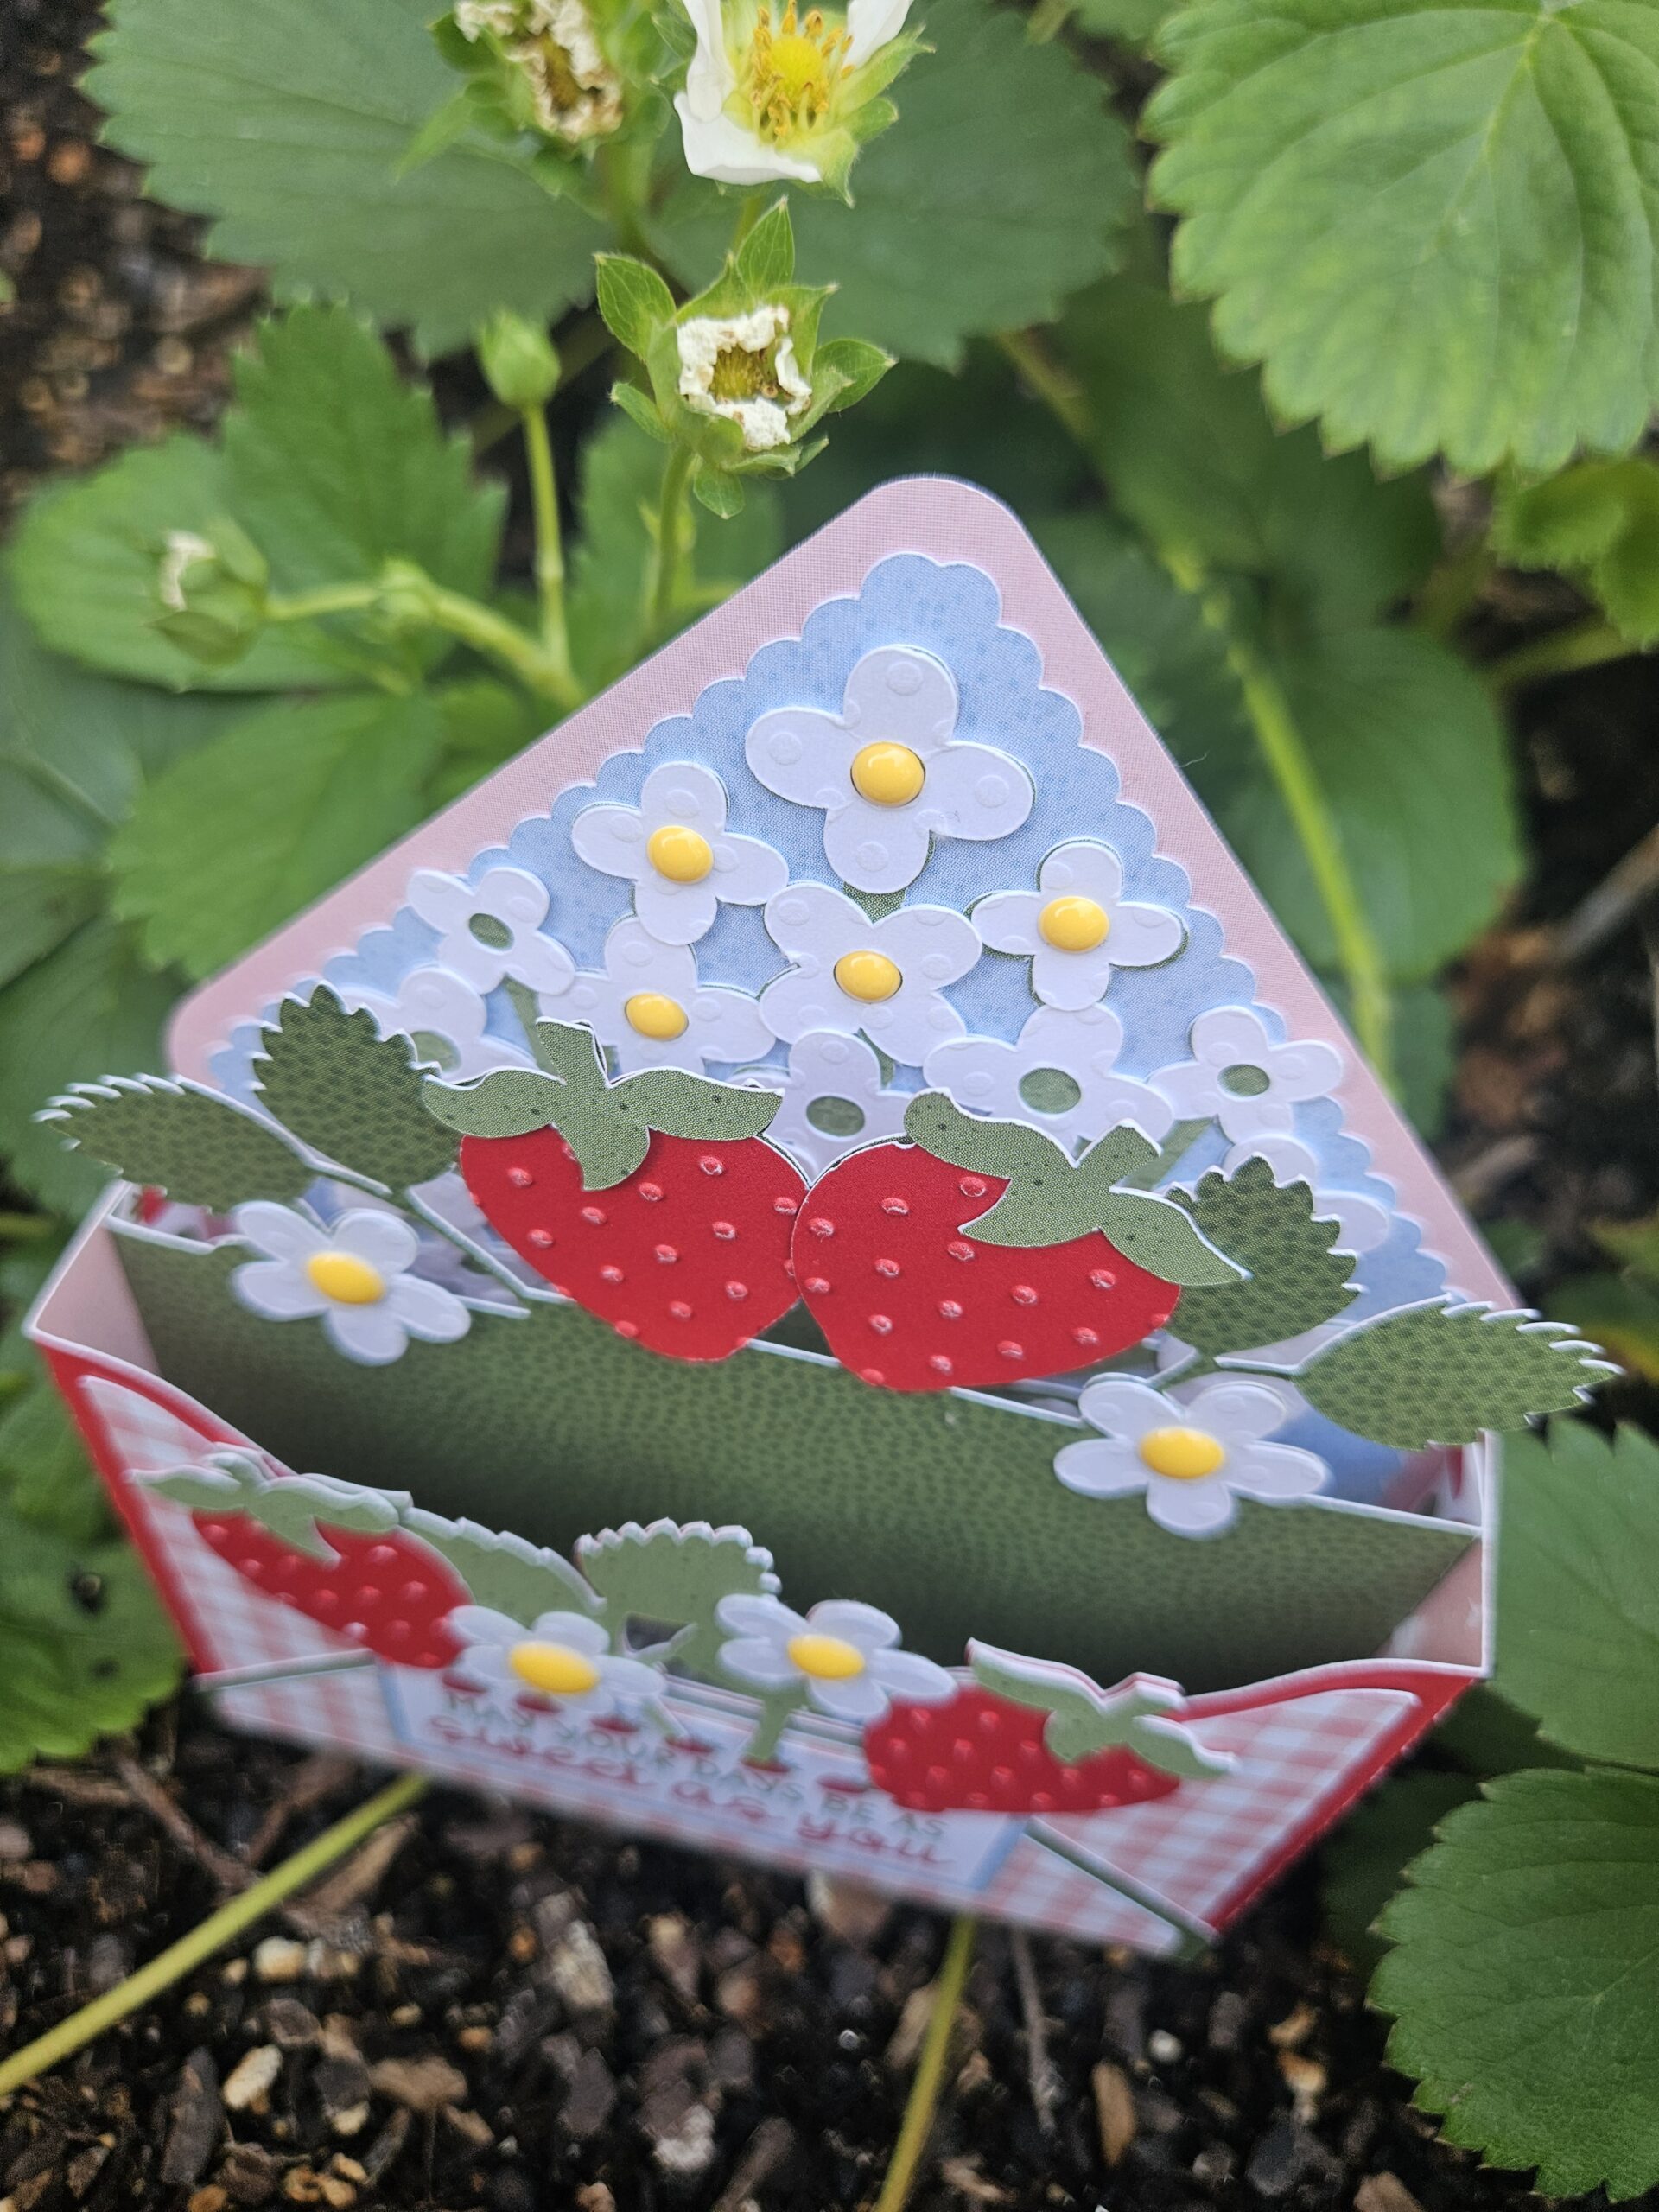
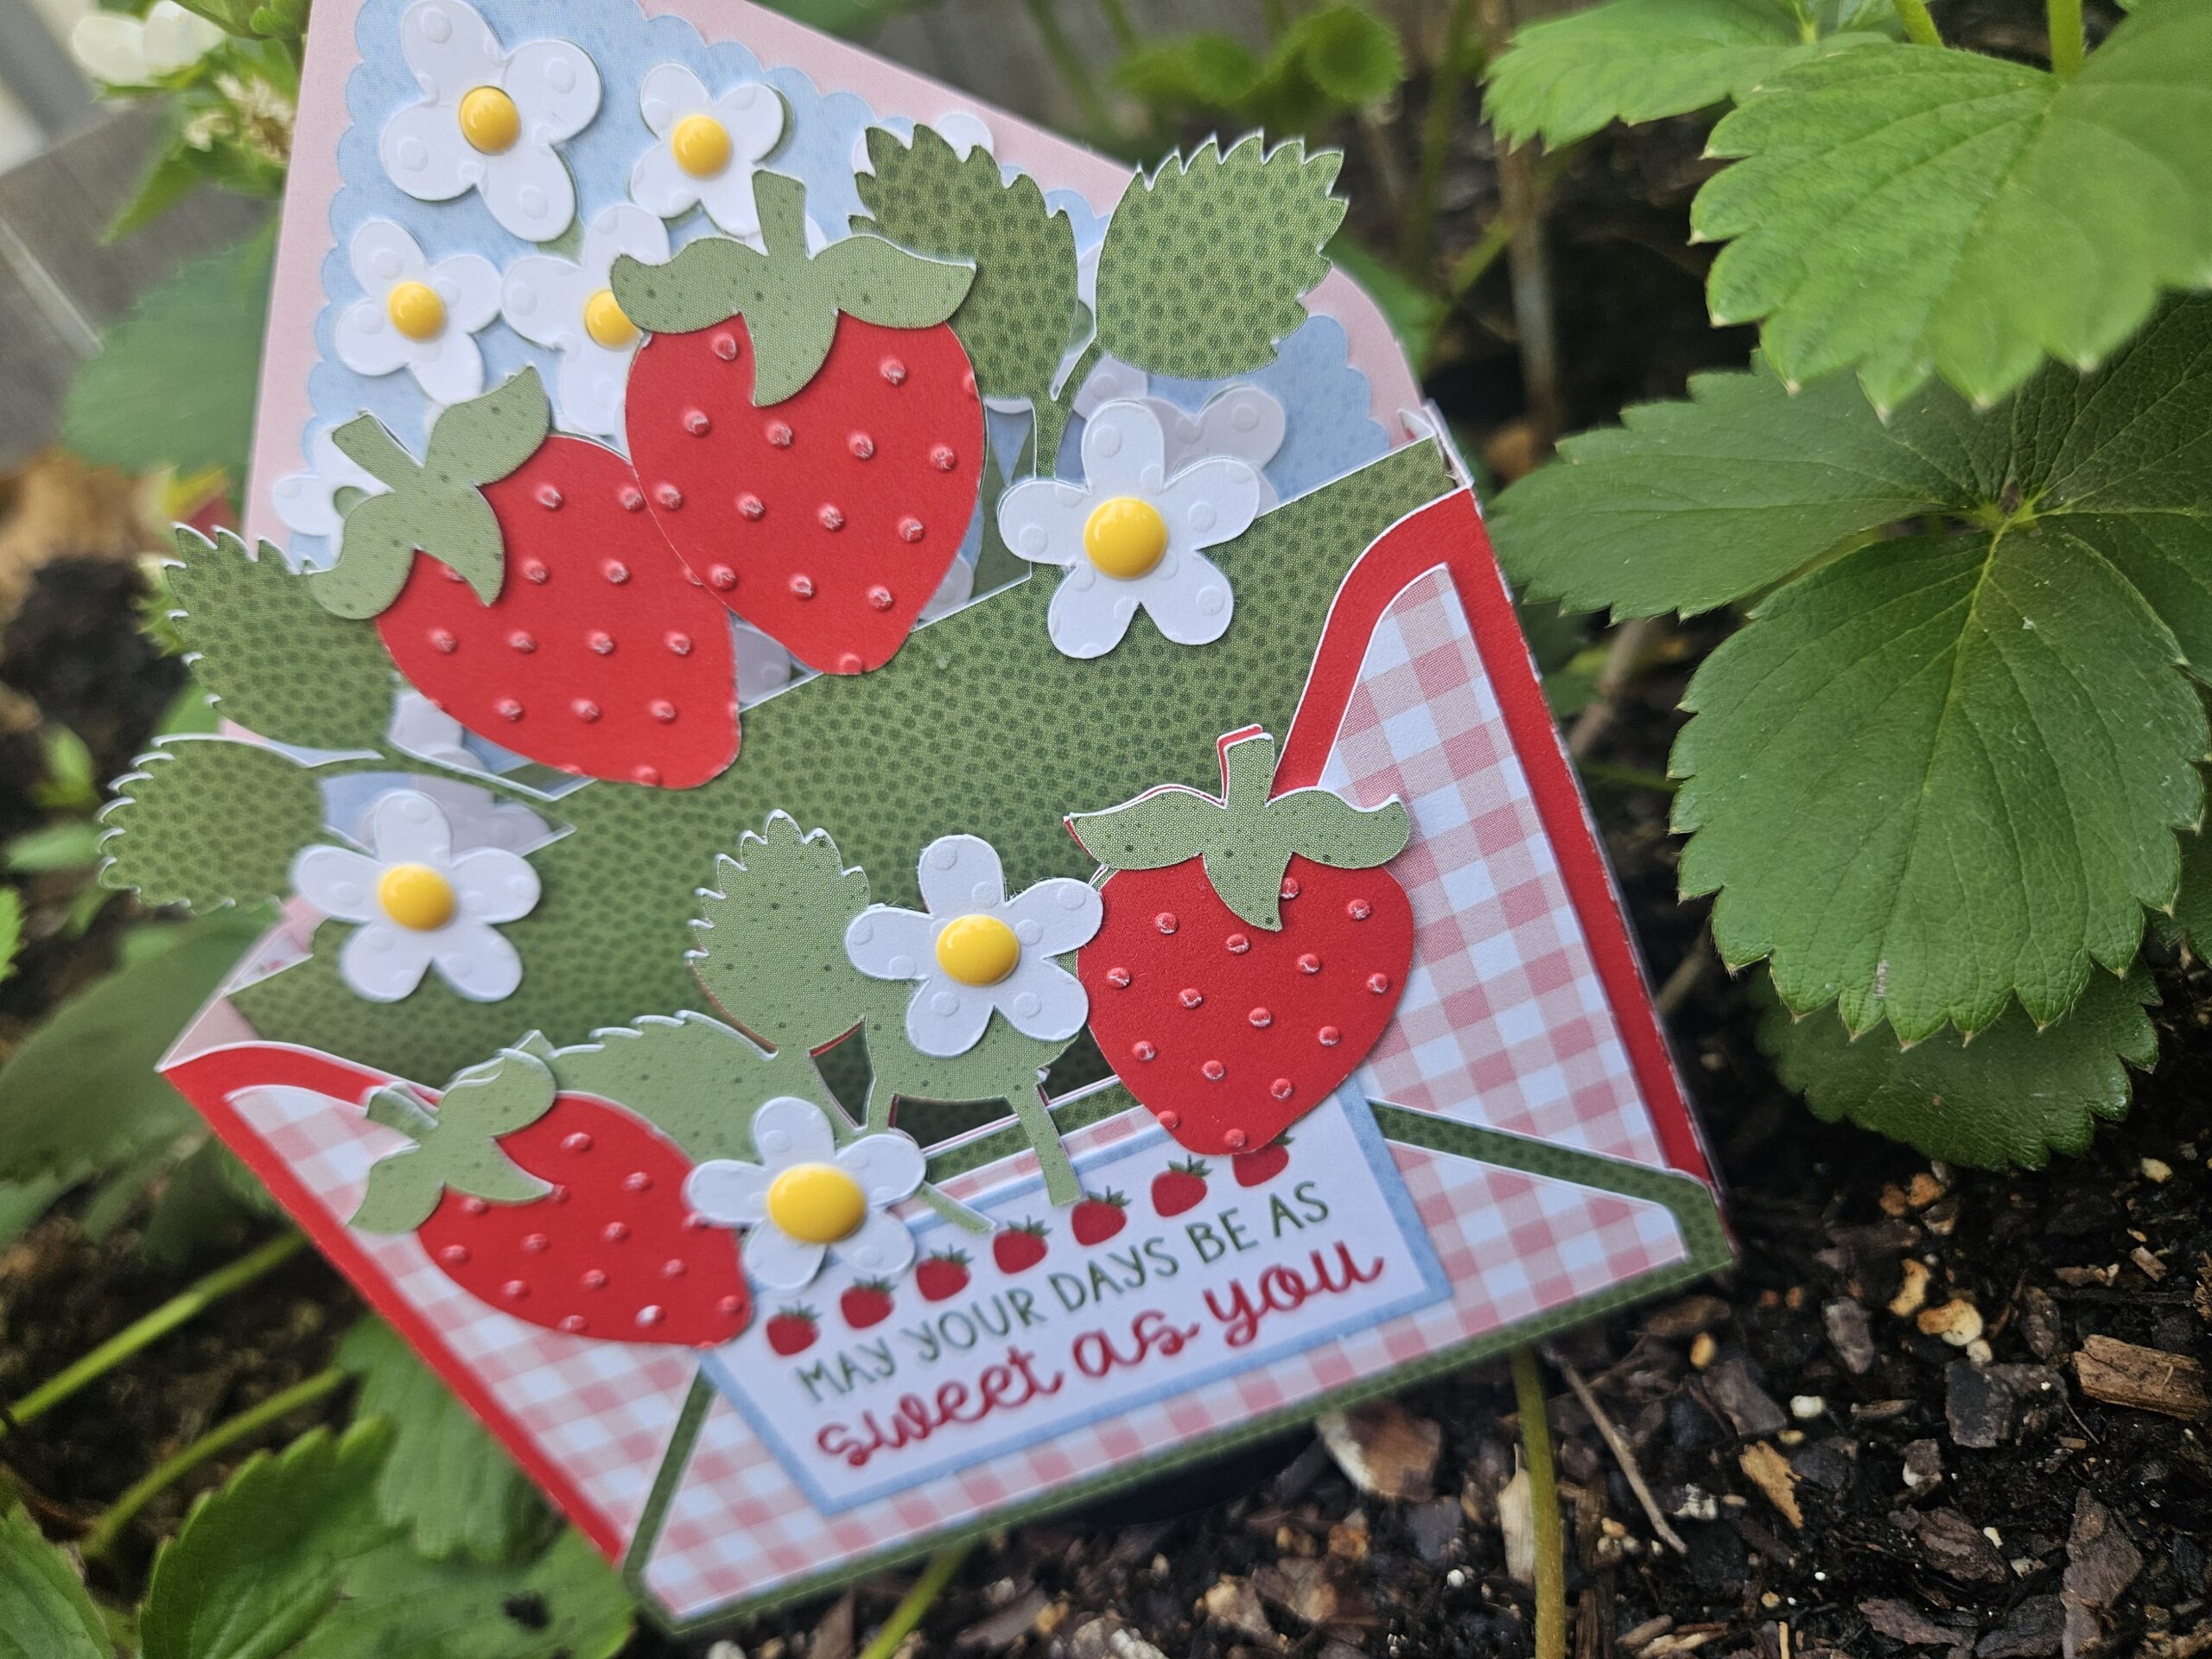
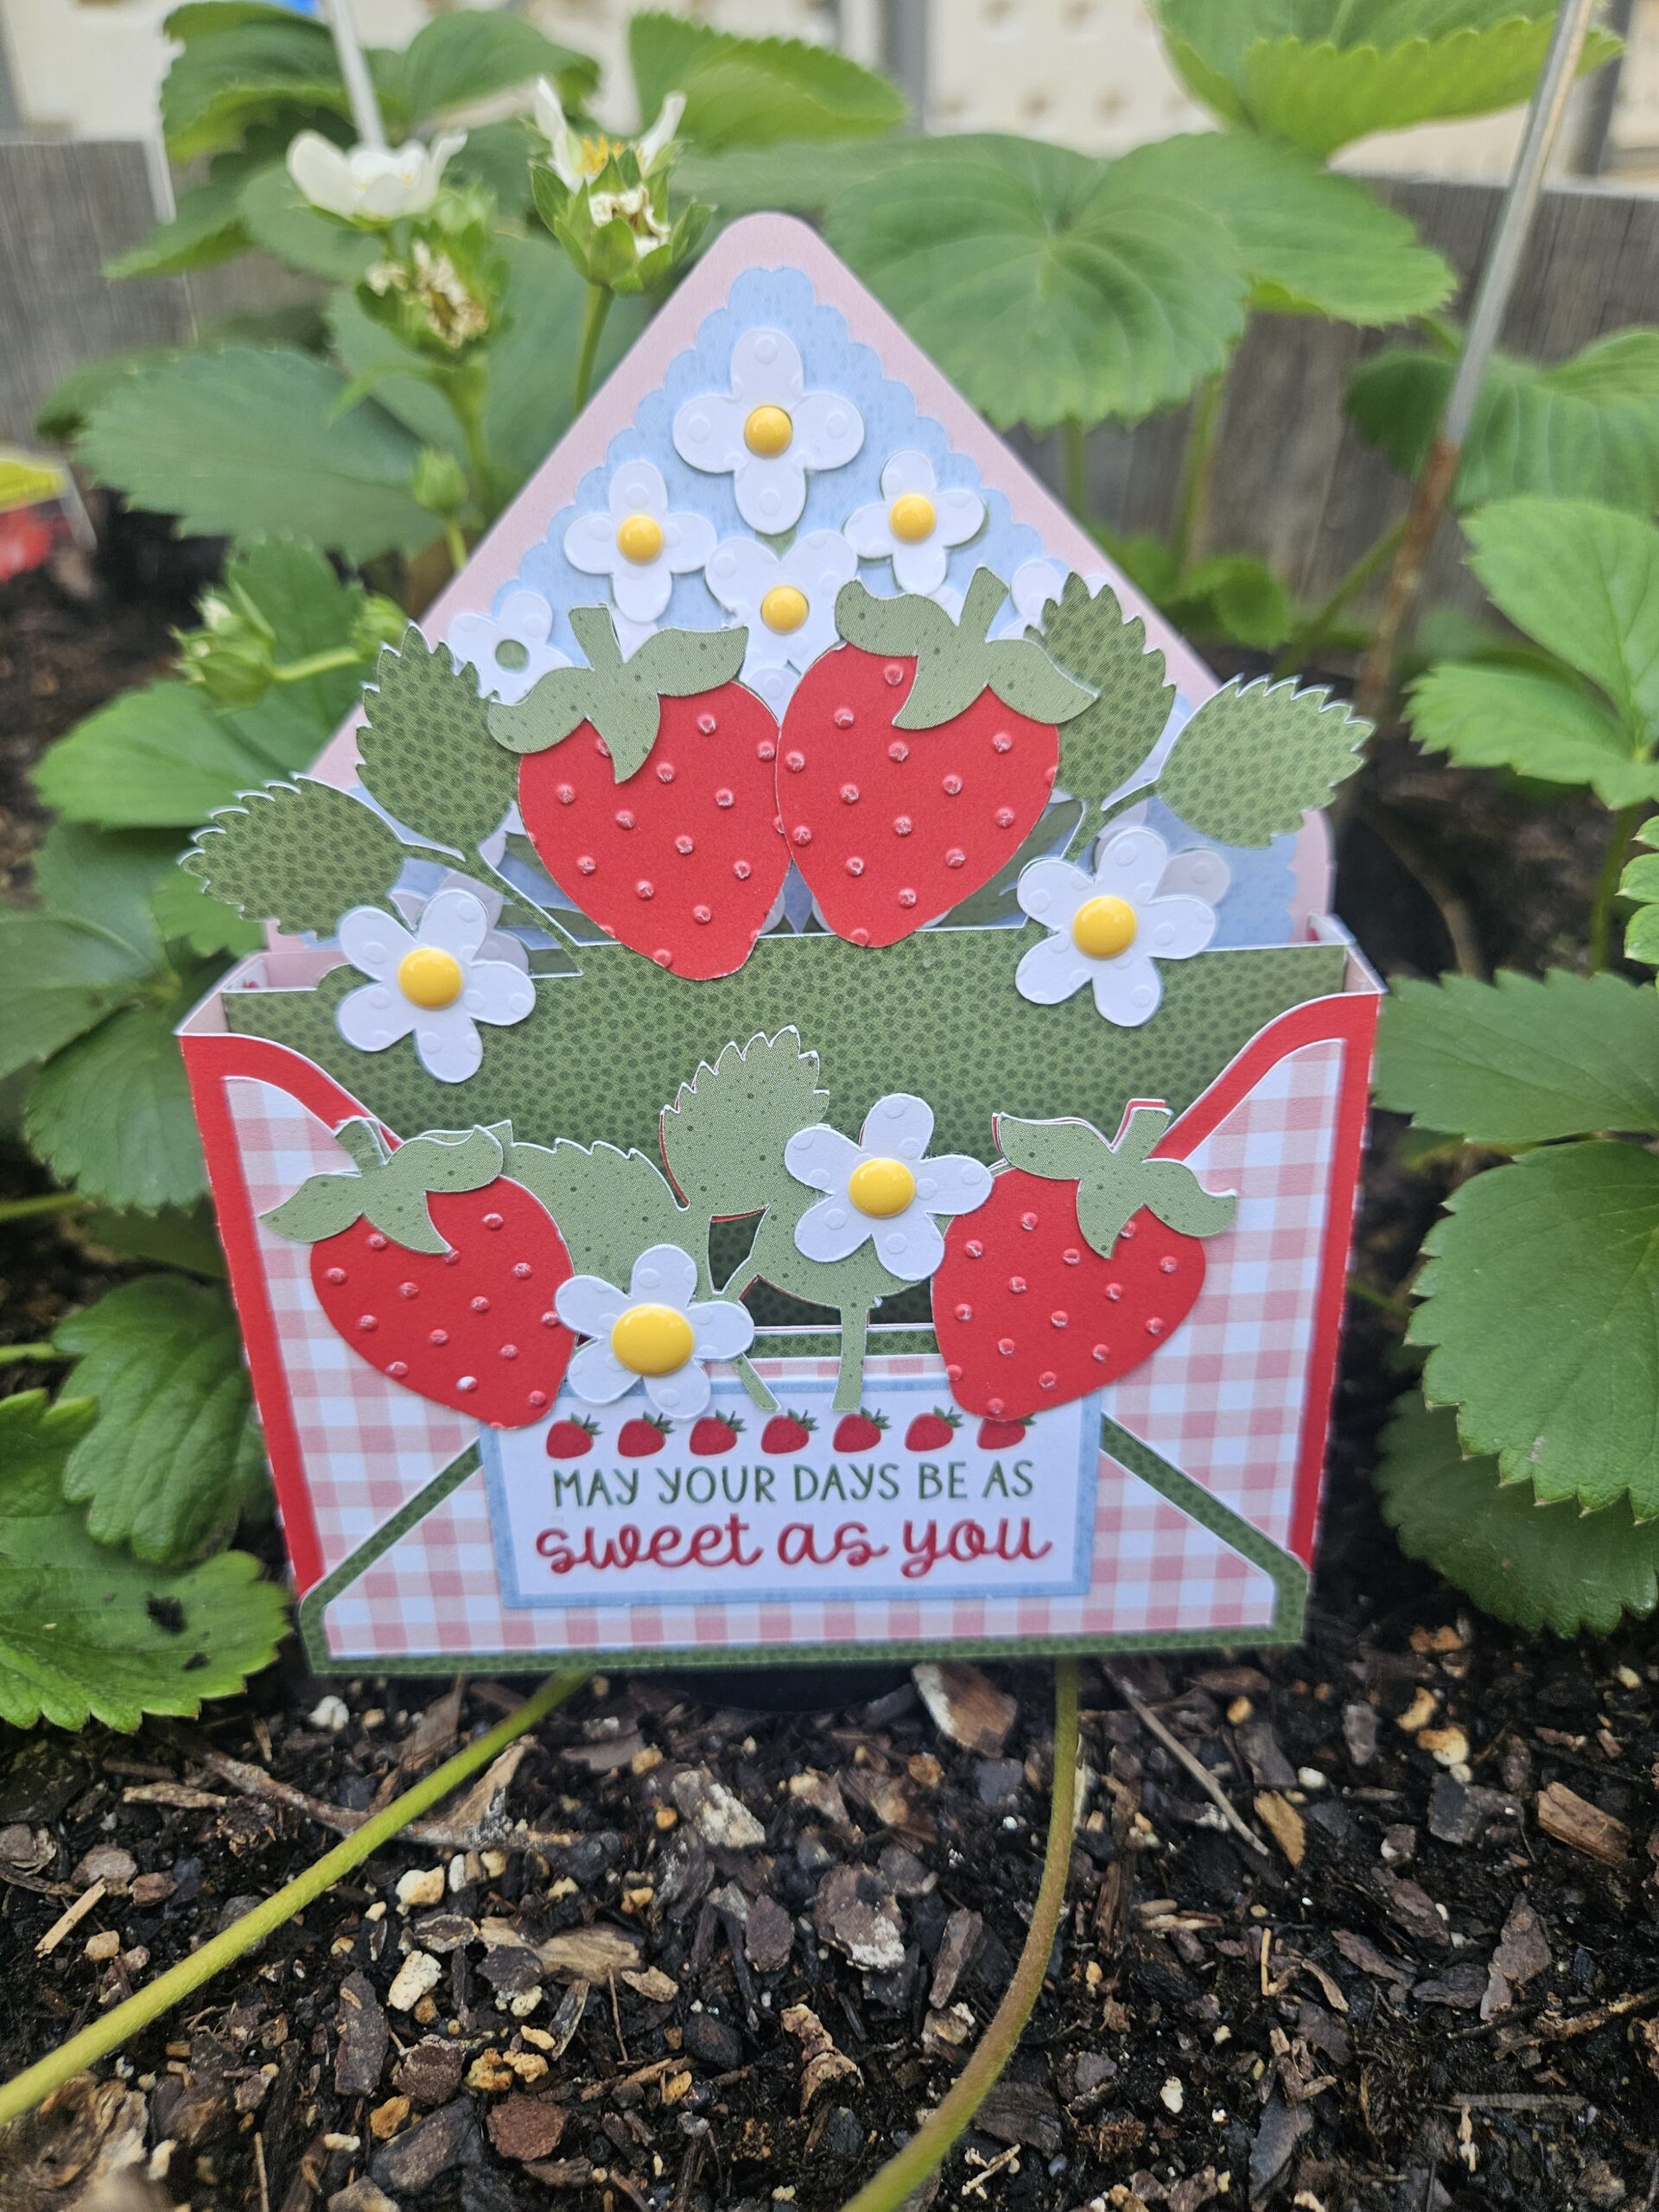
Happy Monday!! It’s almost strawberry picking time so what a better way to celebrate that then with a strawberry card?! I made the Box Card Envelope Strawberries card found HERE.

I used paper designed by Lori Whitlock and Echo Park called Strawberry Fields found HERE.

I used the swiss dots embossing folder on my berries and some enamel dots on some of the flowers.

I also used a tag from the Strawberry Fields Frames and Tags found HERE for my sentiment/greeting.

Hope you enjoyed this card and happy strawberry harvest!

Thanks for stopping by!

3D Strawberry Bouquet Tutorial

Hello crafty friends! Noelene here today to share a tutorial of my take of the new 3D Strawberry Bouquet (SVG), (Silhouette). Lori has a few different designs to choose from. They are fun & easy to make!
To start cut out all your pieces. Next I created the small card. Then I valley folded the small piece of the envelope & applied glue to the tabs. I aligned it to the bottom & sides of the larger piece. This creates the pocket.

Next if you want to ink any of your pieces do this before you glue any pieces together. I inked the green stems of the strawberries.

 I wanted some dimension on mine, so I embossed the basket with an embossing folder. Remember to spray a light spray of water on your cardstock before you run it through, so that it makes your cardstock more pliable & not tear. Now glue all your panel pieces. I put some small foam squares on my flowers for dimension. I also put foam squares on the strawberries of the smaller green panel, as this will be on the front.
Now to create the mechanism.
Fold the little tab then fold the mechanism in half & glue the tab down.
For the easel leg glue the single tab to the back, then wrap the rest around going to the back & bringing it to the front glueing each tab. This is to make the easel leg sturdy.
Next valley fold both ends in so that it forms an x.
Now apply glue to the mechanism making sure you do not go past the fold on the easel leg.
Now place the glued mechanism on the inside of one of the pot panels making sure to align the leg to the bottom. It should sit a few millimeters beneath the top. Now, glue the top part of the mechanism only & place the other pot panel on top. Hold down for a minute or so till it dries. Now glue the tabs to the inside. I used paper clips to hold down the tabs until they dried.

Next take the larger foliage panel & turn it over. You want to apply glue on the back of the bottom square part. Now turn it over so you can see your front panels & gently slide it in between the back of your x. The glued square should be stuck onto the back pot panel. Now with the smaller foliage panel you will apply the glue onto the front side of bottom square. This time you will slide it into your x on the front folded part of the mechanism so that the glue adhers to the front pot panel.

Lastly I glued down the bow elements & glued a little flower button to embellish. Lastly I finished off by adding some white gel pen. I didn’t do this before I adhered my pieces, but if you do, it makes it a little easier.
To make your bouquet stand on its own, gently squeeze the sides of the pot & fold in the leg of your mechanism. To fold flat, place it back down again.

I hope you enjoyed my tutorial today! I will be definitely making more of these in the near future.
For more inspiration, check out my Instagram!
Thanks for stopping by!
Hugs
Noelene 🙂

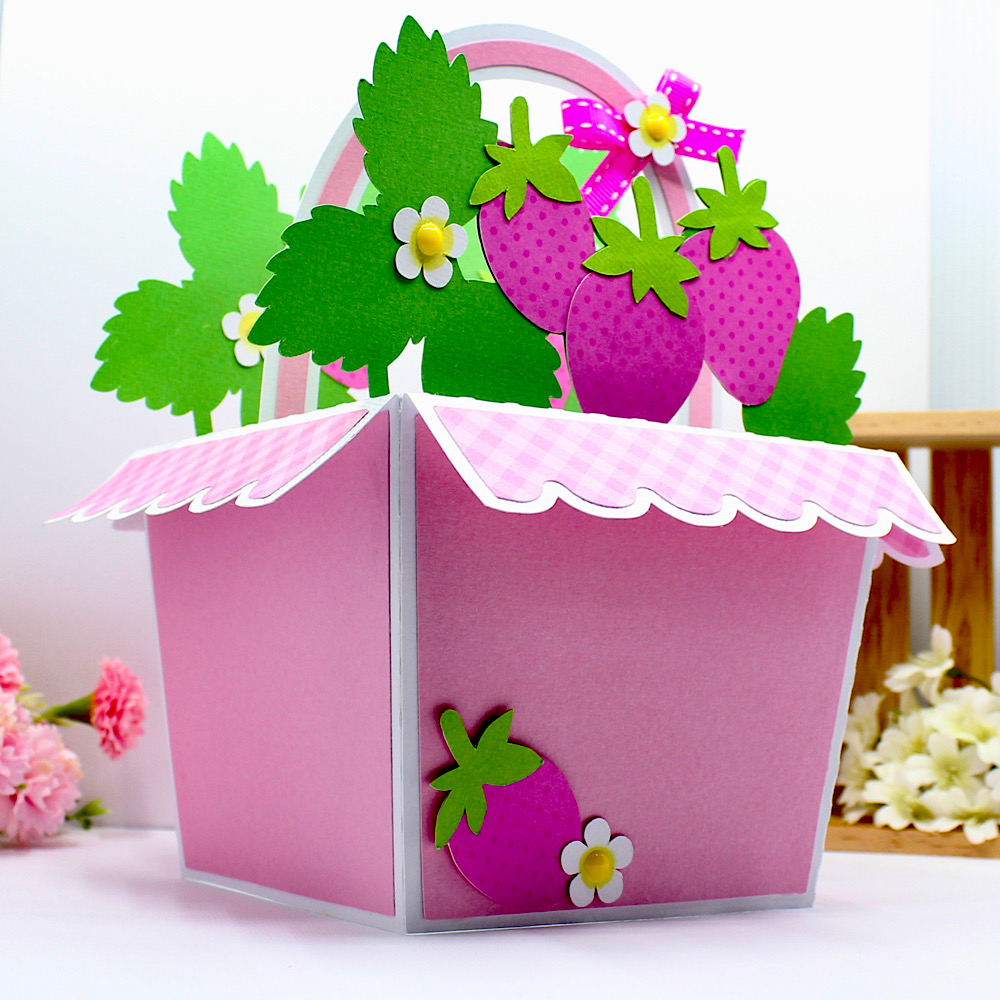
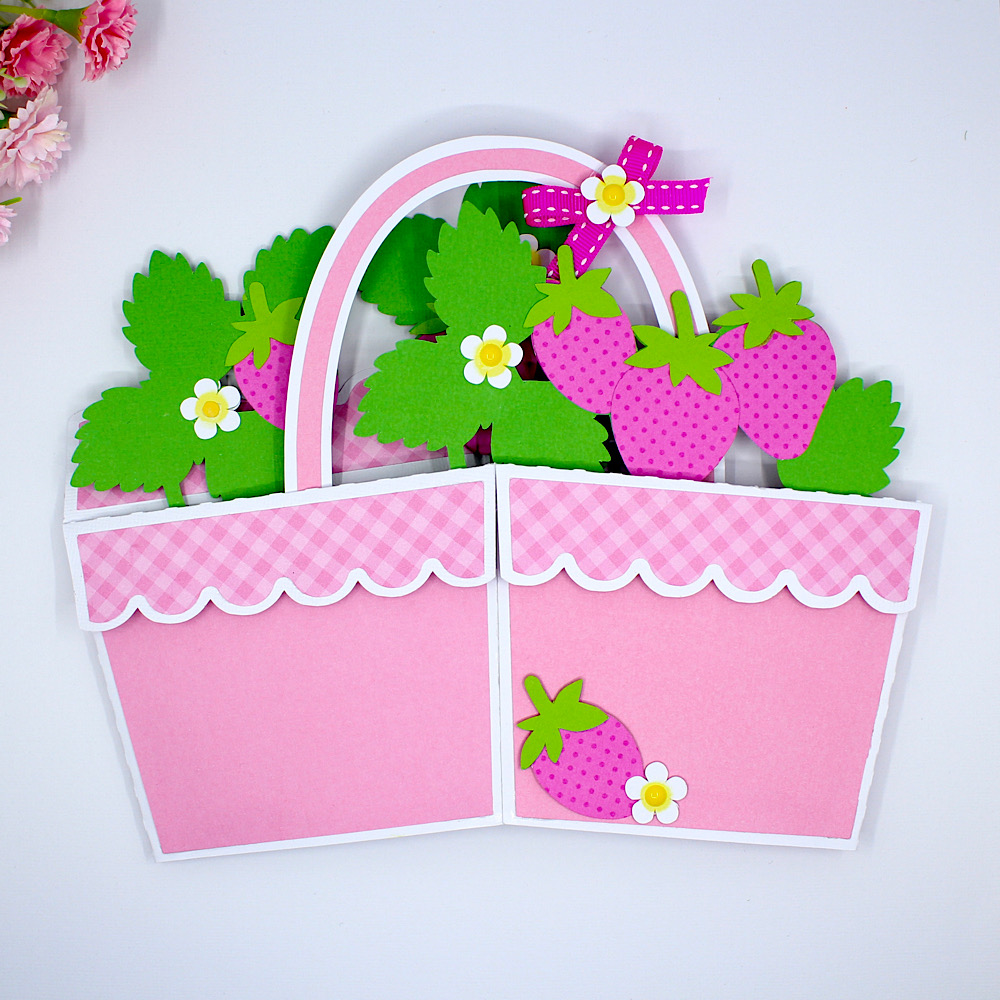
Big Box Card Basket Strawberries

Hello crafty friends, Noelene here today & I want to share with you a tutorial for the berry sweet Big Box Card Basket Strawberries (SVGSilhouette), from Lori Whitlock!
As most of you know, Strawberry projects are my favourite, so I couldn’t wait to make this card.
First step was to cut out all my pieces.
Next step is to layer & glue all your pieces, making sure to match correctly all the strawberry leaves to the green background panel before you glue. You will need to fold down the basket flaps then adhere the scalloped panels on the folded side down. The file comes with 2 flowers but as you will see, I cut some extra flowers to use as embellishments. I also inked the centres of my white flowers with some distress oxide before I glued down the circle centres or added the enamel dots. There are also some extra strawberries in the file, you can cut these if you wish for the strawberries to be seen from the back as well as the front. Note: make sure you flip the large strawberries horizontally if you wish to add these to the back of the card, remember you are doing the reverse side.
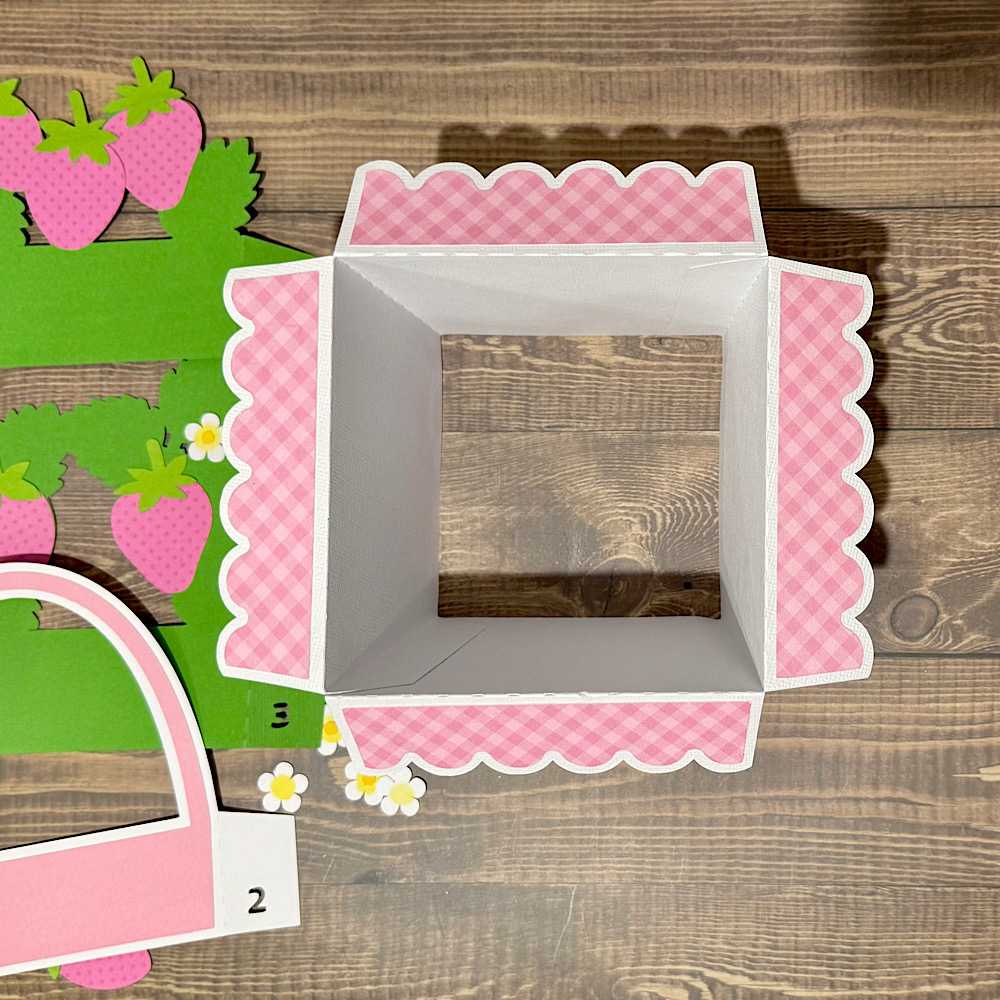
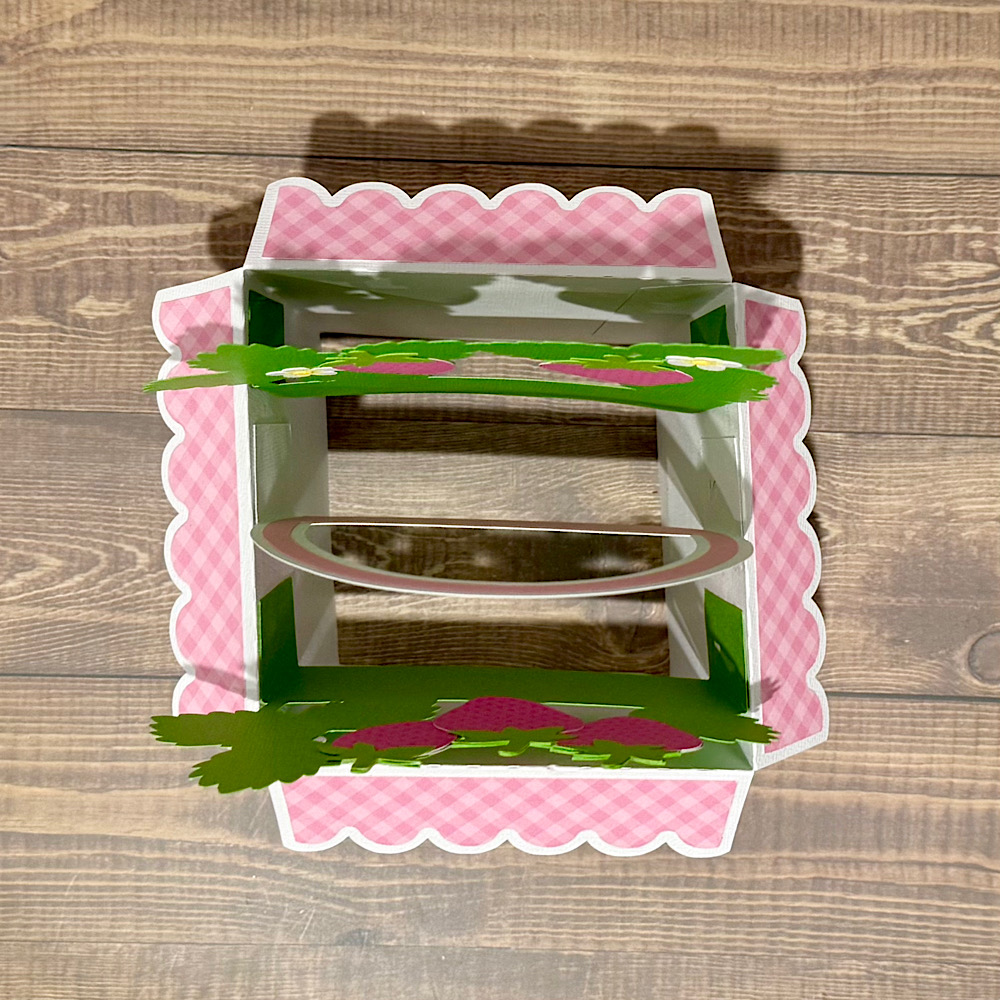
Now it’s time to put your box card together & assemble the basket. Start by folding down all the scored lines. Now glue the tabs on the inside of the box. I find the best way to do this is by folding the box flat to get the tabs nice & straight along the edge.
Next is to adhere the inside panels inside the box. These are numbered 1, 2 & 3. I started out by glueing number 2 first in the centre as I found this helped me space them evenly. Flatten your project as the glue dries each time to make sure the tabs adhere.
To finish off I adhered the strawberry onto the front using pop dots and embellished with some of the extra flowers. I also tied a bow onto the basket handle.
Hope you like my Big Box Card Basket Strawberries! This file can also be found in the Big Box Card Basket Bundle (SVG), which includes Big Box Card Basket Big Box Card Basket Flowers (SVG), Big Box Card Crafty (SVG), Big Box Card Basket Lemonade (SVG) & Big Box Card Basket Sunflowers, (SVG)
For more inspiration, check out my Instagram!
Thanks for stopping by!
Hugs
Noelene 🙂
Summer Fruit Shaped Cards

Some of my favorite cards to create with Lori’s files are her shape cards, especially for my granddaughter.  She loves to receive mail and I try to send a card to her every couple of weeks with a bit of spending cash.  These are two cards that will be coming her way, bright and fun for summertime.  Both have just a couple of stickers from Lori’s Echo Park collection A Slice of Summer.  It’s one of my all-time favorite collections and I am always reaching for little bits and pieces of it to create with….it’s a must-have.

First, I have one of her new cherry cards. How cute is this?!  It is the Cherry Carton A2 Shaped Card  or you can find it here in the Silhouette Design Store.  I just love this little card, it’s so bright and cheery!  I used sketch pens to outline the basket, kind of hard to see here, and little hearts onto a couple of the cherries!

My next card continues with the fruit theme… this fun A2 Shaped Strawberry Card in Lori’s shop or here in the Silhouette Design Store.  Love the little hearts in the design of this file, so cute.  I added some stitch lines with a sketch pen to the top of the strawberry and a couple of stickers from the Slice of Summer collection. The perfect summer cards.

There are several strawberry and cherry card designs to choose from, go check them out!


Thanks for stopping by!
Cathy

Friday $5 Bundle Deal!

It’s Friday once again! This week we have a sweet summer themed bundle. You can get this beautiful Friday $5 Bundle now through Sunday. This week’s bundle includes 5 awesome SVG files for just $5. Take a peek…


But don’t wait, this bundle will only be around until Sunday at midnight!

 
** Because Friday $5 Bundles are already heavily discounted they are not eligible for further discounts including monthly, seasonal and flash sales.

Shop Friday $5 Bundle HERE

Thank you for joining us today! Have fun crafting!!

~Lori