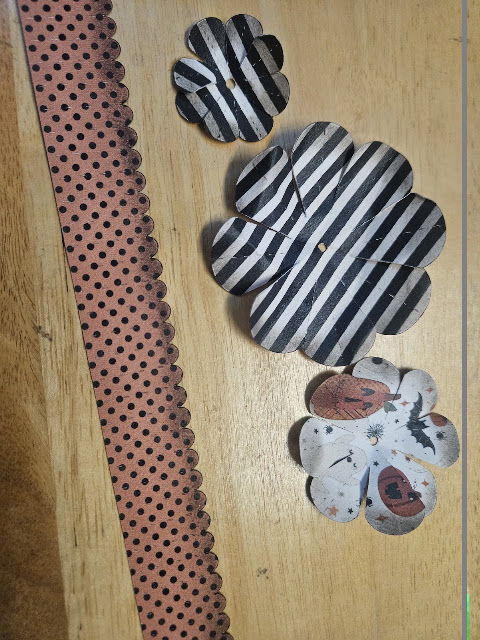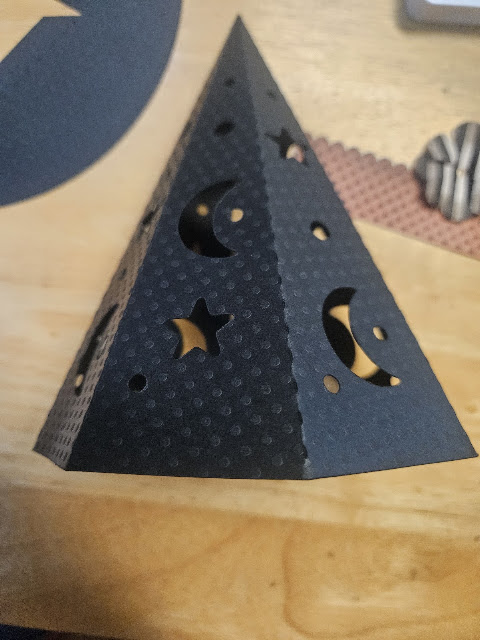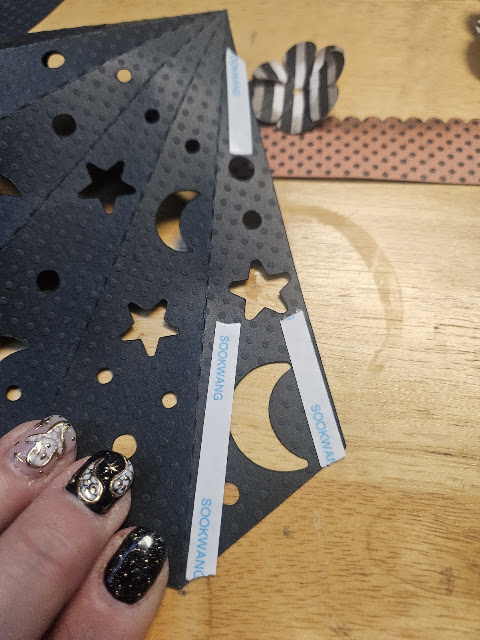
Witch Hat Lantern Tutorial

Happy Thursday everyone! 23 days until Halloween. I can’t wait! With that being said, I created this amazing project using 3 files. I used the Witch Hat Lantern found HERE, I used 3D Flower 4 found HERE, and I also used Build A Rosette: 2 inch found HERE. I used Handmade Halloween paper collection from Echo Park Paper Company found HERE.
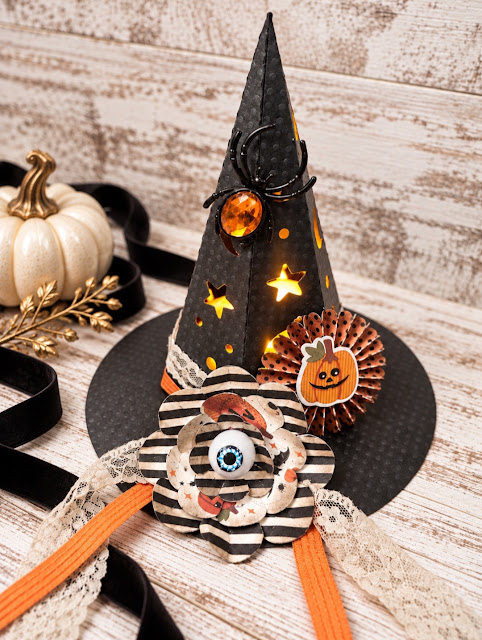
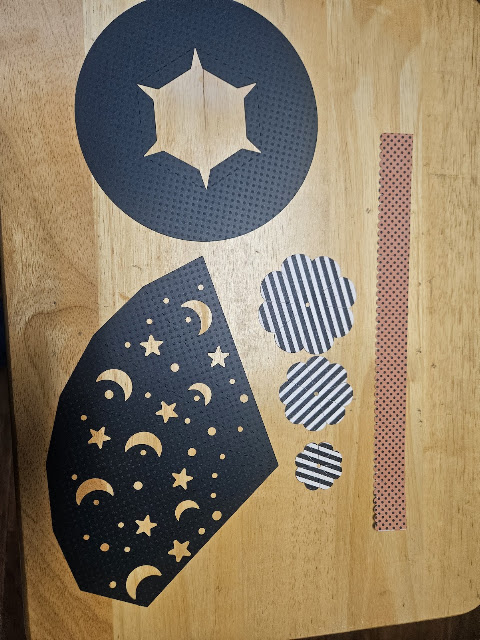
Cut all your pieces for the witch hat lantern and any embelishments you with to decorate it with. I used the rosette and  3D flower 4 as mentioned above. 
I inked my edges of the flower and rosette.
Gently curve the paper wedge and fold on the score lines.
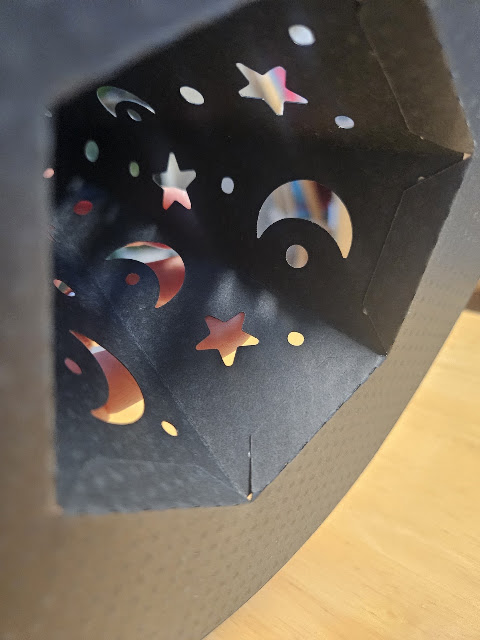
Adhere the straight edges together to form a cone. The piece that has the slant goes on the inside, with the outside piece overlapping the slant piece. I use score tape to secure the seam.

Fold the tabs on the brim up and adhere the cone piece onto the polka dot brim piece using score tape.
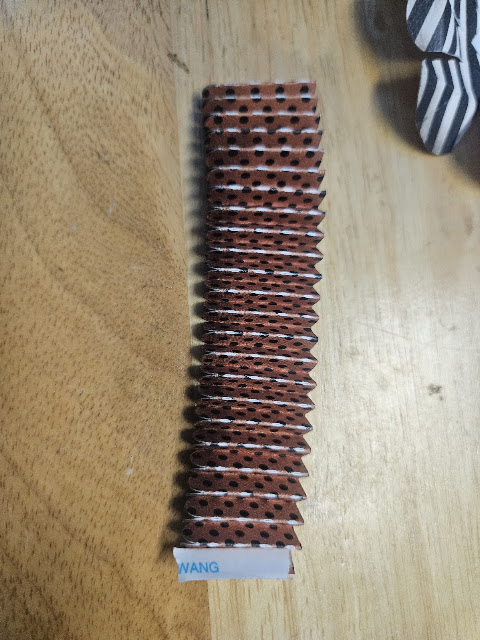
Create the rosette by folding along the score lines into accordion pleats. Join the ends to form a ring. Press the top edge inward to flatten it into a circle and adhere the center onto a small paper backing circle (cut from any scrap paper) using liquid glue or score tape.
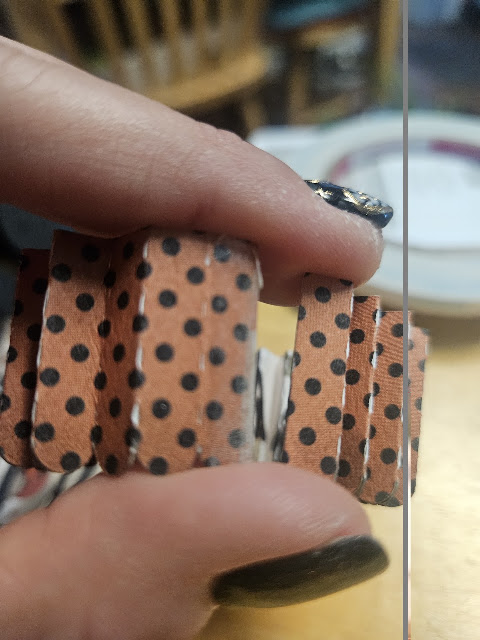
 

Using liquid glue or score tape, adhere the rosette to the bottom center portion of the cone. Adhere the pumpkin sticker to the front of the rosette.

To assemble the 3D Flower 4 just layer your pieces on top of each other and adhere in the center with adhesive or a brad.

Tie ribbon of your choice around where the brim meets the cone. Cover the knot with the 3D Flower 4. I found the eyeball for this at Dollar Tree on a flower and had to use it for this project because I loved it so much.
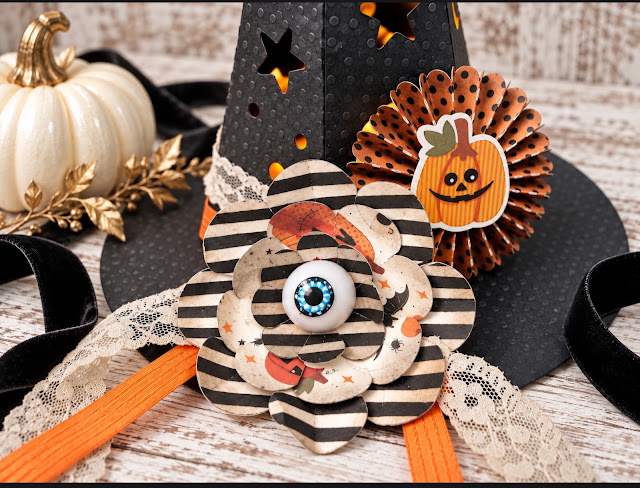
I put a battery operated tea light in the cone for the glow.

Thanks for stopping by and happy crafting!!

A2 Halloween Scene Pop Dot Card with added Shaker Bits

 Happy October!  My favorite time of year for paper crafting…simply love it!  I used an older card of Lori’s and added a bit of fun with shaker bits.  Lots and lots of layer created with pop dots and just plain Halloween fun!

A2 Halloween Scene Pop Up, Silhouette Store


Start with cutting all your pieces. I cut all the pieces white but then changed my mind.  So maybe layer it a bit with different colors and ideas before your start.

1 and 2~  All of my pieces cut
3~ adding the diecut pieces
4~where I switched to a green back ground
5~just zoomed in so you can see this layer


This next set is how I created the shaker frame.  I simply cut a bunch of layers of white with my Silhouette.  The frames are 4×5 and my transparency piece is just slightly smaller.


 1~ just the frames cut
2~showing the frame and transparency
3~gluing the transparency to 1 frame piece
4~adding more layers of frame and dimensional strips of adhesive
5~showing the depth of the frame


1~Start by adding the green piece with the tombstones to your card base, then the haunted house layer.
2~Next for the fun part, dump in your shaker bits.
3~add your frame with the window to secure all those bits in
And last, add your last layer of paper with the spooky tree.


Next, add your embellishments and just like that you have a spooky scene with added fun!


~Cathy