Ferris Wheel Card Tutorial

Hello everyone, Marcia here today. With it being State Fair time, I wanted to make this fun Ferris Wheel Card (SVGSilhouette). This shaped card is perfect for your Midway or Theme Park-loving friends. I used the Echo Park Paper A Magical Place collection by Lori Whitlock to create mine.

This is an easy card to make. Let me show you how.

1. Choose your papers and cut out all the pieces. I like to ink the edges of my pattern papers to add more definition

2. Adhere the black ferris wheel base to the shaped card base. Then glue the star and layered heart in the middle of the wheel. Adhere the roof of the passenger cars to the bottom of the cars.

3. Use foam tape to adhere each passenger car to the wheel and embellish as you wish. I added a sentiment to the front of my wheel as well as some crystal gems for the sparkling lights.

I know this card will put a smile on someone’s face! Lori has lots of other fun theme park cards in her shop. Take a look.

Thanks so much for stopping by today.
~Marcia

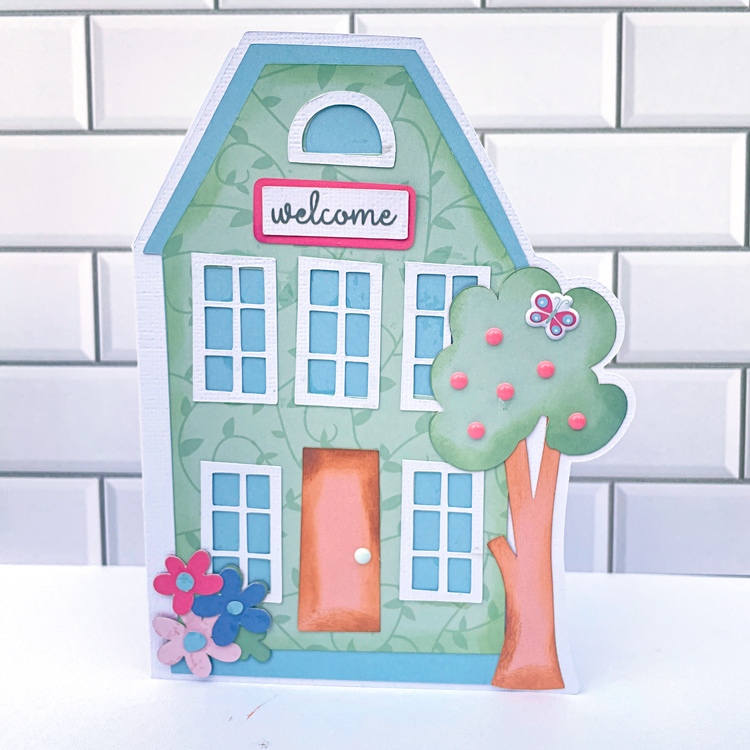
5×7 House Card

Hi everyone!  I have the cutest card to share with you today.  Lori recently added this 5×7 House Card (SVG, Silhouette) to her shop. This house card is so fun.  I created this one with Lori’s Our Little Princess paper collection.

I added some embellishments that are also part of the Our Little Princess collection.  Enjoy and have a great week!

Ashley

Making a Shaped Card in Cricut Tutorial

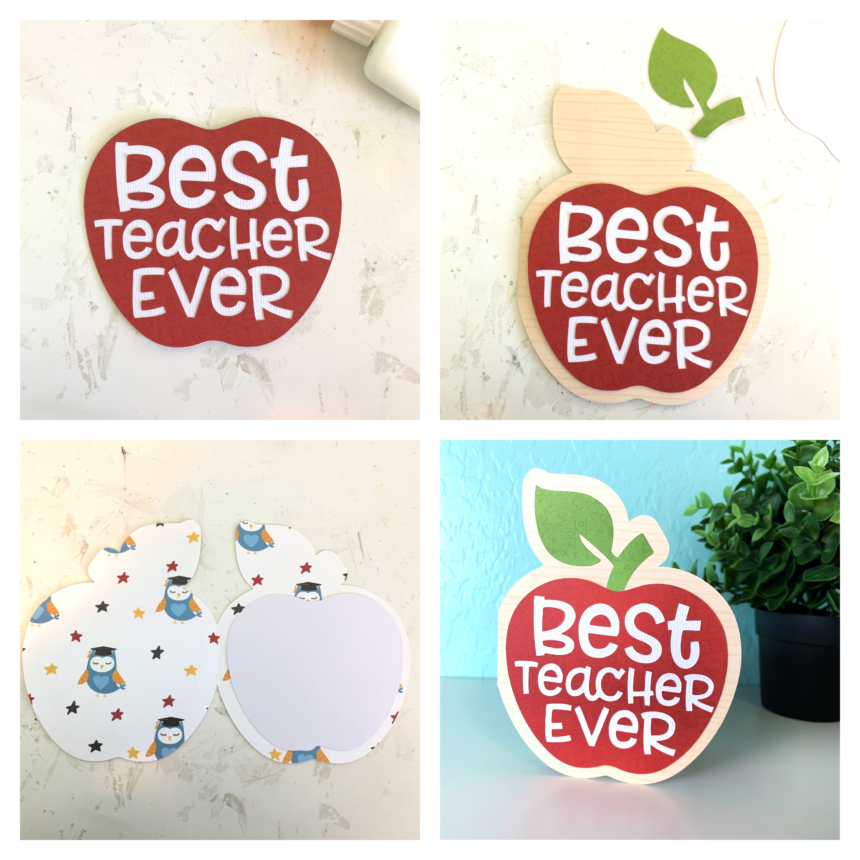
Hi friends! I have a quick tutorial on how I made a card with the Best Teacher Ever file (SVG, Silhouette). Now that Cricut has updated the design space software making a shaped card is easy!

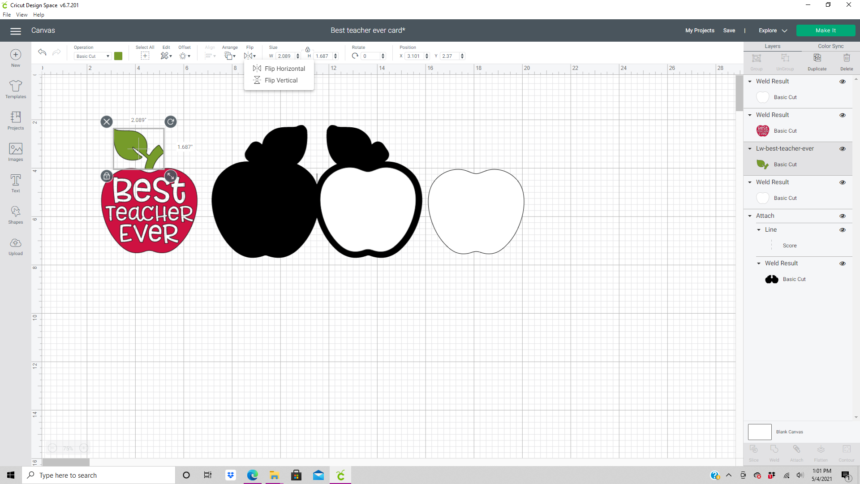
First I resized the apple and leaf to be 5 inches high which made the width 3.96 inches. This file uploaded into Design Space grouped together for me. If it isn’t grouped I recommend grouping it together before resizing.

With the apple selected select the offset feature on the edit tool bar. In the offset window I slid the distance bar to 0.25 inches, selected rounded corners, and left the weld offset box checked.

I then duplicated the offset and flipped one of them horizontally.

Next I moved the two offsets together so they are touching in the center. With the just the offsets selected I aligned them on the bottom and welded the offsets together creating one piece.

I added a score line to the center and aligned and attached it to the offset. (I changed the color from black to white for this picture.)

I needed a solid white apple for the inside of the card and the front of the card.  I duplicated the red apple and welded the image then hid all of the contours. I then duplicated the solid apple image so that I had two.

I also needed to flip the leaf  horizontally so that it would fit correctly on the front of the card. (If you use solid paper you don’t need to do this. I used double sided paper and wanted the green to show.)
Once everything was cut I glued everything together with liquid glue in a fine liner bottle.  (Be sure to keep all of the centers of the letters from the cutting mat.) I used papers from the School Rules collection by Echo Park Paper Co.
Thanks for stopping by!
Brandie
 

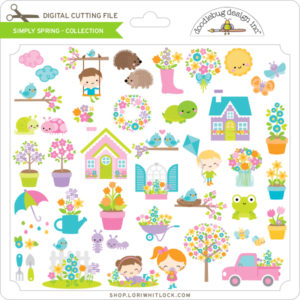
Doodlebug Design SVG Files : Simply Spring

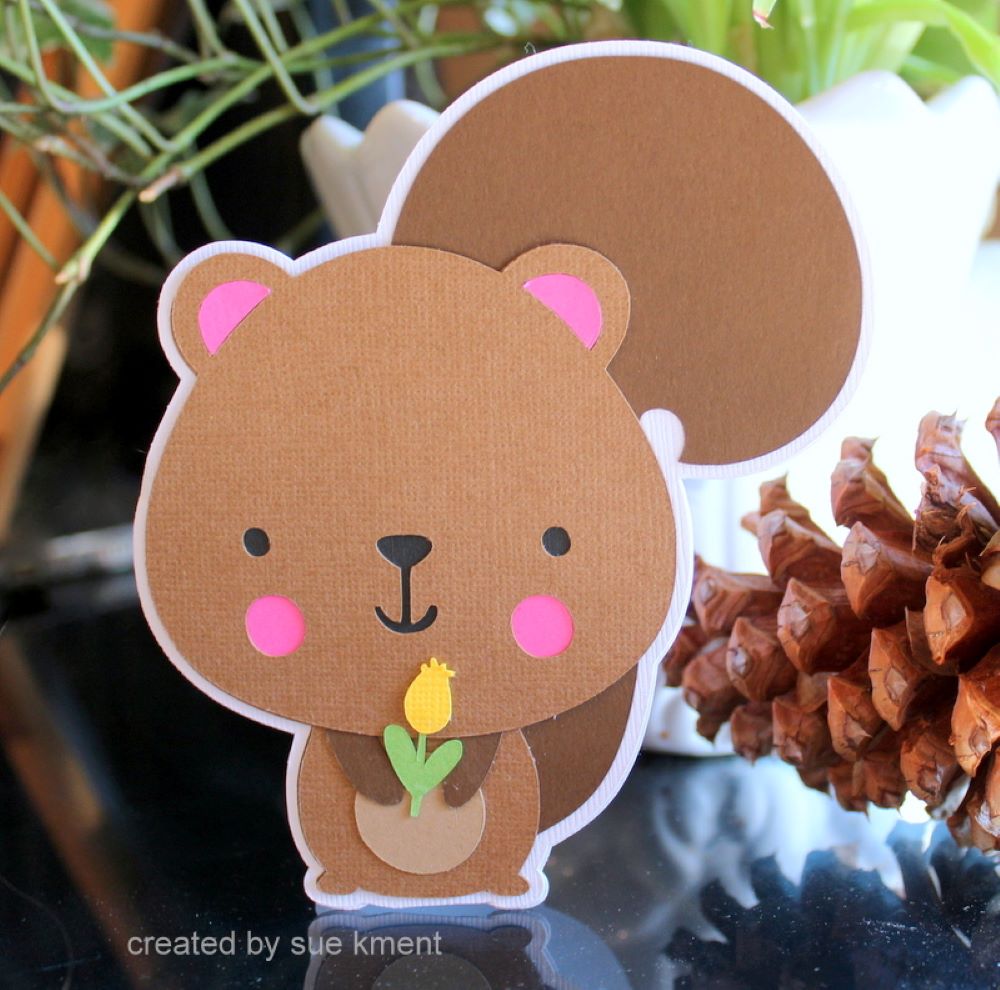
Hi Everyone!  Today I’m showcasing another fabulous project using Doodlebug Design’s cut files!  This adorable card was created by Brigit Mann for Doodlebug Design!

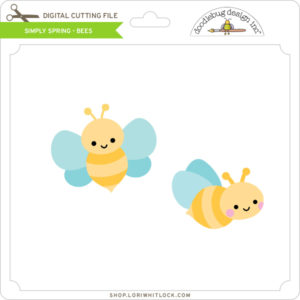
Brigit used the Bees File from the Simply Spring Collection to create her card.  Absolutely adorable!

For more details, you can see her original post here.   New Doodlebug Design SVG files are being added to the Lori Whitlock SVG Shop on a regular basis, so stop by to see all of the fun SVG files HERE!

Have a great day!