A2 Box Card Pumpkin Flowers Tutorial

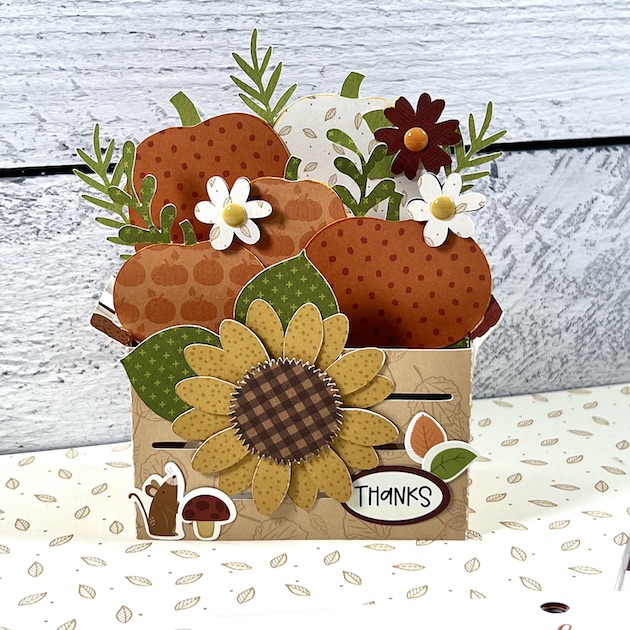
Fall is in the air, cooler crisp mornings and the days are getting shorter.  It’s my very favorite time of the year to create, with all the wonderful Fall and Halloween collections.  I have an easy little tutorial on one of Lori’s new box cards.  They are my all time favorite and I just couldn’t resist this one.  This is the A2 Pumpkin Flower Box that you can find here in Lori’s Shop or here in the Silhouette Online Design Store.

I used Lori’s Echo Park Collection, I Love Fall!  So cute and amazing little details for my card.

First get all your pieces cute and separated to be able assemble easily.

Next, I fold all of my score lines for the box components.


Then I ink all the edges!


Now you are all set to assemble and glue all your pieces.


Once everything is adhered you can add adhesive to the flaps of the box components
.
Start with the orange piece to form the box.
Next add the piece 2, the easiest way for me to know where to adhere it, is just to have the flaps touch the back of the box and then you know you will have perfect spacing.  So I always start from the back and work my way forward.
Add piece one and have it touch to piece two for perfect placement.
Here it is before I embellished…so cute already but you know I can’t help myself!
And omgosh!  Isn’t it the cutest!?  Love it!
Thanks for joining us today!


Pumpkin Truck Back Box Card

Hello everyone. Marcia here.

Fall is officially here and I will soon be venturing to our local pumpkin patch with the family for some fun activities. For Fall wishes, The Lori Whitlock’s Pumpkin Truck Back Box Card (SVG, Silhouette) is so festive. It reminds me of those trips to the pumpkin patch.

I created my truck from cardstock and added some solid pattern papers from the Echo Park Paper I Love Fall collection. I couldn’t resist adding the little racoon to my truck bed. He was cut from a die cut ephemera piece.
 
I know this card will put a smile on someone’s face! Best of all it folds flat for mailing. Lori has lots of other fun Fall cards in her shop. Go take a look.
Thanks so much for stopping by today.
~Marcia

Box Card Crate Pumpkins

Hey crafters! Traci here and today, I’m sharing a fall card that I made using one of Lori’s fabulous cutting files called Box Card Crate Pumpkins (SVG, Silhouette). It’s perfect for the upcoming autumn season and, with a quick sentiment change … it can be given for lots of different occasions.

Fall Pumpkin Box Card made with a Lori Whitlock cutting file


I created this with Echo Park’s I Love Fall Collection designed by Lori. The earthy colors were perfect with rust, orange, green, golden yellow, and brown. 

I embellished the card with some enamel dots and a few really cute stickers from the 12×12 sticker sheet. I just love the little mouse sniffing that big sunflower. So cute!


3D Fall Card with pumpkins and a crate


I used a bunch of beautiful prints from the 6×6 paper pad for all of the pieces except for the crate. I used the 12×12 Autumn Woods print for that. 

Fall Pumpkin Card with flowers, a mouse, and a mushroom


The card folds flat for sending in an envelope or for storing as a wonderful memento.


I hope you’re looking forward to the change in seasons. It’s a great time to create new projects with Lori’s amazing cutting files and the I Love Fall Collection. Happy crafting!


Blog * Shop * Facebook * Instagram * Pinterest

Give Thanks Pumpkin Card

Hi, Crafty Friends!! Creative Team Member, Mitsyana Wright, here. It’s a new month and I’m not going to lie, I’m missing Halloween already.  It’s ok, I have lots to look forward to and lots to be thankful for. And speaking of thankful… Today, I’m bringing you this Give Thanks, Pumpkin Card.

Let me show you how I made it…

Here are the supplies you need:

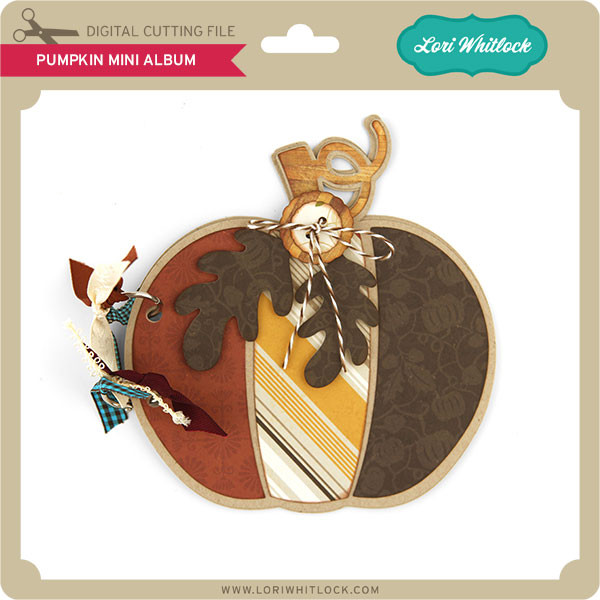
  • Pumpkin Mini Album (here in the Silhouette Store)
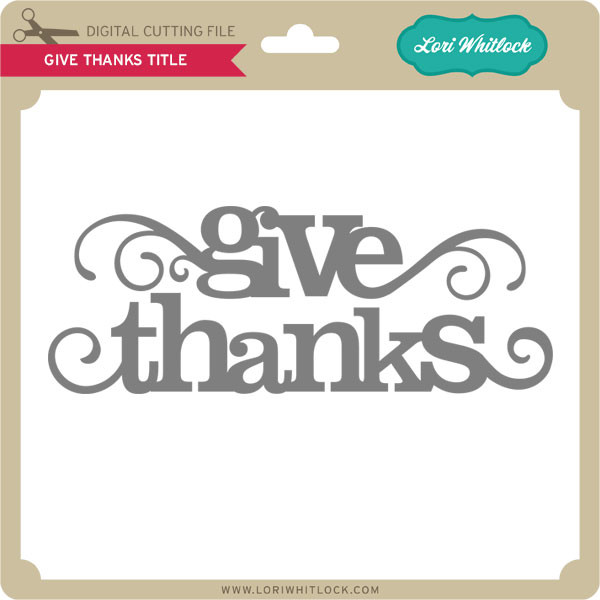
  • Give Thanks (here in the Silhouette Store)
  • Patterned Cardstock (Autumn Leaves Stack- DCWV)
  • Xyron Creative Station
  • Tim Holtz Distress Ink- Vintage Photo
  • Hemp Twine
  • Glue Pen

I used Lori Whitlock’s Pumpkin Mini Album to create my card base.

I opened the SVG file using my ecal software.

Then “UNGROUP”ed the holes from that are in the pumpkin base and files.

Then, I cut and pasted the window base onto a new page.

I made a mirror image then slightly had them overlap at the center. Then I highlighted the whole and “WELDED” the two pumpkins together.

Once the welded pumpkins were cut, I used my bone folder to crease my card.

Then I die cut the panel pieces, stem, and accessories that come with the file.

Next, I ran the patterned paper through my Xyron Creative Station Lite. Then I inked up the edges with Tim Holtz’ in Vintage Photo. Then All I simply did was peel and stick! Easy-Peasy!!

I also used Lori Whitlock’s Give Thanks Title for my cards sentiment.

I sized it to fit the pumpkin cover in my ecal software. Then opened a new window and cut and pasted it there.

After cutting these words out, I left them in their negative space and inked the edges. Keeping them in the negative space helps to reduce bends and tears.

I used a glue pen to attached my sentiment onto the front cover.

Then, I  added the leaves and button. I  fastened them together with hemp twine.

I also used a micron pen to add details to the words and swirls for a little definition.

And here is my finished card…

Now, it’s ready to give to someone I am very thankful for…

It’s so hard to choose!! I’m going to have to make more!! There are too many people I am incredibly thankful for! I guess that is a good problem to have!

Hope you all enjoyed my project for today!! See you soon!!

~Mitsyana

Creative Team Member Joy

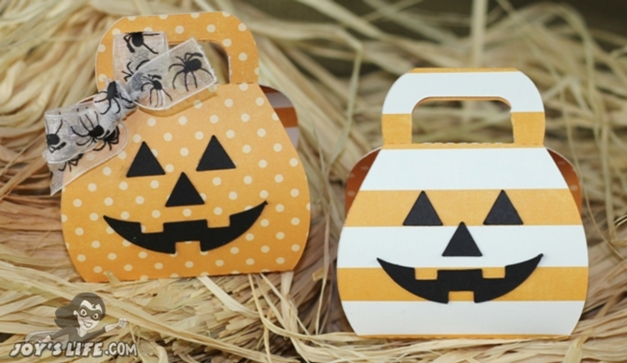
Today for our Friday Feature I have 2 cute jack-o-lantern’s to share with you. Joy used the “Pumpkin Box” for her project. She says

“You can make the bag as big or small as you’d like.  I chose to make them tiny enough to hold a mini candy bar.  This project is perfect for making in multiples!  Think…the whole class or office.  You only need glue to add the pumpkin face, the whole bag is created with some very straightforward folding.  You’re going to LOVE this design! ”

Check out her blog for more info. I love that she did these tiny size.  Thanks Joy, these are adorable and perfect for a tiny treat.