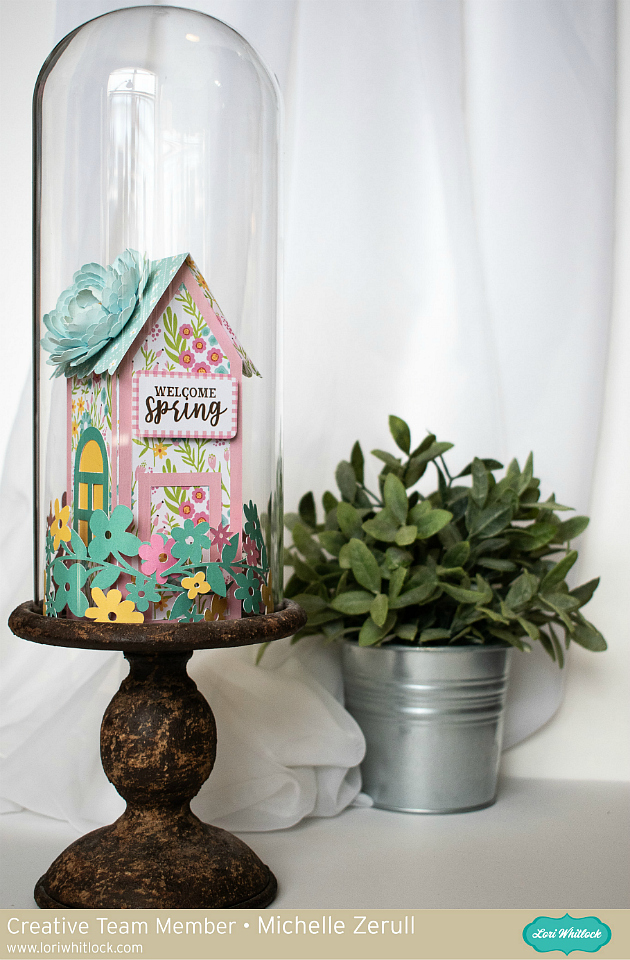
Hello crafty friends! Michelle Zerull with you today to share my new favorite Lori Whitlock gift box called the House Slider Box. I love making little houses and this one is the sweetest because you can put little gifts and treats inside! I also have some decorating tips using Lori’s new paper line called, “My Favorite Fall”.

The digital cutting files for the box can be found at the Lori Whitlock SVG Shop as well as the Silhouette Design Store. It has some other cool features as well. so let’s make one together!

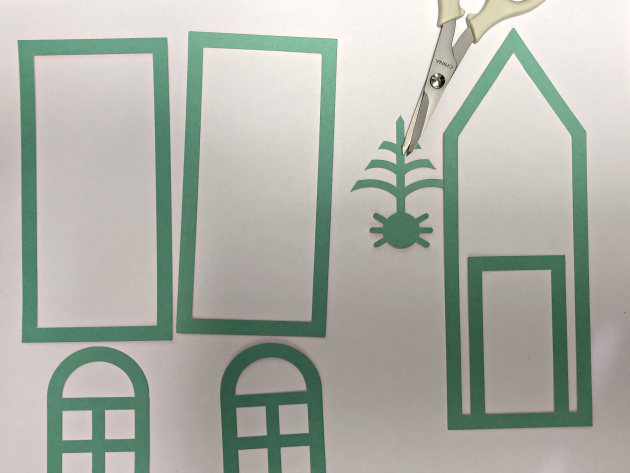
First you’ll need to cut out the house pieces with your digital cutting machine. While the house was flat, I glued the door and window in place. I inked my edges so that the score lines would be easier to see, but that’s not necessary for you to make a super-cute house.

Fold the house sides upward and glue to the front and back of the house. Set it aside.

The house “frame” is one long piece. Fold along the score lines and glue the tab to the inside as shown.

Add glue to the frame’s roof and glue the shingled piece in place as shown.

Now the house box will slide in and out of the frame, just like a matchbox. Isn’t that the cutest? Now let’s decorate it!

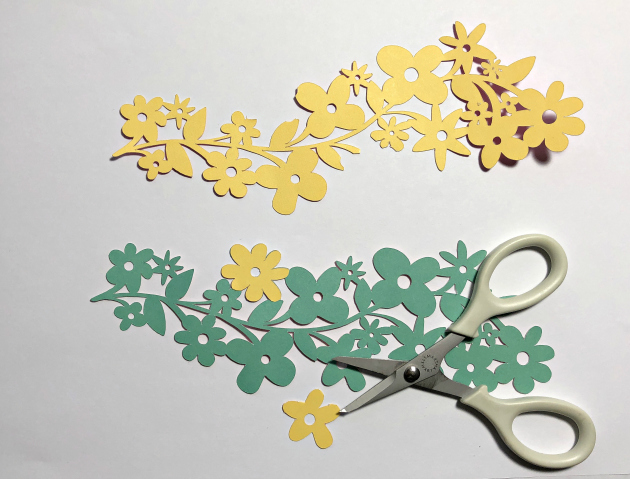
Lori has a new line of paper and embellishments from Echo Park Paper. The line is called, “My Favorite Fall.” It’s available at retailers now and it has the cutest elements! I discovered that one of the cut apart pages has elements that fit nicely on the side of the house. Look at all of the cute designs you can use!

I also discovered that the puffy stickers (Yes, Puffy Stickers!) are sized to fit this little house perfectly. See the sticker that says, “Thank you?” It fits over the little window. What a great way to show your gratitude!

I added some paper Apple Trees, which are really called, “Easter Scene Tree” to the photo, because every Autumn home should include some juicy apples! You can find the digital cutting file for the tree at the Silhouette Design Store, or as part of a bundle at the Lori Whitlock SVG Shop.

I love this little house so much. I can’t wait to decorate one or two of them for Christmas. They are going to be adorable in Christmas paper!
Have fun making your own little houses and have a great day!