Money Roll Gift Bag Set Tutorial

Happy Thursday everyone! I’m here today to show you how I made this cute birthday money roll gift bag set (SVGSilhouette).

I always start by making sure I have all my pieces cut

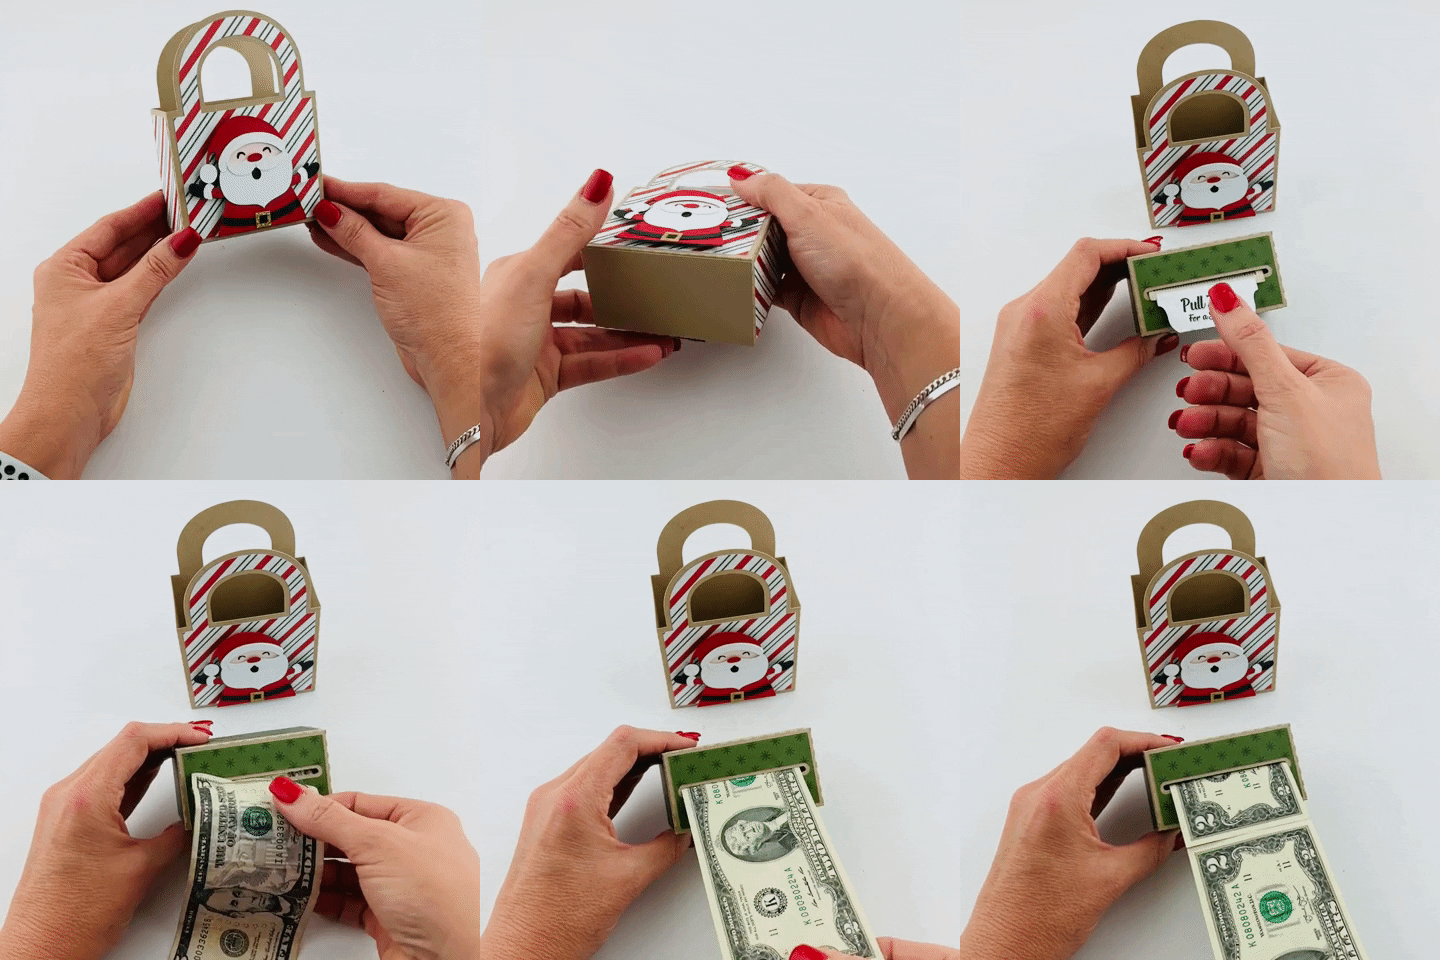
Then I start by assembling the bag by placing the decorative paper on the cardstock. I also put adhesive on the 3 flaps as shown below.

The last flap gets adhered to to the 3rd flap as shown.

I then add the decorative paper to the money roll portion of the project. Adding adhesive as shown.
Make sure not to remove all adhesive strips or you will have a money box with no money. Complete the box by leaving the back side open to get your roll money into it. I taped my bills together using washi tape. Once your money is in the box and the tab is through the slot, fold the ret of the box together and adhere it closed.

The money roll fits perfectly in the little gift bag.

You can decorate the bag however you like. I had this little Doodlepop that looks kinda like our birthday girl so I added a black circle and the little pops. Also tied the bag together with matching ribbon.

What a fun little birthday gift and perfect for a kiddo turning 18. We filled it with $2.00 bills for a little added fun.

Hope you will give this fun project a try. Happy Crafting!
Chelsea

NEW! Money Roll Gifts for Christmas!

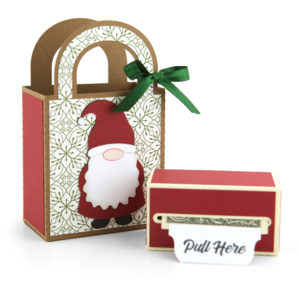
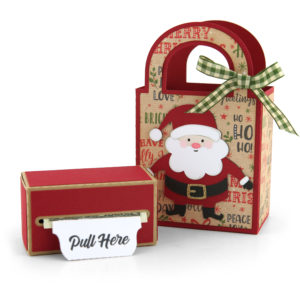
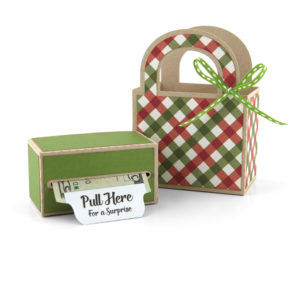
Do you need a last minute gift for someone on your list? Why not give the gift of money in the most adorable package ever? These money roll boxes and gift bags go together very quickly! We have an assembly tutorial that you can view HERE. This is seriously one of my kid’s favorite gifts I have ever given them. The 4 new money roll boxes/bags are on sale 25% off this week in the shop.

To make them, simply tape bills end to end and roll them up. Add the “Pull Here” tab to the last bill and put the roll inside the box with the little tab hanging out of the slit. Then, place the box filled with Christmas cash in the darling little bag that is included. The recipient will be delighted as they pull the tab to reveal a roll of money.
There are also several other money roll designs in the shop that I released previously. Be sure to check them out HERE. The patterned paper that you see on these projects is from my Magic of Christmas paper collection. I hope you enjoy making some money roll boxes/bags for your loved ones and friends this year. I promise it will be a hit!
Happy Holidays!
Lori

Money Roll Gift Bag Sets

To help up your gift wrapping game, Silhouette is collecting some fabulous ideas from creatives all around in their Gift Wrapping Round Up.  I was very excited when they asked me to contribute to their collection.  Many times for the holidays, someone may ask for money to be put toward a special purchase.  In addition, If you’re looking for that last minute gift… money is always a great gift.  The key to making it a really fun gift is cute packaging!  That’s why I created these fun Money Roll Gift Bag Sets.  It’s a great way to add a personal touch to a gift of money and my kids have absolutely loved it when I do these for them.   I have a lot of different versions in both the Silhouette Store and in my SVG Shop.  Take a peek…

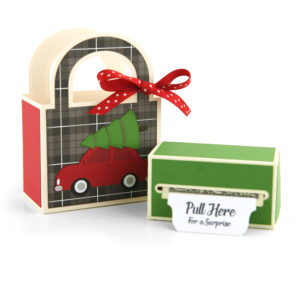
Money Roll Gift Bag Christmas Tree (SVG, Silhouette)
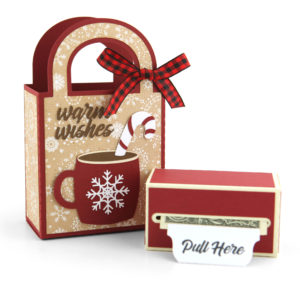
Money Roll Gift Bag Cocoa (SVG, Silhouette)
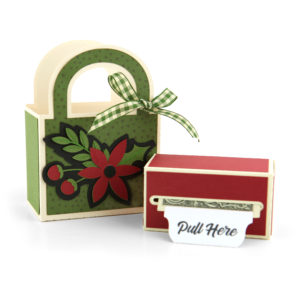
Money Roll Gift Bag Holly (SVG, Silhouette)
Money Roll Gift Bag Gnome (SVG, Silhouette)
Money Roll Gift Bag Santa (SVG, Silhouette)
Money Roll Gift Bag (SVG, Silhouette)
Not only are they adorable, but they are easy to put together!  I have an assembly tutorial on my blog here.  If you make some be sure to tag Lori Whitlock on Facebook and Instagram.  I always love to see your creations!  I hope you all have a wonderful holiday season!

Money Roll Gift Bag Tutorial

I usually gift money during the Holiday season for the teens and other hard to shop for loved ones in my life. How about you?  The thing about gifting money, is that it isn’t all that personal and it’s not all that easy to dress up!  Well, that’s until I found Lori’s super cute Money Roll Gift Bag (SVGSilhouette).  I’m making several of these this year for all the teens on my Christmas List.  I think they’ll get a kick out of it and make the gift giving a little more special.

I used Lori’s My Favorite Christmas Paper Collection when cutting out the pieces, as well as some plain white cardstock .

To begin, you can ink the edges of the designer paper to add some depth to the project. Feel free to skip this step if you’d like.

Next, glue down the designer paper panels to both boxes and gather some ephemera, stickers and ribbon to embellish both boxes.

Then, fold all score lines in, as shown.

The Gift Bag goes together pretty easy.  Add glue to the side tab and fold other side over to join the sides of the box.

Then fold the bottom of the box in and glue down.

To assemble the money roll box, glue the side tab to the opposite side panel.
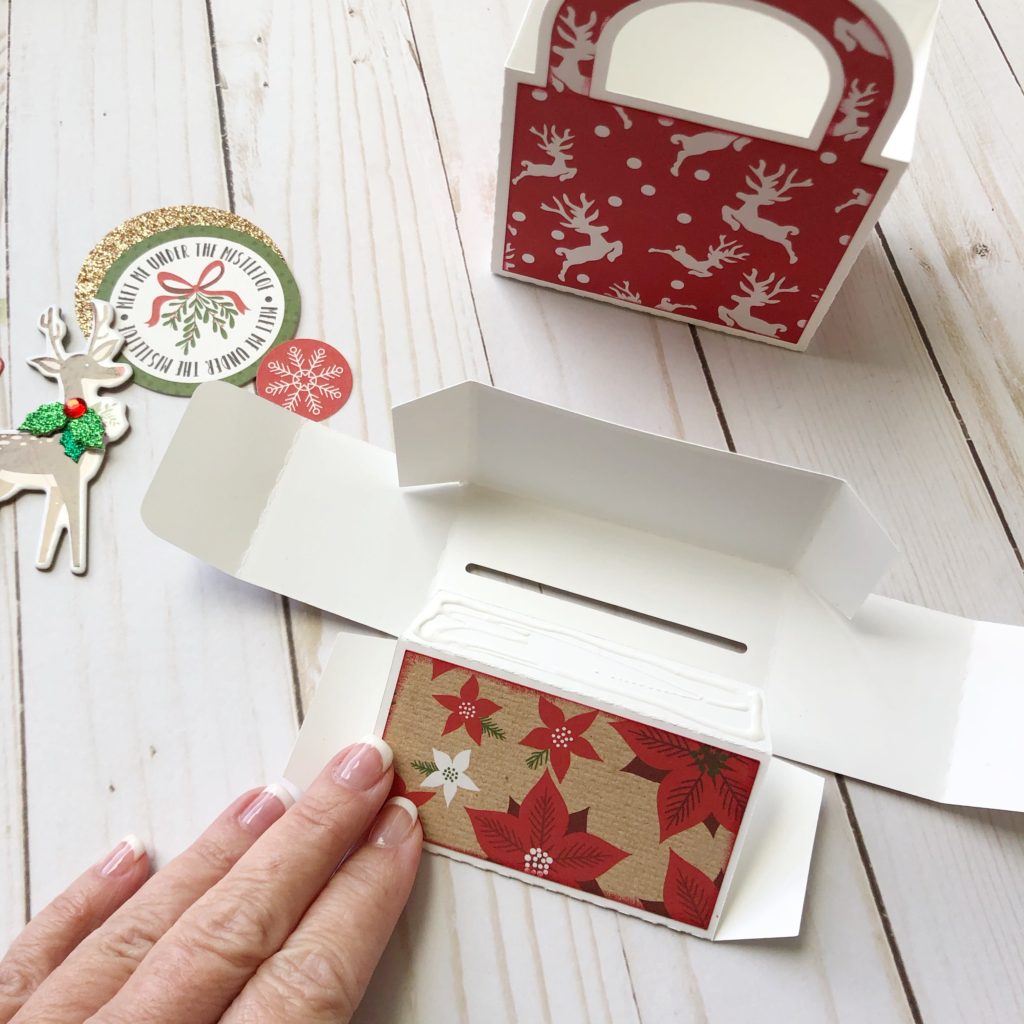
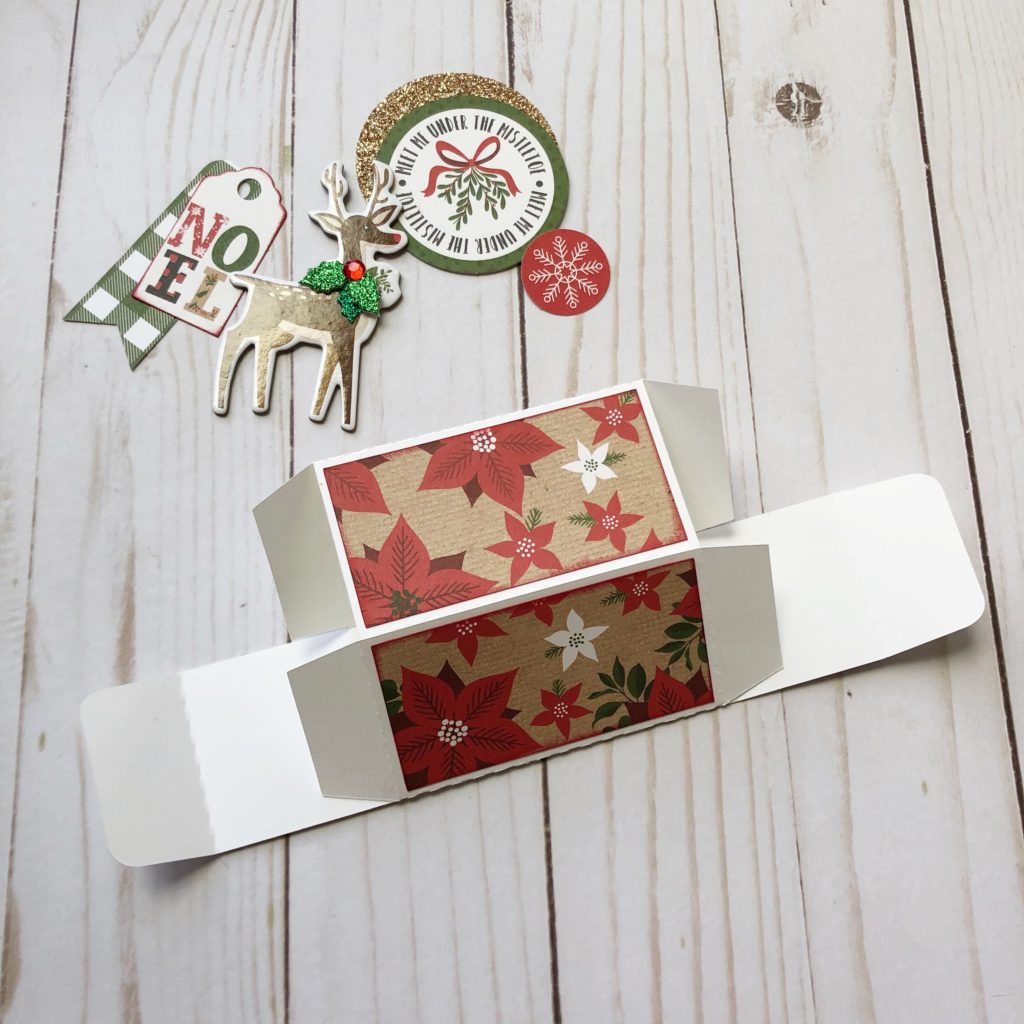
Fold side tabs on one end of the box to close it. Tape your money together, end to end and add the pull tab.  I find Scotch tape works best for this part… it can be peeled off of the bills with out tearing them. Also, it’s really fun to use a bunch of $1 or $5 bills so the money just keeps coming and coming when you pull the tab.

Next, roll your money up as shown…insert it into the box with the tab coming out of the opening at the top of the box.

Decorate the money roll box as well as the gift box however you’d like.

I found several fun pieces of ephemera and chip board from Lori’s My Favorite Christmas Collection to embellish my boxes, as well as some ribbon from my stash.

And that’s it!! You can add a little shred to the bottom of the box and your gift is done!
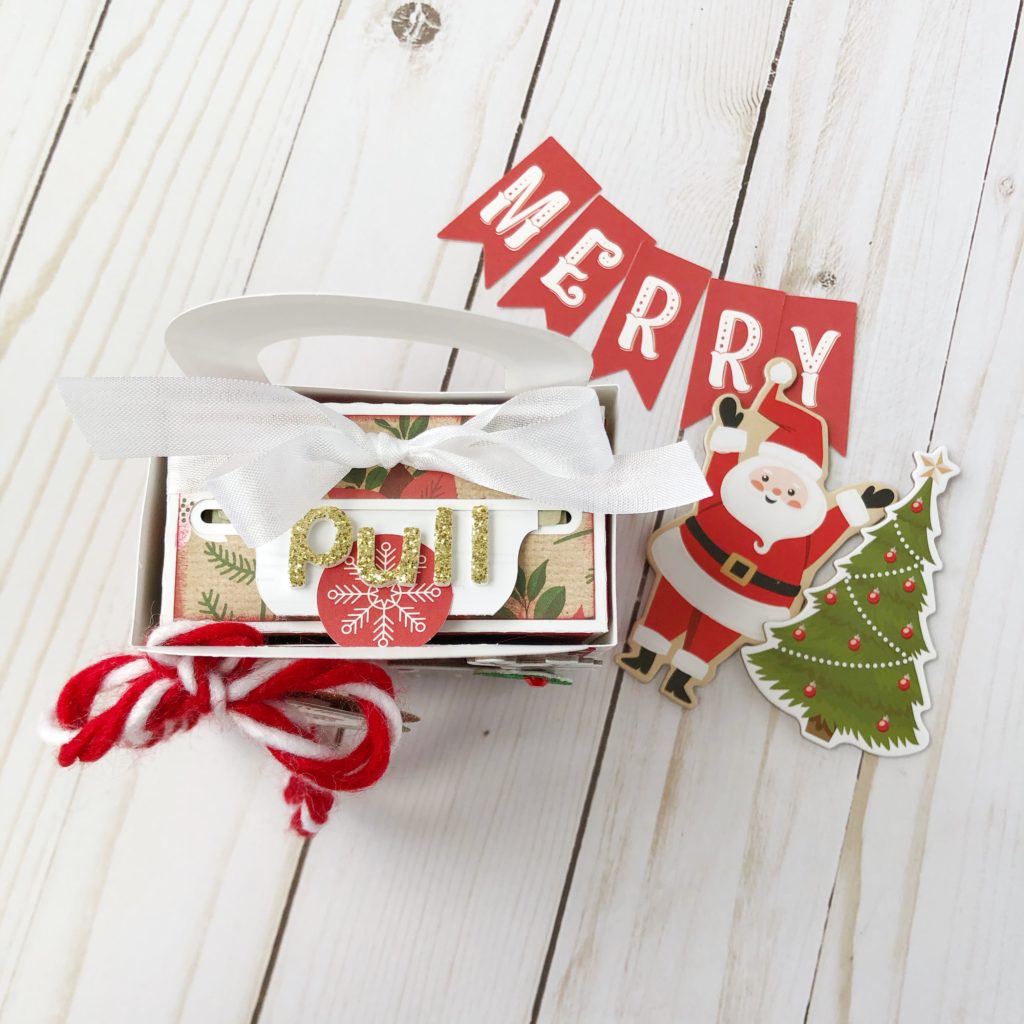
Who’s the lucky one in your life that will get to pull that tab and find an awesome surprise inside?

Thank you for stopping by!

xo,

Michelle H.