Hi there paper crafting friends! It’s Michelle Starcher, aka the Bookish Designer, popping in on the blog to show you how to create the Accordion Mini-Album with Gusset (SVG, Silhouette) I used one of Lori’s newest collections from Echo Park Paper, All Boy, to make this mini-album. This set is loaded with boyish graphics and sayings, along with a primary color pallet. I used the sports themed papers and stickers from the collection to create the mini-album.

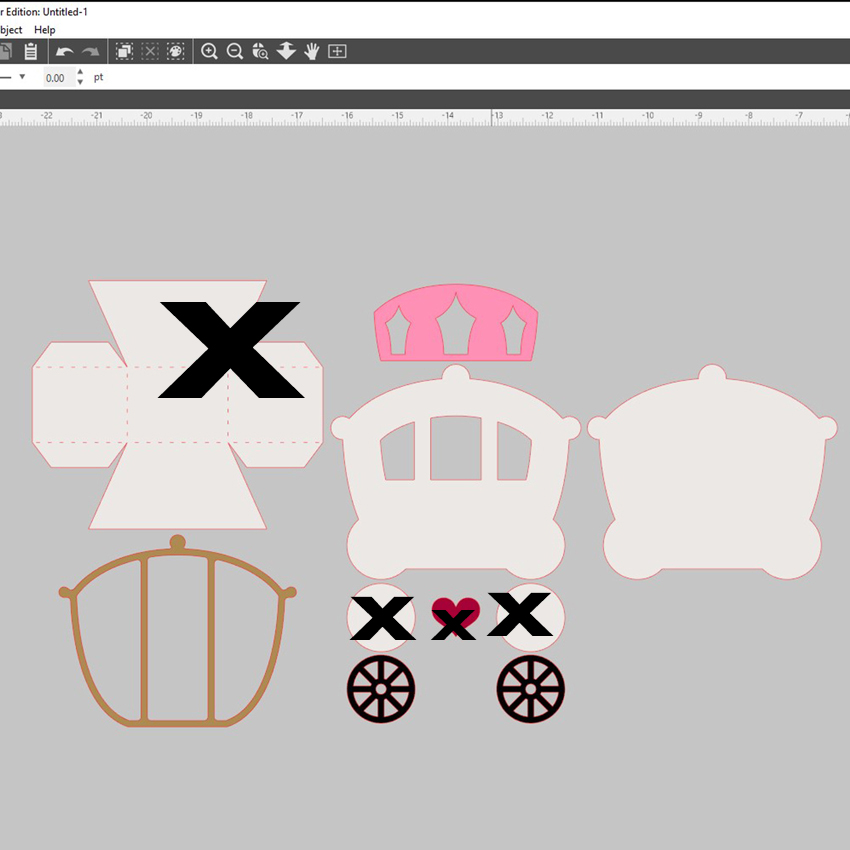
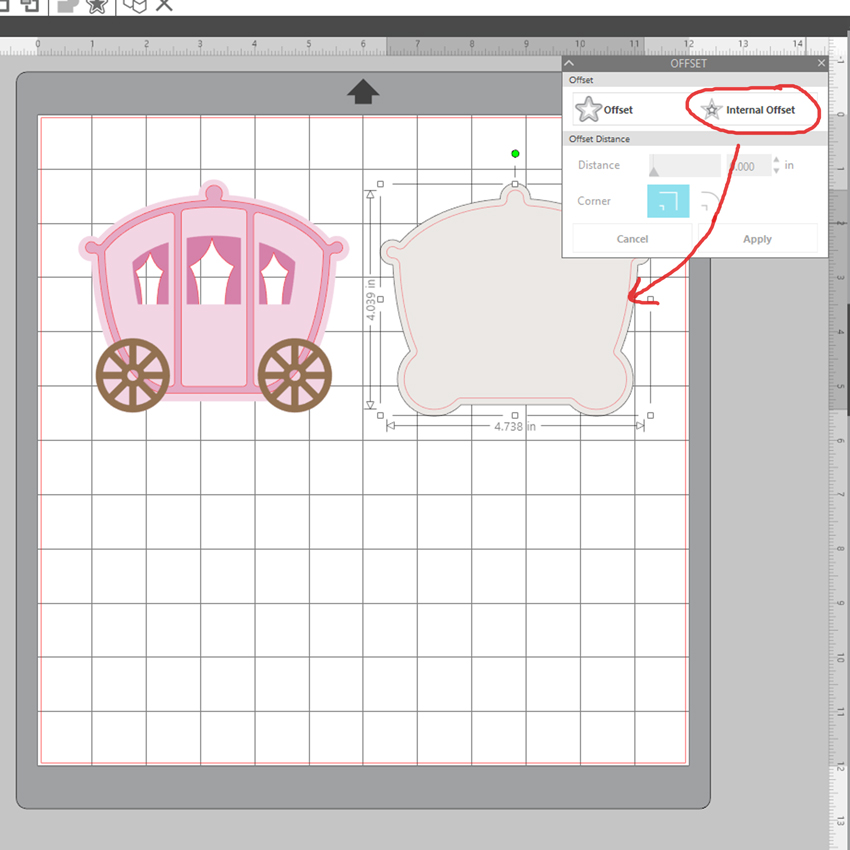
To build the Accordion Mini-Album with Gusset, follow these steps…
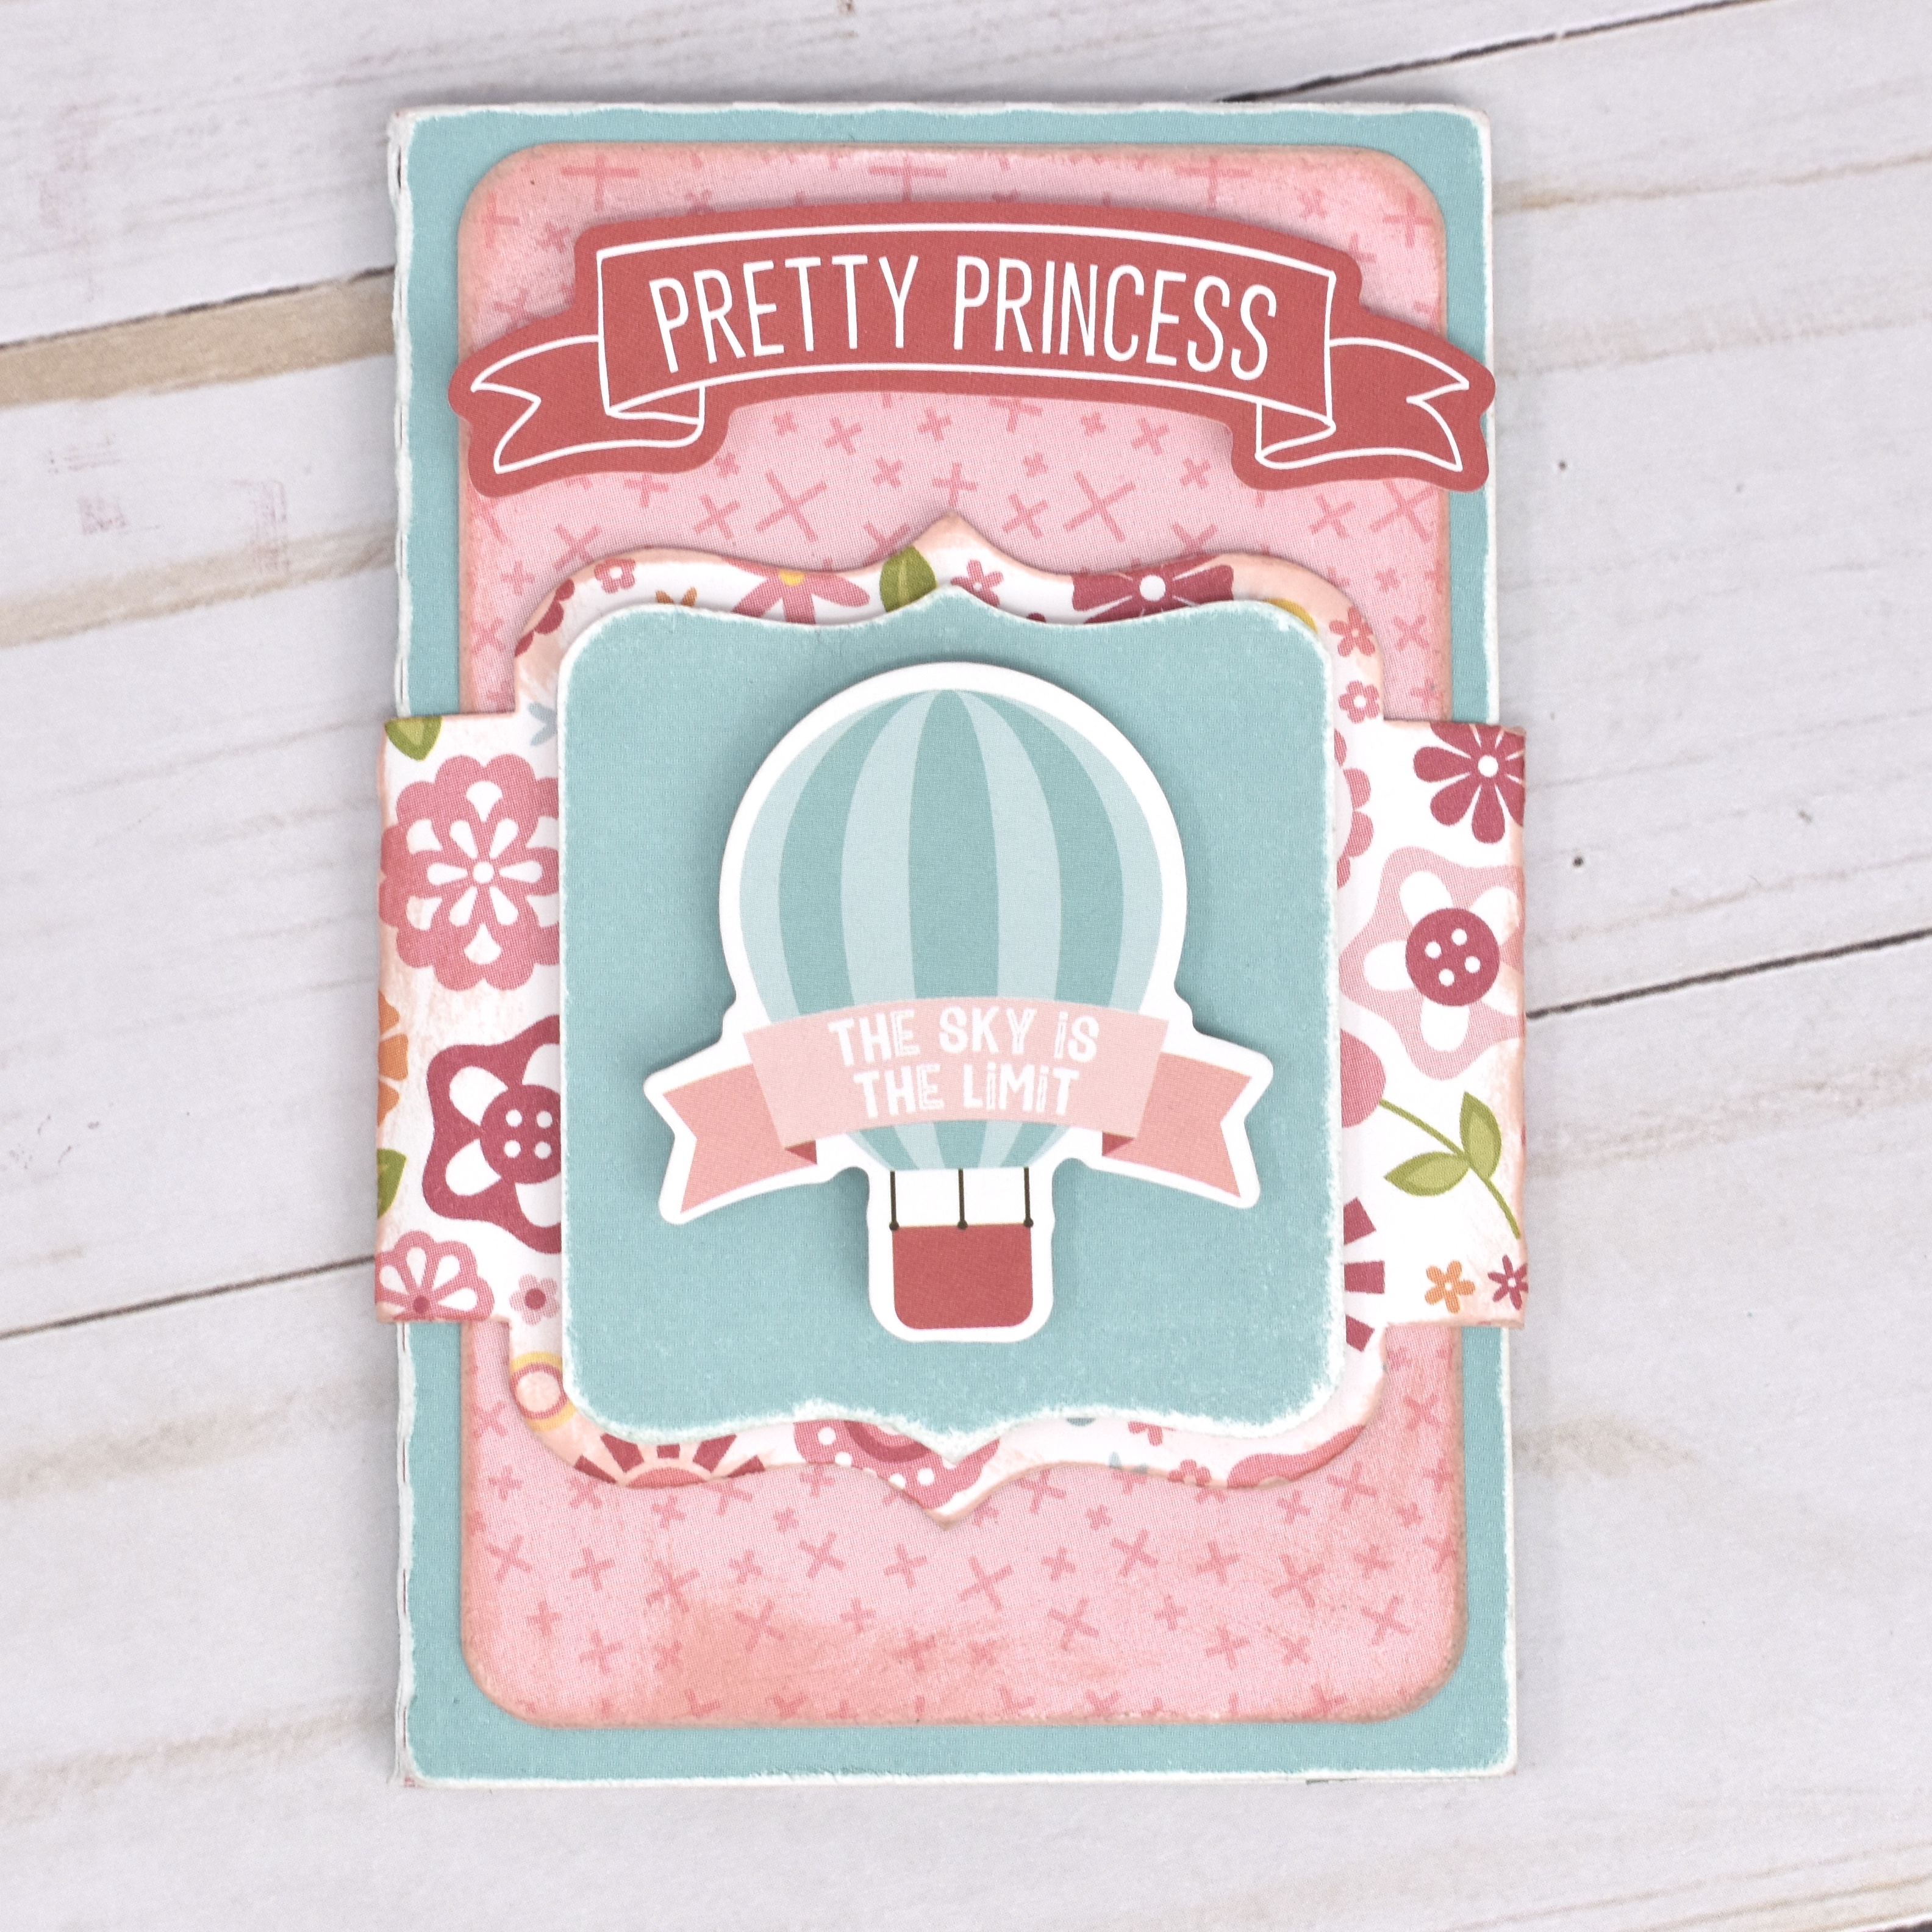
Once you have all of the pieces cut, you are ready to assemble the mini-album. I started with the cover since it was the most straightforward part of building the album. I used double-sided colored cardstock from the All Boy collection for the cover’s base, so I had to decide between orange and navy for the outside cover. I decided to go with the navy and distressed the edges with a nail file to give the cover more boyish grit. If you decide to distress the cover of your album, I suggest only sanding the outside edges and not the folds. When applying the second layer of paper to the cover, be sure to check for the correct orientation, especially if you are using patterned paper. When the cover is laid out flat, the cover’s flap (orange) should be on the left side as pictured. Once you are sure you have the correct layout, go ahead and adhere the second layer to the cover.

Next, you are ready to start assembling the inside pieces. I used three different double-sided patterned papers, so I wanted to make sure I had the correct orientation. I did a preliminary fold of the pieces using the score lines. Then I laid out the pieces to see how they would connect. Of the three pieces, only one doesn’t have a tab and is shorter than the others. I started with that piece, and connected the other two using the “provided” tabs. To make sure I had everything connected the way I wanted it, I used paperclips to hold the pieces together. This allowed me test the connection, layout, and orientation without making anything permanent.


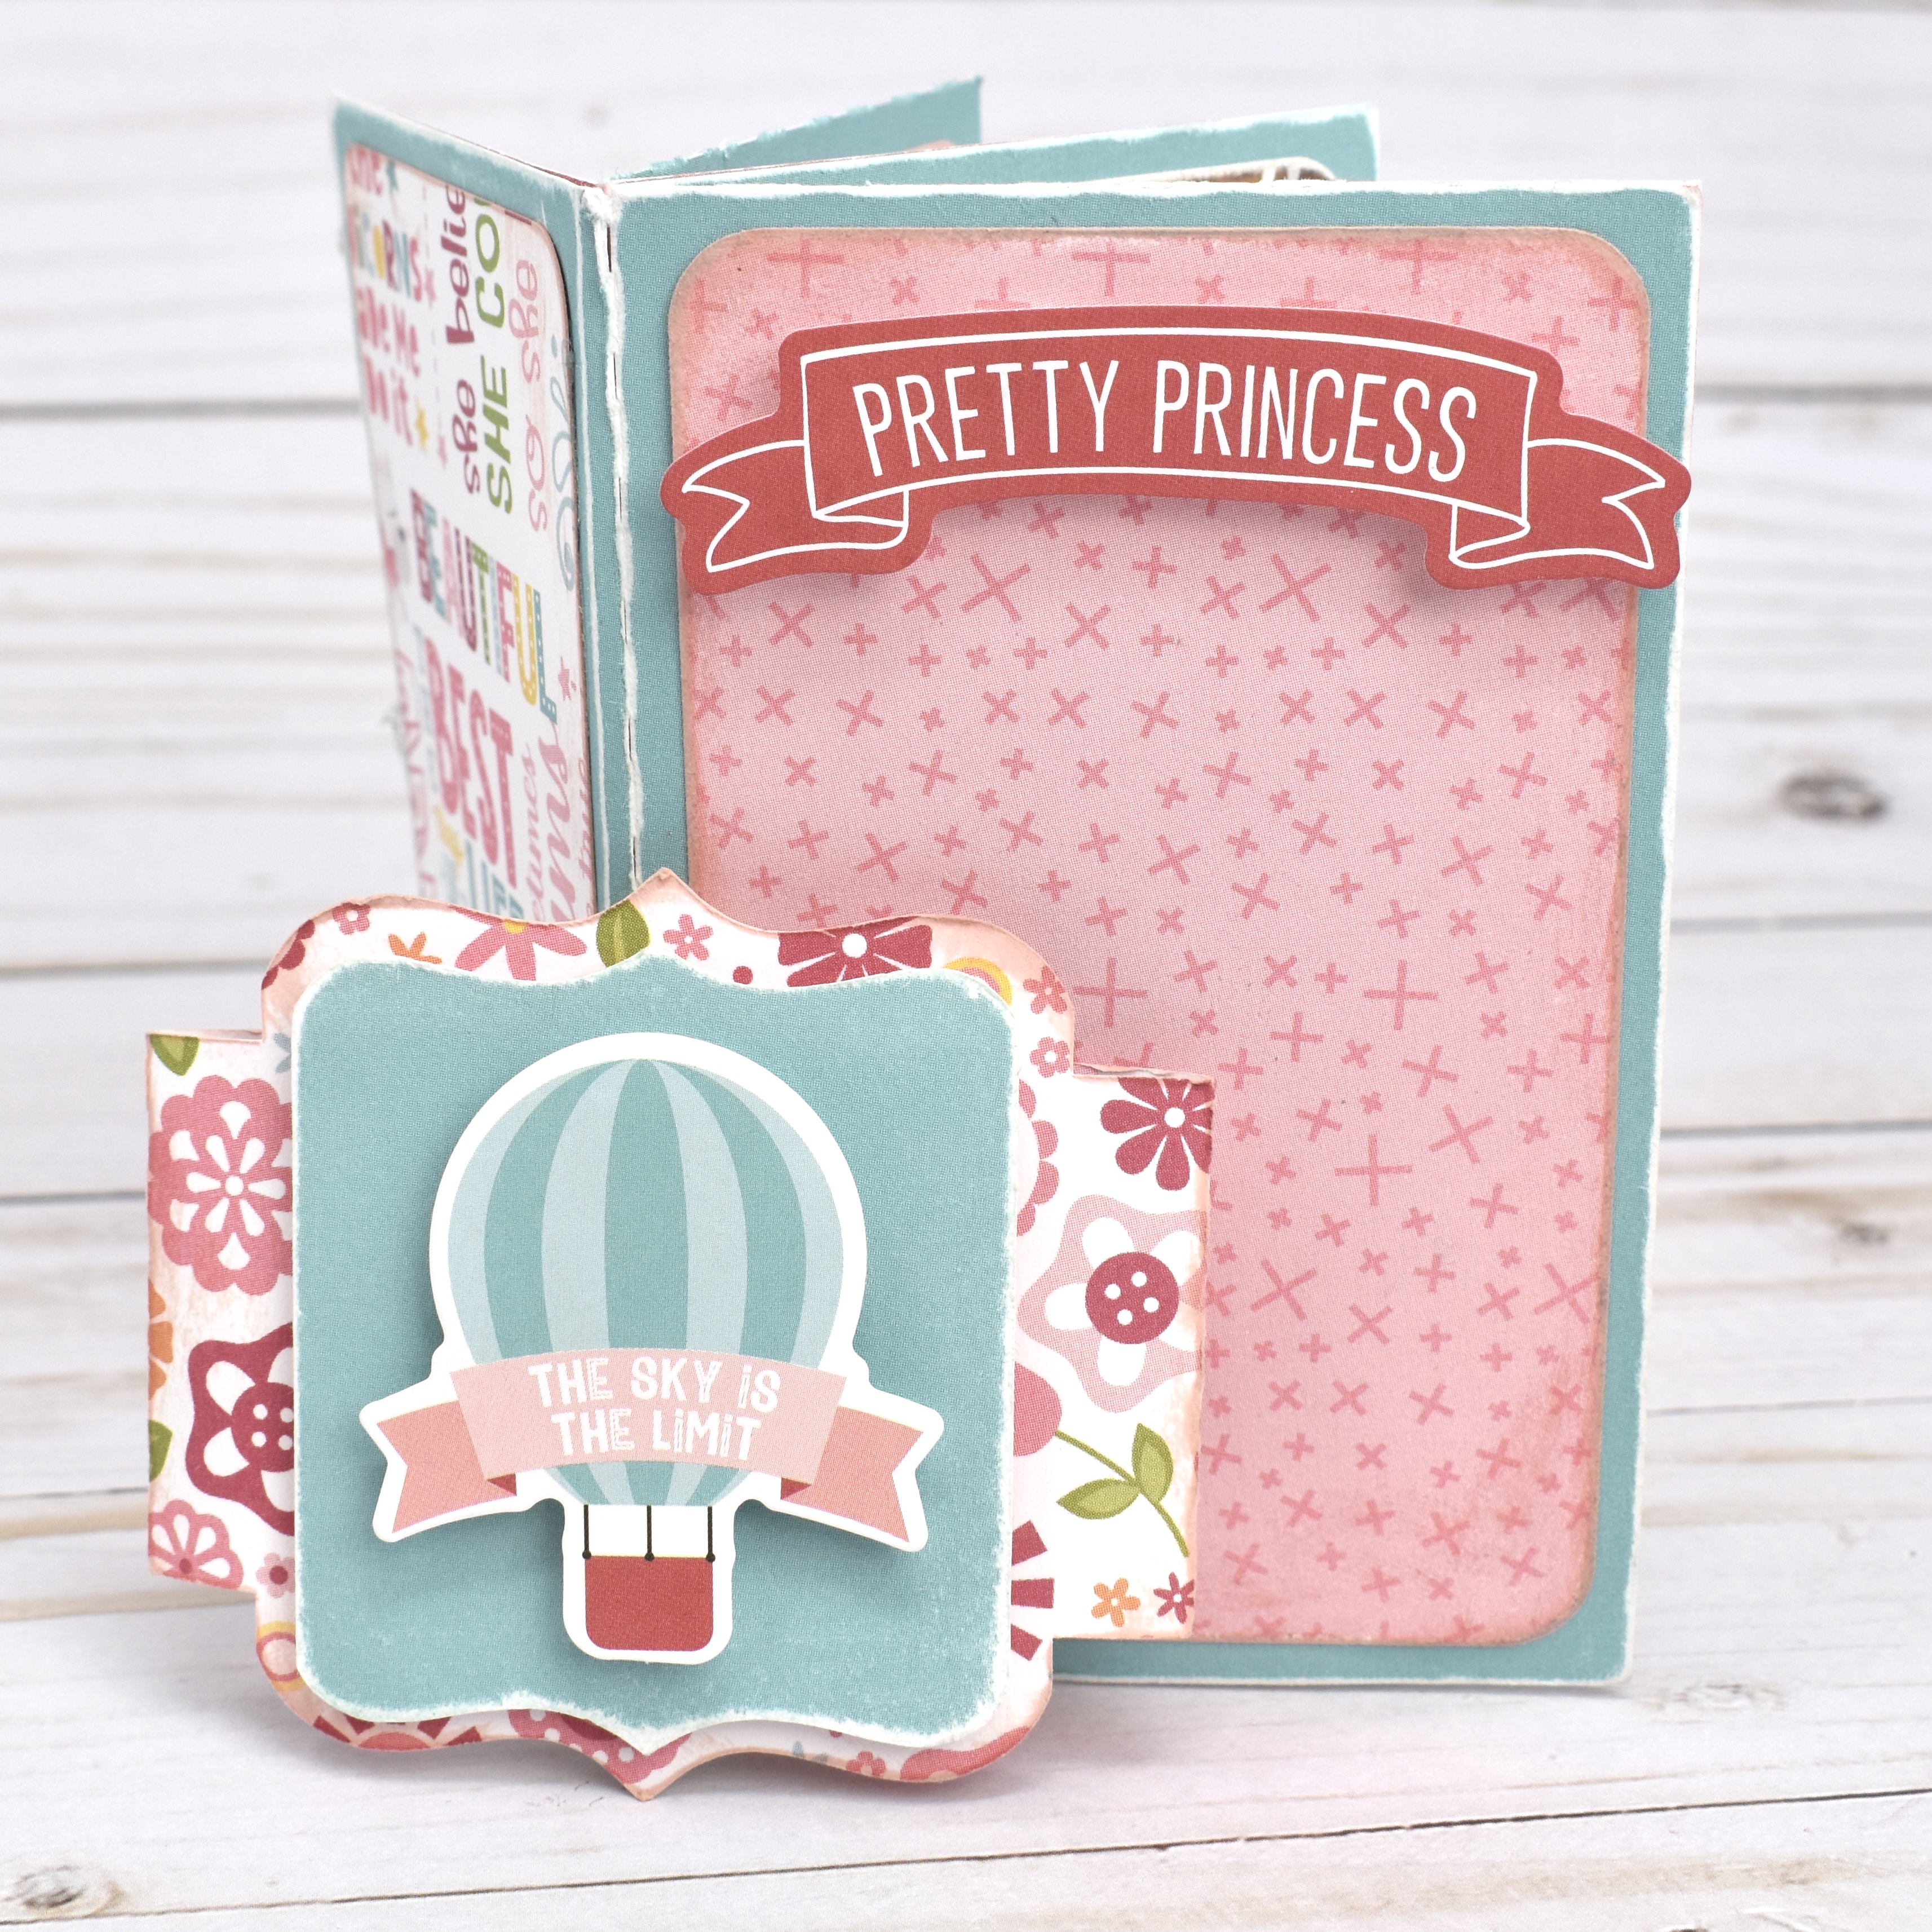
Once I was certain I had the layout of the accordion pieces correctly placed, I used adhesive tape to connect the three pieces. Next, I added adhesive tape to the bottom layer that would connect the accordion pages to the cover of the mini-album. At this point, I didn’t actually tape the accordion pages to the cover, but I wanted to make sure I didn’t add pictures/decorate the section that would connect the entire album. Also, this gave me a chance to make sure I had the right orientation for the inside pages before make the actual connection. Then, I folded the pages back and forth using the score lines to create the up and down motion of the pages pictured. I tucked everything inside the front cover and closed it to test the orientation once again. At this step, I still didn’t connect the inside pages to the cover. (If you are using solid colored paper, the orientation won’t really matter. However, all of the patterned papers I used in the album had a specific top and bottom, and I didn’t want to mess up!)

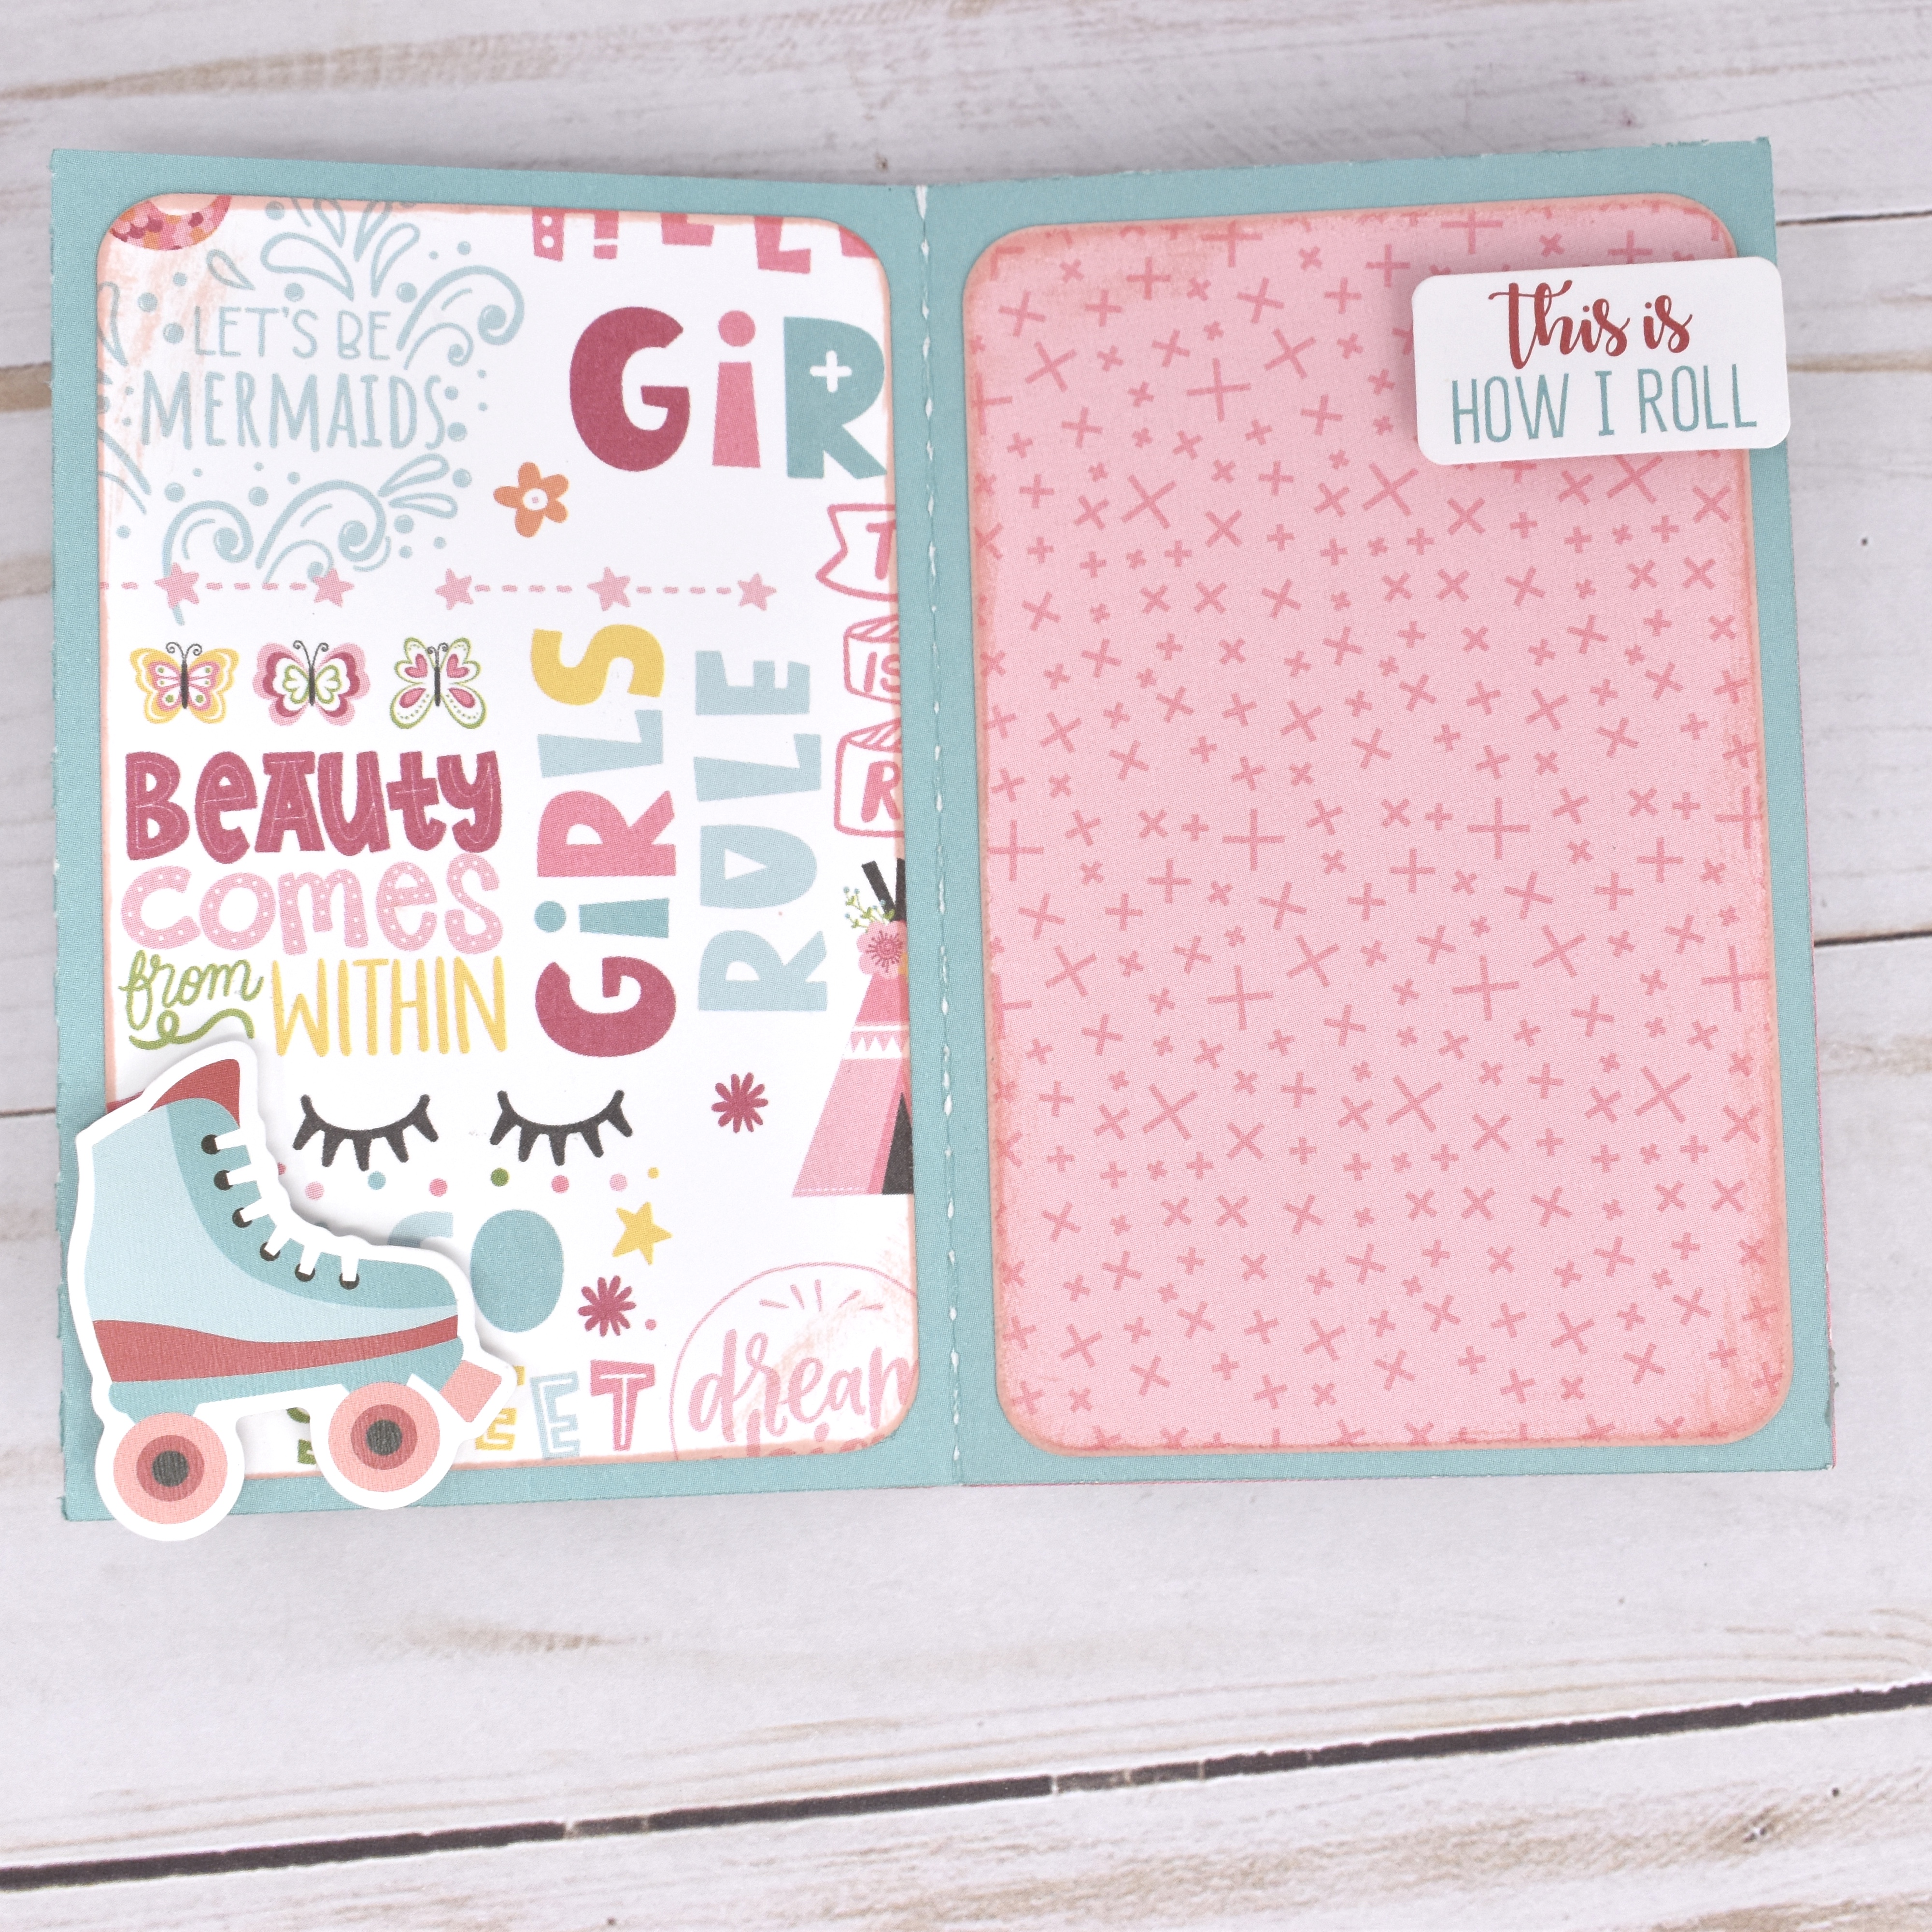
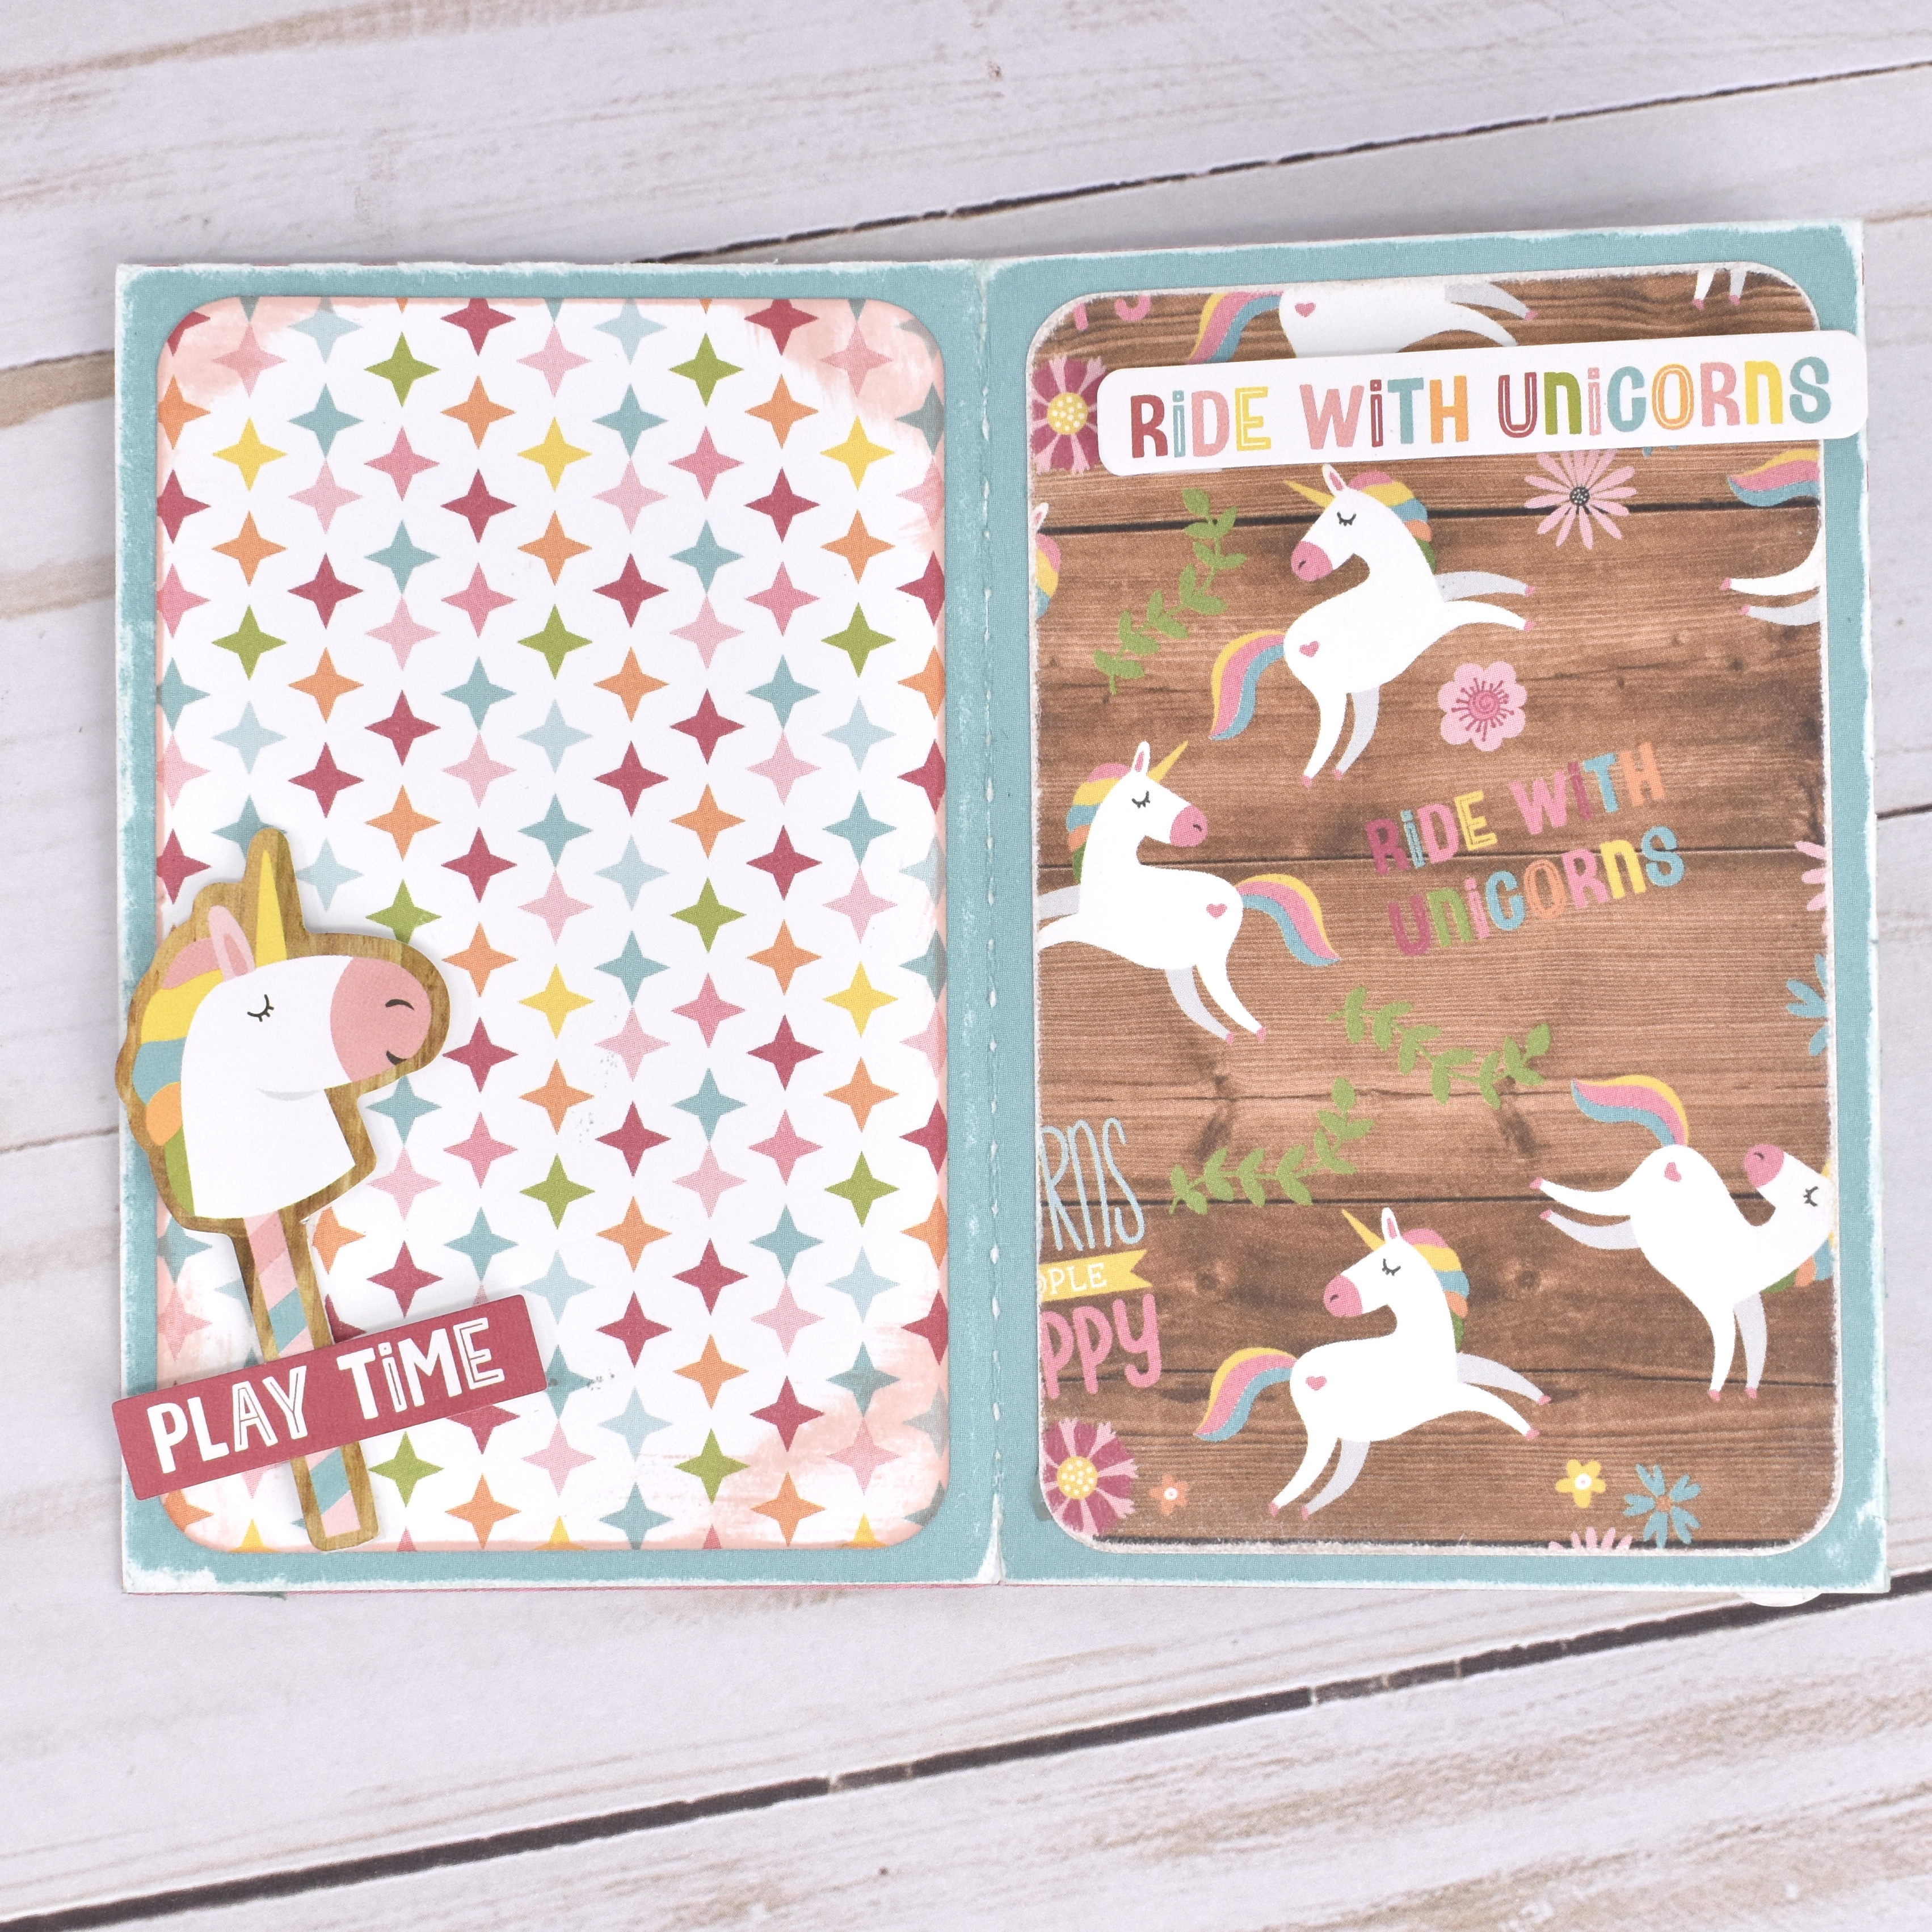
I decided to go ahead and decorate the inside pages before connecting them to the album cover. To do this, I laid out the accordion and decorated/added photos to each section on one side. Then I flipped it over and repeated the process. (Checking for orientation along the way!) Once I was done with the inside pages, I was ready to make the final connection and actually adhere the inside accordion pages to the cover. This is what the pages look like when connected to the cover from both sides.


I love adding extra dimension to my projects, so I used pop-dots to give some of the elements a little more height. Thankfully, the pages are designed to allow for extra height and still fold neatly inside the cover. To hold the cover closed, you can tie a ribbon around the album or use velcro or another type of connector. I hope that you’ve enjoyed this tutorial as much as I have. The Accordion Mini-Album with Gusset (SVG, Silhouette) will make a great addition to your SVG library. Happy crafting!