Brrrrrrr, Let it Snow

I hope all of you are warm and toasty….here in the midwest we are absolutely frozen.  Today’s high is supposed to be -12 degrees and feels like -35 degrees with the windchill.  Yep, frozen.

So going with today’s theme, I have a layout that I created with Lori’s Echo Park Collection,  The Magic of Winter

I used a fun picture of my granddaughter at the ice sculptures in Colorado a couple years back. This collection was perfect for this photo.

I started with the giant snowflake.  I actually grabbed this from Lori’s  Center Step Snowflake Card Center Step Snowflake Card (Silhouette) and just enlarged the snowflake to what I needed for a size. Next, I created the title using Lori’s Let it Snow (Silhouette)  I cut it in white and then added the pen stitching and then did a shadow cut as well.  The last thing I cut were a bunch of hearts in different sizes and patterns from Lori’s 11 Hearts (shop) or 11 hearts (Silhouette)


Stay warm and toasty everyone!
Cathy


Fall Heart Scrapbooking Layout

Hello friends! Traci here and I’m excited to share a new 12×12 autumn inspired scrapbook page that I made using one of Lori’s super fun cutting files. This layout would be beautiful in an album or framed for pretty seasonal décor!

I used the Fall Heart cutting file (SVG, Silhouette) and Doodlebug’s Pumpkin Spice paper collection. As it is, this file makes such a pretty piece of artwork. But I added a sweet photo to show how it could also be used to highlight a favorite memory.

To make this … I cut out and arranged the larger pieces first, then filled in with the smaller leaves. Next, I added some glitter enamel dots and hearts in between for a little sparkle and shine. I love all the detailed cut outs of acorns, apples, pumpkins, leaves, and berries. Gorgeous!

To finish the page, I created a coordinating mat, added my photo and a few die cut words. It was easy and so much fun! This would be also be great for photos of a hike through nature, the pumpkin patch, a fall vacation, or Thanksgiving Day.

Thanks for stopping by and I hope you’ll visit Lori’s shop for more amazing craft ideas!

Blog * Facebook * Instagram * Pinterest

Harvest Layout – Creating a Lettering Template Tutorial

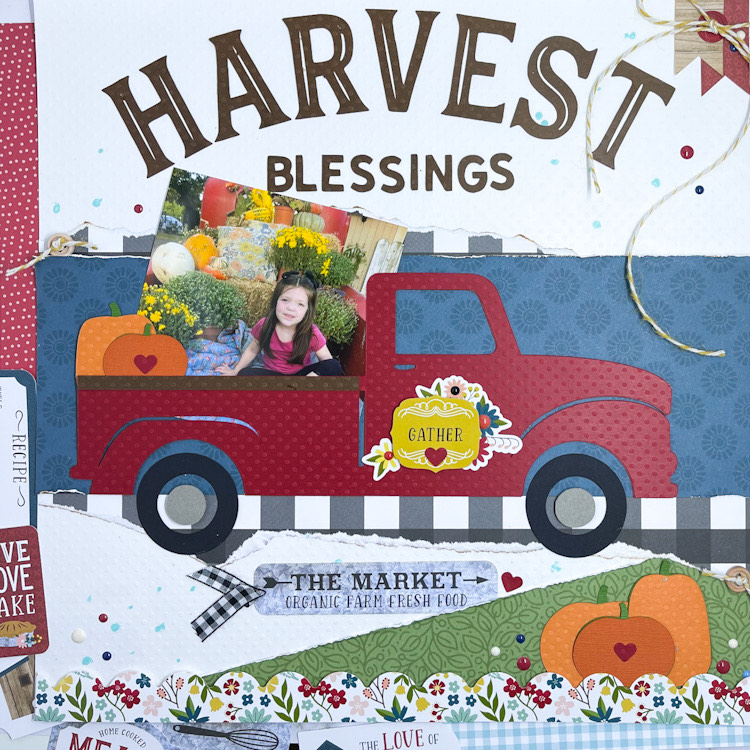
Happy Fall to everyone, but it is now winter in South Dakota…we got quite a bit of heavy snow and rain last night.  Yuck.  Fall never lasts long enough for me and winter comes way too soon.  I have an easy layout showcasing Fall and trendy red trucks, to share with you today.  I love to take Lori’s sign-type files and turn them into layouts.  I just love the look of these SVG’s and most of the times they are created for a project with vinyl, I like to do a traditional layout with them.

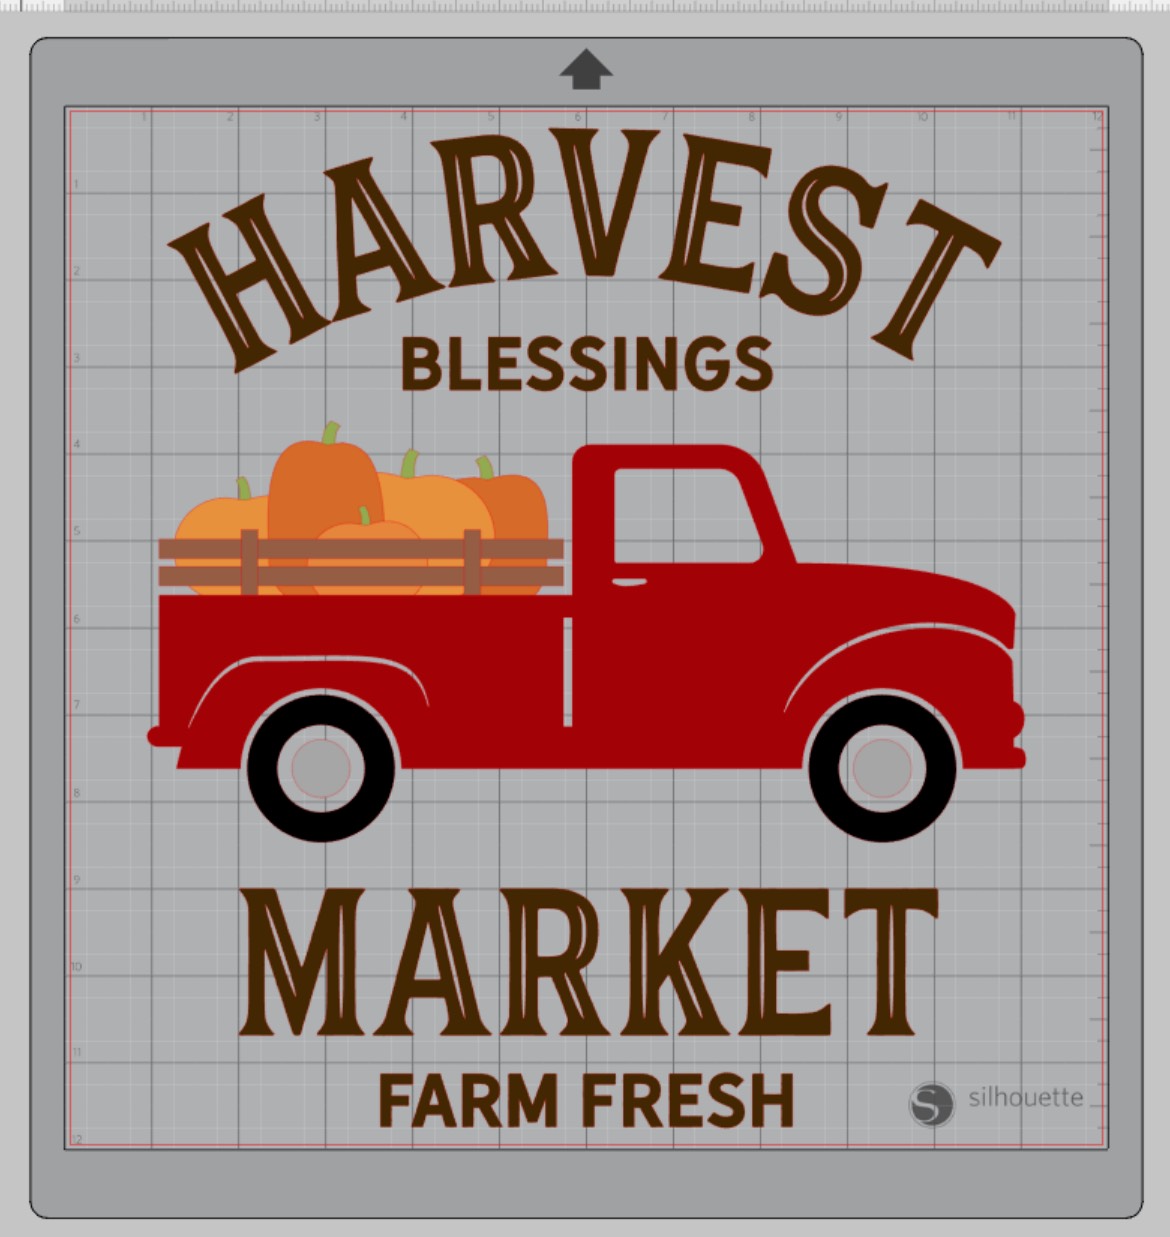
I started with the Harvest Blessings SVG file in Lori’s shop or you can find it here in the Silhouette Design Store.  I just centered it to my Silhouette mat and kept the sizing.

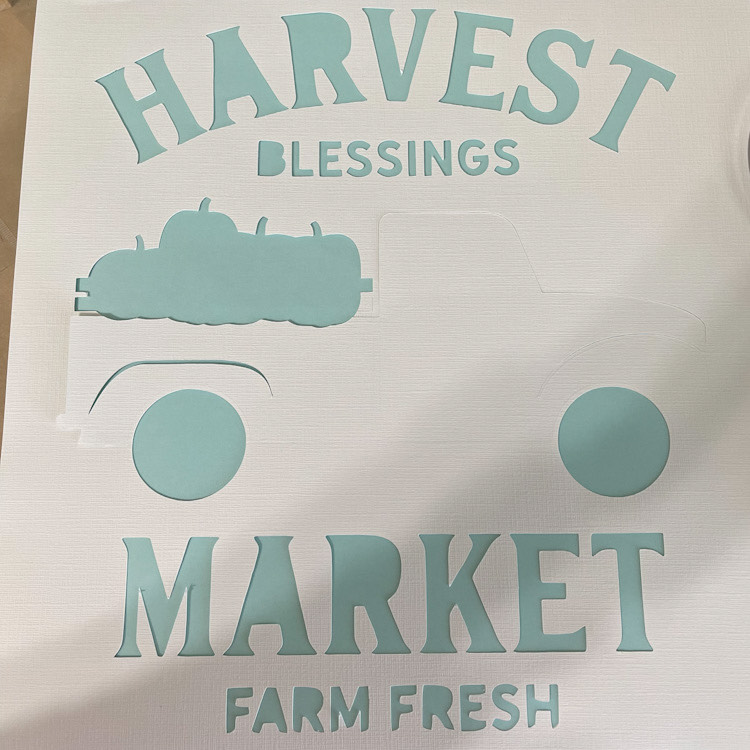
I cut the design from plain white card stock.  I use this as my mask or stencil to line up my letters perfectly.  It’s almost impossible to line up the letters with out the template, so that’s why I started cutting these, it helps keep everything straight!

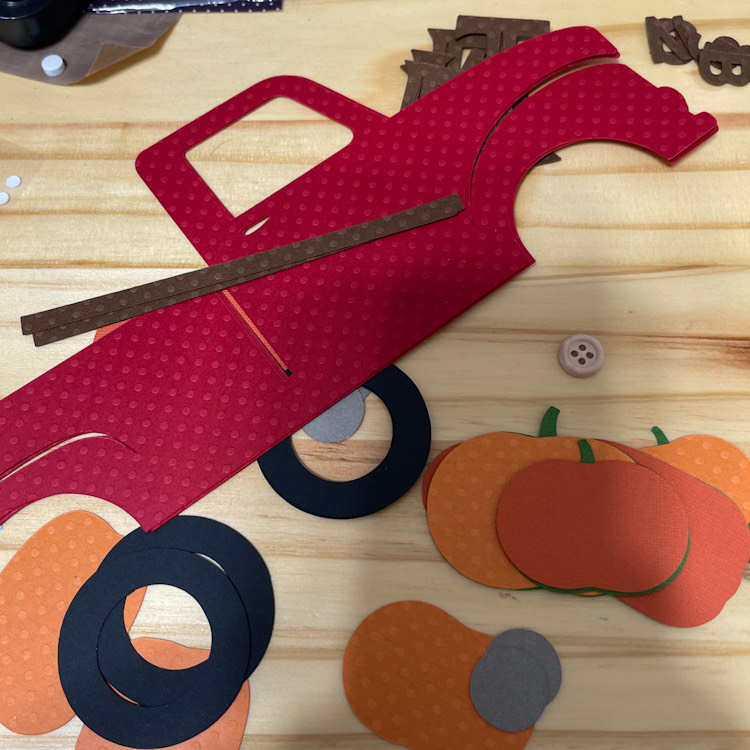
Next, I cut all the pieces that I wanted in different colors of cardstock.  I didn’t use them all, as I added a photo, other patterned papers and embellishments.

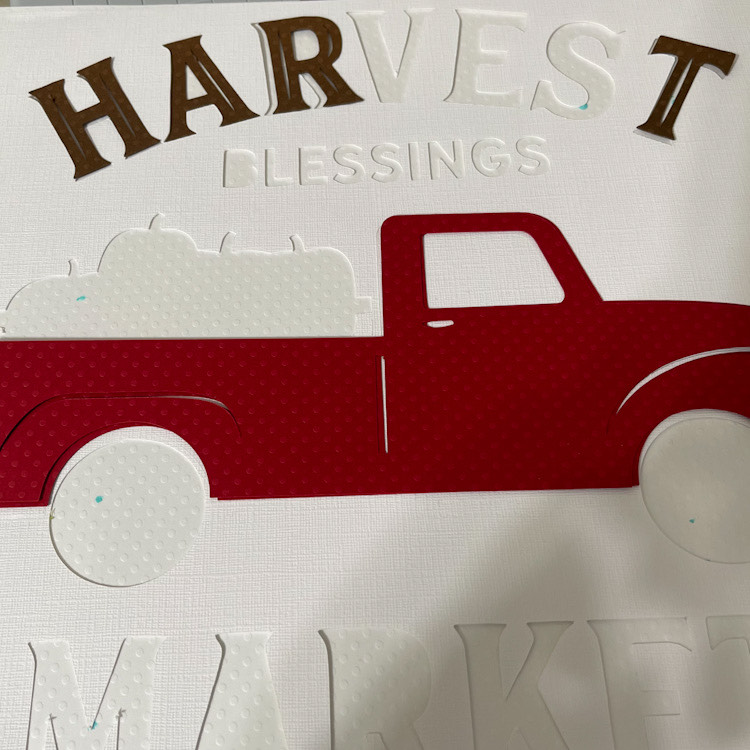
I  laid my template over the background paper of my layout and began gluing the letters and other pieces.  You can see how I started here.

Here’s my finished layout with my perfectly aligned letters. I used Echo Park Paper’s Farmer’s Market Collection . I love using these designs to create layouts.


Unicorn Cake Stitched Layout

Hi everyone!  I’m excited to share a layout with you today that I created with Lori’s 5×7 unicorn card.  You can find the file here in Lori’s SVG shop or here in the Silhouette Design Store.  I wanted to show you how to add stitching lines to your layouts with your sketch pens.  It’s pretty simple and it adds so much detail.

I first picked out my papers and then brought the file up on my screen.  I only need the cake, stand and flowers.  I un-grouped the file and grabbed what I needed, and then regrouped the remaining pieces.  Next, I enlarged the remaining pieces to 14.75 x 18.5.


Next I set up the stitching lines for the pieces.  I started with the unicorn face, but removed the eyelashes first by releasing the compound path.  I  cut the eyelashes separately.


When I add stitching with pens to my layouts, I almost always do an internal offset of .130, then change my line style to the second stitch design that you see in that window.

It’s easier for me to cut first, leave on the mat (don’t remove the mat from the machine)  and then go back and do the pen.  You can also do cut by line color.   Once you are ready to add the lines just insert your pen and change the setting from cut to sketch, and blade to sketch pen.  Next, let your machine go to work.

This next screen shots shows the flowers, cut three sets in different colors.  This is before I removed to main flower shape.  So you can see the detail you can get with the pens.  I added sketch lines to all my pieces except the eyelashes.

Check out the detail you can get. Love it!

I used Lori’s All Girl Echo Park collection and embellishments.  I added a few punched circles for a border and vellum circles.  It’s just the sweetest layout of my little grand baby!

Cathy

Love You Layout

Day 30 something of lock down, I’ve honestly lost track of how many days I have now been home from work.  But I am happy to be safe and healthy, I hope this finds all of you doing great as well.

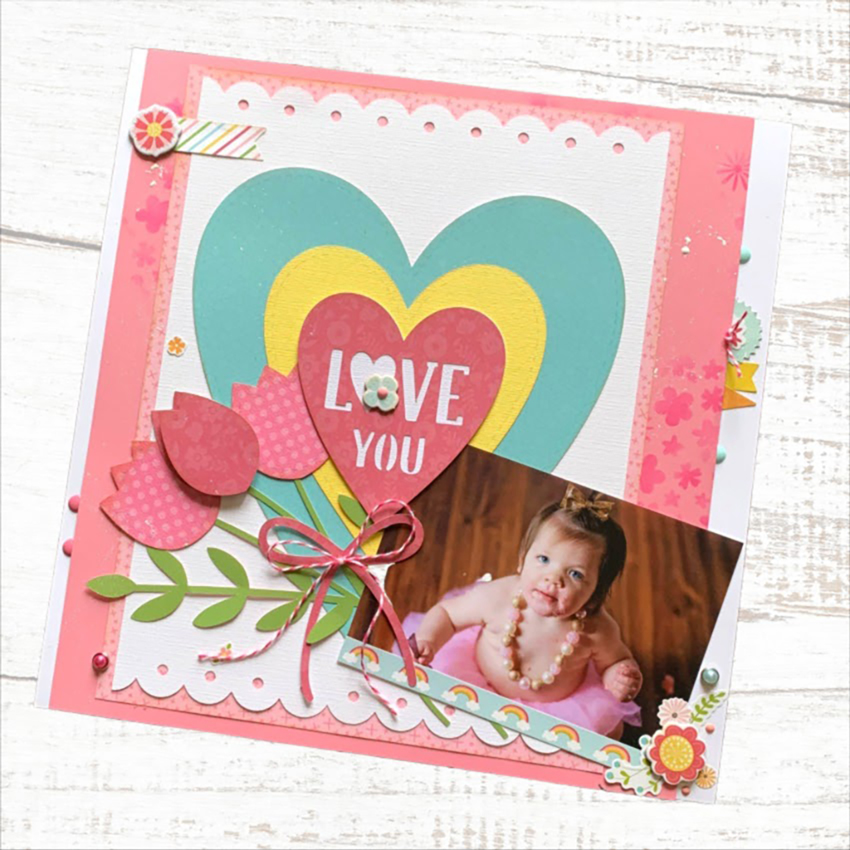
I have a layout to share with you today where I took two of Lori’s card files, enlarged both of them, then used them as the main design elements of my layout.  I had a blast with Lori’s and Echo Park’s new All Girl Collection.  I used the collection pack, enamel dots, the new stick on brads, chipboard, stickers and even the stencil.  This collection is beyond perfect for my two grand daughters…..everything that they love is in this collection including llamas and unicorns.

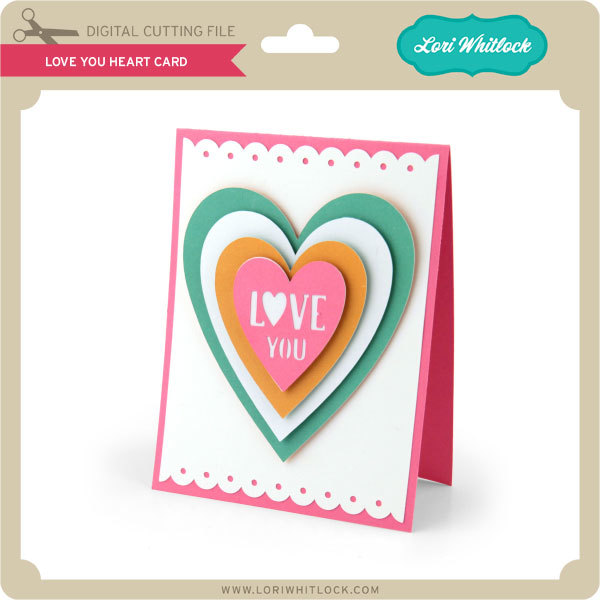
I used these two files from Lori.  I enlarged the love you heart elements to 11 x 8.5, then cut all the layers. You can find the files here, Silhouette Design StoreLori’s SVG Shop.

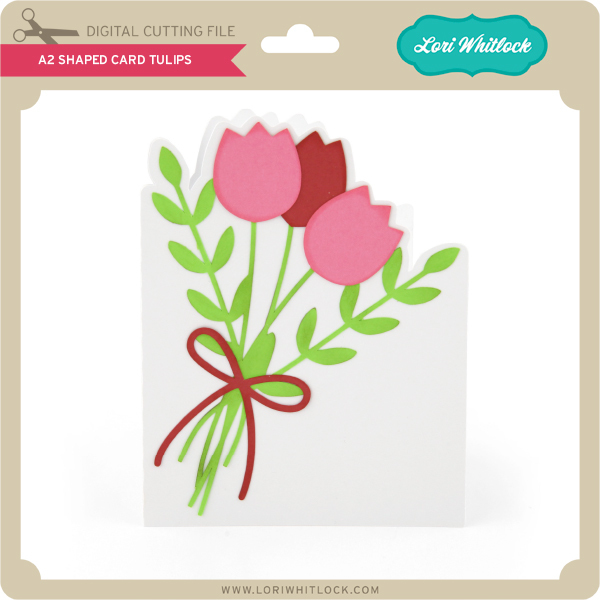
For the tulips, I enlarged them to 8.5 by 6.5.  You can find the file here in the Silhouette Design Store and here in Lori’s SVG Shop!

Here’s the finished product.  I love how this turned out.  I love using big design elements when I create a layout and these card elements were perfect for what I had in mind.  So always fun to look through Lori’s Card SVG files and imagine how else I could use them.


Thanks for joining us today.  Stay safe and healthy!