Permanent Vinyl Tutorial with Kathy

Hi Everyone!  It’s Kathy today with a fun tutorial using Permanent Adhesive Vinyl to customize some wine glasses!  We have some good friends with a pool who gave us an open invitation to swim this summer!   I wanted to give them a little something as a thank you for their generosity.  I found these acrylic wine glasses at HomeGoods and thought they’d be the perfect gift!

It was so simple to add the little fish from Lori’s Island Paradise Set (here in the Silhouette Store).

1.  I started with some Acrylic Wine Glasses (good for the pool area, they don’t shatter!) and some colorful permanent (outdoor) vinyl sheets.

2.  Load your design onto the virtual mat and size it for your object.  I added a rectangle around them to make it easier to remove the unwanted pieces of vinyl from around the design without wasting vinyl.  Change the cut settings to Vinyl. (blade depth of 2)

3.  Place the  vinyl onto the mat and feed it into the Cameo.  You can omit the mat if you’re using a 12″ sheet (choose load media), but I’m used to using my mat when I use smaller pieces of vinyl.

4.  Once the design is out, peel  away the unwanted pieces of the vinyl.

5.  I cut the eyes from white and black vinyl and peeled the back off the vinyl and added them to my fish.  It was easy to do this with simple, little pieces.  I thought it would be easier to add the eye layer before placing the fish on the glass.  For more complex or intricate designs you would want to use transfer tape to add any layers.

6.  Transfer tape makes it easy to place a design on your object.  First cut a piece about the same size as your design.  Peel one edge of the tape from the backing and place the tape on the edge of the vinyl backing.  Peel it off, while pressing it over the design.

7.  Once the back is completely off, rub your scraper over the design to make sure it all sticks to the tape.

8.  Peel the tape off, the design should come with it.  If it doesn’t, press it back down and go over it again with your scraper.

9.  Place the tape with your design over the glass.  Starting from the center of the design, start pressing onto your glass.  Move outward, pressing out any air bubbles.  Once the design is down rub over it with your fingers again to make sure it’s on securely.

10.   Slowly peel the transfer tape off the glass.

I’m really happy with the way they turned out!  It’s such a nice way to personalize a gift!  You could also do monograms!

That’s it for me today!  Thanks so much for stopping by!

Sweet Purse Gift Bag with Kathy

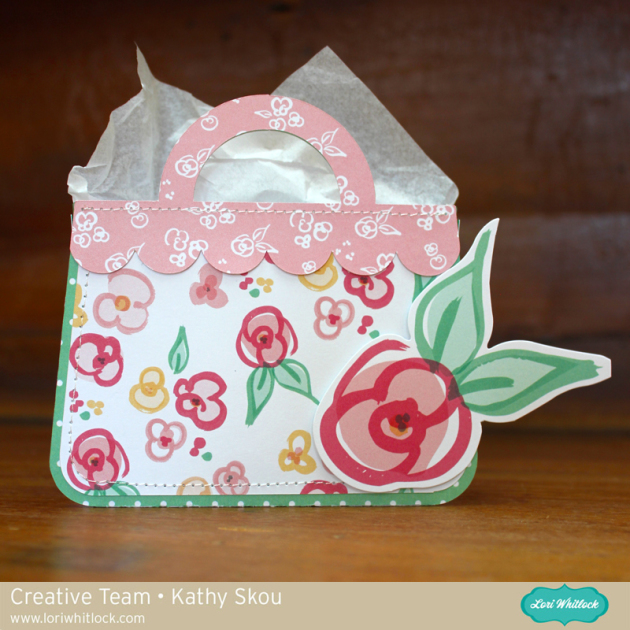
Hi Everyone!  It’s Kathy today with a sweet way to give a small gift or gift card.  May & June are crazy around here… tons of birthdays, anniversaries, graduations…and more.  I can always use a cute way to package up a gift or gift card.  Here’s what I created…

I used Lori’s new Purse Shaped Box file (found here in the Silhouette Store) for my project.  It’s adorable on its own, but I decided to dress it up a bit by adding some stitching and a big flower embellishment!  I’m so happy with the results, and I can’t wait to give it away!!  That’s it for me today, thanks for stopping by to peek!

Here Comes the Bride with Kathy

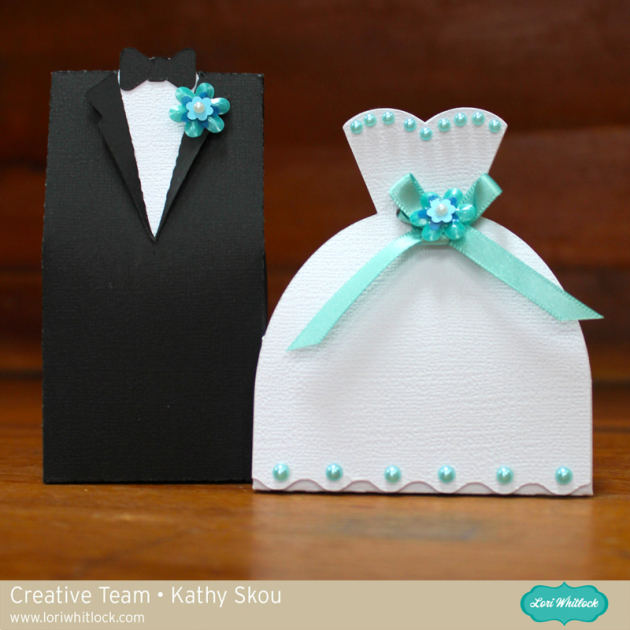
Hi Everyone!  It’s Kathy today with some adorable wedding favors from Lori’s Shop!  A very close friend just shared that she’s engaged, and I couldn’t be happier!  I decided to make her a little something to celebrate the happy news, and Lori’s Wedding Favor Boxes were perfect!  (in the Silhouette Store:  Groom, Bride ) Take a peek…

These boxes are so simple to put together, and they each hold a few chocolate kisses or other similar sized candies.   You can keep them simple or add lots of embellishments to fit your style.  I added some shaped sequins for flowers, and some colored pearls to match my ribbon.  You could use these for a bridal shower, as wedding favors or just as a little “I’m so happy for you” gift!  Well, that’s it for me today, thanks so much for stopping by!
One Last Bunny… with Kathy

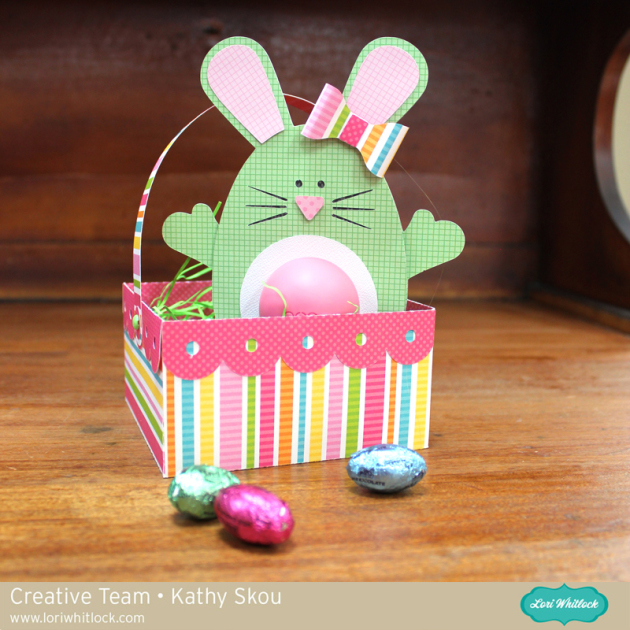
Happy Monday everyone!  I know Easter was yesterday, but I wanted to share one more project, that I made for my daughter… take a peek:

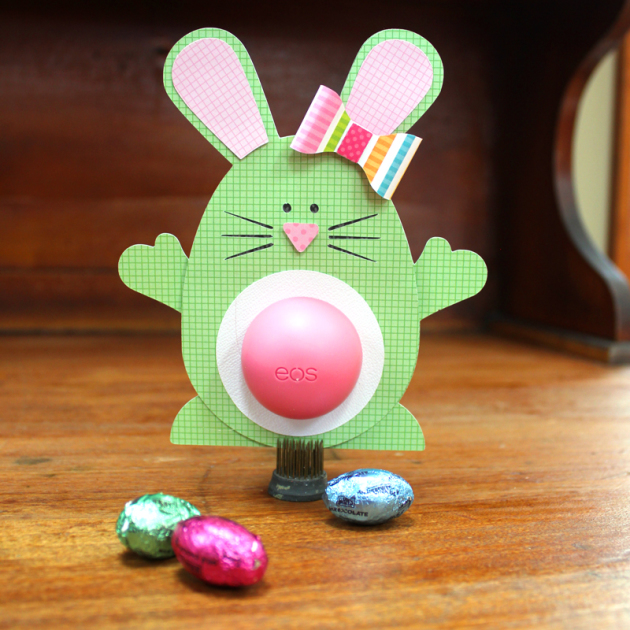
 I started with Lori’s Easter Basket File (in Silhouette Store).  This file is great because the body of the basket is all one piece and easy to assemble!  I added Lori’s new EOS Lip Balm Bunny (in Silhouette Store).

I can’t resist these adorable EOS Holders.  They are just perfect for little gifts or favors!! All that was left was some fun Easter Grass & of course, some Chocolate eggs!  That’s it for me today, thanks for stopping by!


Using Glitter Heat Transfer Vinyl with Kathy

Hi Everyone!  It’s Kathy today with a fun tutorial using the new Silhouette Glitter Heat Transfer Vinyl.  This medium is perfect for making custom t-shirts, and bags but I thought it would be fun to do a pillow for a friend!  Take a peek…

I found a great, easy tutorial to make an envelope pillow cover here on YouTube.  I followed the directions but before I stitched the pillow cover together, I did the following to decorate the front.

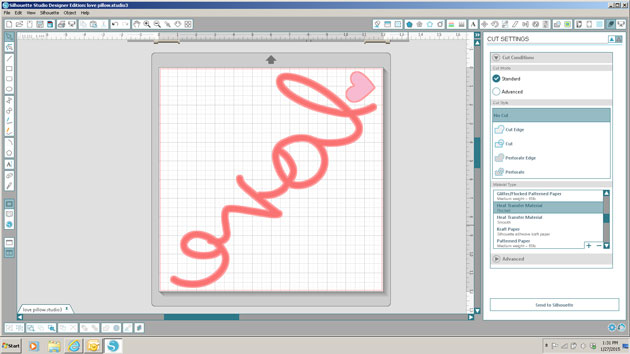
 First, I decided on my design and laid it all out in the Silhouette Studio.  I used the word “love” and some hearts from Lori’s Homespun Hearts collection.  When cutting words from heat transfer material, make sure to mirror the image (select Object from the menu, then Mirror) because you cut the back of the transfer material.

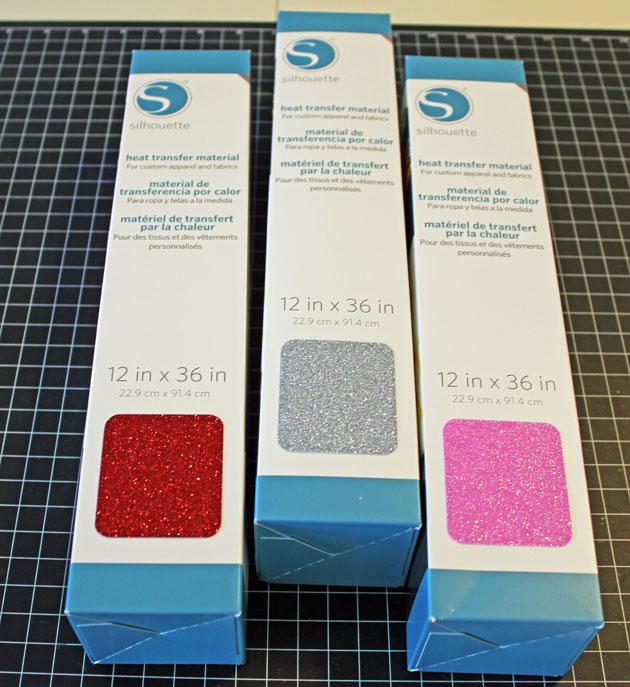
I chose to work with the White Silver, Red and Hot pink Glitter Heat Transfer.

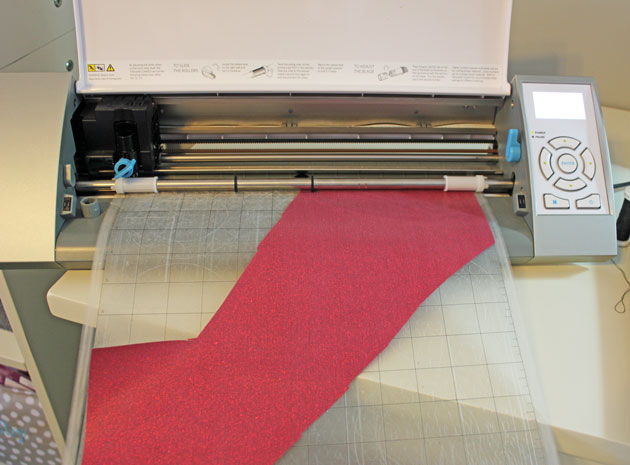
If you like, you can load the Glitter Heat Transfer material directly into your Silhouette without a mat, using the Load Media button.  I chose to use my mat, since I was using smaller pieces of the material.  The load media is great if your cut is larger than 12 x 12.    Change your cut settings to Heat Transfer Material, Flocked. (It’s the same for the Glitter) and your blade to a depth of 3.  Be sure to put your material on your mat shiny side down (you’re cutting the back).

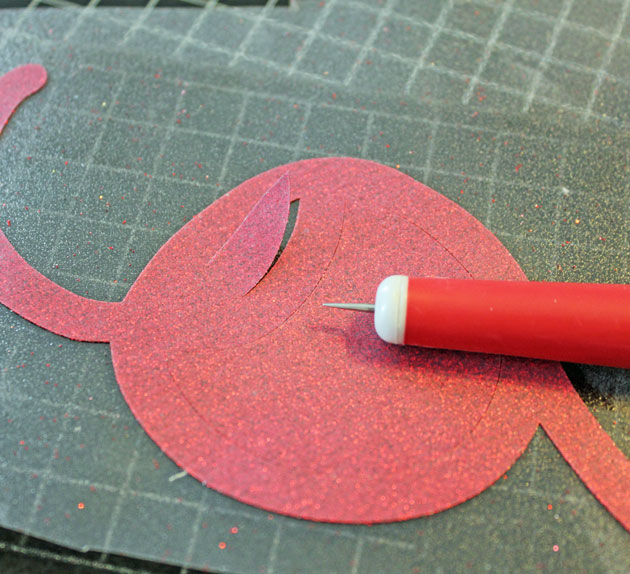
Once you’ve cut your image, you want to peel off the “negative” sections of your material so that only your image remains on the plastic transfer sheet.  If you have small sections that are hard to peel with your fingers, you can use a piercer or hook to snag those sections.  I did this with my letters, putting the image over a piercing mat to make it easier.

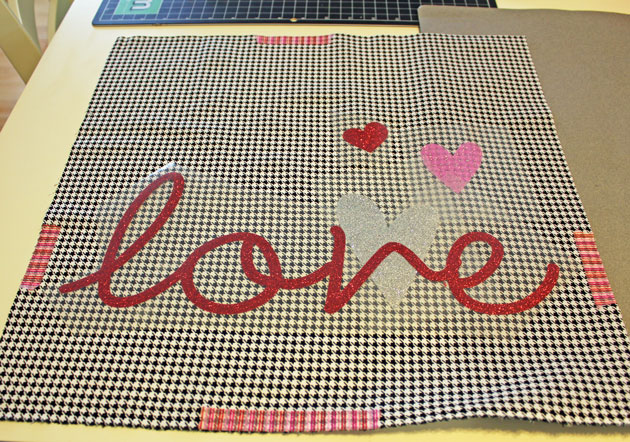
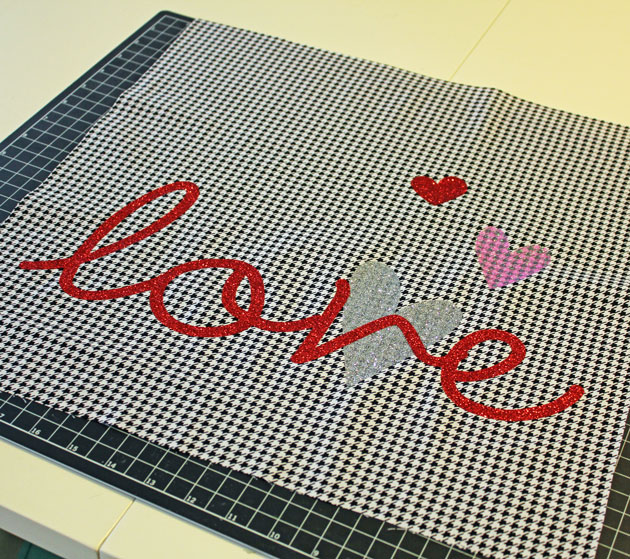
Next, I laid all my cut pieces out on the cover fabric to get the perfect placement.

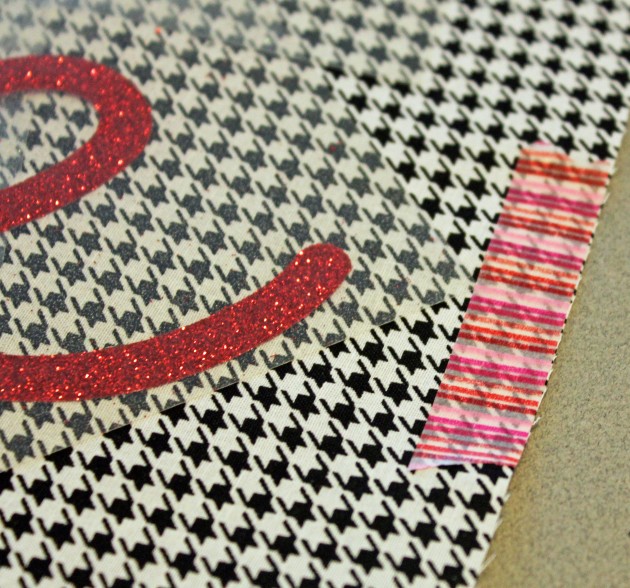
A little trick…to make sure you leave space for your stitching seam allowance ( in my case 1/2 inch), put some 1/2 inch washi tape around the edges.  This way you can see exactly how much space you have!

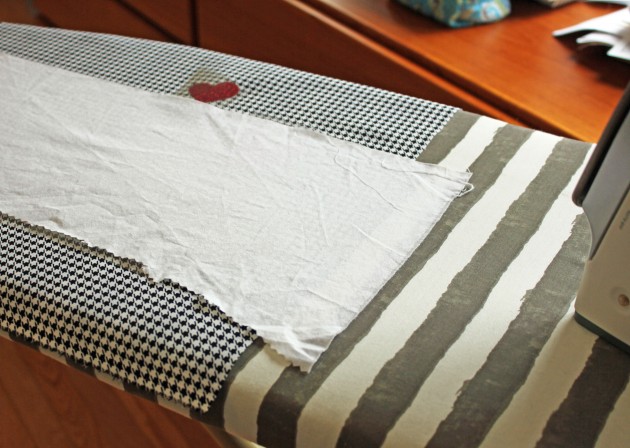
Now for the fun part…Ironing the design to the front of the pillow cover!  I preheated my iron to the cotton setting. (no steam)  Place your design on your fabric.  When layering it is best to do one layer at a time starting with the bottom. (my silver heart for example).    Cover the transfer material with a scrap piece of fabric and iron the design for 45 – 60 seconds.

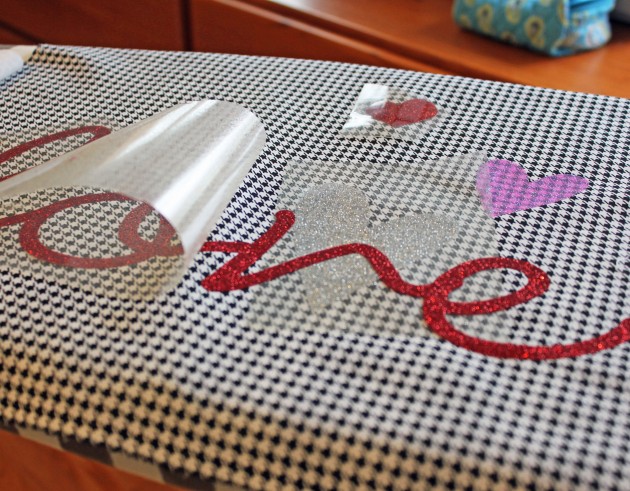
Check to make sure all of your design has transferred to the fabric by carefully lifting the transfer sheet. (it can be hot!!) If it doesn’t peel off easily, place it back down and iron for a bit more time.

Once your design is all ironed on, you can finish stitching your pillow cover together according to the instructions above.

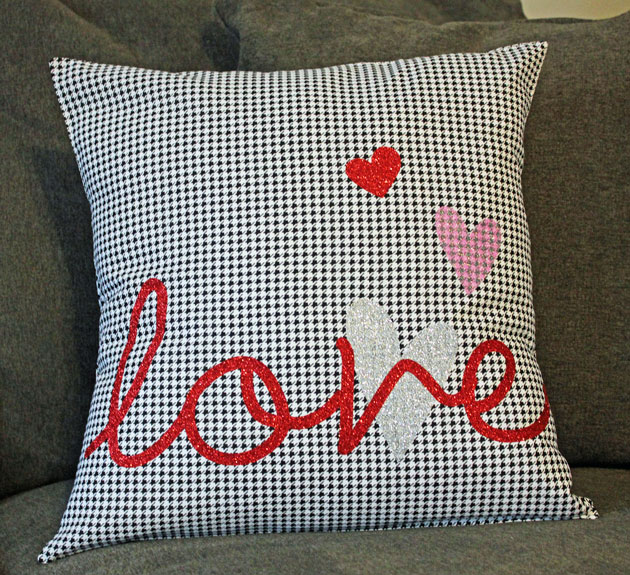
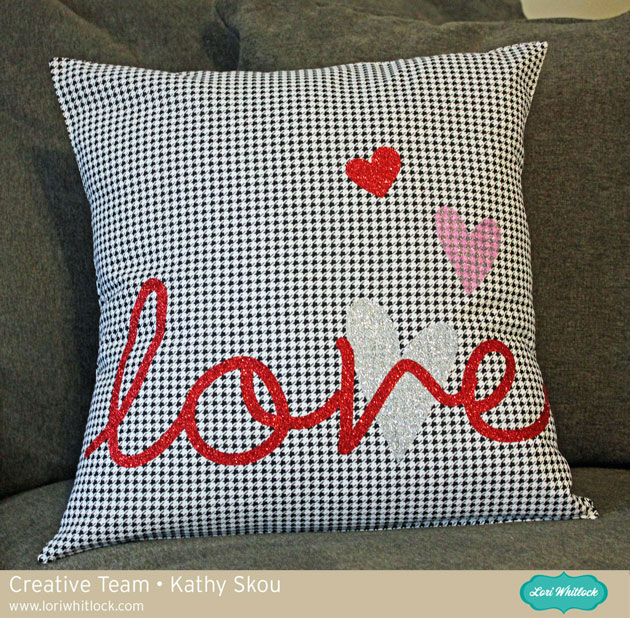
Here is the finished pillow!  It was really easy to make, I don’t sew fabric a lot but it’s really just a series of straight lines!  My friend doesn’t know this is coming her way…I’m wondering if she’ll know it’s for her!!

That’s it for me today!  Thanks for stopping by!