Halloween Candy Huggers with Kathy

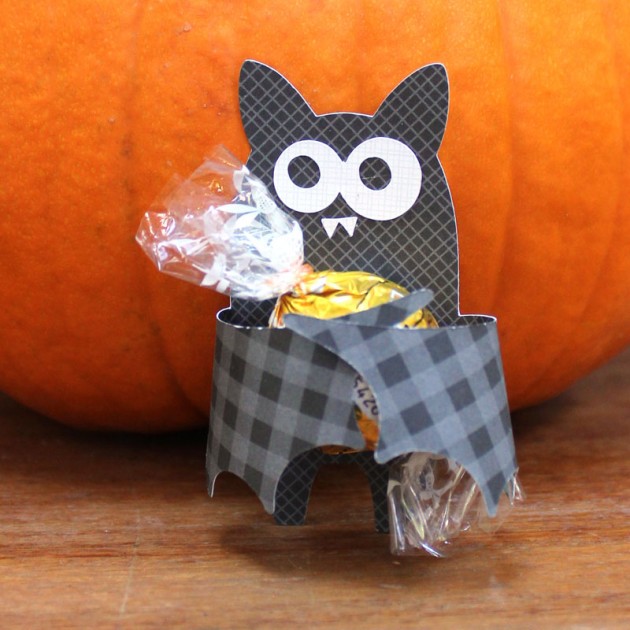
Hi Everyone!  It’s Kathy today with some ADORABLE Halloween themed Candy Huggers!  I just love these cute little critters!  It’s such a fun favor for a party, whether the kids are little or big!  Take a peek…

These huggers are the perfect size to hold a fun sized candy bar or something smaller such as a chocolate Kiss or Rolo.  They go together so quickly too! I just used an extra strong glue dot to hold the candy in place in the arms.  Here are some close-ups…

Halloween Cat Candy Hugger ( Silhouette Store)

Ghost Candy Hugger (Silhouette Store)

Bat Candy Hugger (Silhouette Store)

There is also an adorable Halloween Witch Candy Hugger and a Halloween Frankenstein Candy Hugger!  Perfect for all you Halloween party needs!  That’s it for me today, thanks for stopping by to peek!

Shadow Box Pumpkin Tutorial with Kathy

Hi Everyone!  It’s Kathy today with a fun and easy tutorial showing how to make a Shadowbox Pumpkin!

First, gather your supplies….  You will need a craft pumpkin.  I purchased one at Michaels that already had the opening carved into the front, but you could also purchase an un-carved one and cut a hole in the front using a craft knife.  You will also need some modeling clay the same color as the inside of your pumpkin, a glue gun, some wooden craft sticks, some clear thread or fishing line, a tea light, and a cut out of a haunted house from a heavier black cardstock (at least 80lb).  Lori has a few haunted houses in her SVG Shop  here,  and in the Silhouette Store here.  I used this one for my design (here in Silhouette)

Before you cut your house, make sure to measure the inside area of your pumpkin.  I resized my design to be 8″ wide to fit in my pumpkin.  Next, glue one of the craft sticks to the back of your design.  Make sure it’s towards the center, and not showing through any the windows.  You want a small portion of the craft stick to hang over the bottom of the house design.

Using the modeling clay, make a “hill” of clay in the center of your pumpkin.   I put the clay in so that it went all the way across the width of the pumpkin.  This will be the base for your house.

Put your house cut-out into the pumpkin, inserting the craft stick into the clay.  Adjust your clay as needed, you don’t want large gaps along the bottom.

Attach the bats and moon to the fishing line.  Hot glue the line to the top of the pumpkin so that they look like they are floating in the air.  Place the tea light behind the house inside the pumpkin.

That’s it!  You have a shadowbox pumpkin!

That’s it for me today, thanks for stopping by to peek!


Christmas Pop Up Box Cards with Kathy

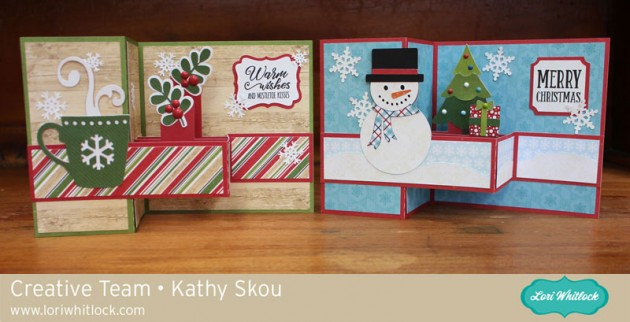
Hi Everyone it’s Kathy with you today!  You asked, you waited… and now for a sneak peek at two of the newest Christmas Themed Pop Up Box Cards!  Take a peek…

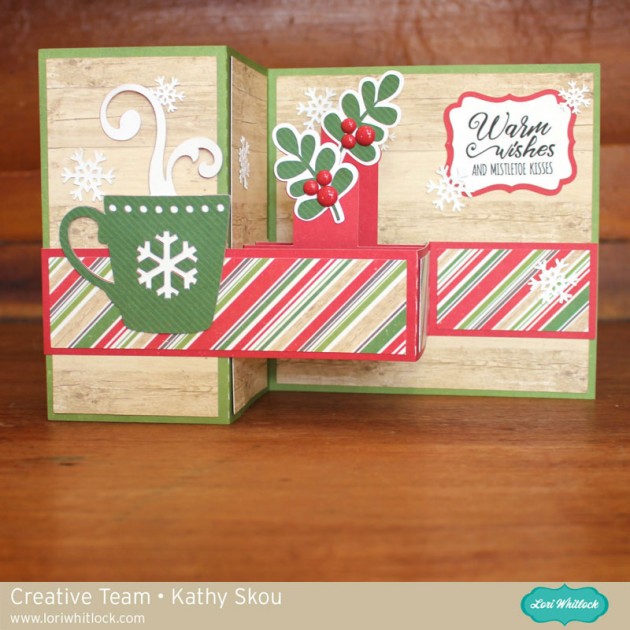
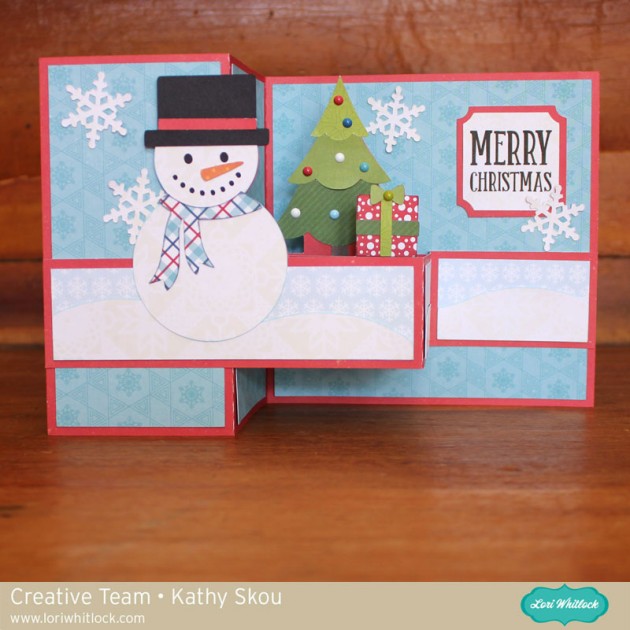
We’ve had so many requests for these and starting TOMORROW, there will be a whole bunch of new Christmas Themed Pop Up Box Cards in the Lori Whitlock SVG Shop and the Silhouette Store.  I was lucky and got to play with these in advance of their release!  Here are some close-ups…

I used the new I Love Christmas from Echo Park for this Pop Up Box Card Mug.  I just love the wood grain paper!

The Pop Up Box Card Snowman was put together using the new I Love Winter from Echo Park.  I just love snowmen!!  They make me happy!  Both of these cards along with a few more will be part of tomorrow’s new release.  In addition, we just might be having a giveaway for all the new Holiday Pop Up Box Cards from this release, so make sure to check the Lori Whitlock Facebook Page, and Instagram account later this week to enter to win!  That’s it for me today, thanks for stopping by to peek!

Using the Silhouette Intersect Tool with Kathy

Hi Everyone! It’s Kathy today with a quick tutorial on how to use the Intersect Tool in Silhouette. I actually discovered this tool by accident one day, but it is awesome! I used it to make this tag for my cousin’s wedding shower… she is having a fun and crazy Halloween wedding, so this will be perfect! It helped me create the spider web “lace overlay” on the wedding dress.

Here’s how I did it….

First, I picked the two shapes I wanted to combine, I used the dress from the Pop Up Box Card Wedding 2 file (here in Silhouette Store) and one of the spider webs from the Cat’s Ghosts Webs (here in Silhouette Store) file.

Next I overlapped the files. I moved them around until I was happy with the web design that was over the dress.

When I was happy with the placement, I clicked on the modify button on the top right toolbar of the Silhouette Studio Software. There are a variety of tools in the Modify window, but I used Intersect, which will display all the parts of the 2 files that intersect, while deleting everything else.

To use the Intersect tool, I selected both shapes on my mat, then clicked Intersect.

This is what remains after I clicked Intersect. The spider web was modified to be in the exact shape of the dress.

When I bring the dress back onto the mat, you can see that the spider web fits perfectly into the dress shape.

This is such a fun way to combine files! I added the updated dress to the tag, along with some other decorations and a sentiment I created with my sketch pens. It’ll be the perfect present topper! That’s it for me today, thanks for stopping by to peek!


Other files used:
6 Tags (here in Silhouette Store)
Halloween Spider Web Set (here in Silhouette Store)
Cute Halloween Set (pumpkin) (here in Silhouette Store)
LW Cheerful Sketch Font

Print and Cut Stamps with Kathy

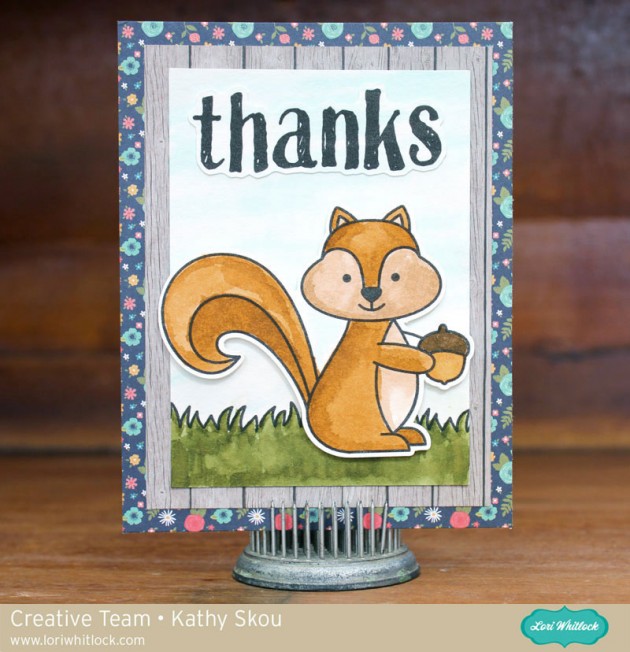
Hi Everyone, Kathy here today!  Have you seen Lori’s new Print and Cut Stamps??  They are so cute!  I used the Print and Cut Stamps Fall to create this fun little thank you note…

I printed the stamped images on some watercolor paper and used some water color markers to fill the images.   The papers I used are from Lori’s The Story of Our Family from Echo Park Paper.  Make sure to take a peek at all her new Stamp and Cut sets, they are only available through the Lori Whitlock SVG Shop, but come with .PDF, PNG and SVG Files so they can be used with many cutters.  That’s it for me today, don’t forget, today is the last day of the August Sale!  Use code AUG2016 and get 30% off your order in the Lori Whitlock SVG Shop!  Thanks for stopping by to peek!