Spring House Box Tutorial with Kathy

Hi Everyone!  It’s Kathy today with a tutorial showing how to assemble Lori’s new Spring House Box (here in the Silhouette Store).  This is such a sweet box that can hold a small gift or some treats!  Take a peek….

It looks like there is a lot to this house, but it’s really pretty simple to assemble.  First, cut all of the pieces…

Next, assemble the main box.  To begin, add the decorative panels, trim, door and window the box piece. It’s easier to do this before the box shape is formed.

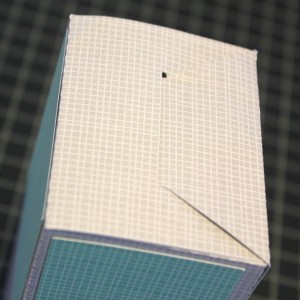
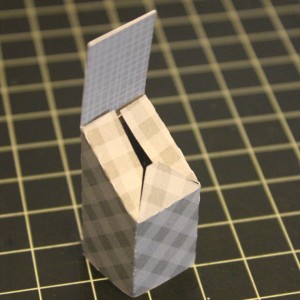
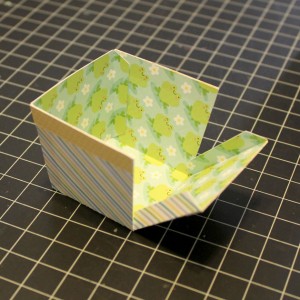
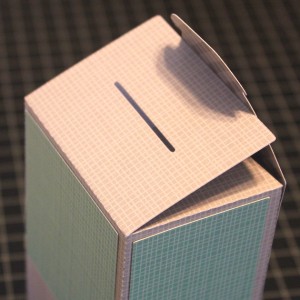
Fold the house on all of the score lines to form the box shape, here is a close-up of how the top of the box is folded.  It folds similar to a milk carton.

Glue the house box together, tab on the inside of the box.

The bottom of the box is not glued, the flaps fold as shown, then the insert the tab into the slot to hold it shut.  This allows you to fill the box from the bottom.

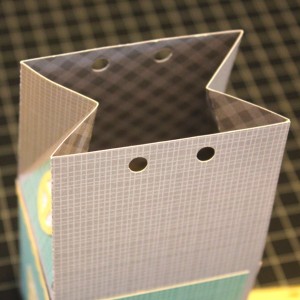
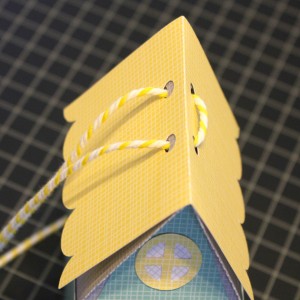
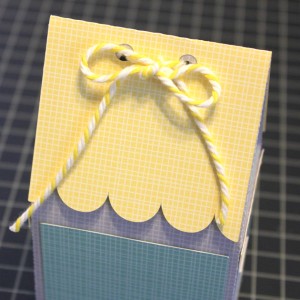
The top of the box is next.  Pinch the top of the box together as shown.  Fold the roof piece along the score line and place over the top of the box aligning the ribbon holes.  Thread a ribbon or twine through the holes and tie a bow to hold it together.

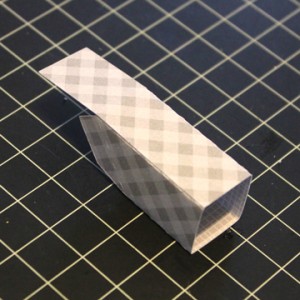
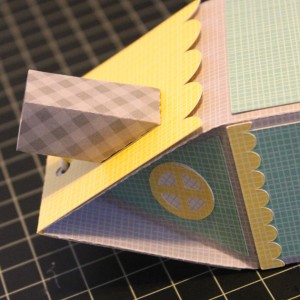
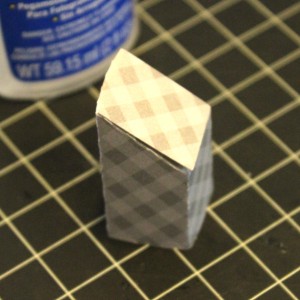
To assemble the chimney, fold the chimney piece into a box shape, and glue, tab inside.  Fold in the tabs on the bottom, and glue shut.  Glue the chimney to the side of the roof, slanted part against the roof.

Next assemble the trees.  The file comes with circles to fill the center of the flowers, I replaced them with enamel dots.

Glue the fence onto the front of the house as shown.  Add the smaller tree afterwards.

The larger tree is glued to the back of the house.  Half of the trunk should stick out on the right side of the house.  You may want to add a couple of glue dots to the branches where they meet the house roof.

And you’re done!

This box could be used for a number of occasions, including birthdays, Mother’s Day or just because!  That’s it for me today, thanks for stopping by to peek!


Succulents Box Card with Kathy

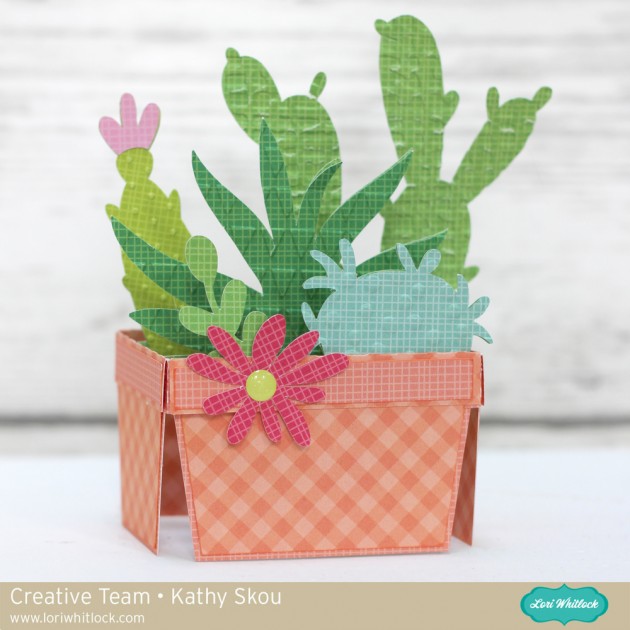
Hi Everyone it’s Kathy today with your Monday post.   I just love Lori’s Box Cards, and I also love the new Succulents she has designed, so when she came out with the Box Card Succulents (here in the Silhouette Store), I was ecstatic!  I had such a fun time putting it together, take a peek…

How cute is this?  This card is assembled much like Lori’s other box cards.  (see video here) with a couple of differences.  First, the “box” is the plant pot.  In addition, Lori has added another insert which is glued right inside the front of the box.  I embossed some of the cacti to give them a more realistic look, and added an enamel dot to the center of the flower.  This card could be used for almost anything, birthday, thank you, just because, “stuck on you”… you can add whatever sentiment suits your needs!  That’s it for me today, thanks for stopping by to peek!


Camera Box Card with Kathy

Hi Everyone! It’s Kathy here to wish you a happy Monday!   In my family we have a LOT of spring birthdays and I thought it would be good if I got ahead of things and made some cards! I love Lori’s box cards and the A2 Shaped Box Card Camera (here in the Silhouette Store)  is perfect for almost anyone!  Take a peek…

You can make this card for a man or woman, just change up the colors to suit your needs!  I made my “springy” using some papers from Echo Park’s Celebrate Spring and Celebrate Easter Collections.

That’s it for me today, thanks for stopping by to peek!

The Perfect Monday Card with Kathy

Happy Monday everyone! It’s Kathy today with a card that I think is just perfect for a MONDAY!!!! Take a peek…

I feel this on so many levels!!!  This is one of Lori’s new Center Box Cards, the Can’t Adult Center Box Card (available here in the Silhouette Store) They are very easy to assemble, you can see her video tutorial here.   I put it together using some papers from Echo Park’s Celebrate Spring and Celebrate Easter Collections.  I think it would brighten anyone’s morning!

That’s it for me today, be sure to stop by the blog tomorrow for the March Blog Hop!  Thanks for stopping by to peek!


Paper Succulents Tutorial with Kathy

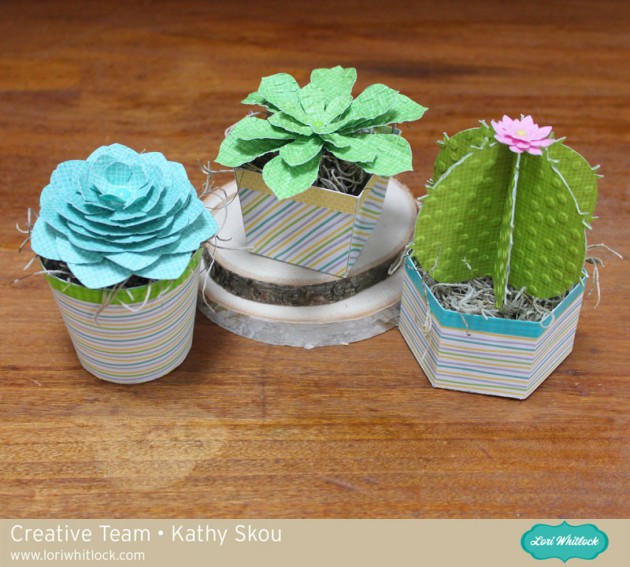
Hi Everyone!  It’s Kathy today with a tutorial showing how to assemble Lori’s new Cactus and Succulents!  I was so excited to see these in the shop, finally plants even I can’t kill!  I couldn’t decide which one I liked best, so I made a trio of them, and will show you how easy they are to assemble!

I started with the 3D Cactus (here in the Silhouette Store).  I cut the pieces, then embossed the “leaves” to give them a bit more texture.

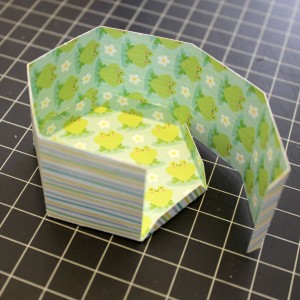
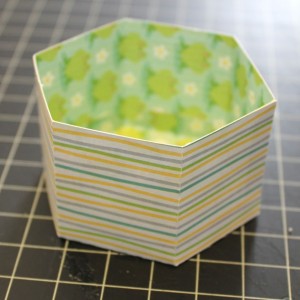
To assemble the pot, fold the sides up and around the base, glue the sides to the tabs on the base, tabs inside.

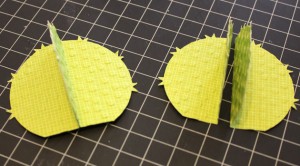
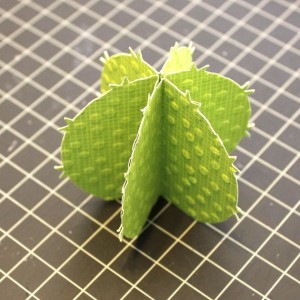
For the cactus, start by folding each piece in half along the score line.  I found it easiest to glue the pieces together in pairs, then glue all of the pairs together to form the plant.

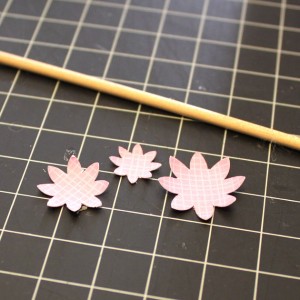
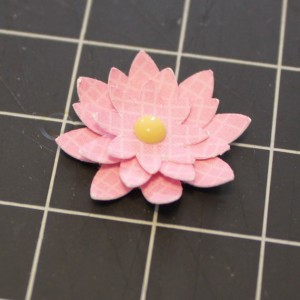
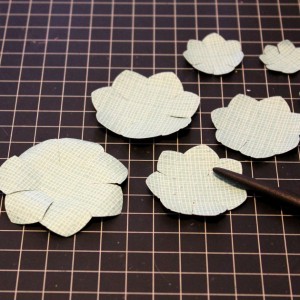
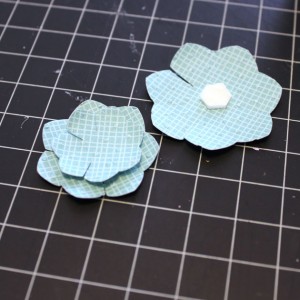
The last part is the flower.  I started by curling the petals of each flower layer around a thin wood stick to give them some dimension.  Stack the flowers, with glue dots between the layers.  I finished it off with an enamel dot.  Using a glue dot, add to the top of the finished cactus.

To put it all together, I added some washi tape trim to the pot, and then filled the pot with some Spanish moss.  I added the cactus on top, securing with glue dots where necessary.

Next I decided to make the Succulent 2 file (here in the Silhouette Store).  Again, I cut the pieces and then embossed the leaves.  I also curled the leaves around the handle to my Silhouette Spatula for a more natural look.

The square pot is pretty simple to assemble.  I started by gluing the decorative edges to the pot base.  Next, fold the sides up and glue in place using the tabs.  Tabs are glued on the inside of the pot.

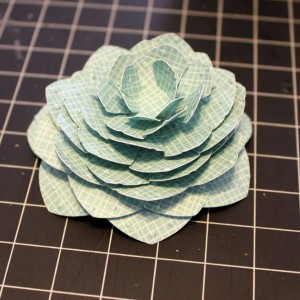
For the succulent, layer the leaves, using glue dots in between, smallest on top to largest on bottom, staggering the leaves to fill in the empty spaces.

The assembly of the whole project is the same as above, fill the pot with Moss, and add the succulent to the top, securing with glue dots where necessary.  Using your fingers, arrange and bend the leaves to make them look more natural.

The last succulent is called Succulent 5 in Lori’s Shop (here in the Silhouette Store).  I cut the pieces and embossed the leaves.

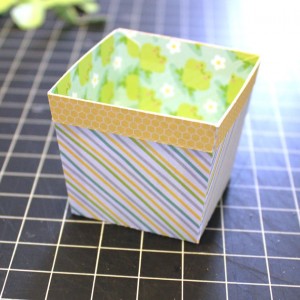
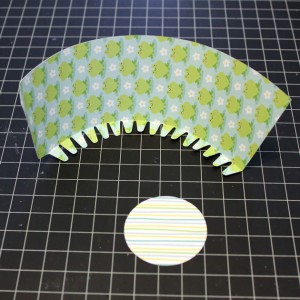
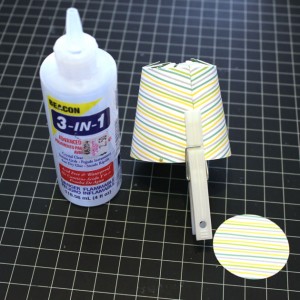
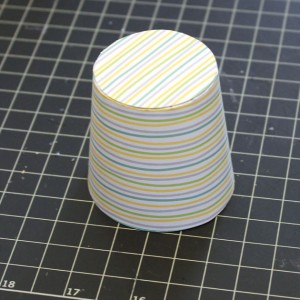
When creating any 3D project which is round, I find it easier to run the rounded piece along the edge of my desk to make it curve.  This makes it easier to shape it.  I did this with the sides piece of the pot.  I formed a circle with the sides piece and glued into place, tab inside.  I let it set a bit using a clothes pin to hold it in place.  I then glued the circle bottom in place.

For this succulent, I curled the petals of each layer using the handle of my Silhouette Spatula.  I then layered them smallest on top to largest, using pop dots between the layers to give it more height.  To finish, I used my fingers to fold up the petals to make it look more real.

Again, I added some washi tape and moss to the pot, and held the succulent in place using some glue dots.

I now have a cute trio of succulents to decorate my craft room!  That’s it for me today, thanks for stopping by to peek.