Pop Up Kitty Card with Kathy

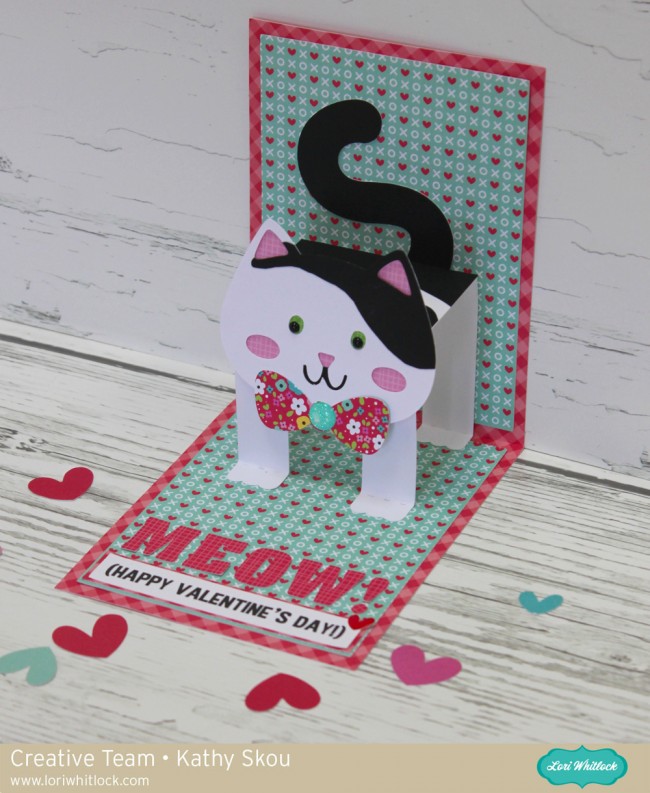
Hi Everyone!  It’s Kathy today with Lori’s new Pop Up Card Cat (SVG, Silhouette) !  Being a crazy cat lady, this card was right up my alley!! This card is super easy to assemble (see the video tutorial here)  I decided to customize it for a friend who has a sassy black and white kitty named Mr. Harley.

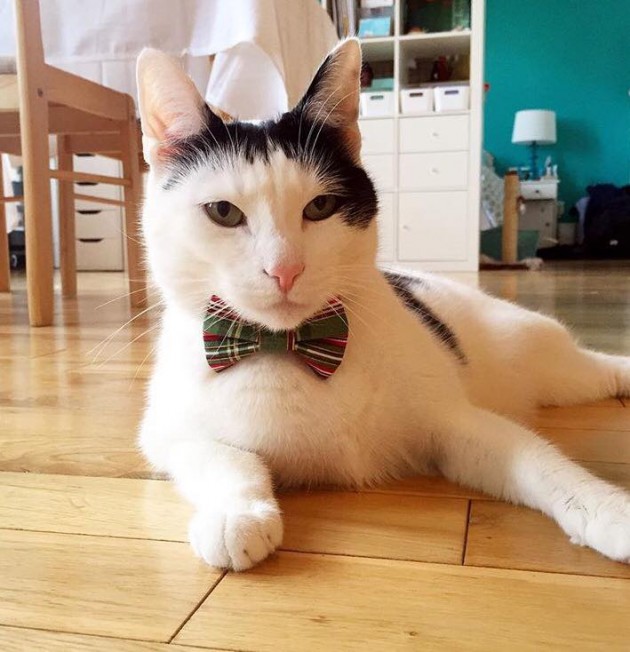
To add the black patches, I cut the face, tail and body of the cat from both black and white cardstock.  I then cut the black cardstock to reflect Mr. Harley’s coloring and gave him a bow-tie as well.  To finish, I cut some decorative panels for the inside of the card from a coordinating patterned paper. ( they are sized 3.875″ x 5.125″).  There’s also a dog version of this card (SVG, Silhouette) … you could customize for your “dog mom” friends!  Here’s a picture of the actual Mr. Harley… I think I was able to capture him pretty well!

I can’t wait to send it to my friend!  That’s it for me today, thanks for stopping by to peek!

Snowman Gift Box with Kathy

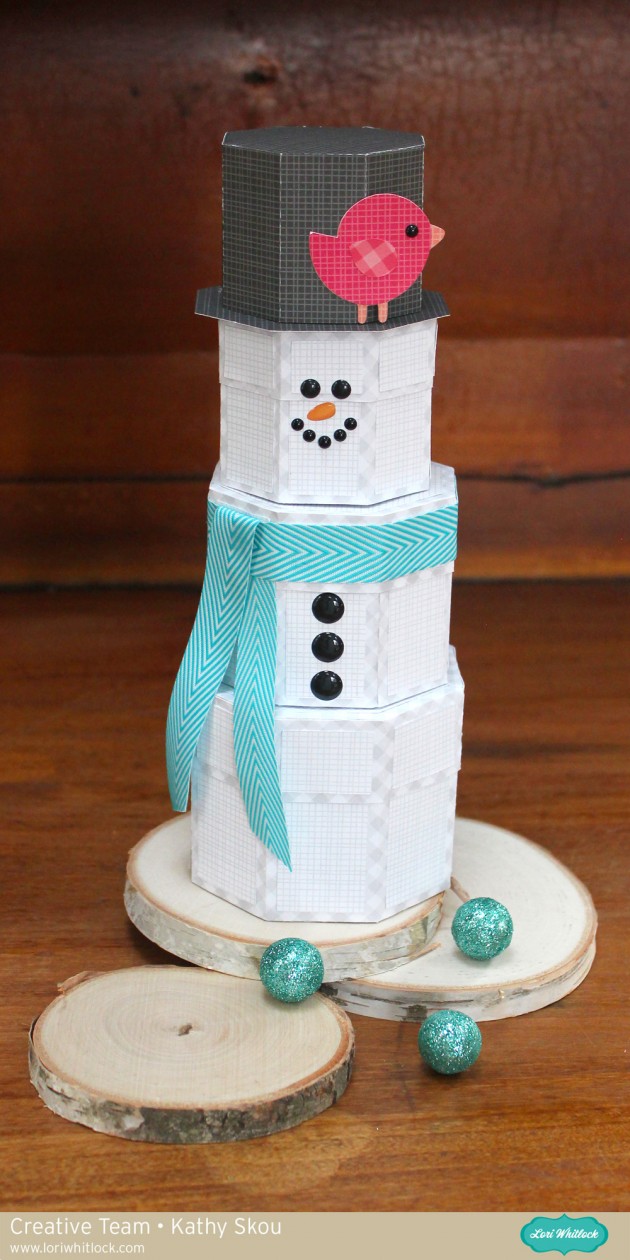
Hi Everyone, and Happy New Year!  I don’t know about where you are but we are covered with snow here in the Boston Area!  I’m not a fan of the cold, but I do love snowmen!  I decided to make my own little snowman gift box using Lori’s new Polygon Box – 8 Sides. (here in the Silhouette store).

This little collection of boxes is the perfect way to package up a treat or small gifts!   It was really easy to put together.  I started by loading the box into Silhouette.  I then copied the box two more times to make up the 3 segments of the snowman’s body.  I resized each box so that they were graduated in size.  Widths are 11.75, 10.25 and 8.75.  Be sure to resize proportionately.

I cut the boxes, and glued the decorative panels to each piece before I set to assembling them.

These boxes are very easy to assemble.  To start, I folded the score lines on the tabs and then along the side panel.  Then you simply glue each section of the side to it’s corresponding tab to form the base.

To finish, just glue the remaining side section to both the tab on the side and the tab on the bottom piece.

The top and the bottom of the box are assembled in the same manner.  Once I had all three boxes assembled, I decided to make a hat for the snowman.  I sized the bottom half of the box as shown below and then made a “brim” for the hat by re-sizing one of the decorative cover panels.

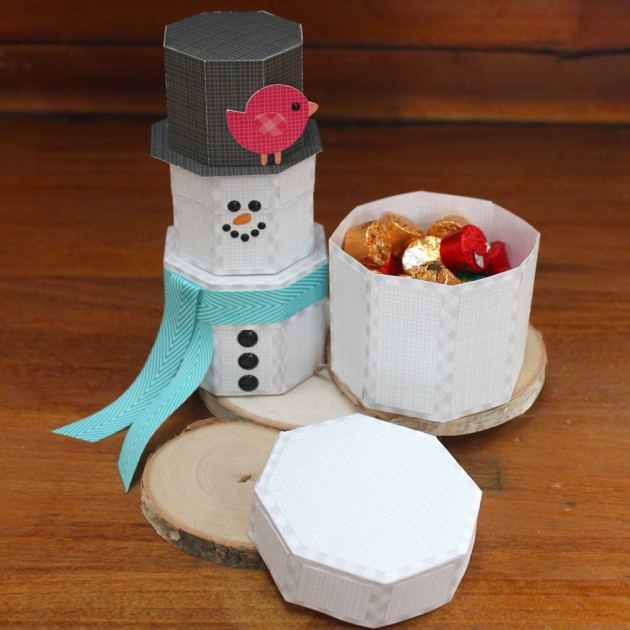
The rest is as easy as building a snowman!  I stacked the boxes and added a face & buttons using enamel dots.  The scarf is a piece of ribbon glued to the sides of the cover on the middle box.  I used a removable glue dot to hold the pieces together.  And of course I had to add the cute little birdie, (SVG here in Lori’s Shop) which is this week’s free file in the Lori Whitlock SVG Shop!

And each box opens to reveal a treat inside!

That’s it for me today,  thanks for stopping by to peek!

Gift Card Booklet with Kathy

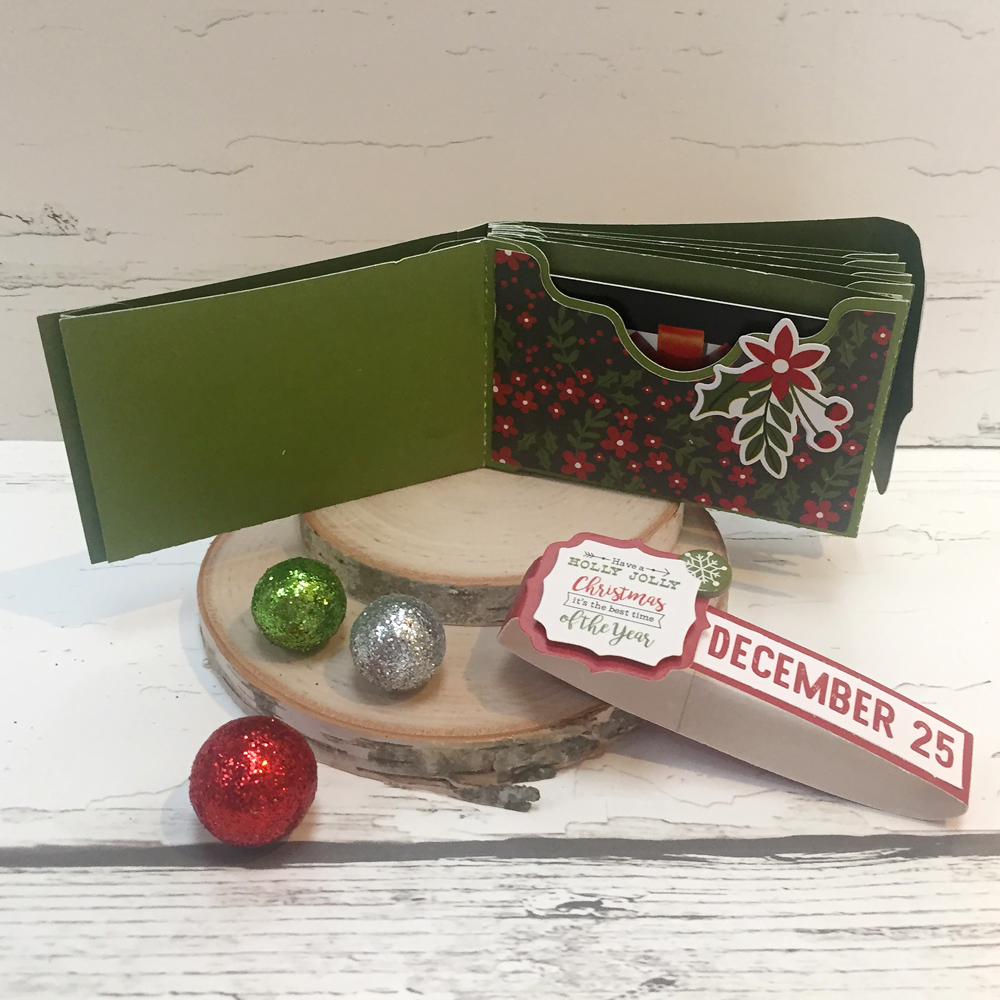
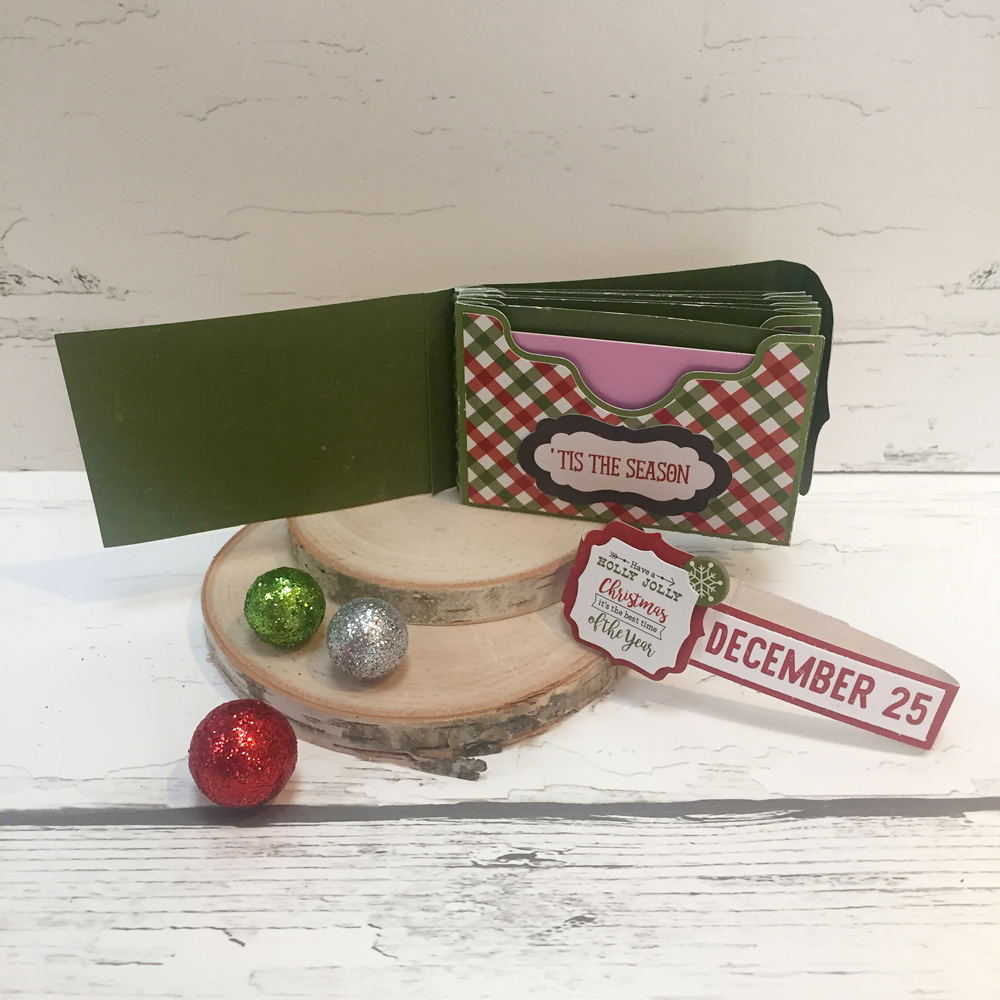
Hi Everyone!  It’s Kathy today with a little gift card booklet I made from a mini album file.  Every year, I give my college girl a few gift cards to her favorite places in a cute little package.  It’s one of her favorite Christmas gifts!  This year, I made a fun book using Lori’s 4×6 Horizontal Pocket Mini Album Tabbed Pages  (available here in the Silhouette Store) and some papers and embellishments from Echo Park’s A Perfect Christmas.  Take a peek….

To make the mini album a better size for gift cards, I had to resize the file.  To do this, I first loaded the file into my Silhouette.  Next, I ungrouped the file and deleted the tabbed pages since I was not using them.  I then regrouped the remaining pieces.  To size them I drew a rectangle on my mat measuring 3.5″ x 2.25″ which is slightly larger than a standard gift card.  I placed the rectangle over the base of one of the gift card pockets and clicked on the upper right corner of the grouped shapes and dragged down until the pocket size was close enough to the rectangle size.

This sized all of the pieces perfectly!  Here are some close-ups of some of the inside pages…

I added a belly band to the book to keep it closed since it was a little thick once the cards were inserted.  To do this I simply cut a 0.5″ strip of colored paper from a 12″ x 12″ paper and wrapped it around the book.  I trimmed the extra and secured the band with my tape runner.  Now to finish my shopping and fill it all up!  That’s it for me today, thanks for stopping by to peek!

Using Multiple Colors of Heat Transfer Vinyl with Kathy

Hi Everyone and Happy Thanksgiving!  It’s Kathy today with an easy tutorial showing how to keep a design’s shape and spacing when using multiple colors of heat transfer vinyl.    I wanted to create some Holiday decor gifts, and I though some seasonal throw pillows would be fun.  I found this Joy Love Peace Believe Tree design in Lori’s Shop (here in the Silhouette Store) and decided to add it to a throw pillow.
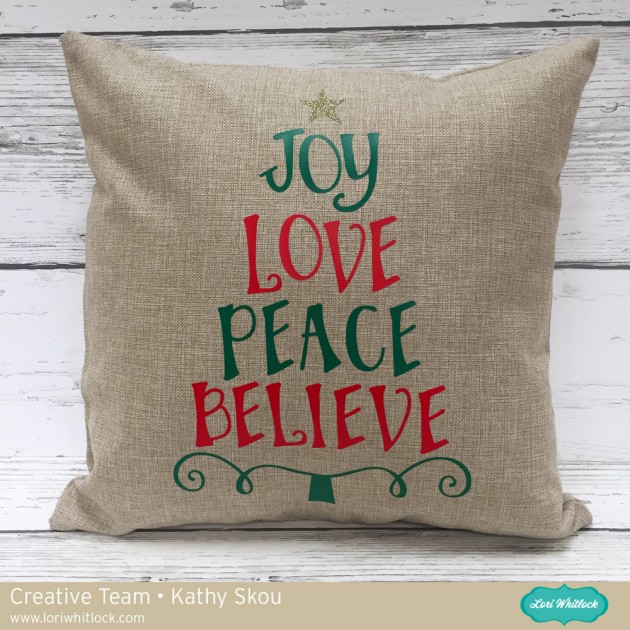
I loved how the different tiers were different colors and wanted to make sure I kept the shape.  Here ‘s how I did it…

I started by loading the file into my Silhouette Software.  Next, I sized it to fit on my pillow case.  My pillow was 18″x 18″ so I knew I wanted the design bigger than the original.

I selected all parts of the design and right mouse clicked and selected group.   This allowed me to change the shape of the whole design uniformly.

I clicked the corner of the design and dragged it to the size that I wanted.  It is bigger than the mat, but I just needed to make sure that all of the green elements fit on the mat at once since that was the largest area of a single color in the design.

Once it was sized properly, I ungrouped the file.  I then double checked that all elements of each individual color were grouped together, ( all the reds in one group, all the green in another) since I wanted to cut them at once, and in their original place in the design.

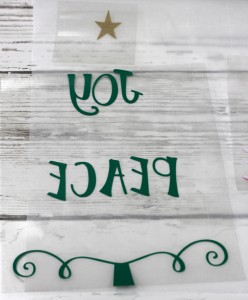
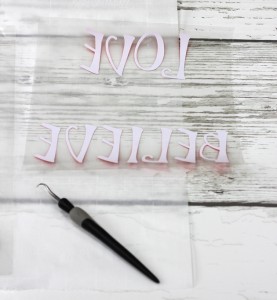
I dragged the red words and the star from the mat, and then mirrored the green words on the mat (you always want to do this when cutting words in vinyl)  Notice they are still spaced as in the original design.   Next I hit send.

I added the green heat transfer vinyl to my mat, with the shiny side down,  selected the proper media from the menu, and set my blade depth to 2 and sent to cut.  (for my design I used Siser Heat Transfer Vinyl in Green, Red and Glitter Gold)

I repeated this process with the red and gold pieces of the design.  Notice the red also maintain their original spacing.

One the vinyl was cut, I weeded out the negative space so all that was left were the parts of my design.

I centered the design on my pillowcase.  (I purchased this plain pillow case on Amazon.)

To start, I ironed on the green since this was the largest part of my design.  I put a piece of parchment paper over the clear plastic holding the design and ironed on a cotton setting, no steam for 10 seconds per each part of the design.

Next, I peeled off the plastic (be careful, it can get hot!) leaving only the design on my pillowcase.

To make sure it was ironed on well, I covered the design with my parchment again and ironed it a little more.

I then repeated this process with the gold star and the red words.  It was easy to correctly place the red words because of the way I cut the pieces on my mat.

Once I ironed on all of the pieces, I added the pillow fill to the case and done!
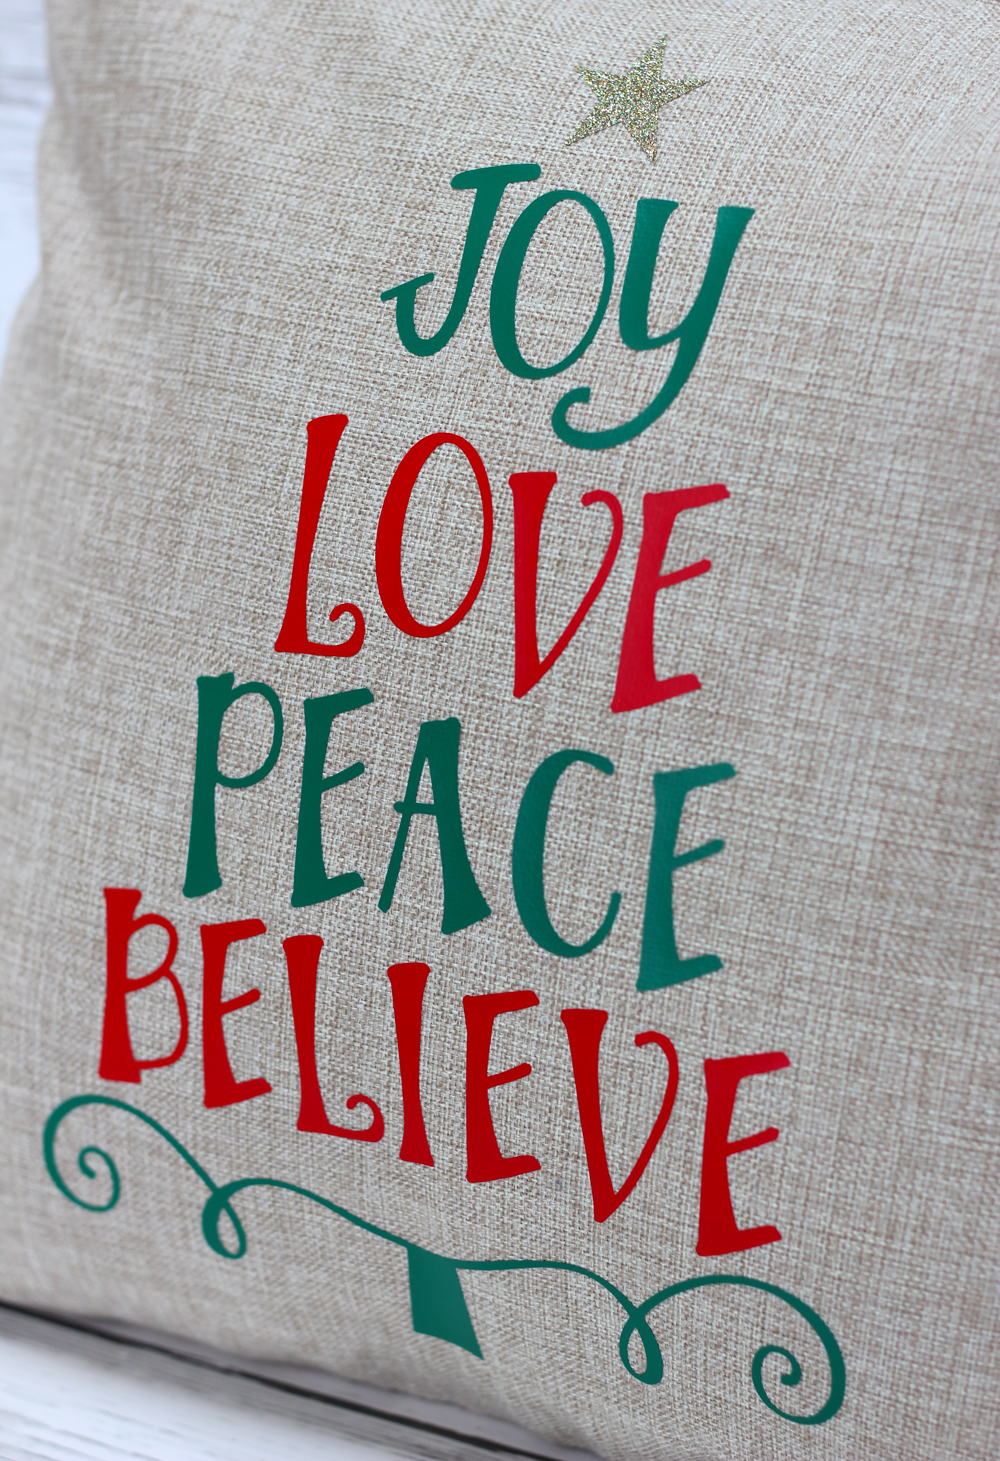
This will make a fun, festive gift, I have plans on making a few more for friends, after I finish my turkey of course!  That’s it for me today, thanks for stopping by to peek!

3D Pumpkin with Kathy

Hi Everyone!  It’s Kathy today with a cute 3D Pumpkin, perfect for Fall and Halloween gift giving or decorating!  Take a peek…

I used Lori’s 3D Pumpkin Short  (here in the Silhouette Store)  to make this adorable box.   This box also comes in medium and tall (here and here in the Silhouette Store.)  Lori also has great assembly directions for these pumpkins here.  The best part, the pumpkin opens up to hold some goodies!

This would make a fabulous gift for a friend or coworker.  It would also make a great seasonal centerpiece!  That’s it for me today, thanks for stopping by to peek!