A Purrfect Valentine with Kathy

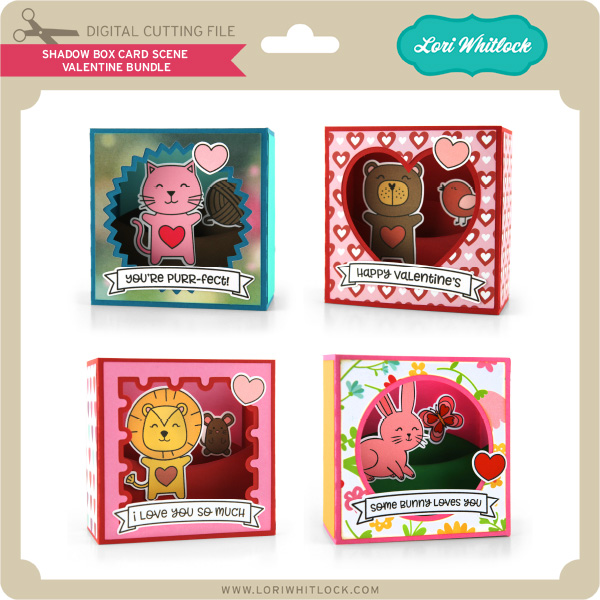
Have you seen the new Shadow Box Card Scene Valentine Bundle? (available individually in the Silhouette Store here)  I just love these little cards, they are so cute and so easy to assemble since the characters are done using Print and Cut!

Being a cat lover, of course I had to make the cute Cat version (SVG, Silhouette) of the card….

I used the Lori’s new Easter Wishes Collection for Echo Park Paper to piece it together.  The colors are perfect for Valentine’s and Spring!   For a full tutorial for Lori’s Shadow Box Scene Cards, see her YouTube Channel here.  This bundle is 25% off this week in the Lori Whitlock SVG Shop!  That’s it for me today, thanks for stopping by to peek!

BLOG * INSTAGRAM


Valentine Truck Box Card with Kathy

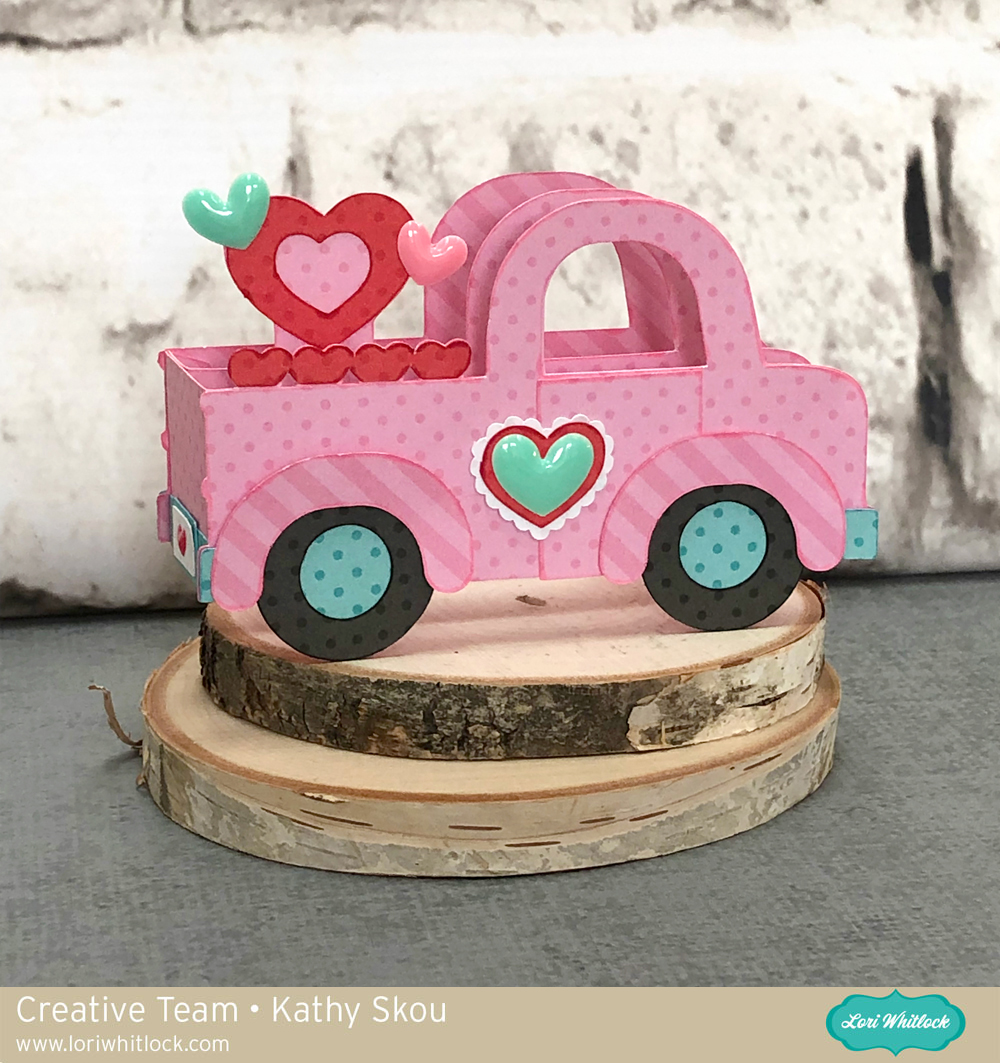
Valentine’s Day will be here before we know it, so it’s the perfect time to start crafting! (as if we need an excuse!)  I love Lori’s Truck Box Cards, she has one for Christmas, Easter, Fall… and now Valentine’s Day!  Take a peek…

This adorable card is available is available in SVG format in Lori’s shop here and also in the Silhouette Store here.  It folds flat and fits into an A2 Envelope for easy mailing!  We have an assembly tutorial for Lori’s Truck Box Cards here.

That’s it for me today, thanks for stopping by to peek!

BLOG * INSTAGRAM

Thanksgiving Tag Bag with Kathy

Hi Everyone!  I can’t believe it is already November, this year has flown by!  Halloween is gone and now we’re headed into the Thanksgiving season!  I always love Thanksgiving, it’s one holiday that truly feels like it’s all about getting together with the ones you love, and sharing some time (and turkey of course!)  This year, I’m not cooking so I thought it would be nice to bring a little something to my host.  Lori’s new Tag Bags are the perfect wrapping for a little something special!  I made the Tag Bag Turkey (SVG, Silhouette).   Take a peek…

These bags are great because you can cut 2 of them from one piece of 12×12 paper, so they’re easy to mass produce!  You could even use them as place cards!  Lori has a great assembly tutorial on her YouTube Channel here.  Be sure to check out all of the Tag Bag designs here!  That’s it for me today thanks for stopping by to peek!

* BLOG * INSTAGRAM*

Shutter Card Tutorial with Kathy

Happy Fall Everyone!  Today I have a quick assembly tutorial for Lori’s new Shutter Cards.  These cards are such fun and have some great dimension.  I used the Shutter Card Squirrel file (SVG, Silhouette) for my tutorial along with some papers and embellishments from Echo Park’s Celebrate Autumn Collection.


The actual assembly of these cards is pretty simple, it’s mostly the folds that need some attention.  I started by cutting out the pieces of my card.

Next I added the patterned paper panels to the different sections of the card.  I like to do this before folding because I think it helps me to visualize how things should be.

Once the panels were added, I folded the card along the score lines.

Here is a view of the folds from the top of the card.

I put together this graphic showing how the folds should be.  The upside down V means mountain fold (popping up when lying flat) and the V is a valley fold (pointing down when lying flat).

Once the card was folded, I added the additional embellishments.  I started with the squirrel on the bracket shape.  I added some foam tape under the bracket to give it a little more dimension.

Next, I added the insert with the leaf and acorn.  I started by adding adhesive to the bottom front strip of the piece.

I then tucked this piece in behind the front strip on the card base as seen below.

I finished the card with a cute chipboard piece sentiment from the Celebrate Autumn Chipboard Phrases.
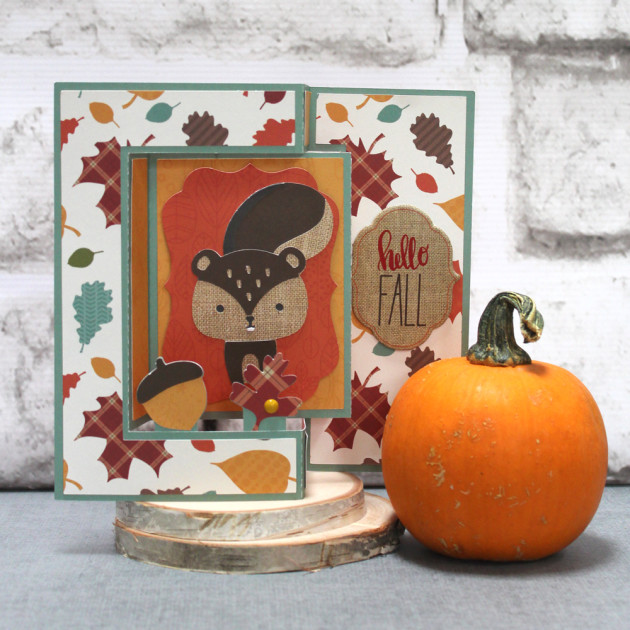
This card folds flat and will fit into an A7 (5.25″ x 7.25″) envelope (Lori has a set here in her shop) .  That’s it for me today, thanks for stopping by to peek!

BLOG * INSTAGRAM

State Pillow Applique with Kathy

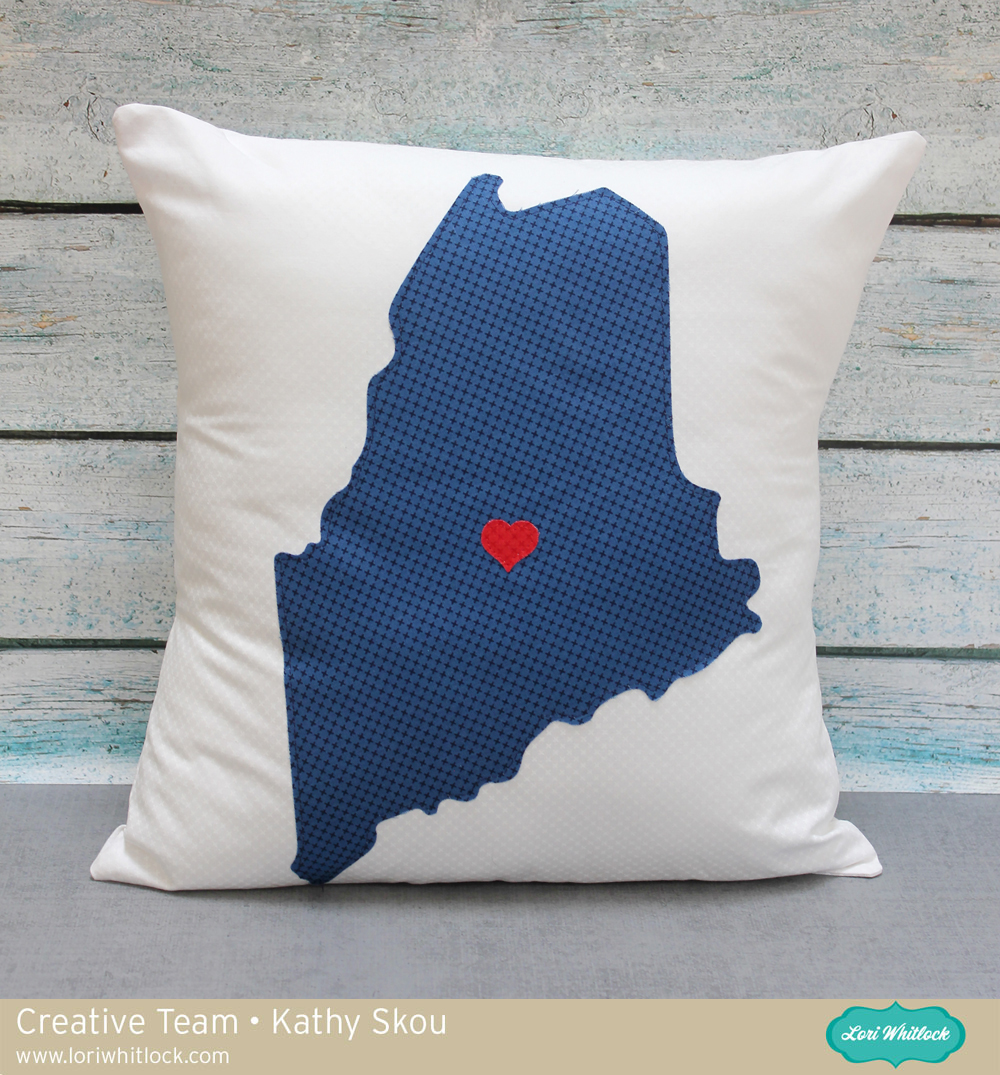
Happy Monday everyone,  I have a fun project to share with you today!  I created this pillow for my niece who moved to Maine with her cute little family.  I used Lori’s State Heart Dingbats Font (SVG, Silhouette), take a peek…

Cutting fabric with your Silhouette or Cricut is easier than you think!  For my project I started with Terial Magic Fabric Stabilizer. I first saturated the fabric I wanted to cut with Terial Magic, hung it until it was damp dry (about 15 minutes.) and then ironed the fabric.  Once ironed, the fabric is very stiff and almost feels like paper.   I placed the fabric on a very sticky mat and sent it to cut using the fabric cut settings on my Silhouette.  (make sure you are using a newer blade or fabric blade to cut ) Once cut, I machine stitched it to my pillow cover.   You could also use an iron on fabric stabilizer.  My niece loved the pillow and it looked really cute in her living room!  That’s it for me today, thanks for stopping by to peek!

BLOG * INSTAGRAM