More Coffee, Please!
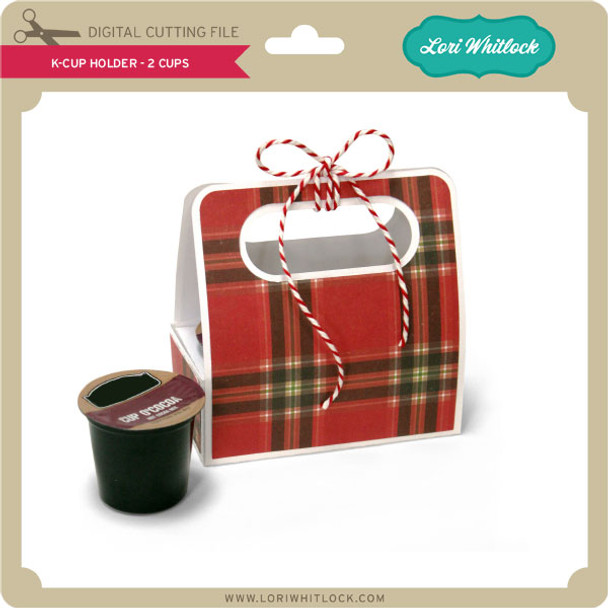
Hi there paper crafting friends! It’s Michelle Starcher, aka the Bookish Designer, hopping onto the blog to walk you through the steps to create Lori’s K-Cup Holder 2 Cups (SVG, Silhouette). This adorable tote holds two K-cups of coffee or cocoa. This little coffee tote is perfect for pumpkin spice season and is super easy to assemble using the steps below.
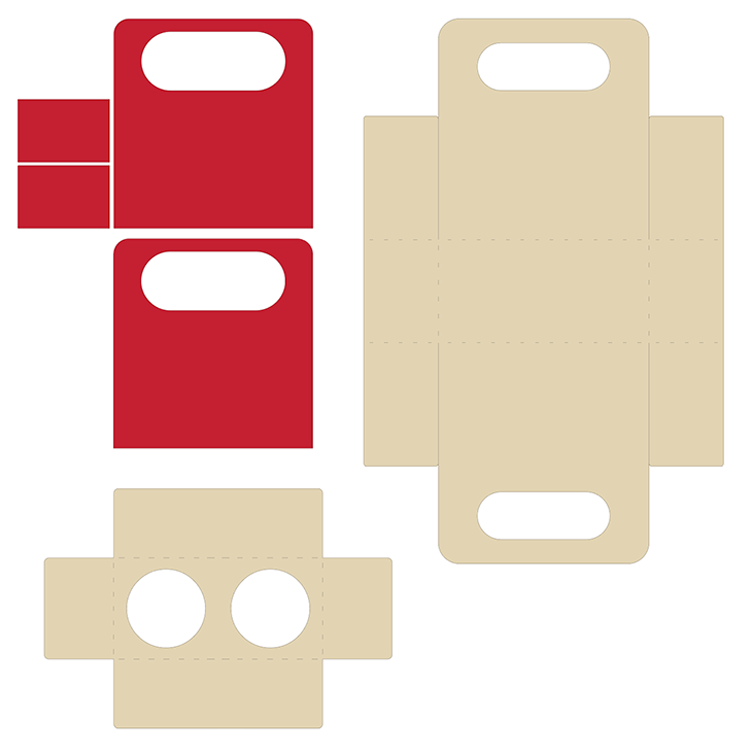
I made the K-Cup Holder 2 Cups using my Silhouette Cameo 4. While I love using pattern paper, I recommend using a solid cardstock for the carrier and insert (khaki pieces in the image below). However, you can use patterned paper for the outside pieces (red), just make sure you use the correct orientation if you are using a directional patterned paper. I used an autumn leaf paper from Lori’s a Perfect Autumn collection from Echo Park Paper Co.
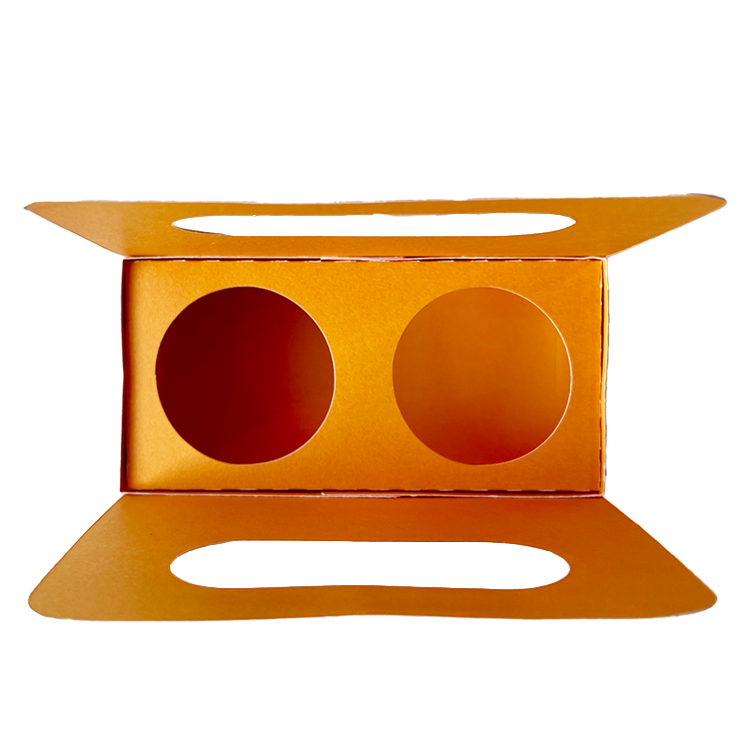
Before assembling the carrier, I inked the autumn leaf paper pieces with aged mahogany Distress Ink and adhered them to the carrier as shown below. Next, I folded the carrier along the scores marks and added adhesive to the tabs of the carrier.
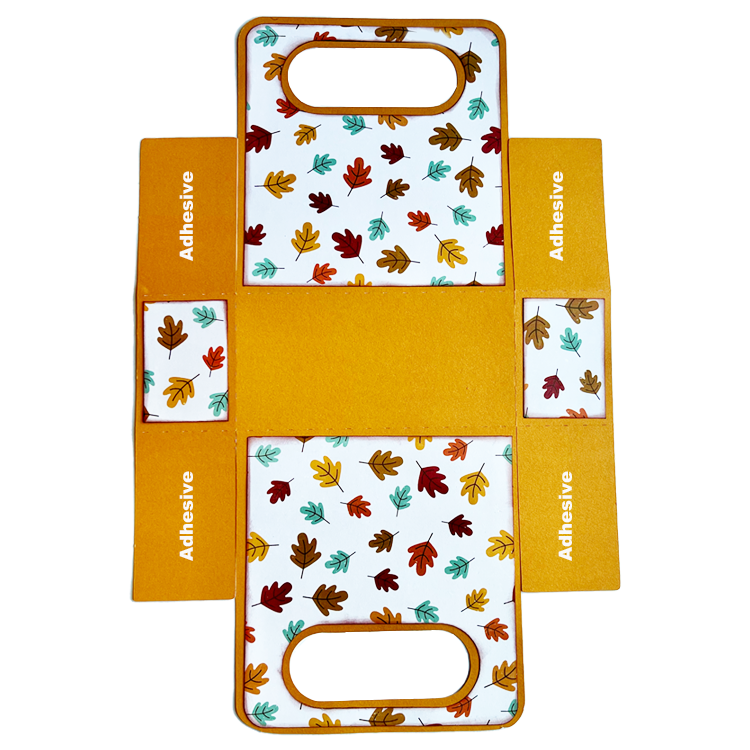
To assemble the box, I folded the taps inside the carrier to create a box shape by lining up the tab’s score marks with the edge of the handle panels. Once the carrier was assembled, I folder the K-cup insert along the score lines and inserted it into the carrier.
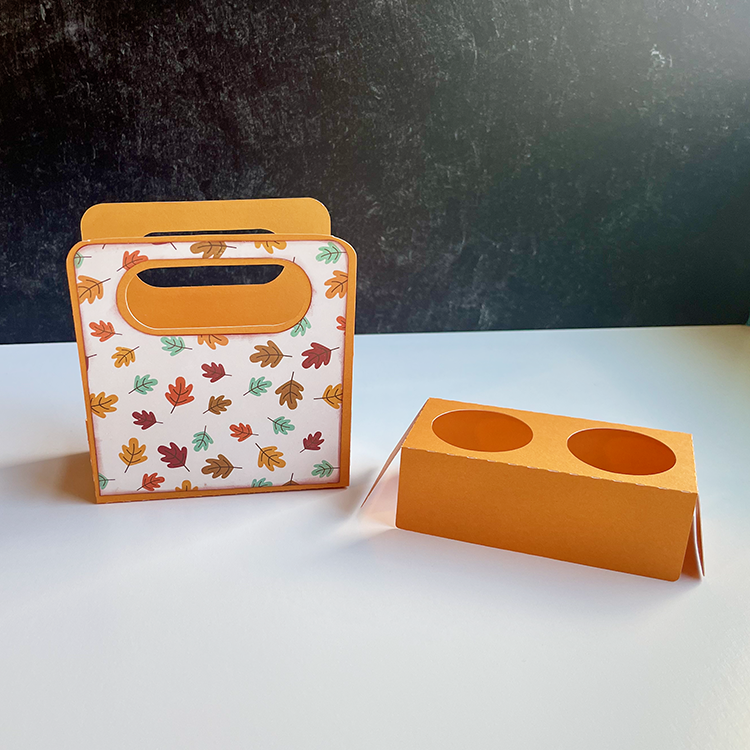
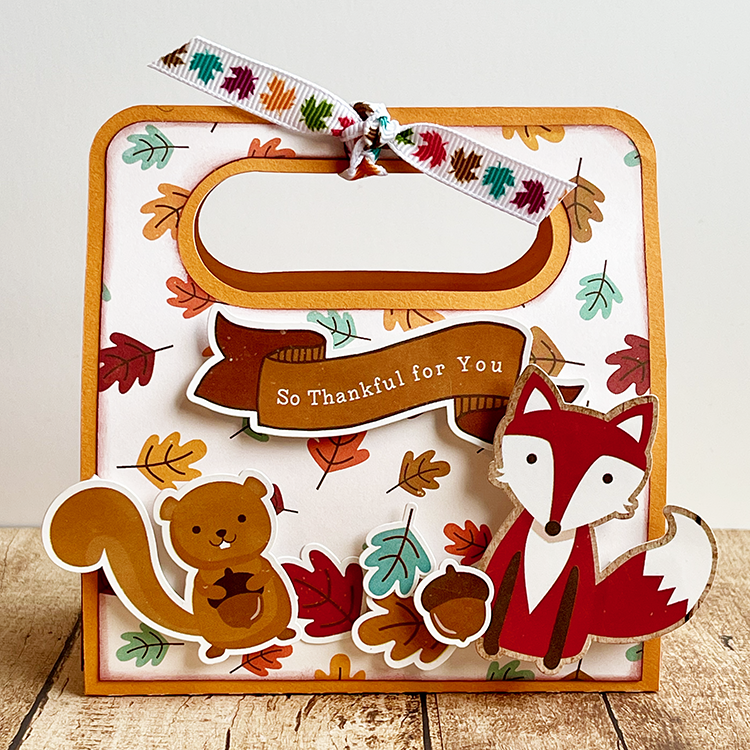
Once the K-Cup Holder 2 Cups carrier was assembled, I decorated the front using stickers from Lori’s a Perfect Autumn collection from Echo Park Paper Co. I used foam tape to add dimension to the decorative elements used. Then, I added two K-Cups to the carrier. Finally, I used a cute autumn leaf ribbon to hold the carrier closed.
Lori has a number of K-Cup holders available in the shop. Be sure to check them out if you have coffee (or cocoa) lovers in your life.
Until next time,
Michelle
K-Cup Carrier Assembly Tutorial with Kathy
Hi Everyone! It’s Kathy today with an assembly tutorial for Lori’s new K-Cup Carriers. It’s that time of year again when you need lots of little thank you gifts for teachers, baby sitters, coaches, dance teachers… the list almost seems endless! Lori’s new K-Cup Carriers make a cute little gift that’s easy to make! There are two new versions, The K-Cup Carrier 2 Cups (SVG, Silhouette) and the K-Cup Carrier 4 Cups (SVG, Silhouette). I worked with the 2 cup version for the tutorial, but the 4 cup version is assembled in exactly the same manner.
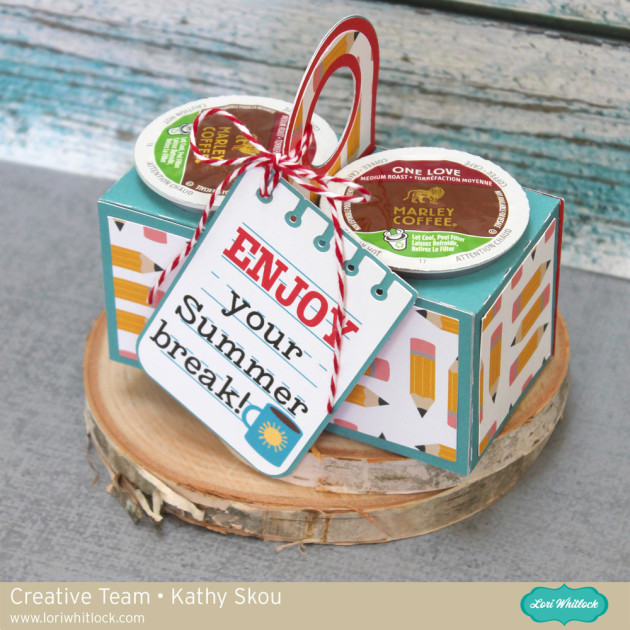
When you upload the file to your cutting software, you will see that there is a note to cut two of each piece in the file. The pieces I used to assemble can be seen below. I used papers from Lori’s new Back To School Collection for Echo Park Paper.

First you need to glue together the two carrier pieces. Start by folding along the score lines. Fold up the handle portion of the piece and glue in place, smaller tabs on the inside. Next bring up the other side, and glue, also with the tabs inside.
Fold down the remaining piece (the one with the hole) tucking the tab into the box. Glue the big flaps down to the sides of the box. Once the two sides are assembled, add the decorative pieces to the “fronts” and handles.
To complete the assembly, glue the two completed holder pieces back to back (or handle to handle). Glue the remaining decorative panels to the remaining side pieces, then adhere to both sides of the carrier to cover the seams. Your holder is complete!
I packaged my K-Cups along with a little print and cut tag I made using the following files: LW Block Font (SVG, Silhouette); LW Perfect Type Font (SVG, Silhouette); Pop Up Box Card Coffee (for the mug) (SVG, Silhouette); Sun (SVG, Silhouette); Thank You Teacher Tags (for the paper) (SVG, Silhouette)
That’s it for me today, thanks for stopping by to peek!


