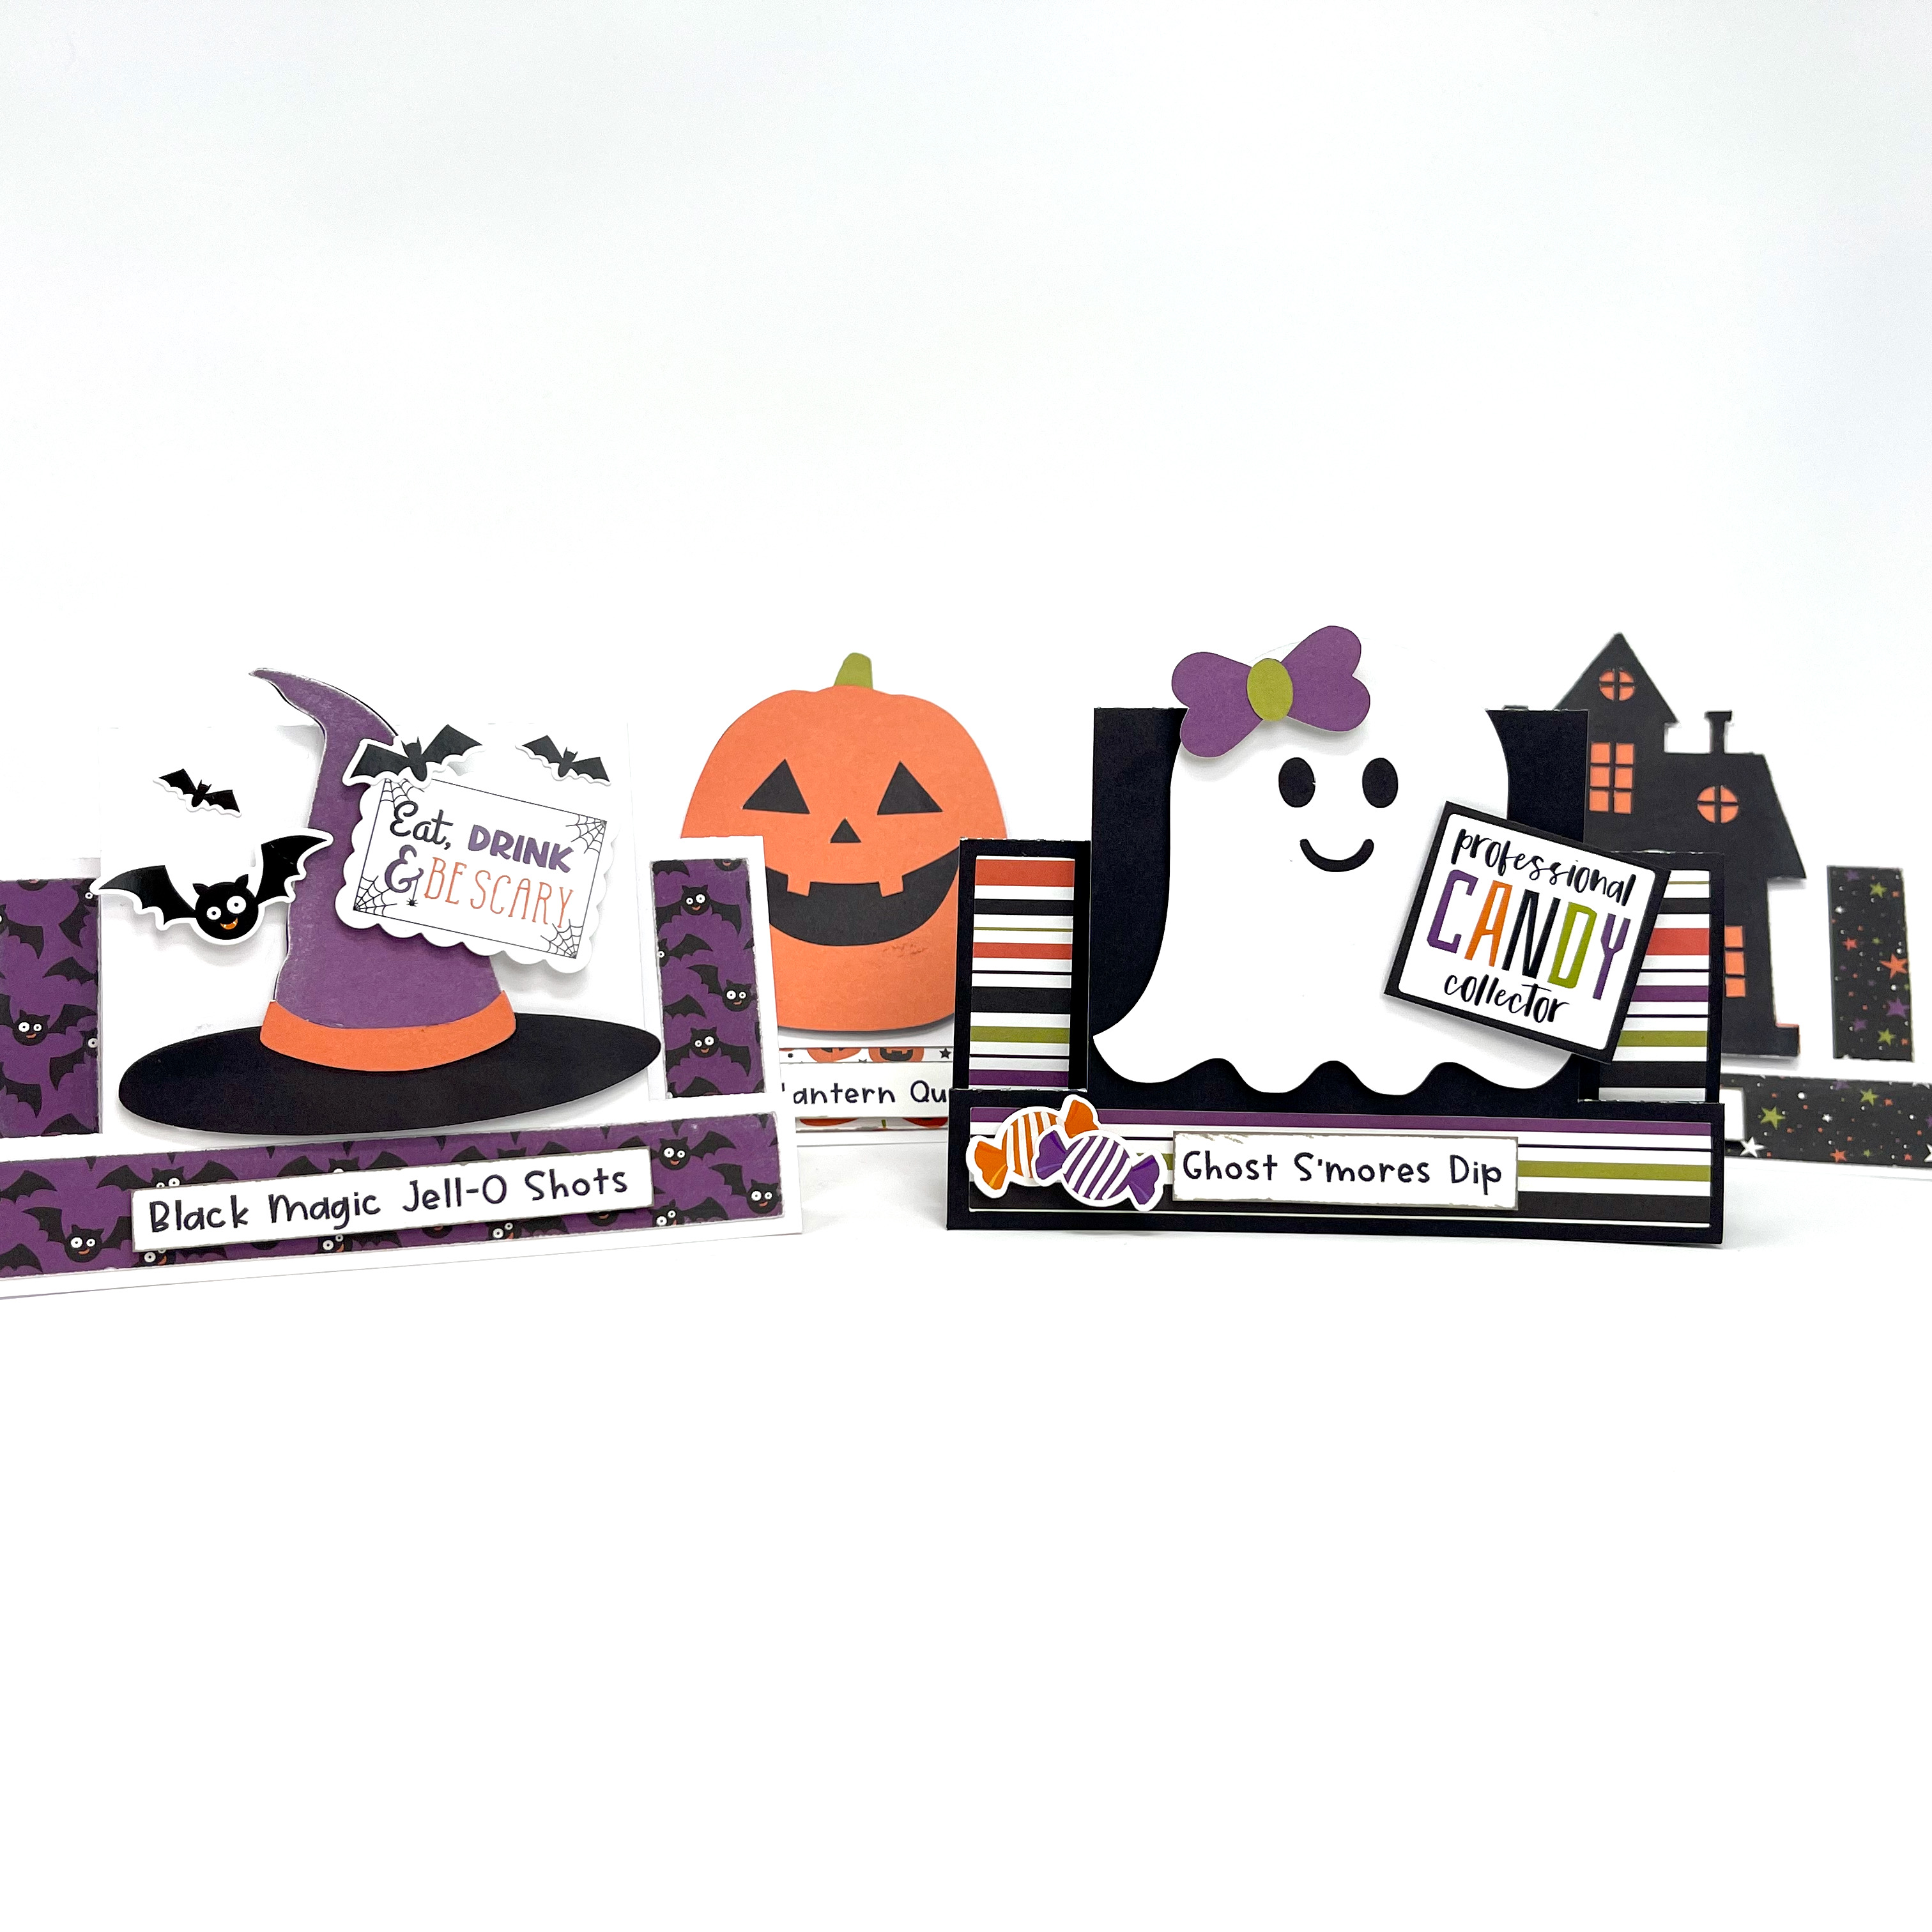
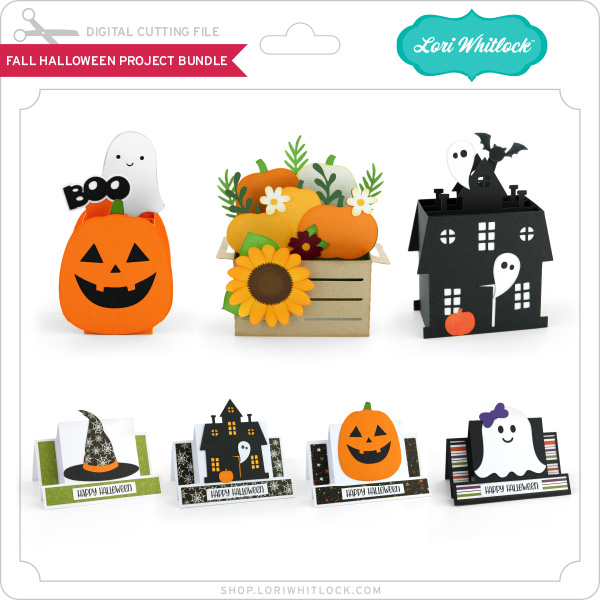
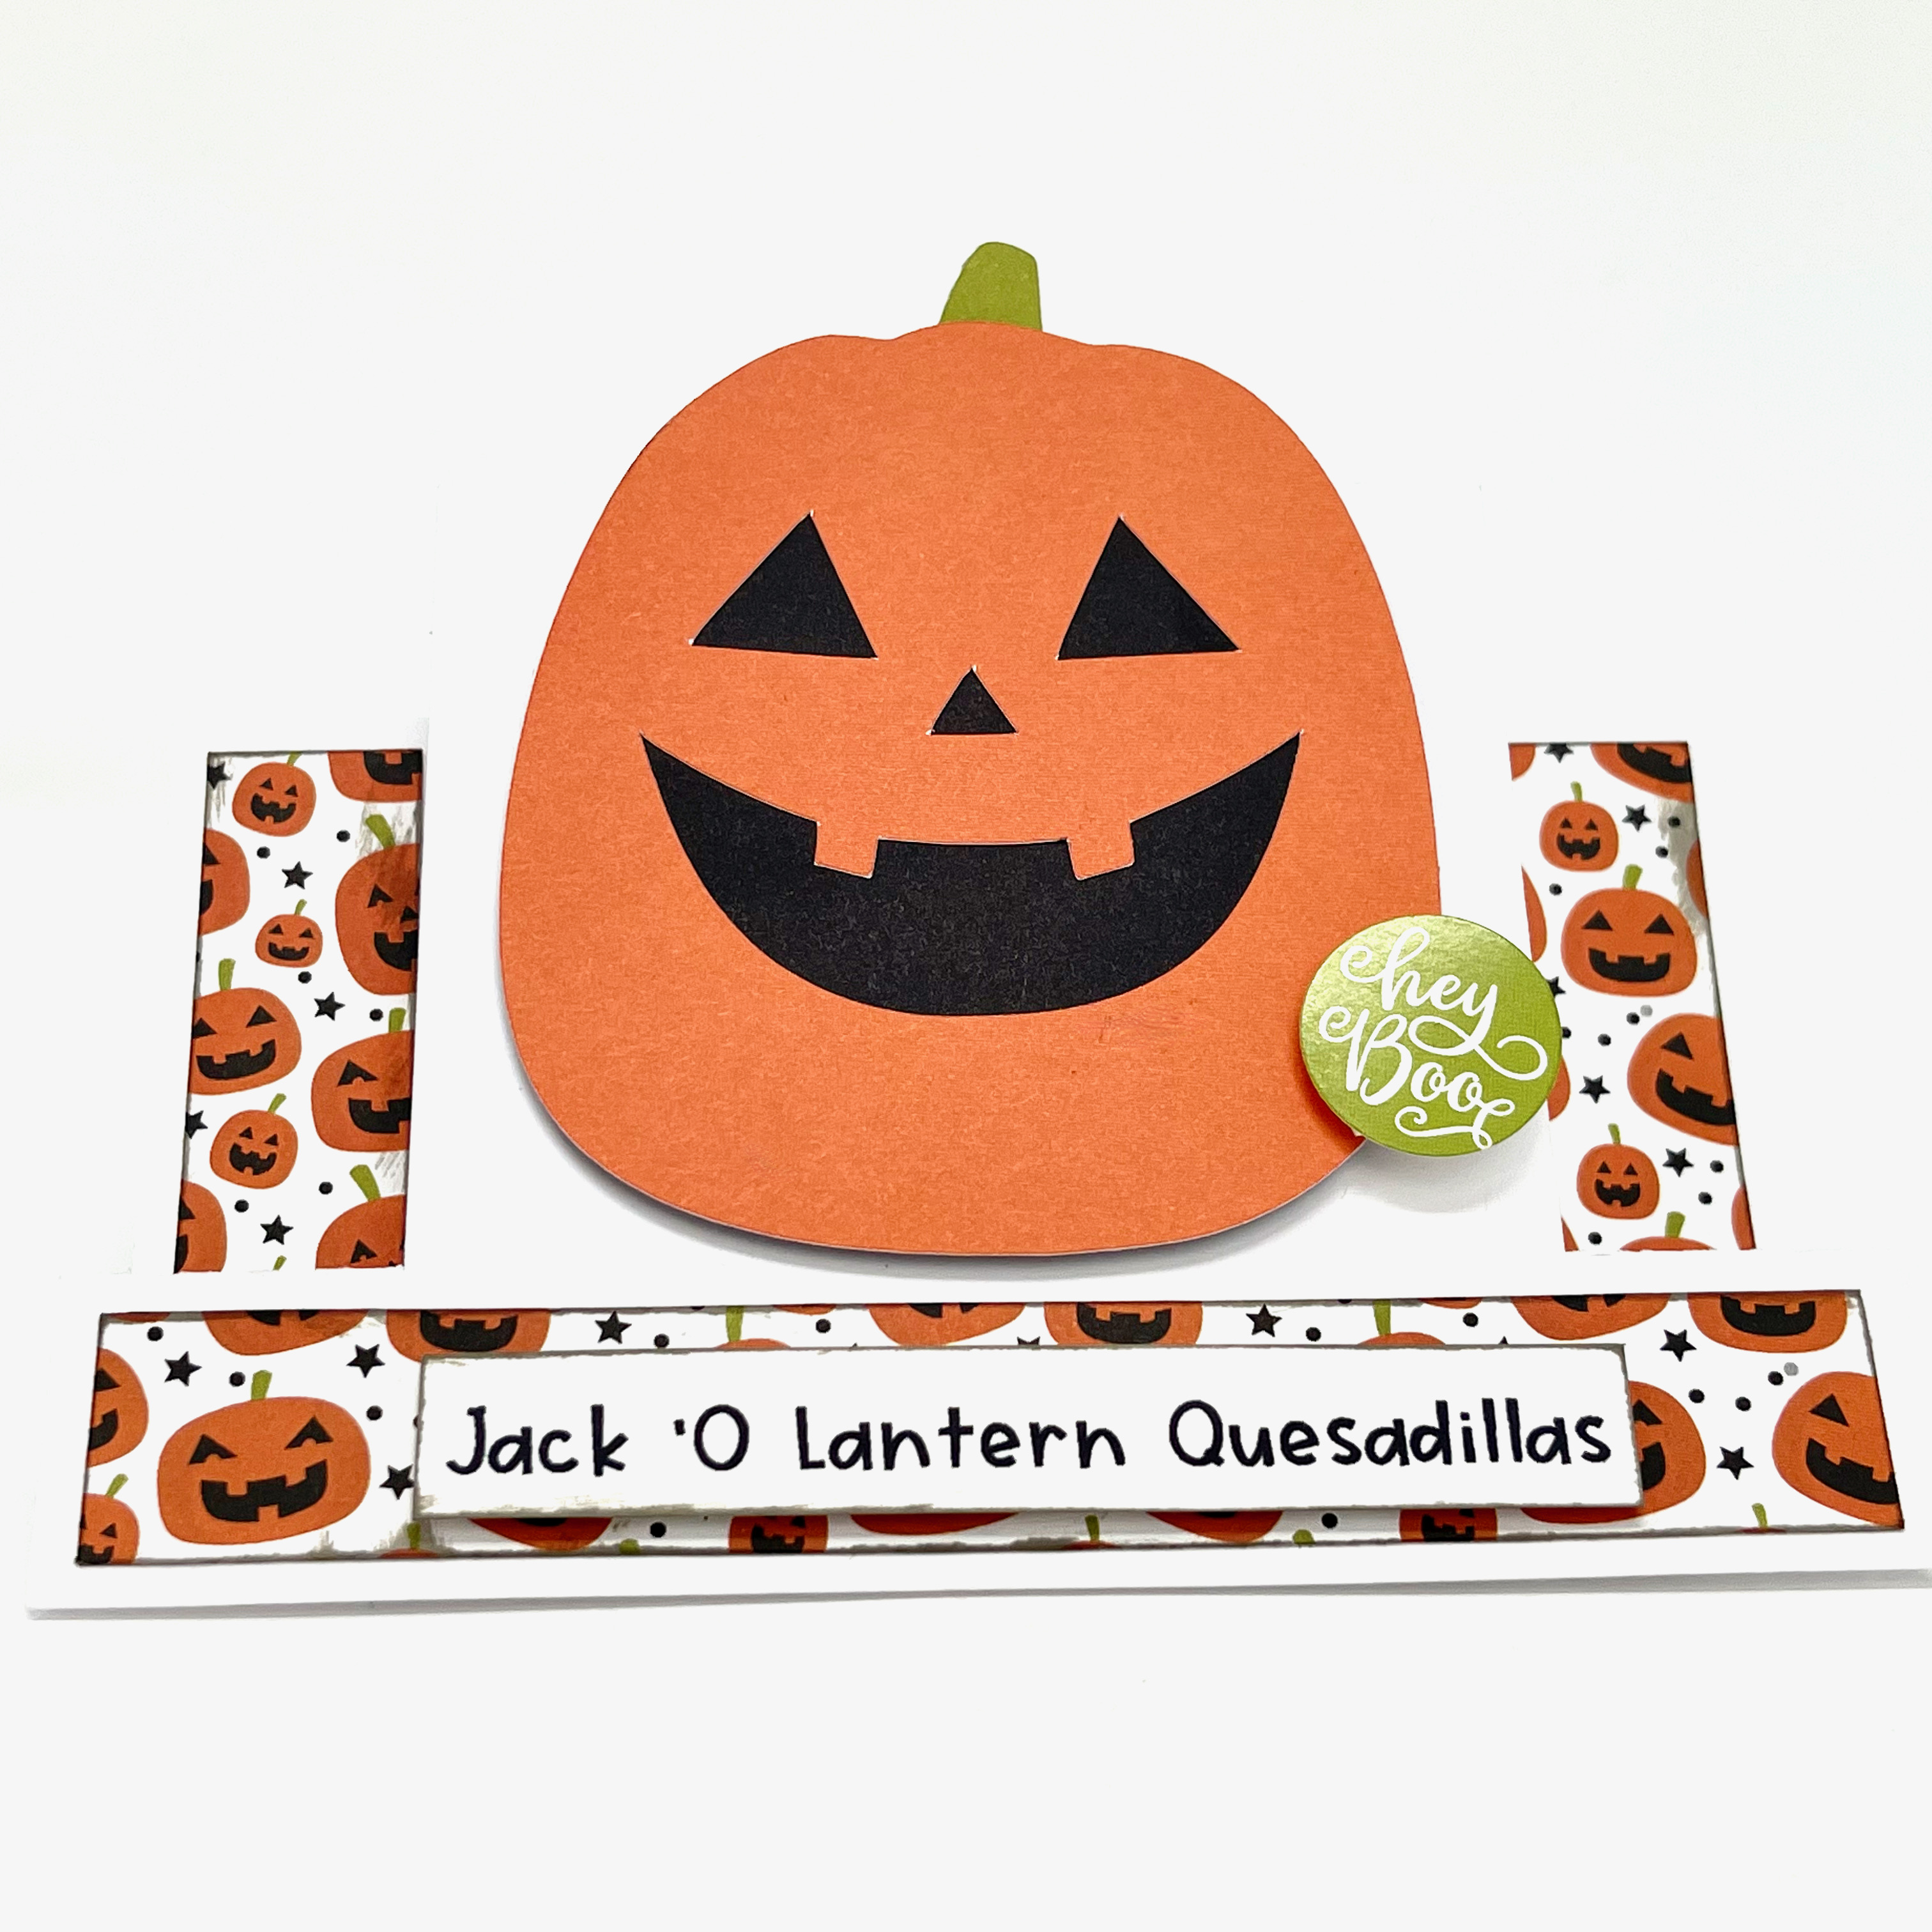
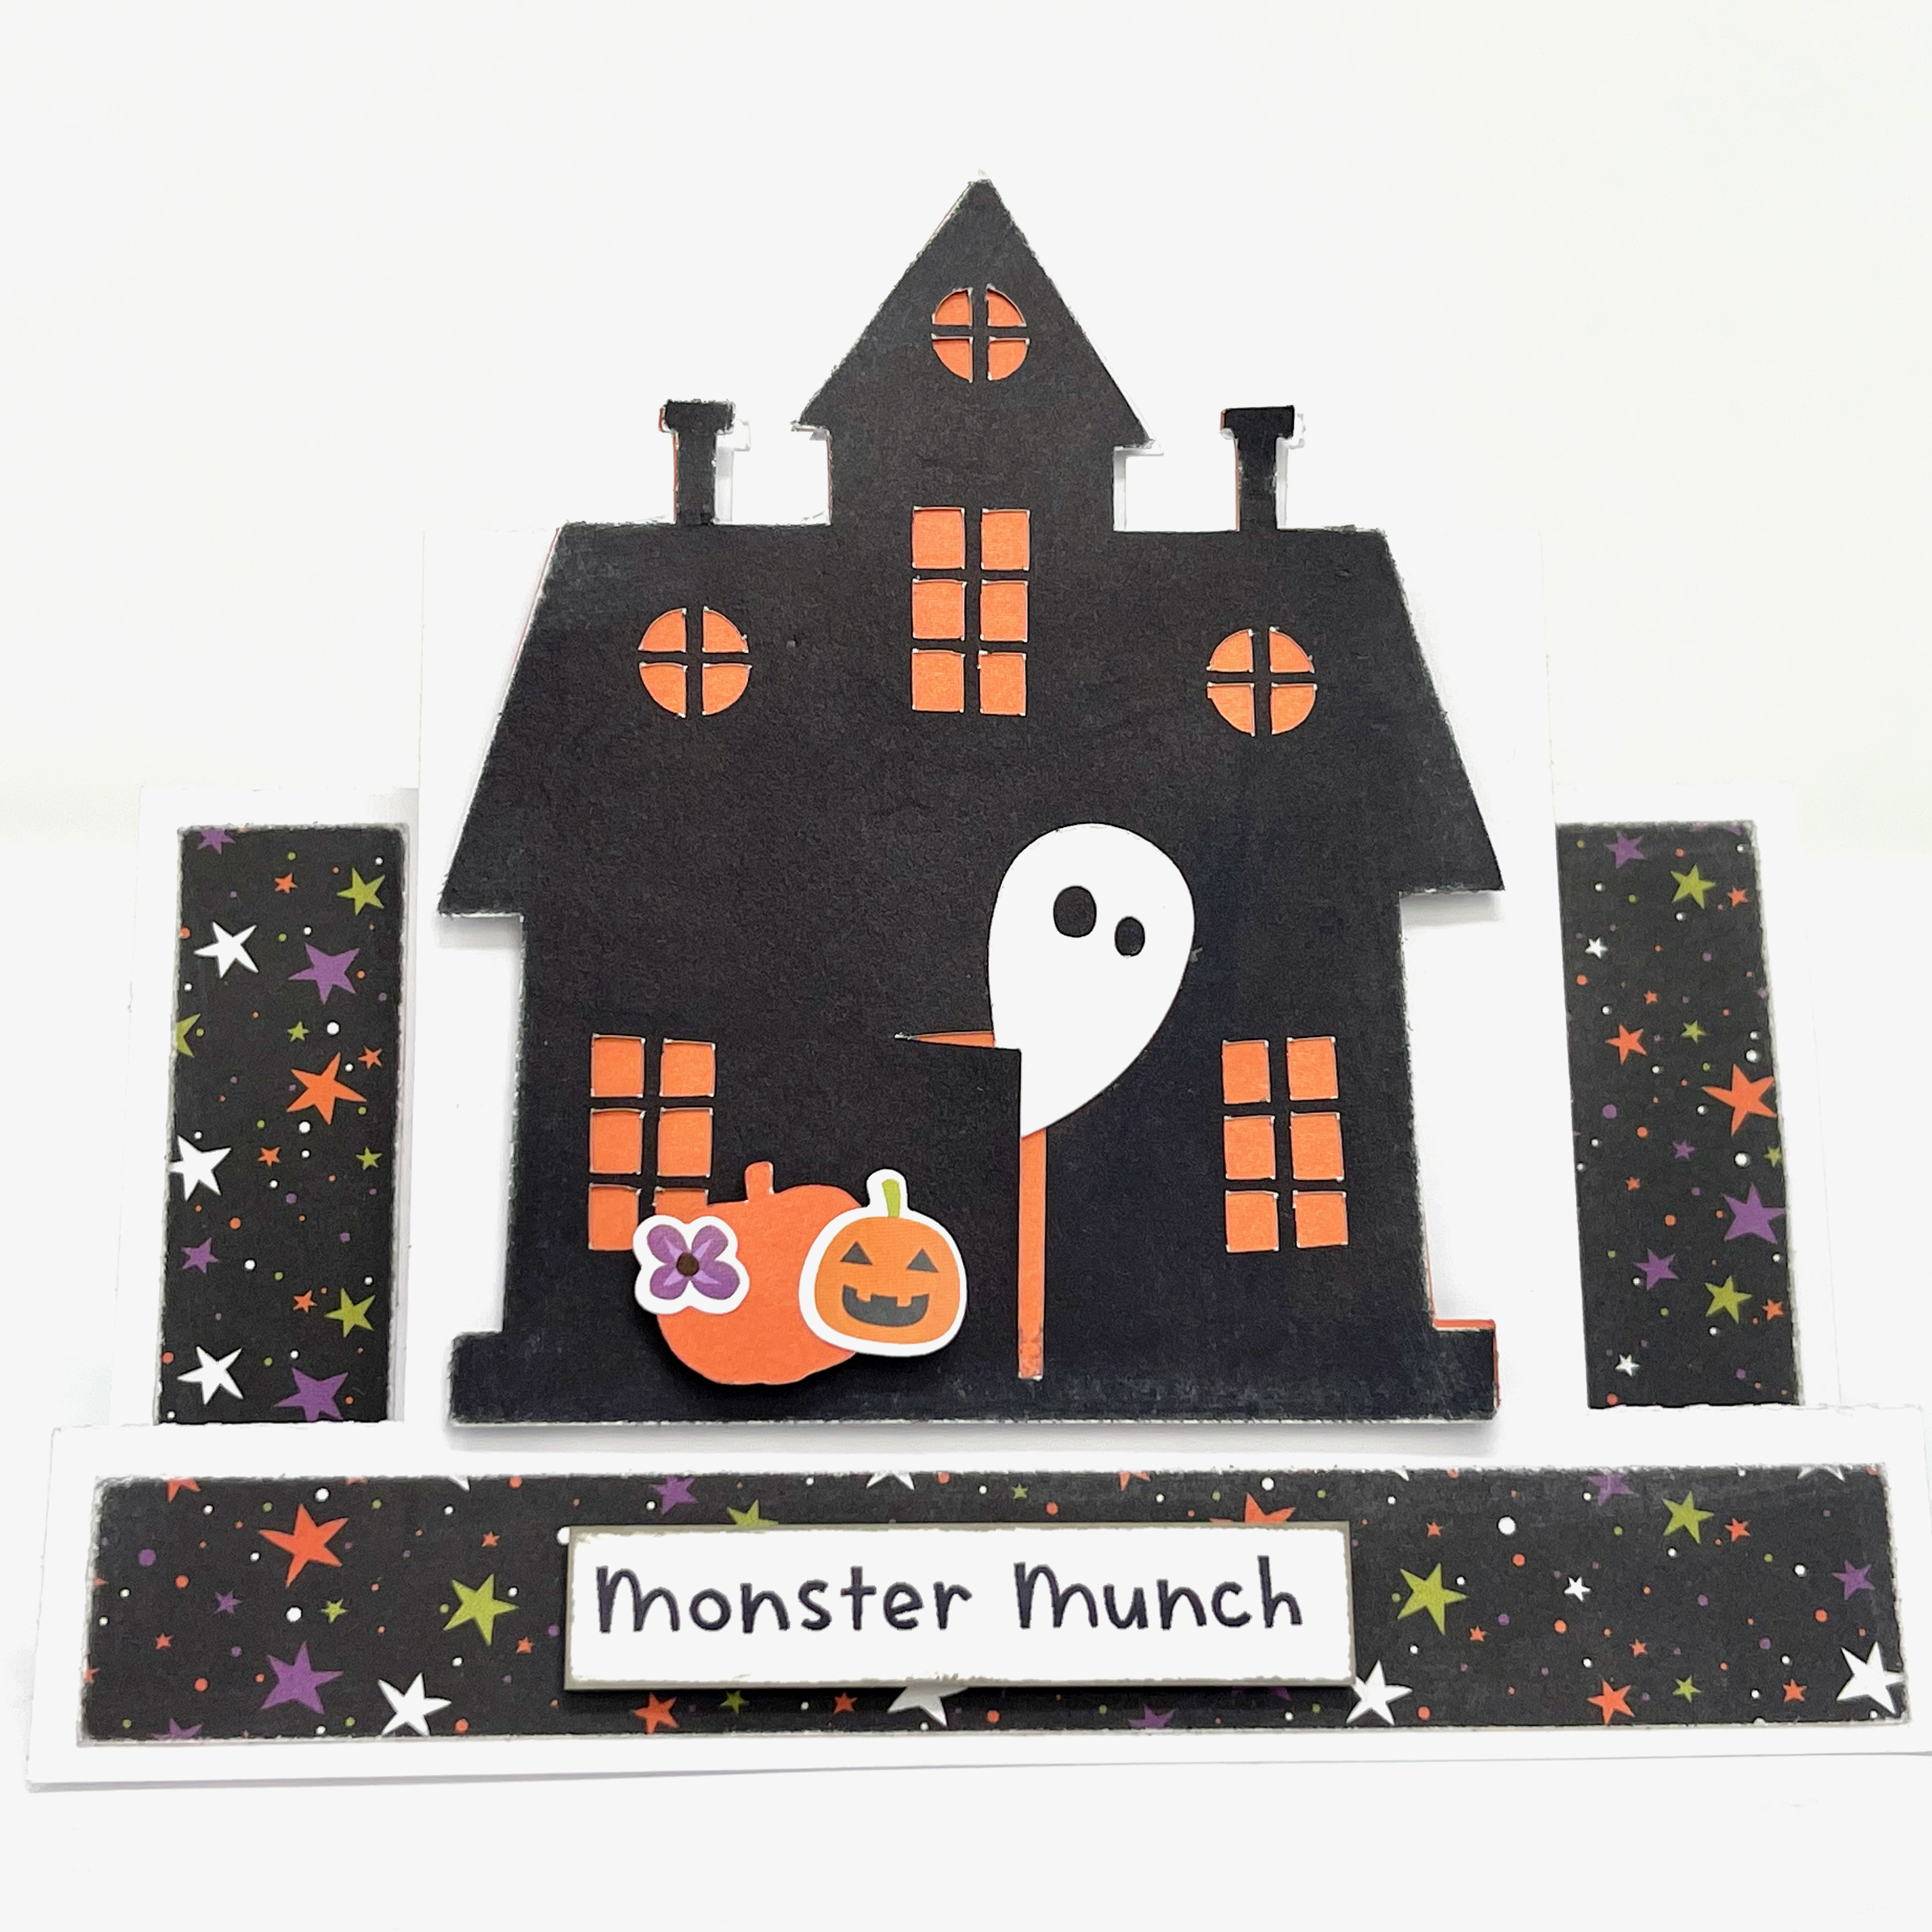
Hi there paper crafting friends! It’s Michelle Starcher, aka the Bookish Designer, popping in on the blog to share the menu cards I made using Lori’s I love Halloween collection by Echo Park Paper Co. Lori has a wide selection of cards available in her shop. This week, I used the Halloween Center Step cards to make menu cards for an upcoming Halloween Party. I used all four of the center step cards available in the Fall Halloween Project Bundle (SVG). You can find the four cards individually in the Silhouette Design Store (Witch’s Hat, Haunted House, Jack ‘O Lantern, and Ghost).
Although the center step cards are cute as cards, I just knew they would make perfect menu cards to let guests know what they were eating. I cut and assembled the files, but I didn’t use the sentiments. Instead, I printed the names of my dishes into white cardstock and trimmed them with my paper trimmer. I used a 24 point font (Cake Batter), which was the perfect size for the menu cards. I inked the edges for a little extra texture.
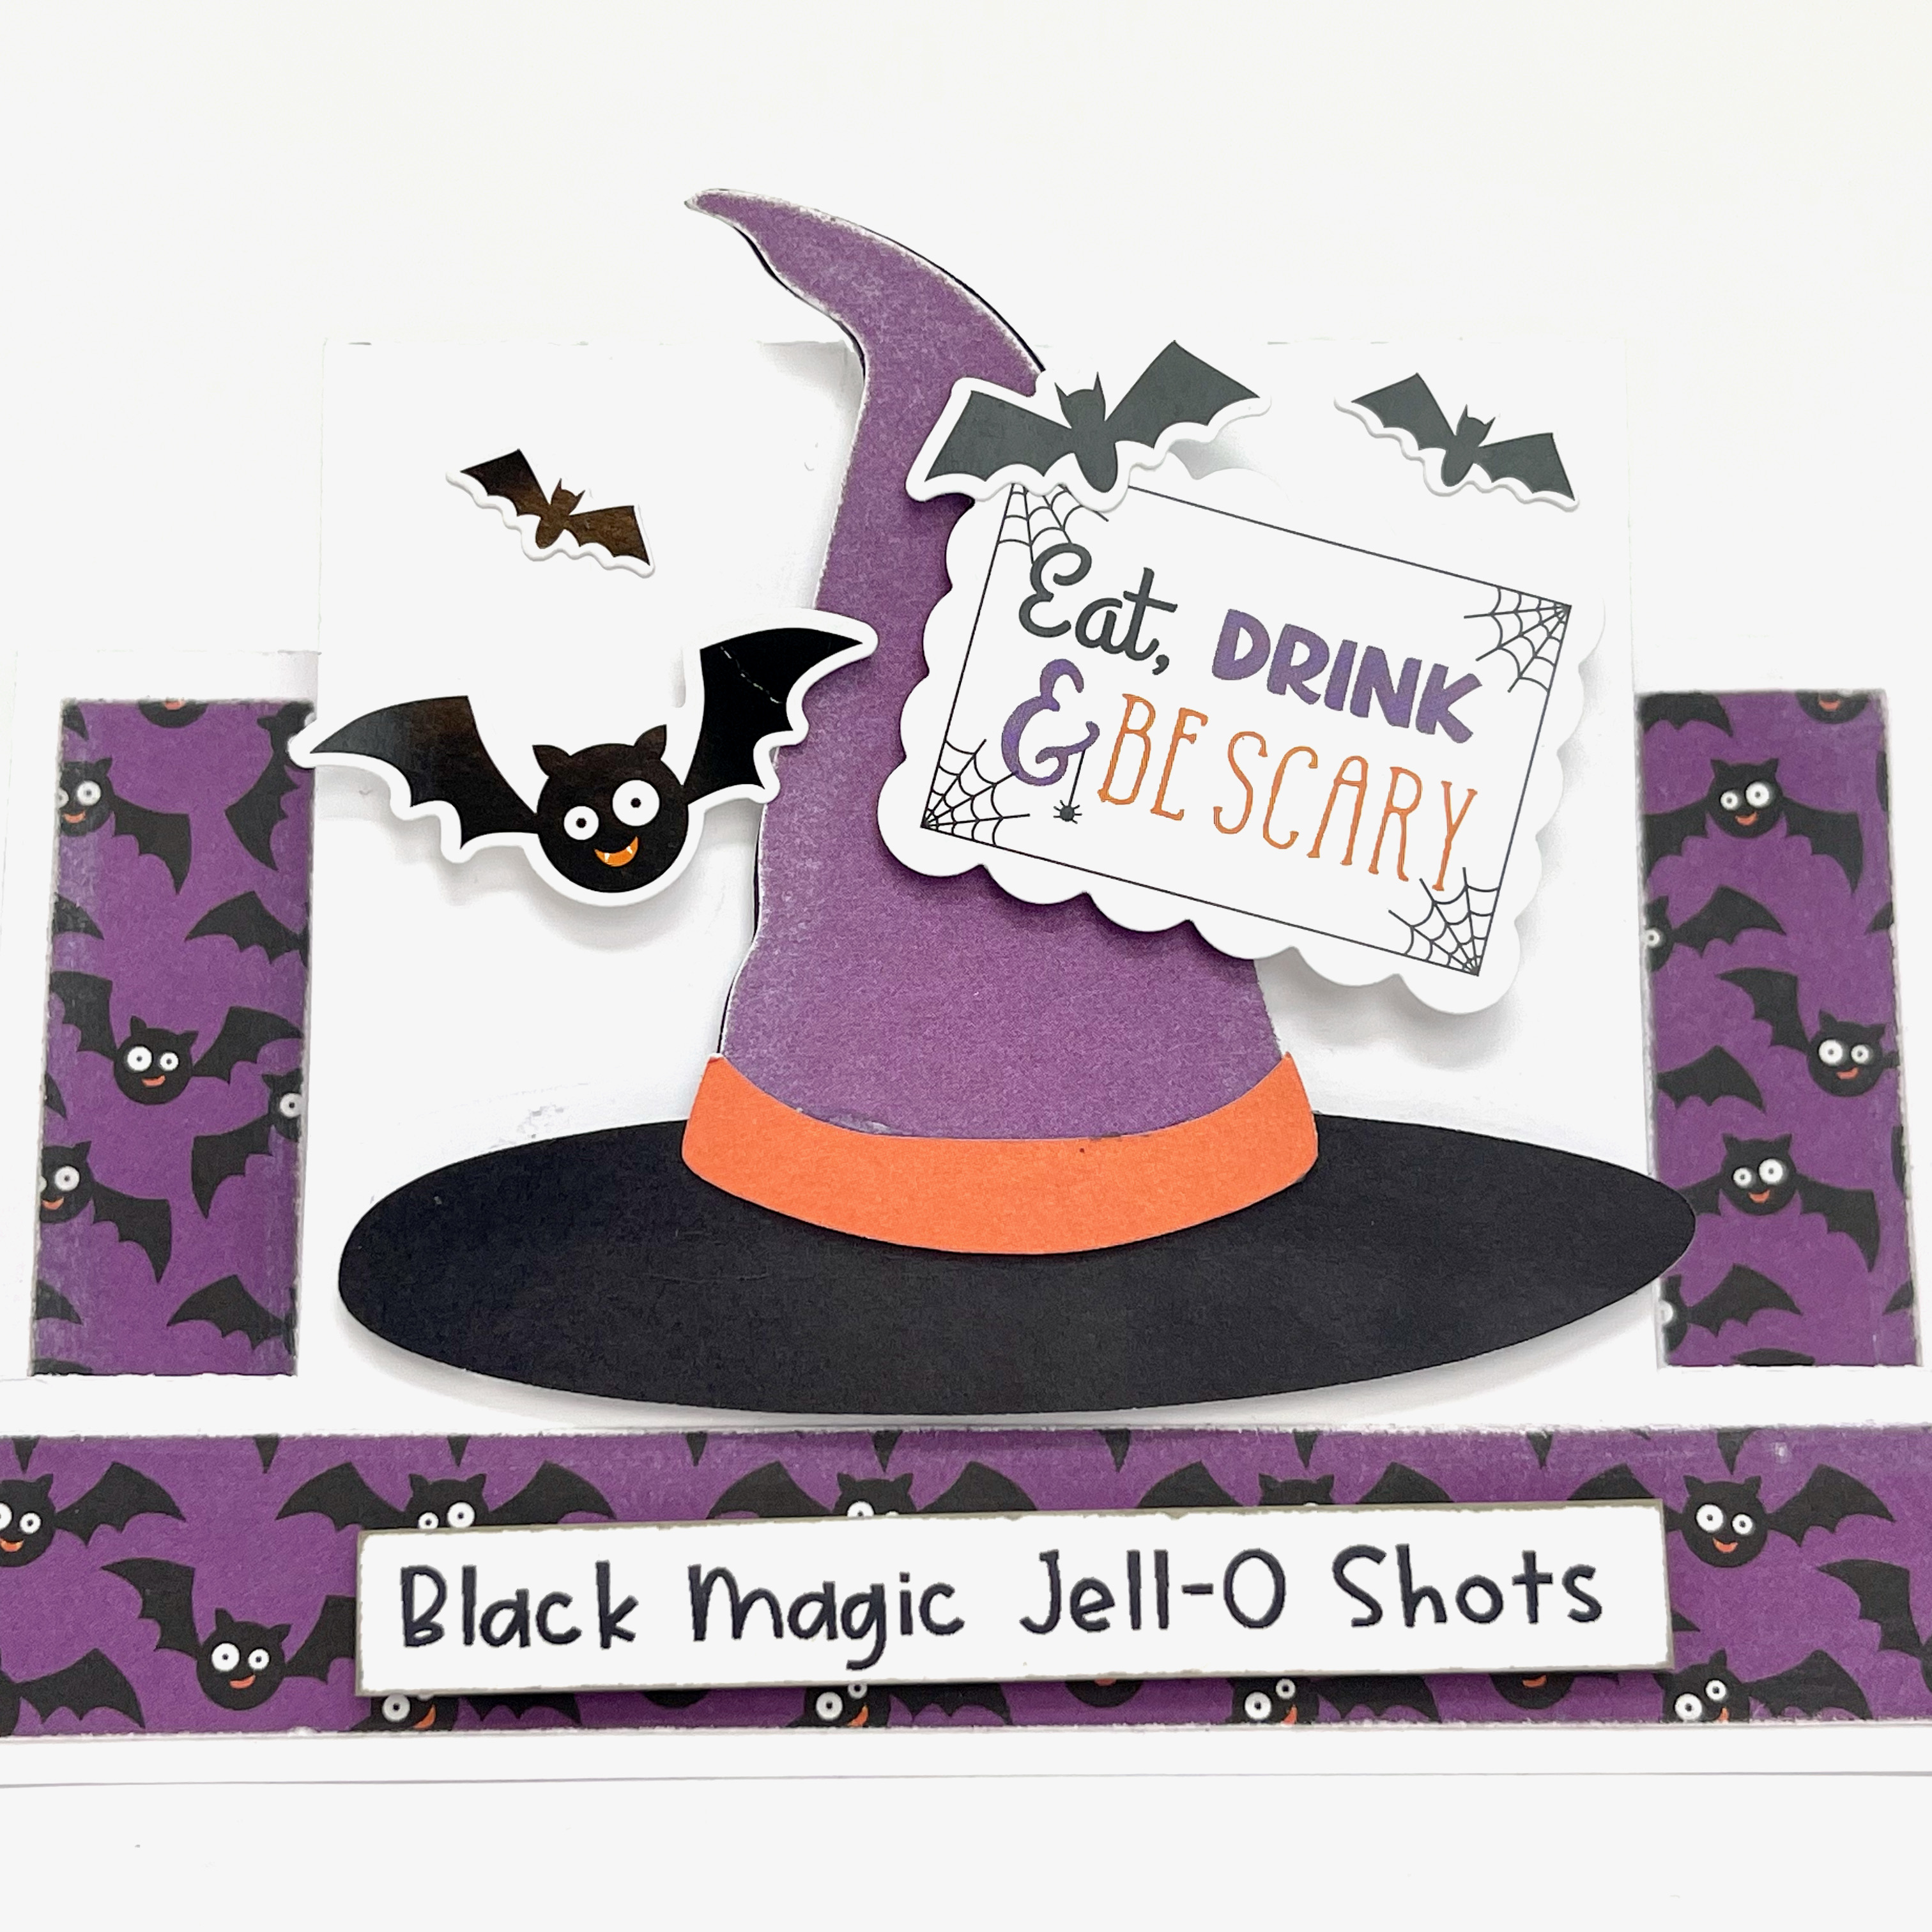
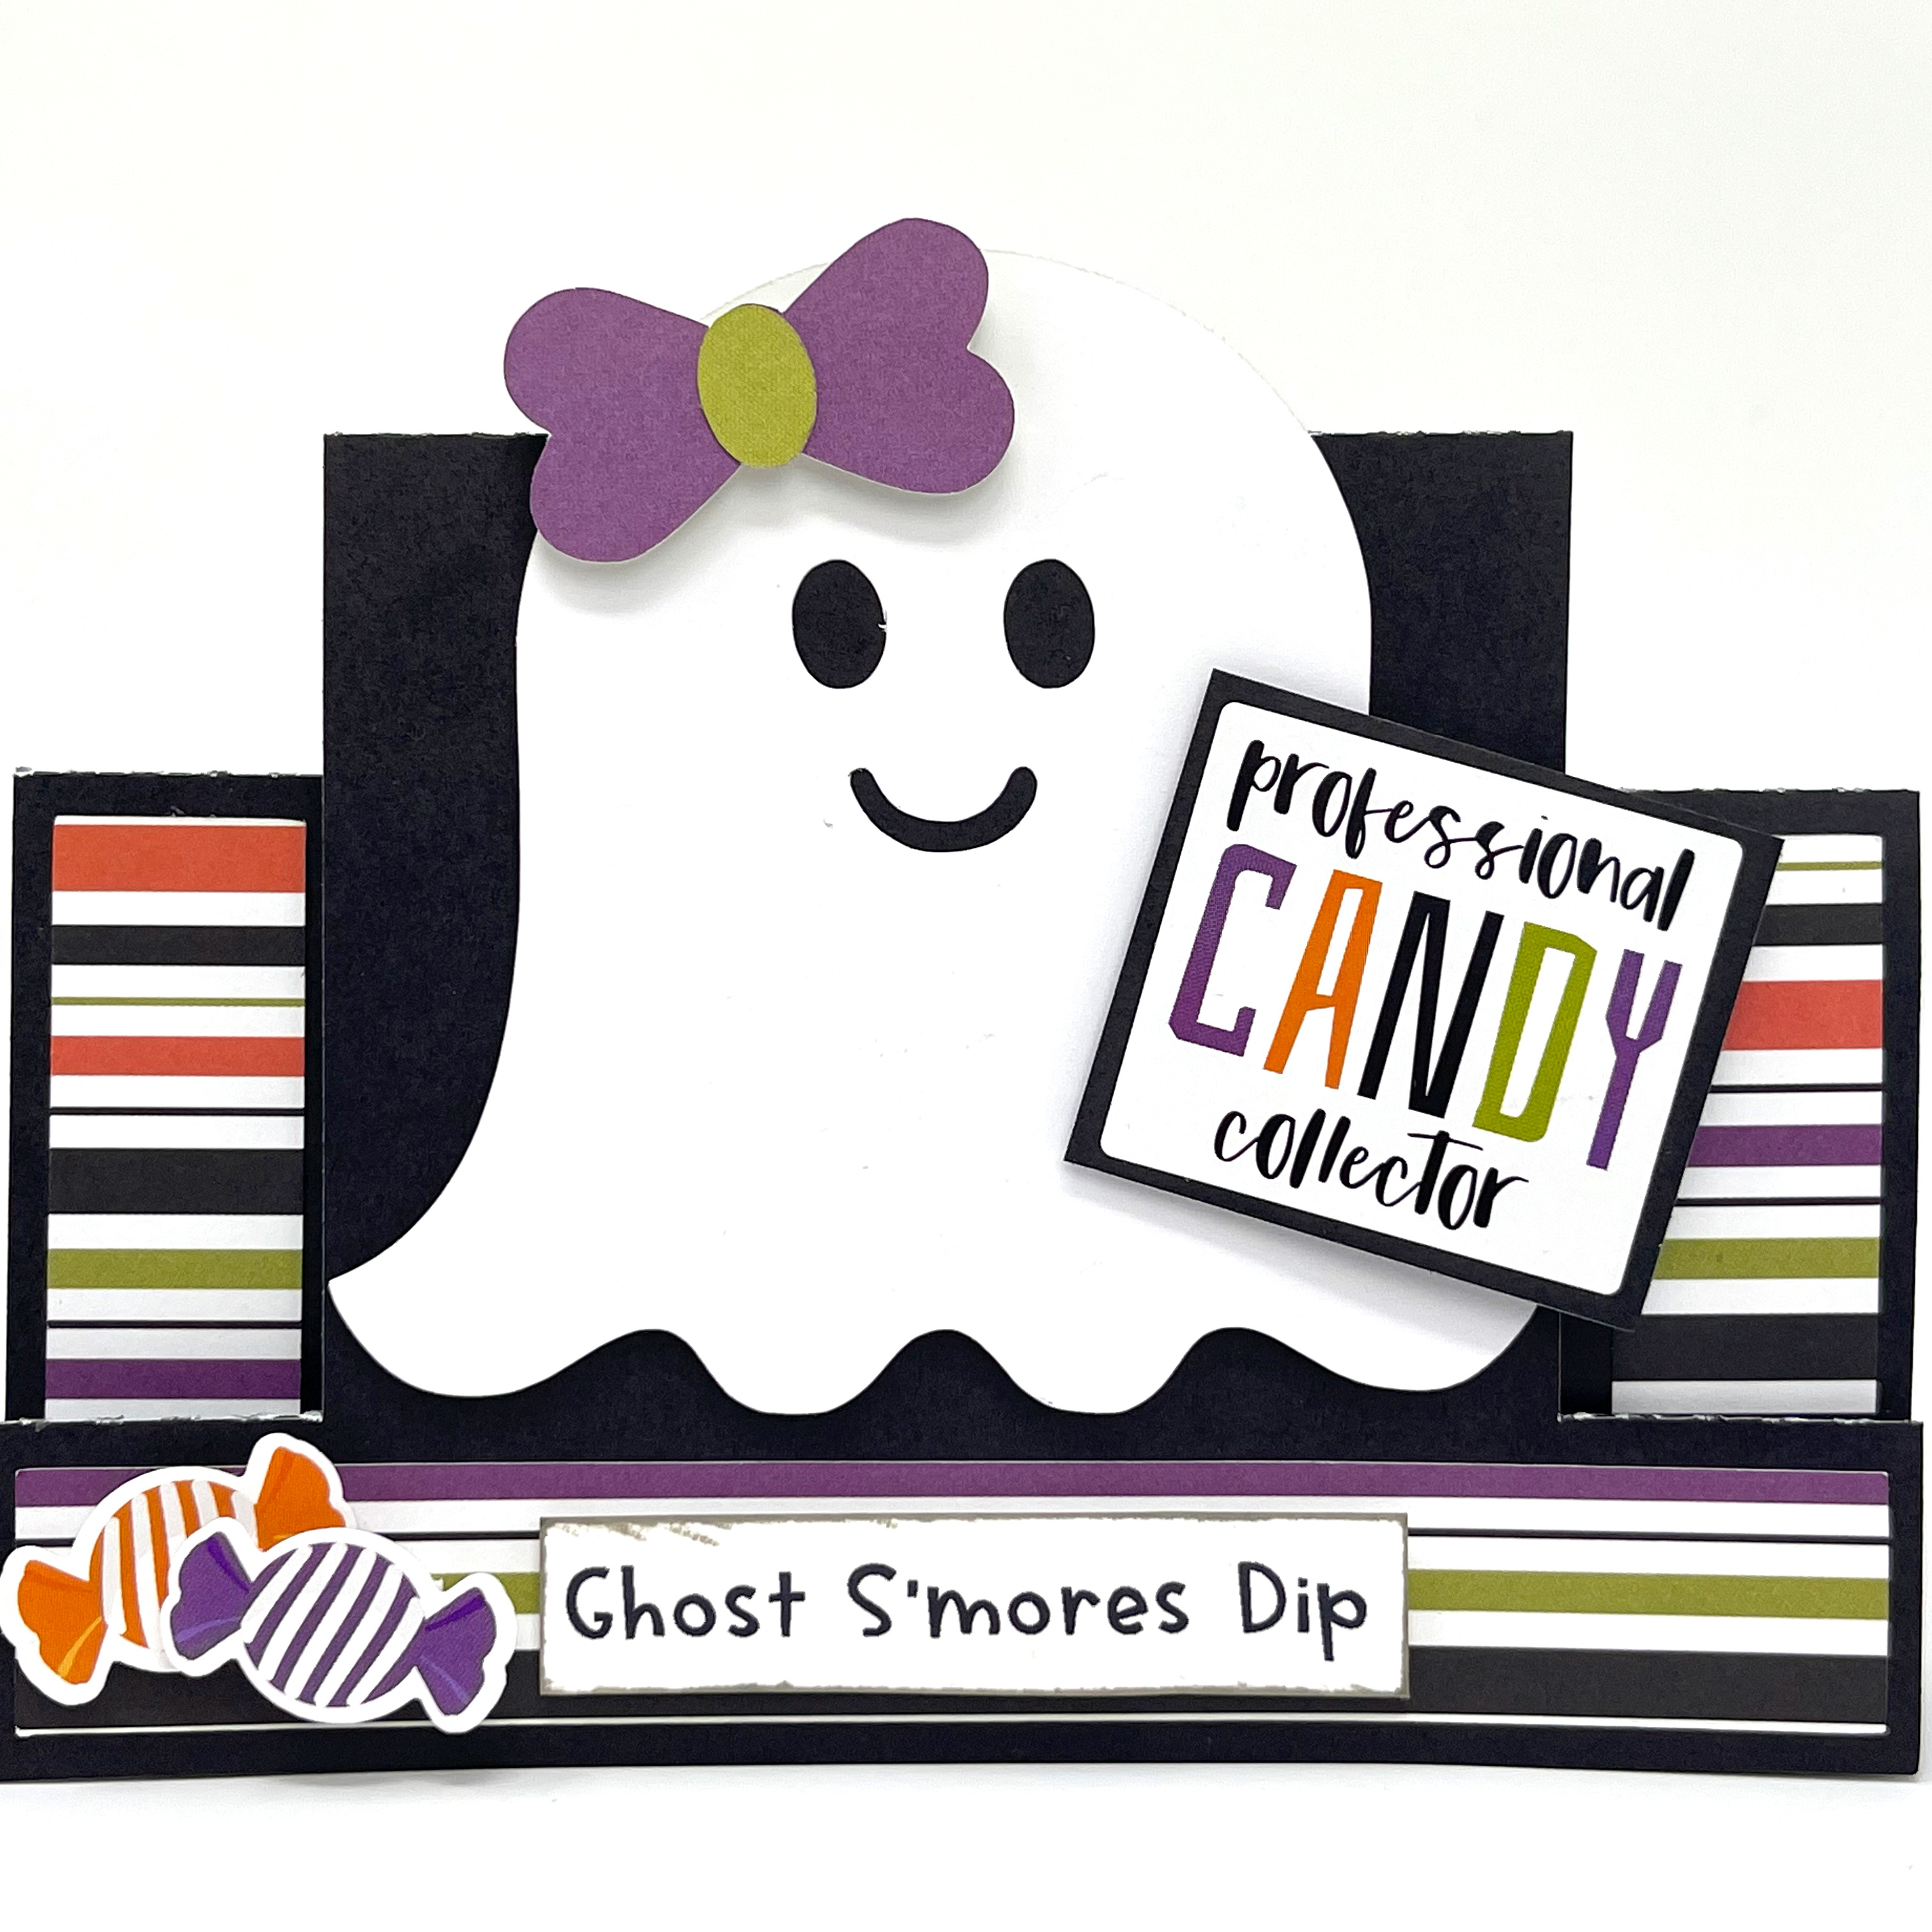
If you’ve read any of my other posts, you know I am a big fan of foam tape. I used foam tape to adhere the focal shape to the cards and embellished the cards using stickers from the I Love Halloween collection. In addition, I used foam tape to adhere the menu labels to the cards.
If you are looking for super cute menu cards for all your holiday parties, I suggest you check out Lori’s collection of center step cards. They make great cards and adorable labels for all your menu items.
Until next time,
Michelle