St. Patrick’s Day Tees

Happy Monday from Las Vegas!! While I’m enjoying some (hopefully) sunshine on vacation, I’m leaving you with these little shirts I made for my grandbabies for St. Patrick’s day.

Baby J (who is actually 2 1/2) will get the little No Pinching shirt and Miss Mary will get the Lucky Little Lady tee.
I used the No Pinching image (SVG, Silhouette) for Baby J’s shirt. I used green and gold glitter iron on for this shirt (which I’ve learned is really hard to photograph).
For Miss Mary’s tee I used the Lucky Little Lady image (SVGSilhouette). I did move the large shamrock on this tee because the only little girls tee I could find had some embroidery on it, so I used the large shamrock to cover that up.
Again, I used some pink and green glitter iron on to make this shirt sparkle.

I hope you enjoy these little tees. Wishing you all the luck o’ the Irish and happy crafting!

Chelsea

Christmas in July Tea Towels


Hi Everyone:

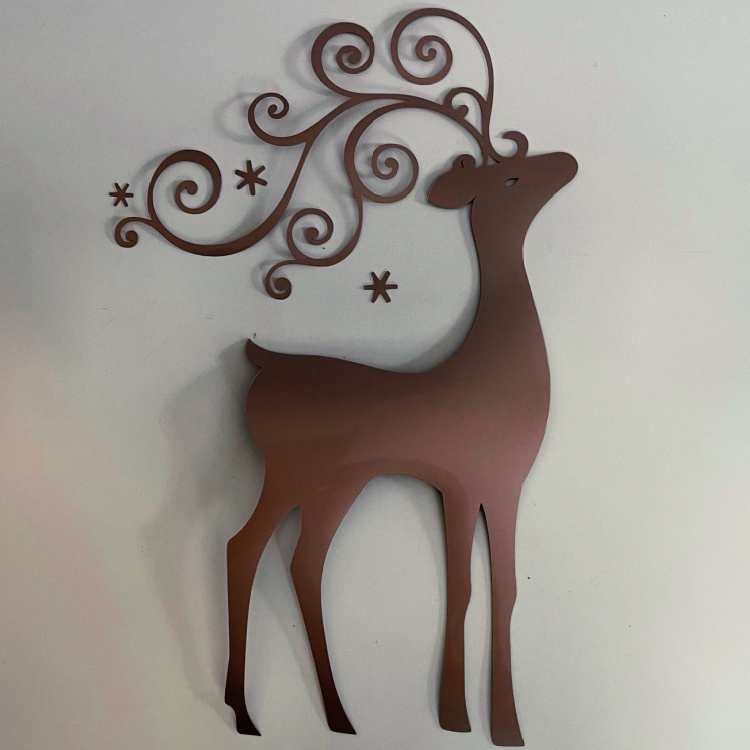
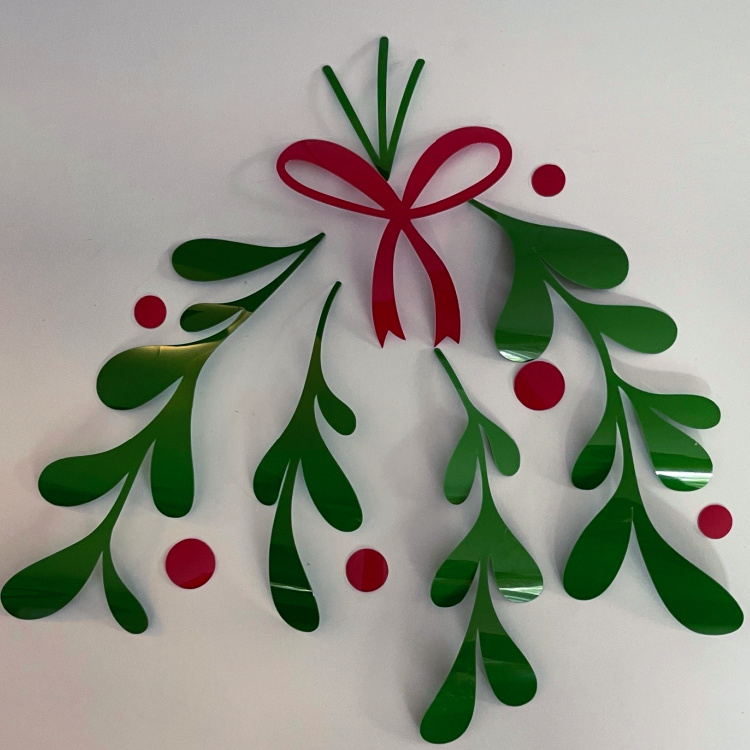
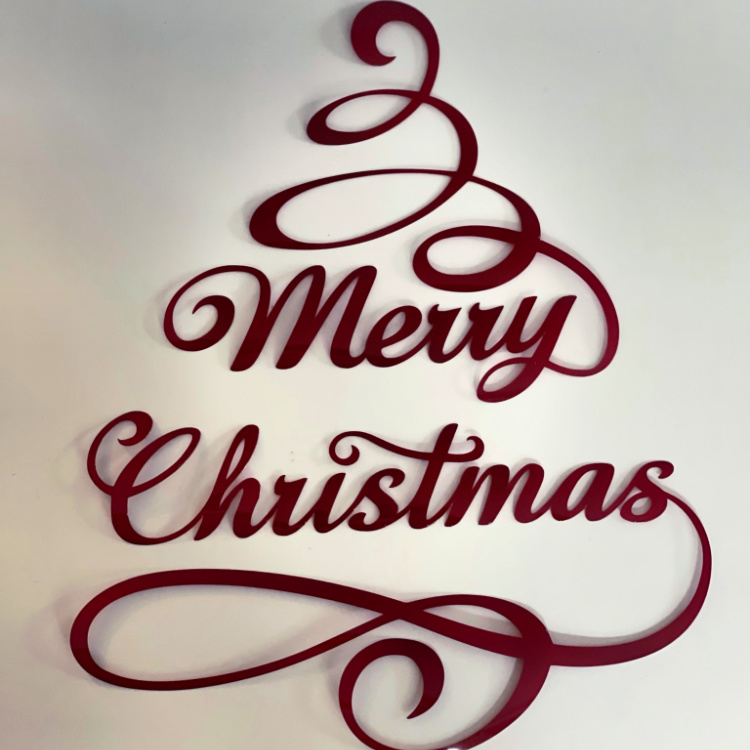
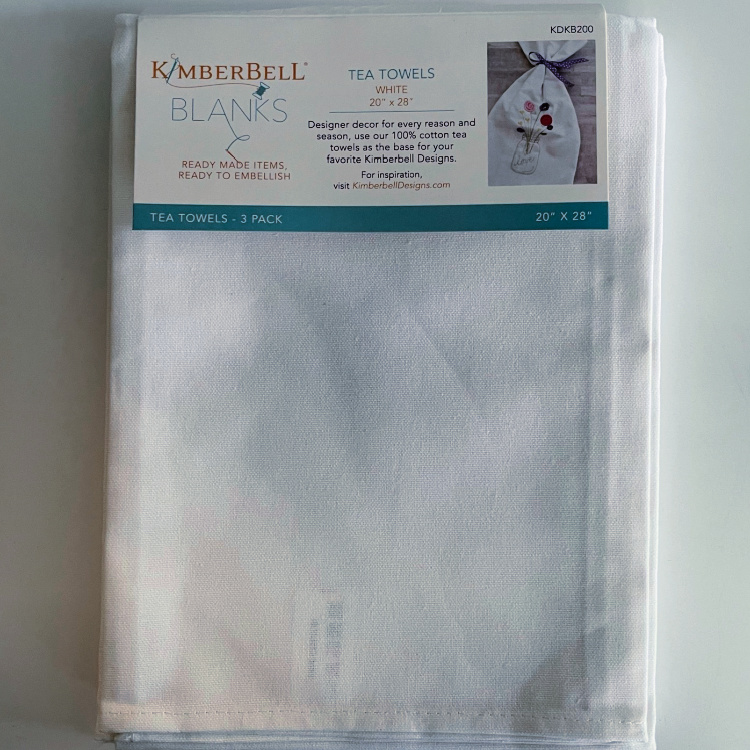
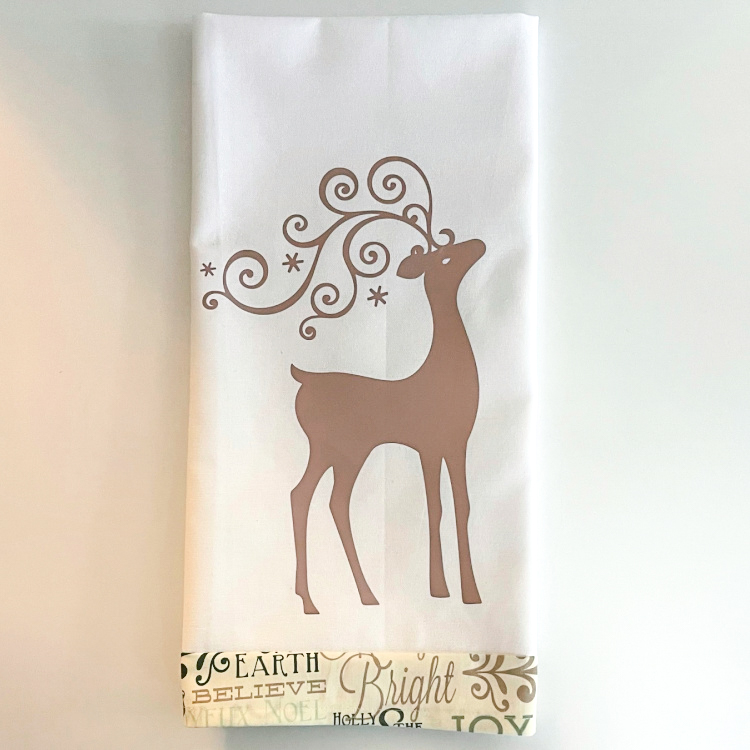
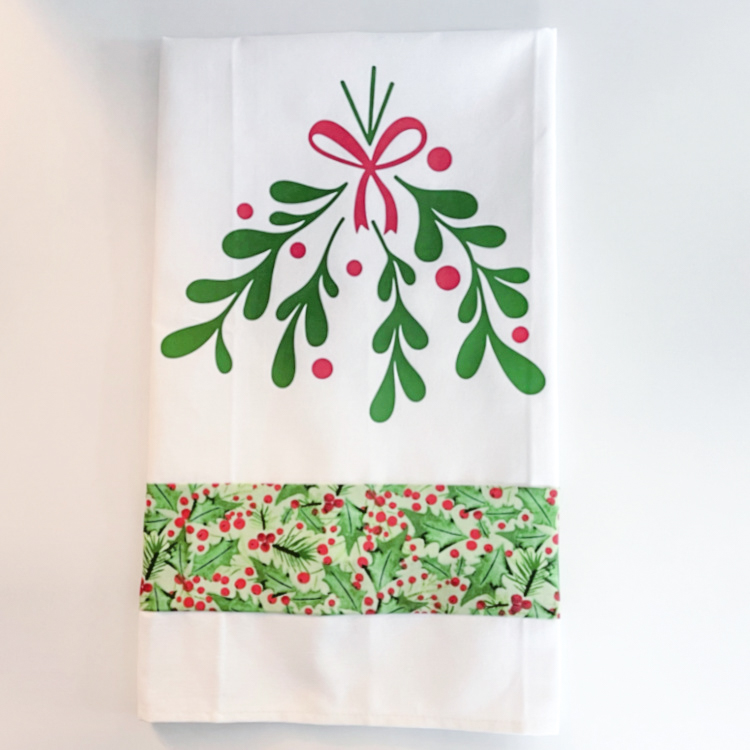
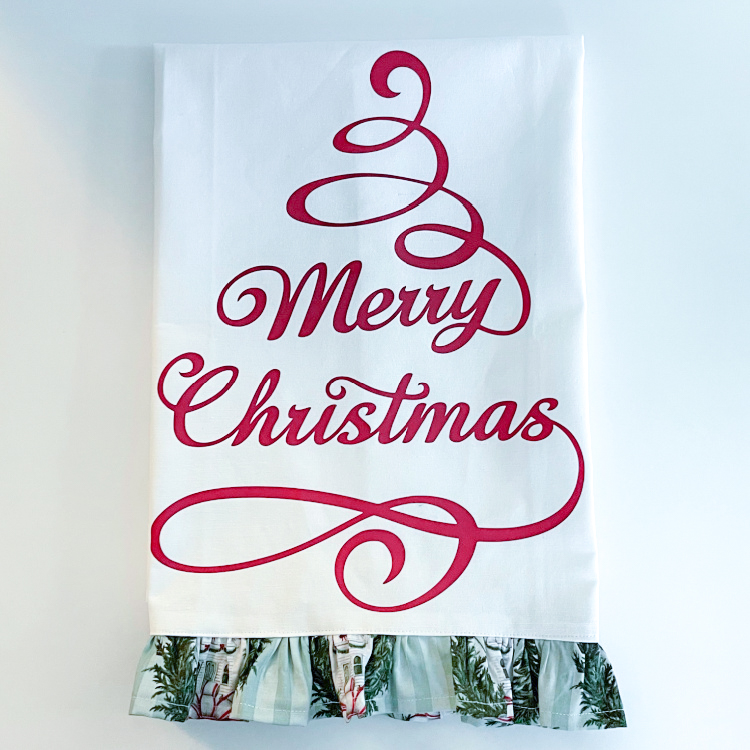
For the first time ever, I decided to start making some Christmas items in July.  I  made these tea towels using three of Lori’s SVG files , Flourish Reindeer (SVG, Silhouette), Mistletoe 2 (SVG, Silhouette) and Merry Christmas Flourish Tree (SVG, Silhouette).  I used some tea towel blanks from Kimberbell and they are of awesome quality.  I tend to display my holiday tea towels hanging from my stove door handle so I planned out my sizing for the designs with that in mind.  I used the Cricut Easy Press to adhere my iron on vinyl designs but you can also use a regular iron.  They come out so beautiful and are so easy to work with.

Below are the photos of the parts to applique on the towels.

Here are the Tea Towels that I used.

Here are the close up photos of each towel.

It feels great to have gotten at least something done for the busy holiday season which will be upon us before we know it.  Check out all of Lori’s wonderful Christmas and holiday cut files and get a jump start on your holiday crafting.

Hugs,

Anita

Baby Shirts with Heat Transfer Vinyl

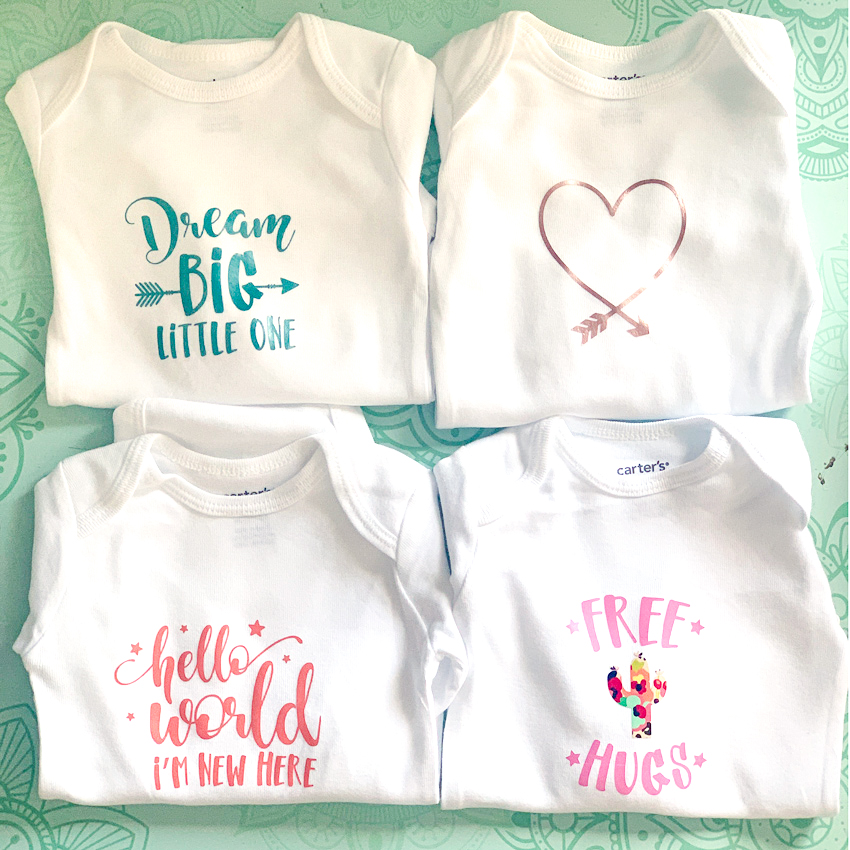
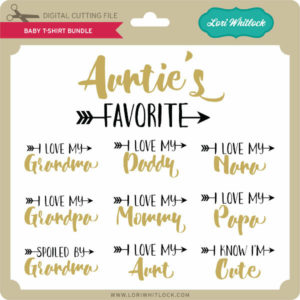
Do you have a new baby to celebrate?  Lori has some great files for shirts for babies.  I made four shirts with Heat Transfer Vinyl.

You cand find the files I used here:  Dream Big–(Silhouette, SVG), Heart Arrow– (Silhouette, SVG),  Hello World — (Silhouette, SVG) andFree Hugs — (Silhouette, SVG).

Some tips when working with Baby t-shirts and Heat Transfer Vinyl (HTV);

1. A good size for baby shirts is around 3 to 4 inches per side.  Resize your images to fit within that space.

2. Mirror image before cutting.

3. Put the shiny side of the HTV down.

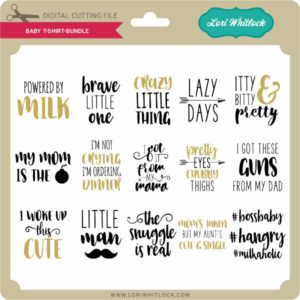
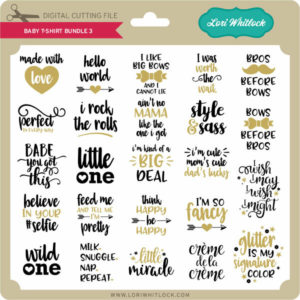
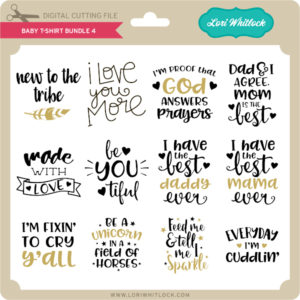
If you need more Baby t-shirt ideas, check out Lori’s other files, she has some great bundles!

Baby T-Shirt Bundle
Baby T-Shirt Bundle 2
Baby T-Shirt Bundle 3
Baby T-Shirt Bundle 4
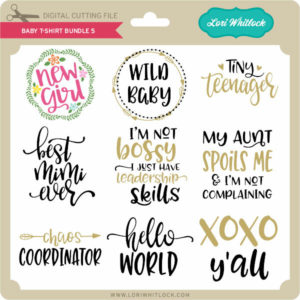
Baby T-Shirt Bundle 5
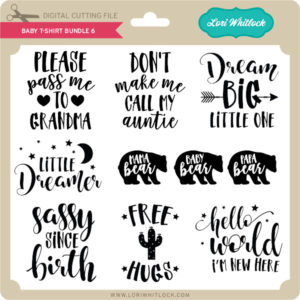
Baby T-Shirt Bundle 6
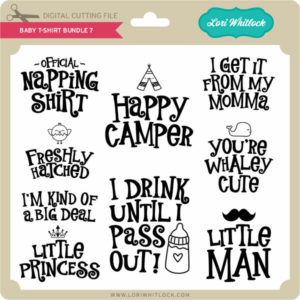
Baby T-Shirt Bundle 7

These files are also available individually in Lori’s SVG Shop and the Silhouette Store.
Have a great day!

Ashley

Halloween Layered HTV Tutorial

Welcome to Tutorial Thursday. Today I am sharing some HTV (heat transfer vinyl) tips with the Silhouette Studio software.  You can also cut HTV with other machines. Here is what we are making!

Let’s get started.  First, find your files and fonts to create your shirt.  I used these files for this shirt:

LW Longhand Font (SVG, Silhouette)
LW Perfect Type Font (SVG, Silhouette)
Feet from Coming Soon (SVG, Silhouette)
Halloween Witch Hat (SVG, Silhouette)
Halloween Bats (SVG, Silhouette)

I typed Kick or Treat, and then added the other elements. In your design software, make a background box that will be the color of your project.  This will help you visualize the colors.
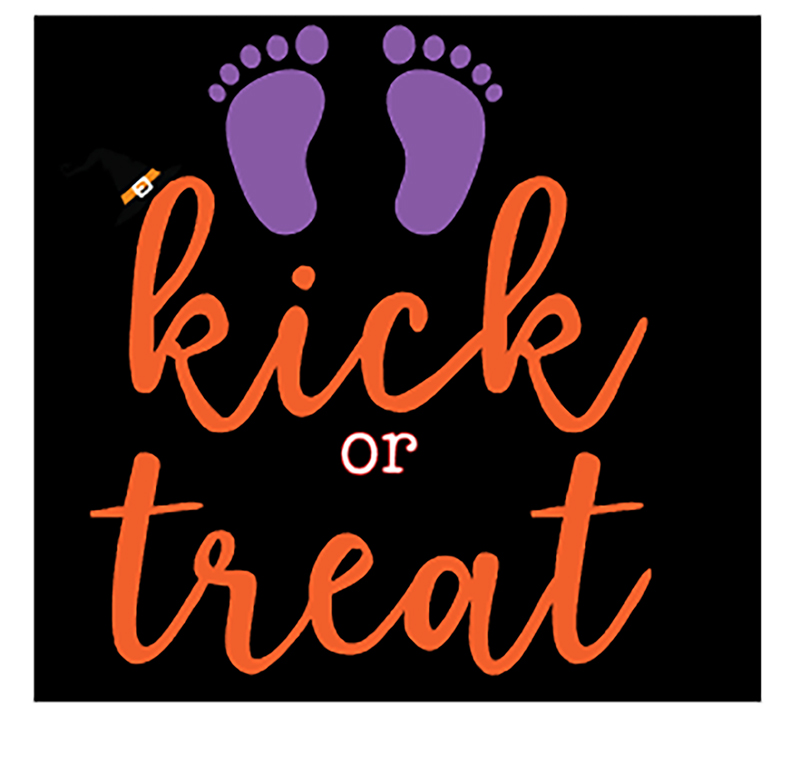
This looks ok, but I really wanted the colors to pop out more from the background.  This is where the Offset feature is used in Silhouette Studio.  I moved the background, and then selected the project. Then I used the Offset function which is the star Icon on the right side menu.  This is the Offset Settings Panel:


For this project I used Offset, changed the distance to 0.085 inches and selected the round option.  Click apply.


In this image, the red outline shows the offset.  Now it’s almost ready to cut.  Now separate each color and flip your project horizontally before cutting. The white offset layer is perfect in helping you line up all your other layers.
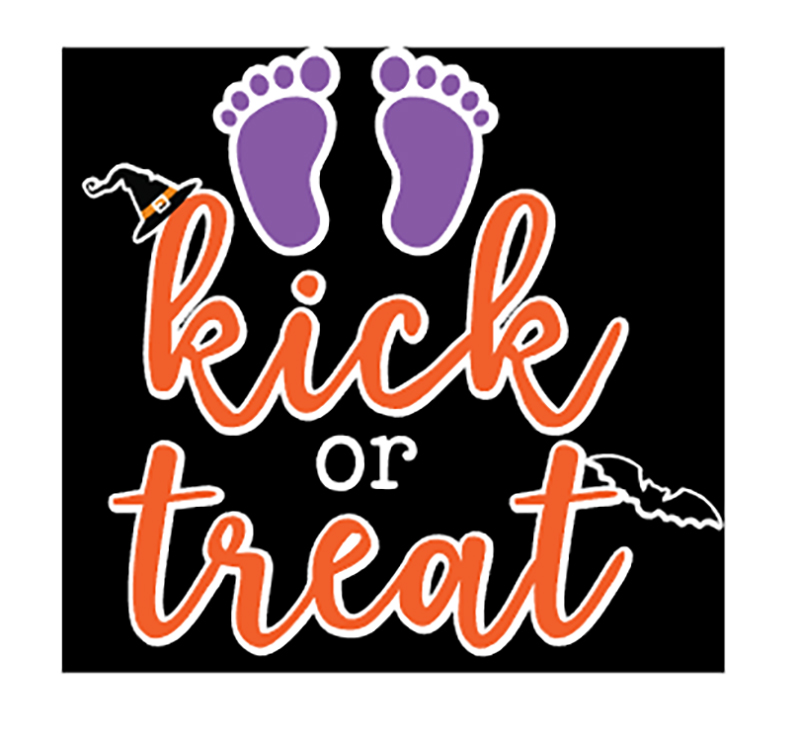
You will apply the HTV to your shirt or project working from the back color to the front with one color at a time. In this project, the first color to be applied is white.  I heat each layer for about 15 seconds instead of the full recommended time.  Then on the last layer, I apply heat for the full recommended time.  In my project the white layer is the largest, so I kept the clear transfer tape and used it to cover the whole project with each new layer. It is such a fun Halloween shirt for my sister!

You can create your own HTV project for less this week!  All SVGs, Fonts and commercial licenses are 30% off when you use code OCT2020 at checkout!

Have a great day!

State Heart Dingbat Tutorial

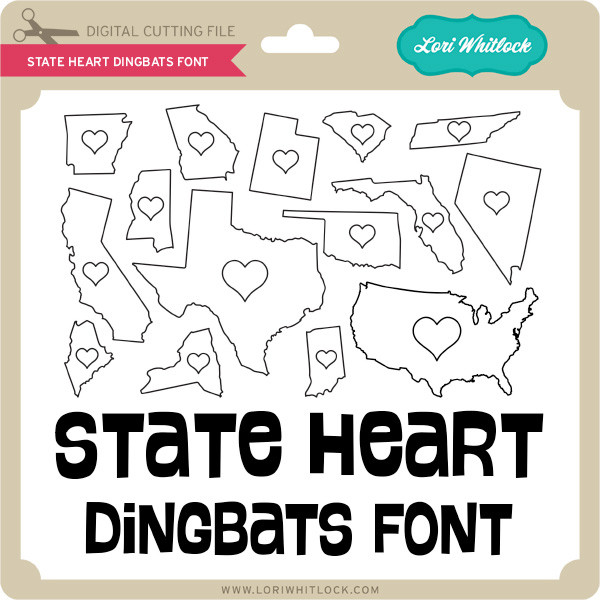
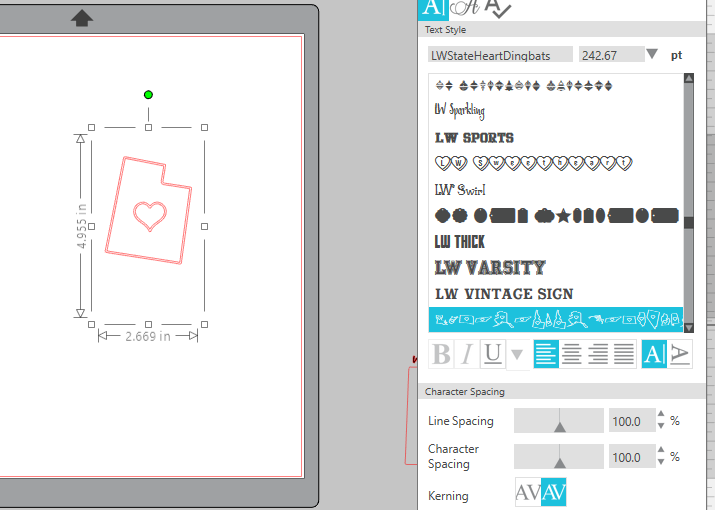
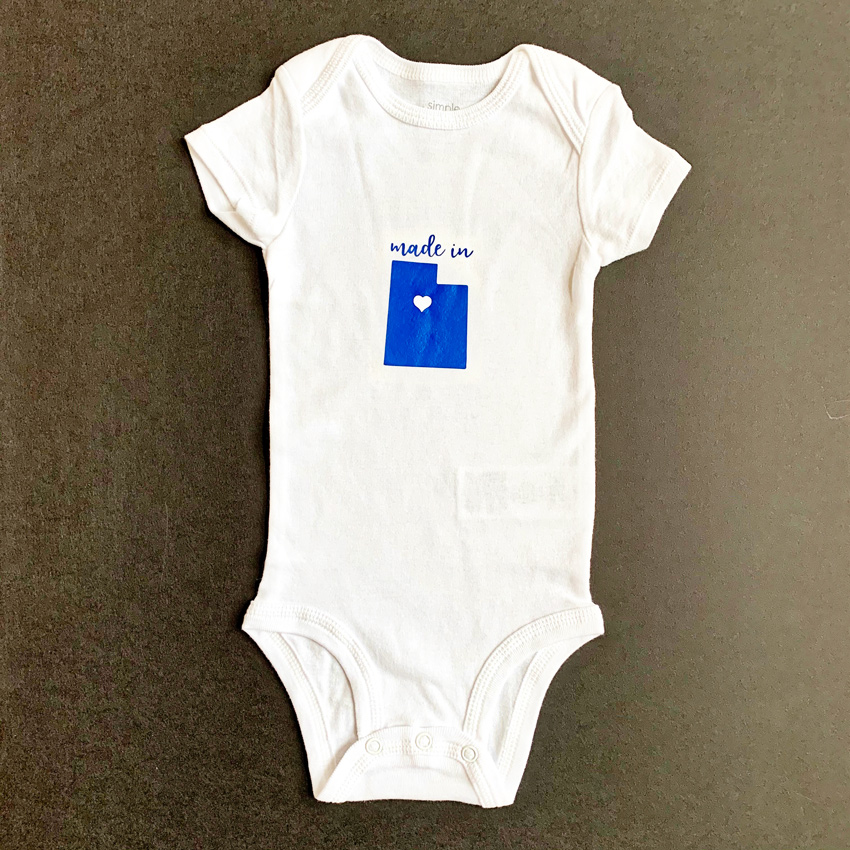
Today I’m going to show you a fun way to use Lori’s State Dingbat Font (Silhouette Store) for a baby body suit.  Start by opening Silhouette Studio and typing a letter using the font.  Most of the States will be their first letter, either lowercase or capital.

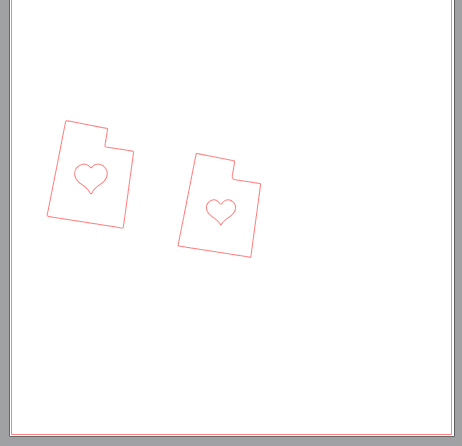
You can see in the above image the state of Utah on the mat, in the font the states and hearts have a double line.  To delete this select your state, right mouse click and then select ungroup, and then release compound path.  Now you can delete one of the outlines of the state and heart.

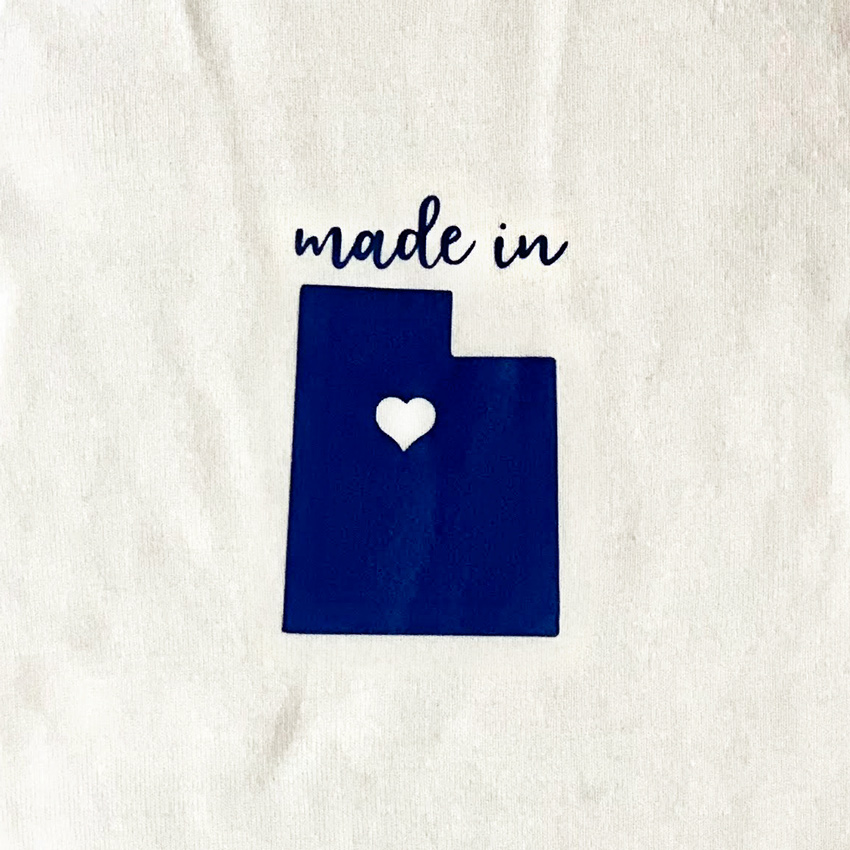
Now resize for the project.  I made the heart a little bit smaller for my project.  For my words  I used another of Lori’s fonts–Longhand, Silhouette Store.  I typed the words “made in” and welded them together and resized.  The design is ready to cut.

Since I used Heat Transfer Vinyl,I cut the mirror image and then applied it to the bodysuit.


This is such a fun personalized gift to give new babies. Enjoy!