A2 Halloween Scene Pop Dot Card with added Shaker Bits

 Happy October!  My favorite time of year for paper crafting…simply love it!  I used an older card of Lori’s and added a bit of fun with shaker bits.  Lots and lots of layer created with pop dots and just plain Halloween fun!

A2 Halloween Scene Pop Up, Silhouette Store


Start with cutting all your pieces. I cut all the pieces white but then changed my mind.  So maybe layer it a bit with different colors and ideas before your start.

1 and 2~  All of my pieces cut
3~ adding the diecut pieces
4~where I switched to a green back ground
5~just zoomed in so you can see this layer


This next set is how I created the shaker frame.  I simply cut a bunch of layers of white with my Silhouette.  The frames are 4×5 and my transparency piece is just slightly smaller.


 1~ just the frames cut
2~showing the frame and transparency
3~gluing the transparency to 1 frame piece
4~adding more layers of frame and dimensional strips of adhesive
5~showing the depth of the frame


1~Start by adding the green piece with the tombstones to your card base, then the haunted house layer.
2~Next for the fun part, dump in your shaker bits.
3~add your frame with the window to secure all those bits in
And last, add your last layer of paper with the spooky tree.


Next, add your embellishments and just like that you have a spooky scene with added fun!


~Cathy
 

Halloween Scene Decor


Welcome to my  Thursday Tutorial !

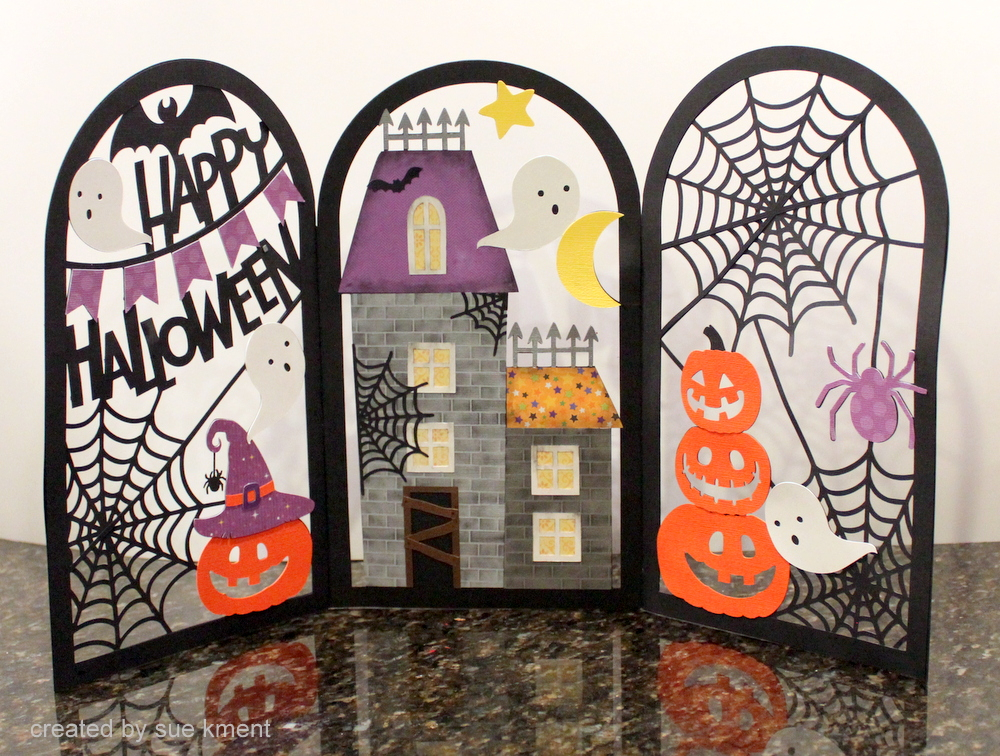
We are so close to Halloween and I’ve always wanted to make this Halloween Scene Decor file (Lori Whitlock Store or Silhouette Store)-so here it is. It’s actually very easy but it is a decor file so it is much bigger than normal creations.


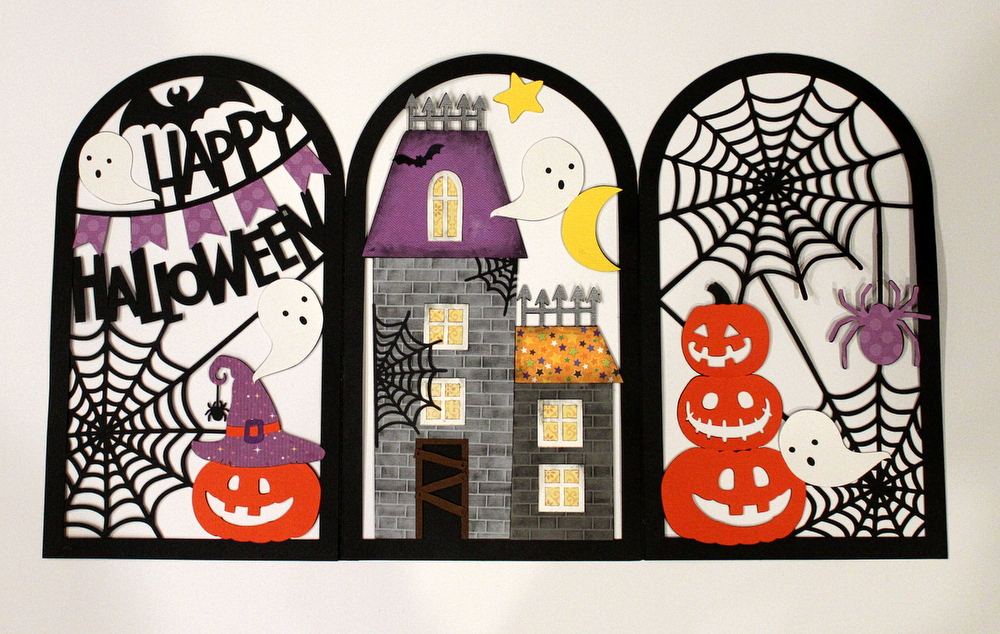
Here it is all done! It’s over 18 inches long and very cool!

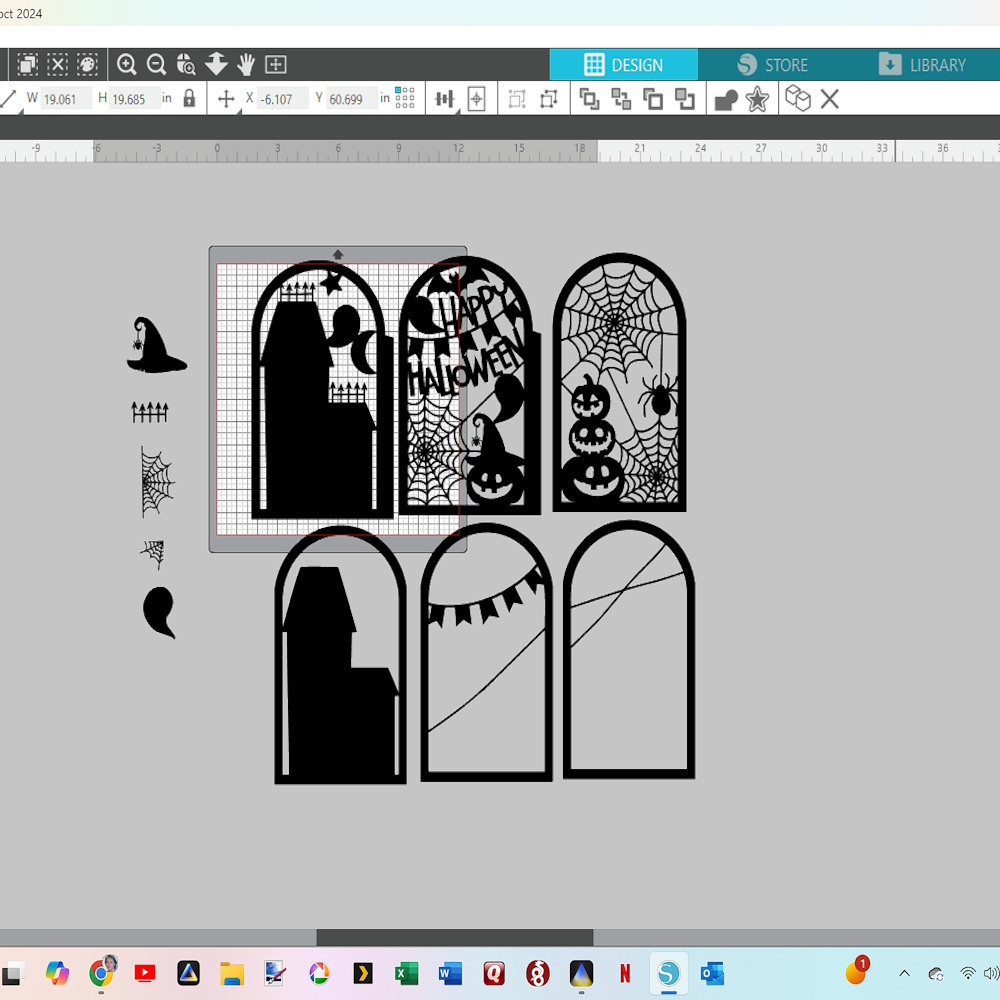
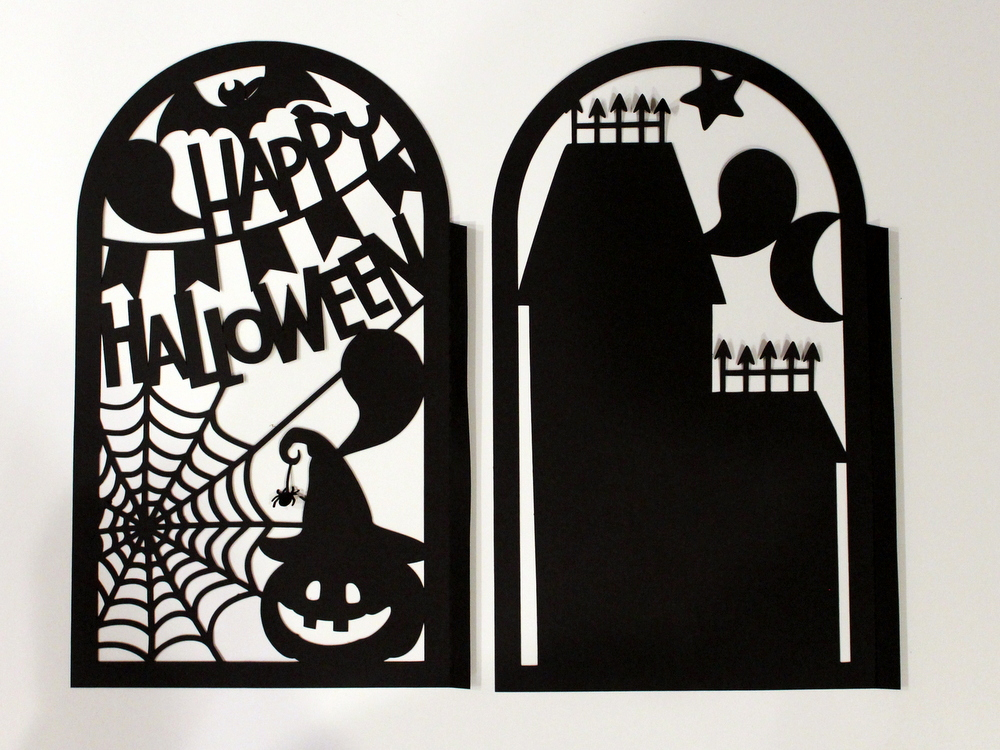
Here you can see the six panels. The bottom three panels are glued on top of the main panels.

You will cut 6 panels with different scenes. They are big–11.5 inches tall and a bit over 6.5 inches wide for each panel. Plan on using 6 pieces of black cardstock with extra left for other projects.  I used Michaels paper  65lb cardstock because it cuts details so well, but it wasn’t really strong enough for this stand up scene. My solution was to cut 3 extra panels for a bit more extra strength. I would suggest using heavier paper and all will be good!

You will glue the three full scene panels together. Two panels have a tab. Glue those together and then add the third panel. I would then glue the other three top panels to the main panels, making sure to line up the elements.

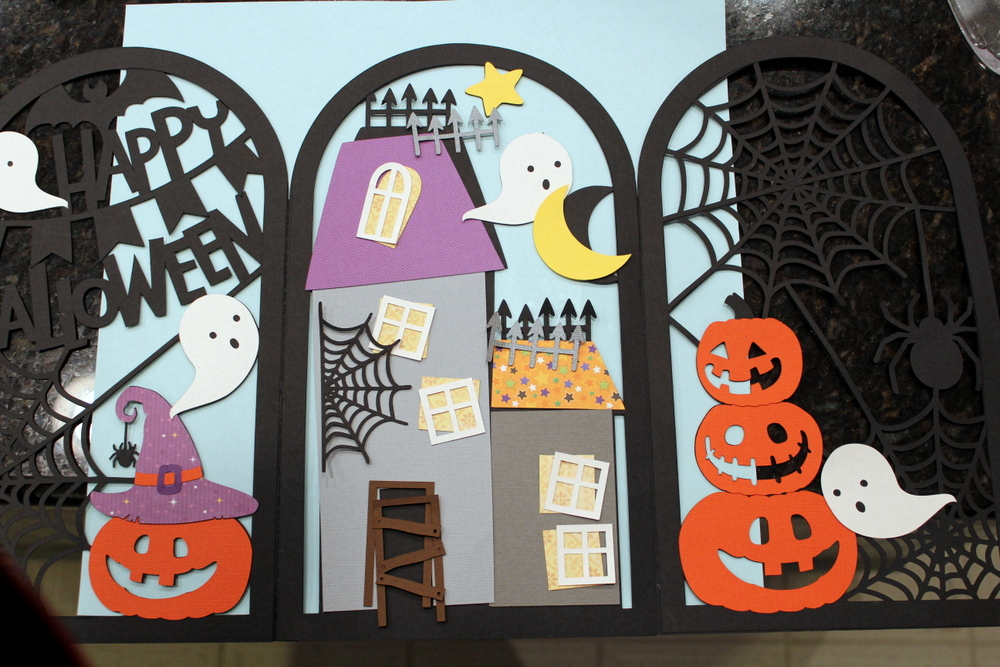
You can cut the top panels different colors but I stuck with all black for the panels and changing up the colors for the paper piecing. You can see all the pieces laying on the glued panels so you can see the placement .

Here you can see where all the pieces should be placed.  I did cut a purple spider for that third panel for a little more color balance. To isolate the spider I made a copy of that panel (in the Silhouette  software hit the Ctrl key and arrow key to make a copy of the selected piece you want) and then I used my knife tool and cut it out of the panel. A little extra trimming with my scissors  after it was cut and I was ready to add it to the panel. My favorite pieces of this file are the little brown door boards. They even have itty bitty nail holes at each end! Such detail!

I also used a brick stencil on my buildings to make them look like haunted castles. Scuffed up the rest of the pieces with black chalk and then glued them on. I found a little black bat on my floor so had to add that LOL!  I have a lot of Halloween things floating around. Ha! I think it would be fun to add velum behind each panel and then add lights behind it…I might still do that!

I’m excited to add this to my Halloween decorations-it will look spooky on my mantel!

Sue

3D Pumpkin Haunted House Tutorial

Hi everyone!

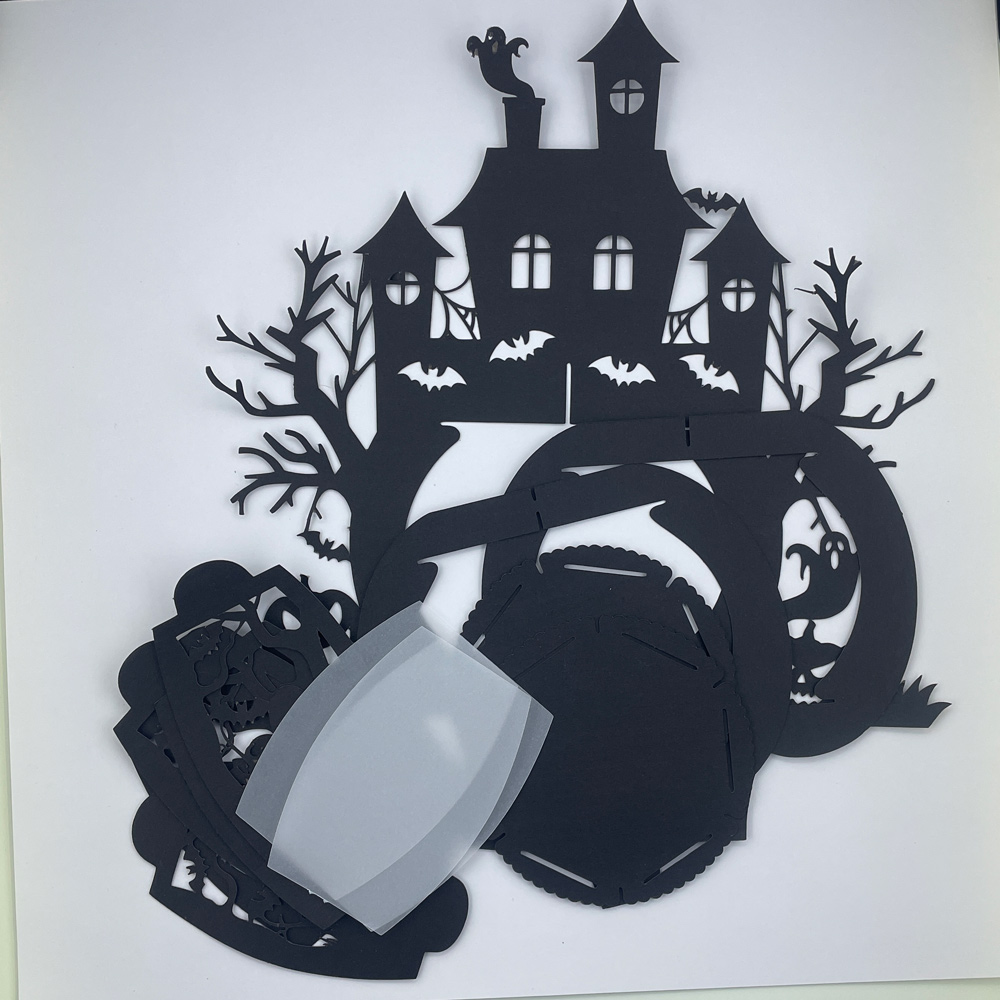
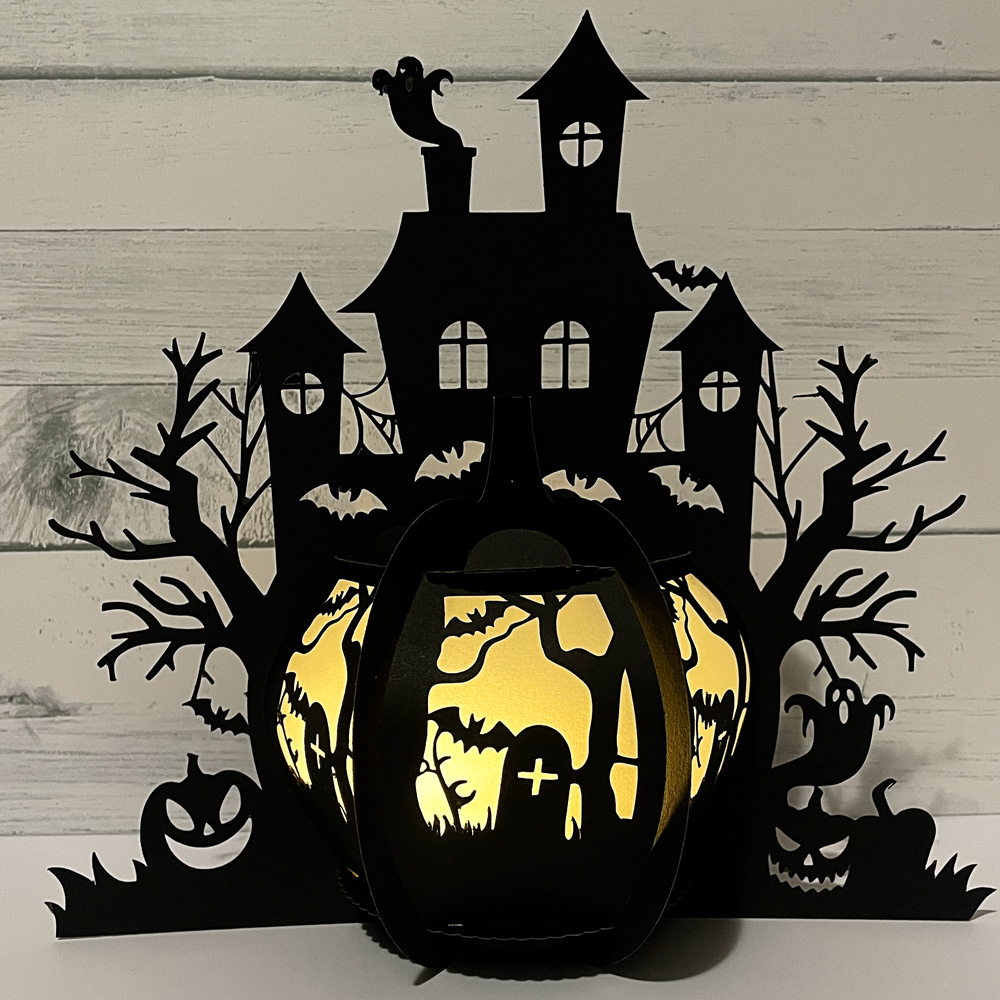
You probably saw these great 3D pumpkins in the shop. Today I’m sharing a tutorial to put them all together.

3d Pumpkin Haunted House (SVG, Silhouette)

1. Cut out all the pieces.

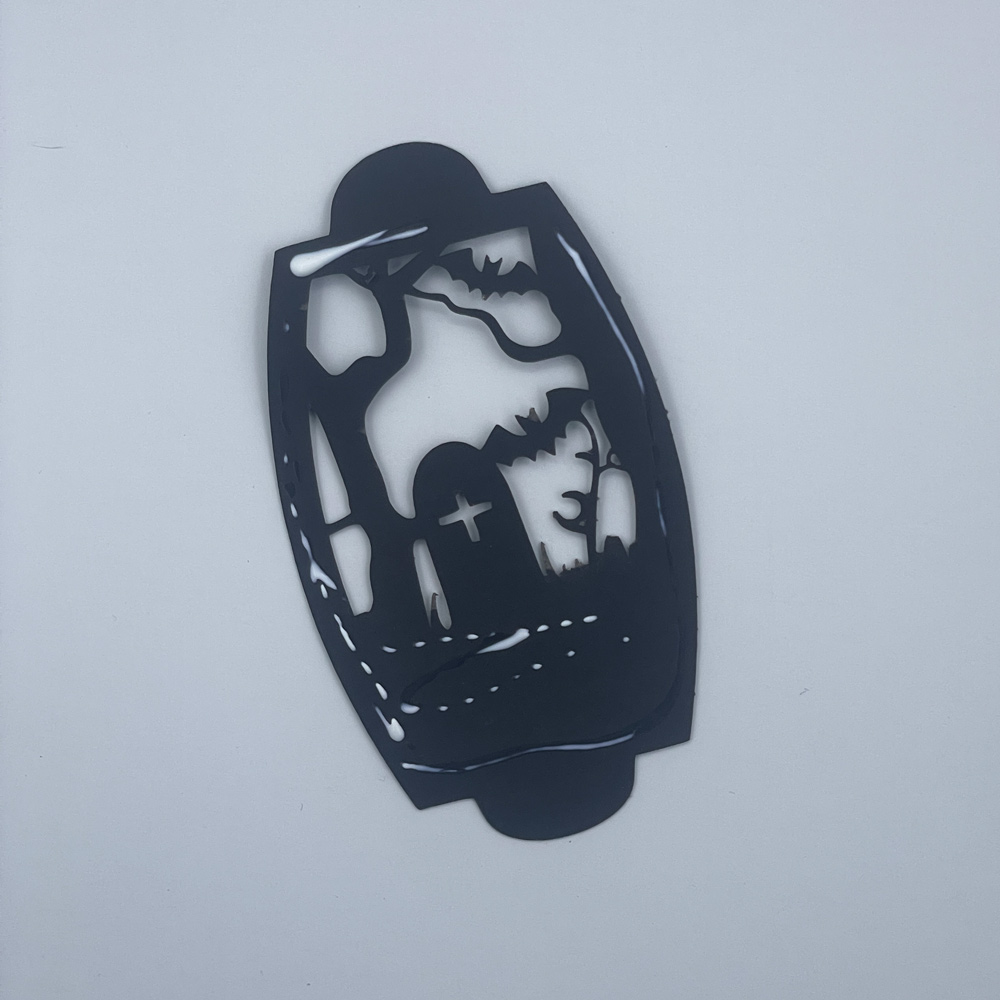
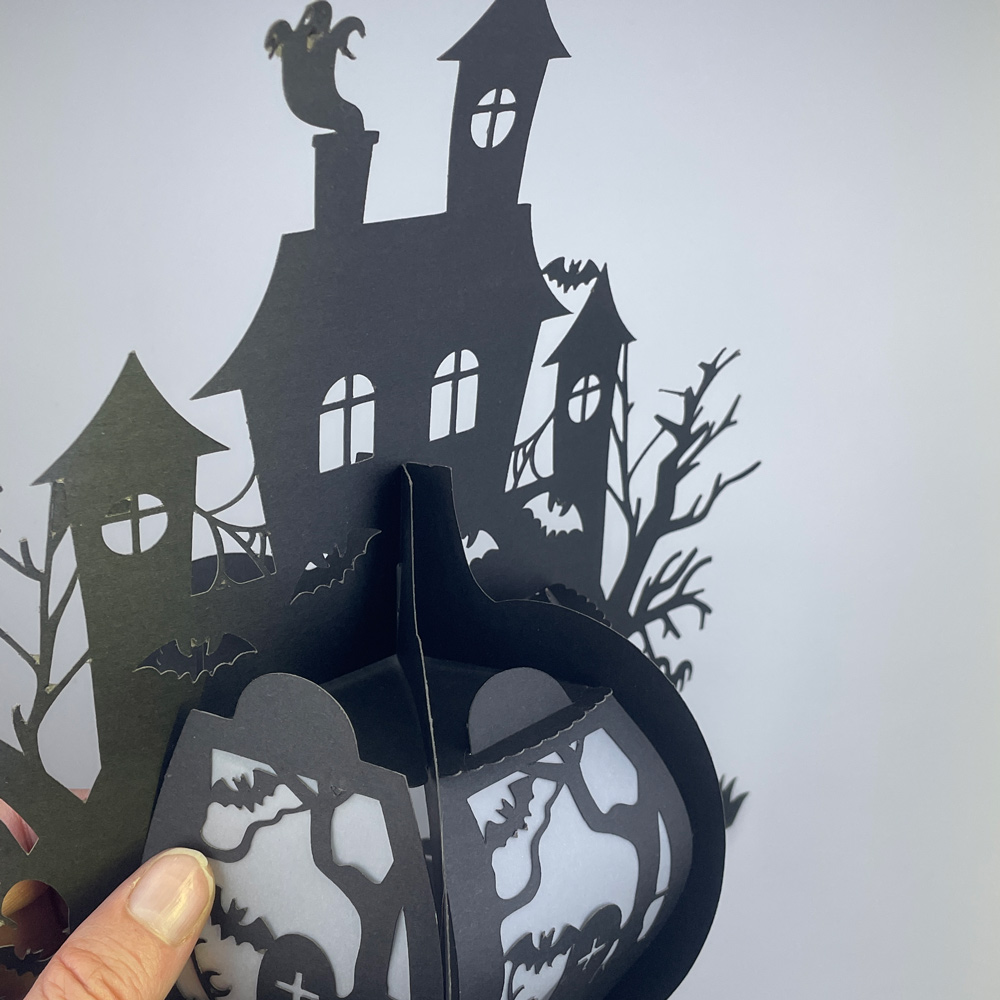
 2. Apply adhesive to the panel, and adhere the vellum pieces to each panel.
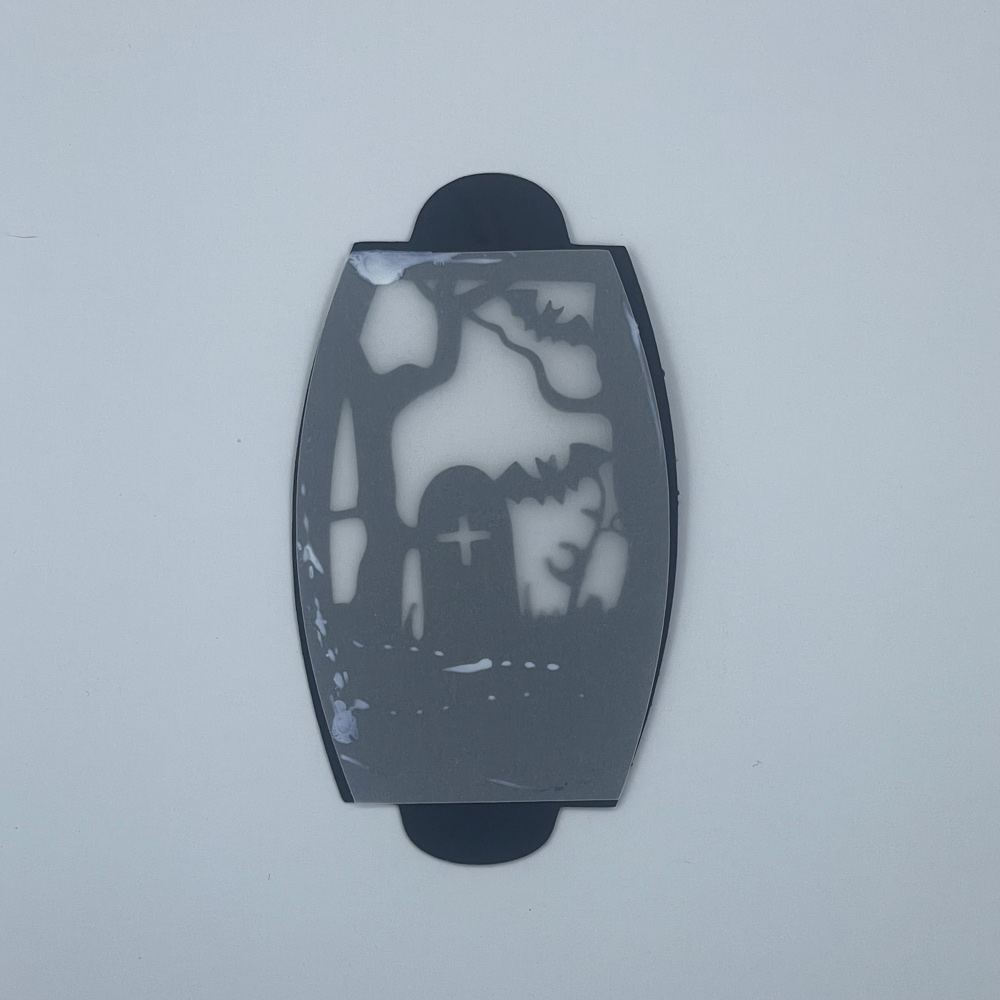
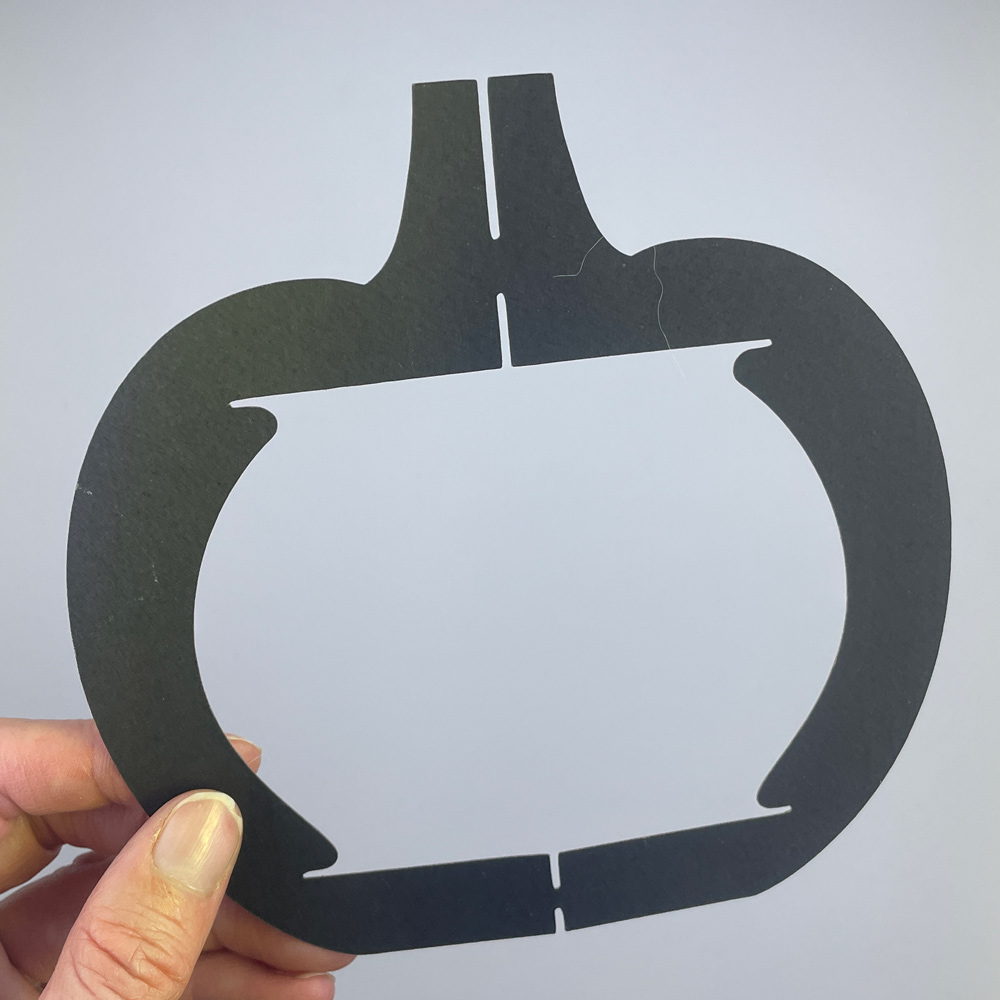
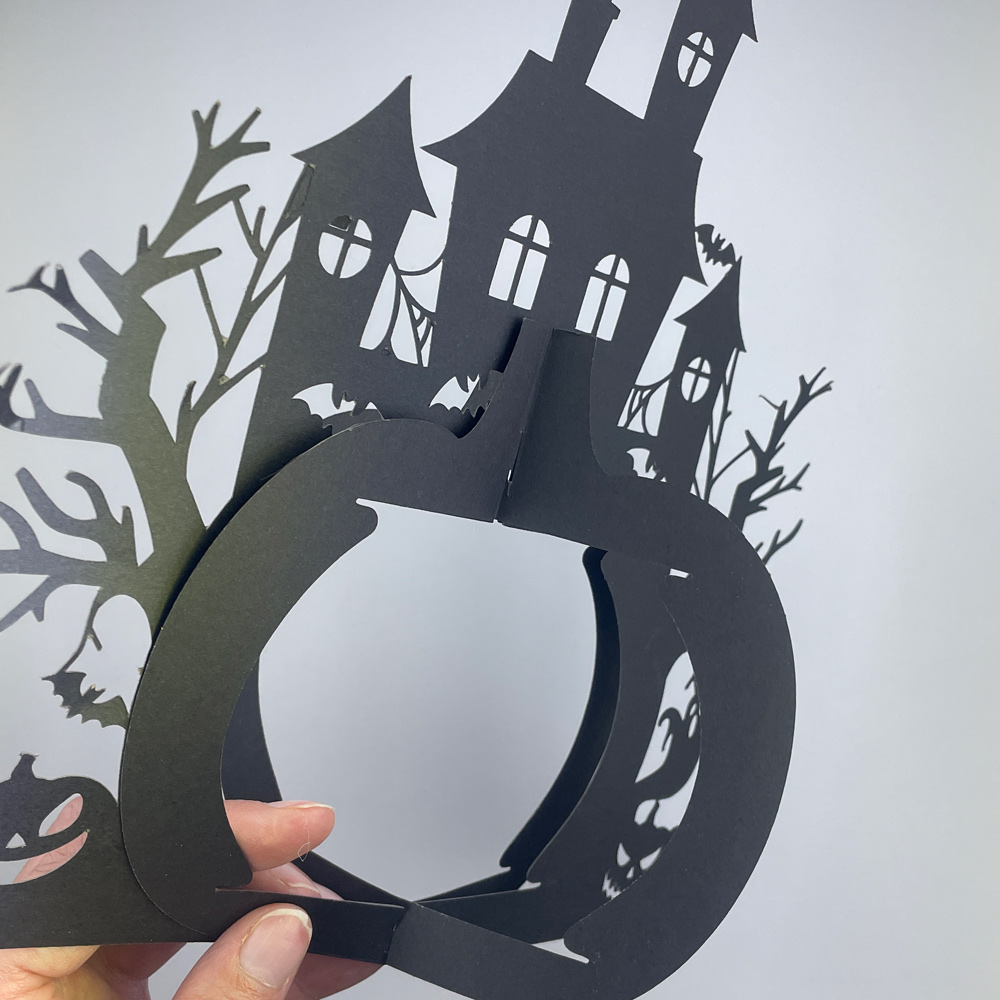
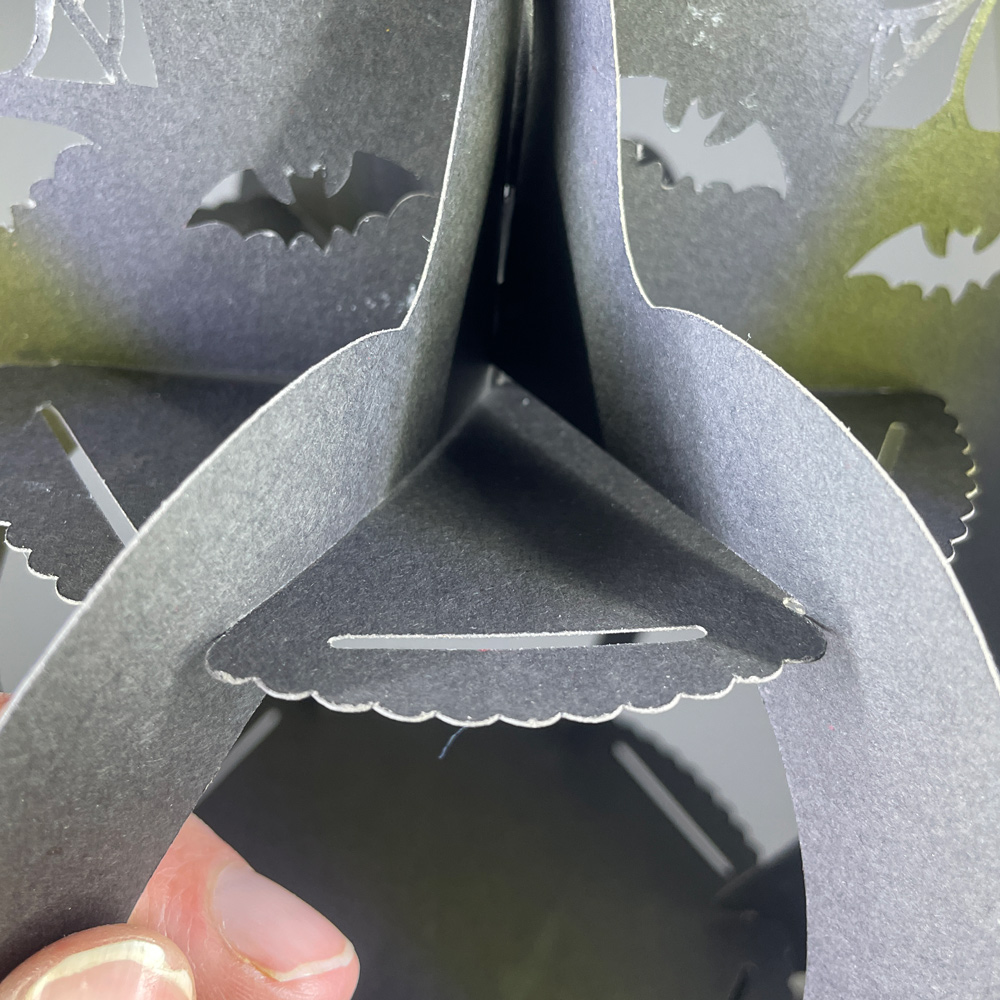
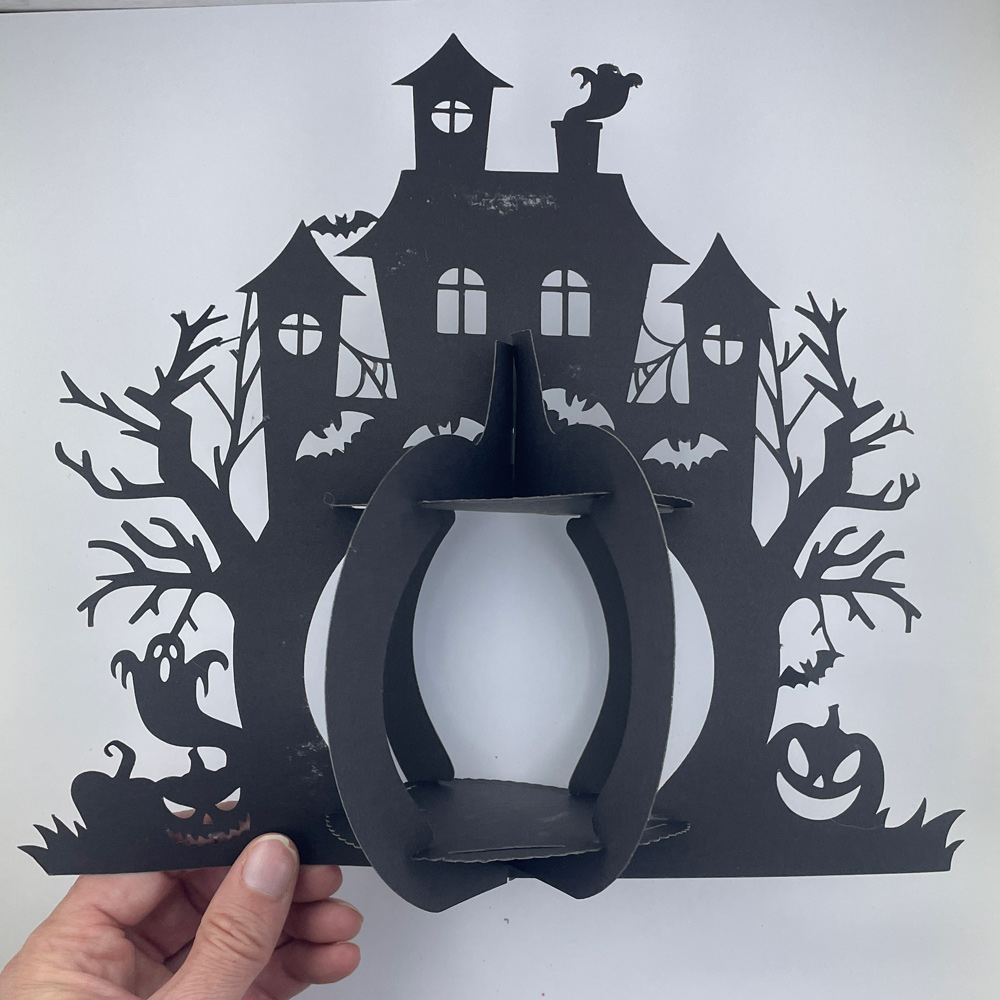
3.  Attach the pumpkin and haunted house pieces together by lining up the notches.  You will first use this piece with notches on top and bottom.


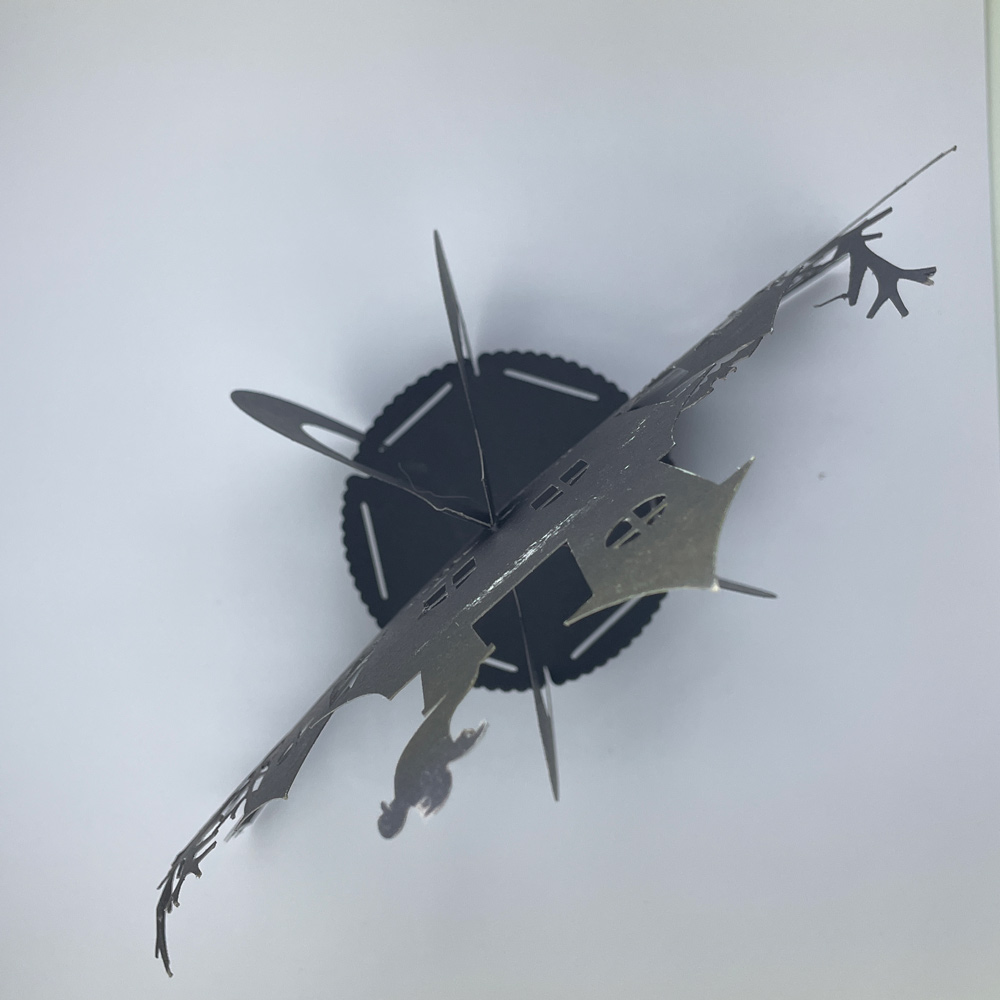
Top View

4. Now install the top and bottom black circles.  Be sure to securely line them up with the notches in the pumpkin pieces.

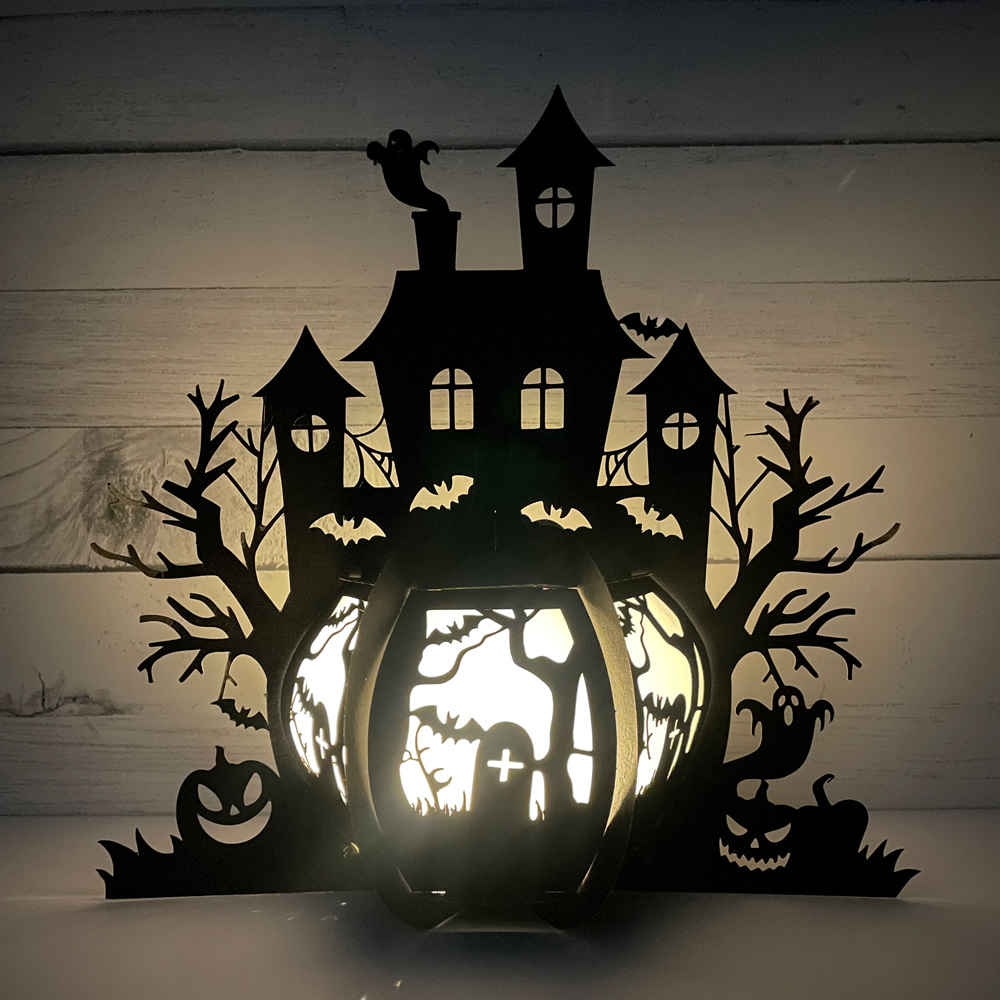
5. Now install all the panels. Be sure to tuck in a tea light or fairly lights.

And now you have a great decor piece.  The house looks good from both sides, so it is a perfect table piece.

Take advantage of the sale, and add these 3D pumpkins to your stash.

Have a great day!

Ashley

Haunted House with Guest Designer Michelle Gallant

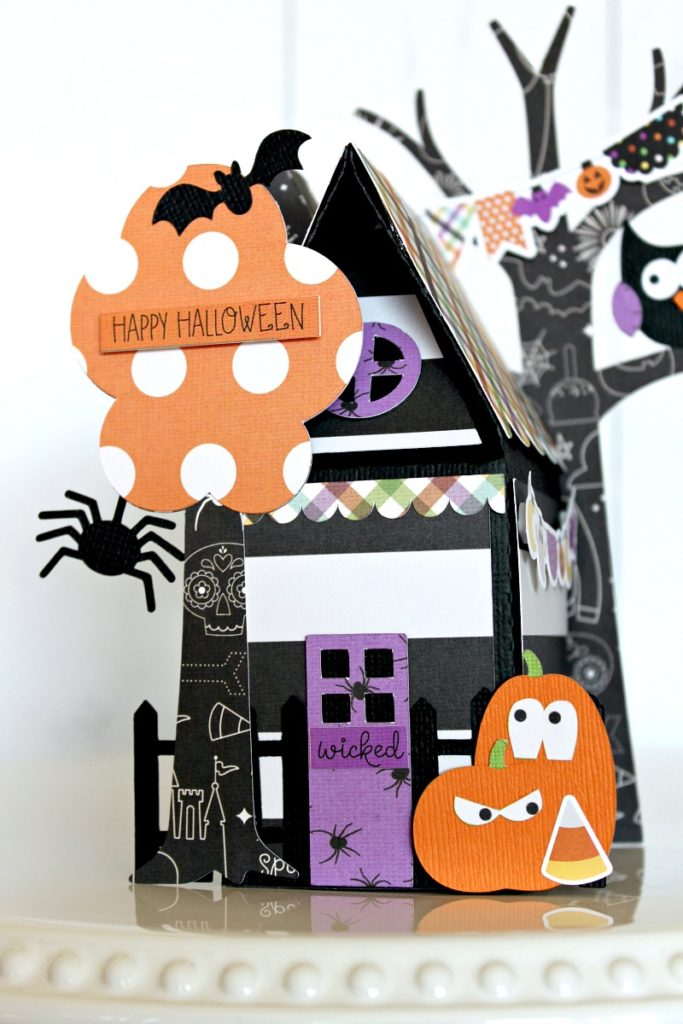
Hey everyone, Michelle Gallant here today sharing a sweet little Halloween project using the Haunted House Box 2 file (SVG, Silhouette) and the Say Cheese Halloween collection from Simple Stories.

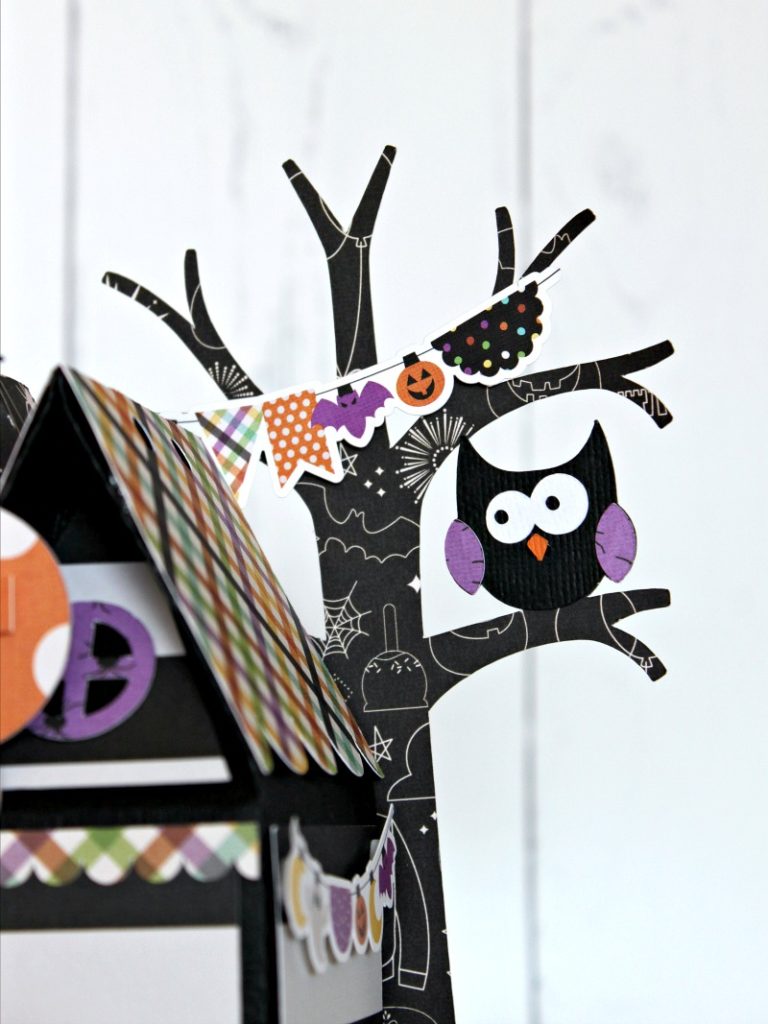
This little cut file has so many cute details. A picket fence, door, window, pumpkins, bat, spider, and my favorite…trees!  It also has 2 little holes in the roof in case you want to hang it.
How cute is this little guy?  I love his wonky eyes! lol
Thanks for stopping by!
Michelle