New Impossible Cards with Coordinating Treat Bags

I have some new Halloween Impossible Cards this week, each with a coordinating Treat Bag!  They would make great gift sets for your favorite goblins!  Take a peek…

Impossible Card Black Cat (SVG, Silhouette – Coming soon)
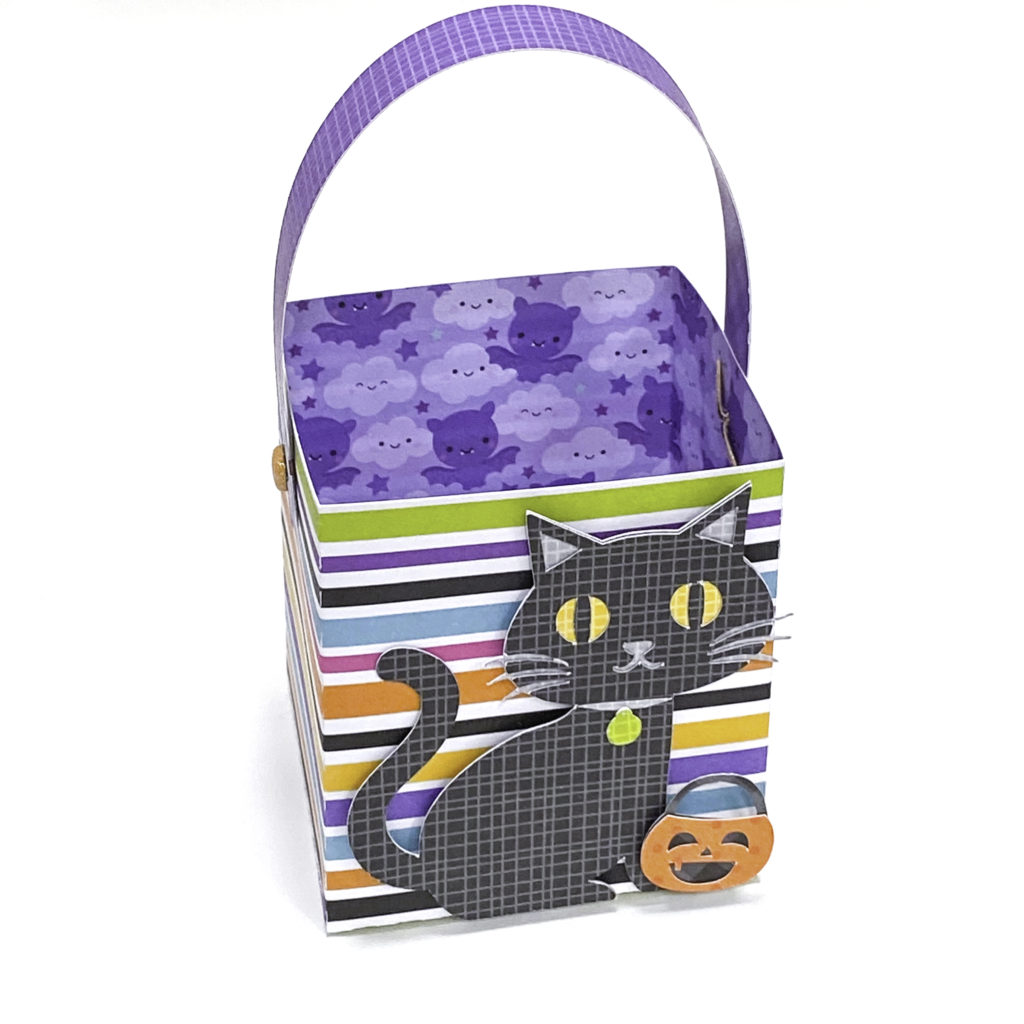
Treat Box Black Cat (SVG, Silhouette – Coming Soon)


Impossible Card Frankenstein (SVG, Silhouette – Coming soon)
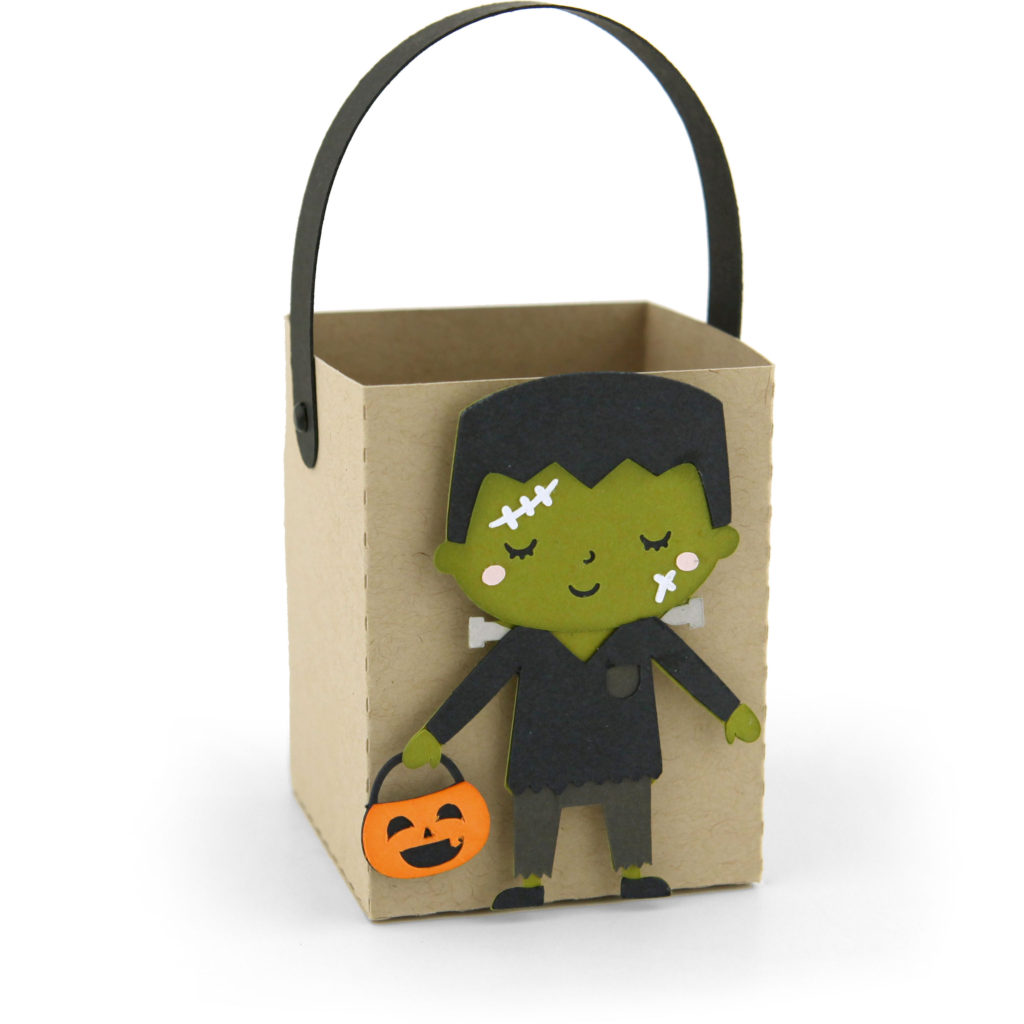
Treat Box Frankenstein (SVG, Silhouette)

Impossible Card Frankenstein’s Bride (SVG, Silhouette)
Treat Box Frankenstein’s Bride (SVG, Silhouette)

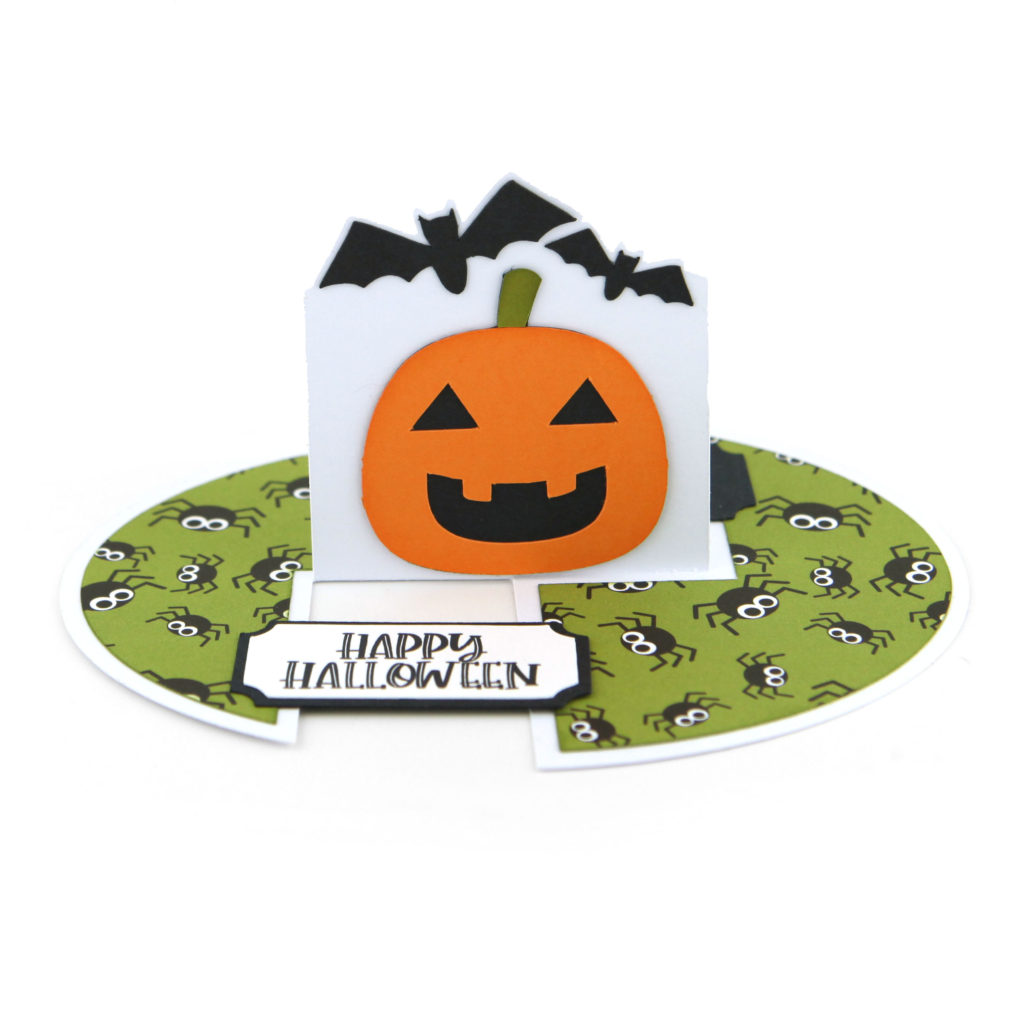
Impossible Card Pumpkin (SVG, Silhouette)
Treat Box Pumpkin (SVG, Silhouette)

They also come in a bundle here if you can’t decide which is your favorite! Even better, these files and all others in the Lori Whitlock SVG Shop are 30% off through Saturday when you use code OCT2020 at checkout!

Have a great day!

Ghost Gift Set with Corri

Hi everyone!  Corri here today sharing a cute gift set for Halloween.  I made the Ghost Center  Step Card (Silhouette, SVG).  You can find a tutorial for this card here.

I used paper from the Echo Park – I Love Halloween Collection that Lori designed.  The card comes with a print and cut sentiment but I used one from the Frames and Tags that match the collection.

I also made this cute coordinating Handle Box (Silhouette, SVG).

I plan to fill this little box with some goodies and mail it off along with the card as a treat for one of my college kids.  They love getting surprises.

Thanks so much for stopping by!

October Mini Album

Hi there crafty friends! We made it to October! Woohoo! Time for cooler weather, pumpkin everything, and spooky fun. The last few years I have created an October daily album for all the cute fun things I have done with my family. Since this year will be scaled back I wanted to create smaller version of an October daily. I used the Circular Pop Up Card (SVG, Silhouette) for a October mini album. (I used pictures from last year for an example.)

I used my sewing machine to stich around all of the cover panels. As I glued the cover panels on I left the tops open to create pockets for tags and extra pictures.

The papers, stickers, and embellishments are from the I Love Halloween collection by Echo Park Paper Co.

I hope you are able to enjoy this Fall season and get a little crafting done too. Thanks for stopping by.

Brandie

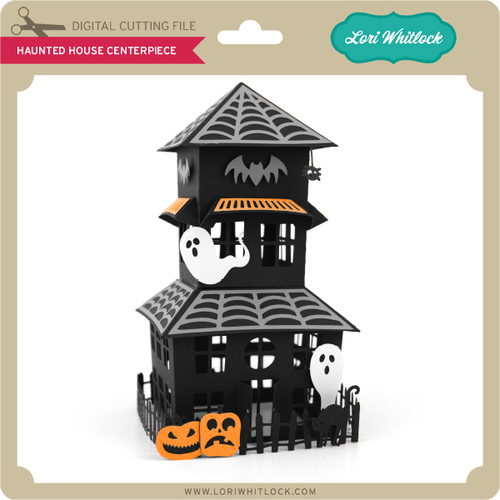
Haunted House Centerpiece

Hi there paper crafting friends!  It’s Michelle Starcher, aka the Bookish Designer, popping in on the blog to share the Halloween project I created using  Lori’s Haunted House Centerpiece (SVGSilhouette). 

This cute, but spooky Haunted House measures about 13″ tall by 7.25″ wide when cut at original size, which is what I used.  However, you can scale the file up or down as desired. Lori also includes optional covering panels for the sides of the haunted house to add some additional flair to the project.  I took advantage of those extras and included gray polka-dot cardstock panels on my version of the Haunted House.  In addition, I sanded the edges of the gray panels to create a more weathered look.
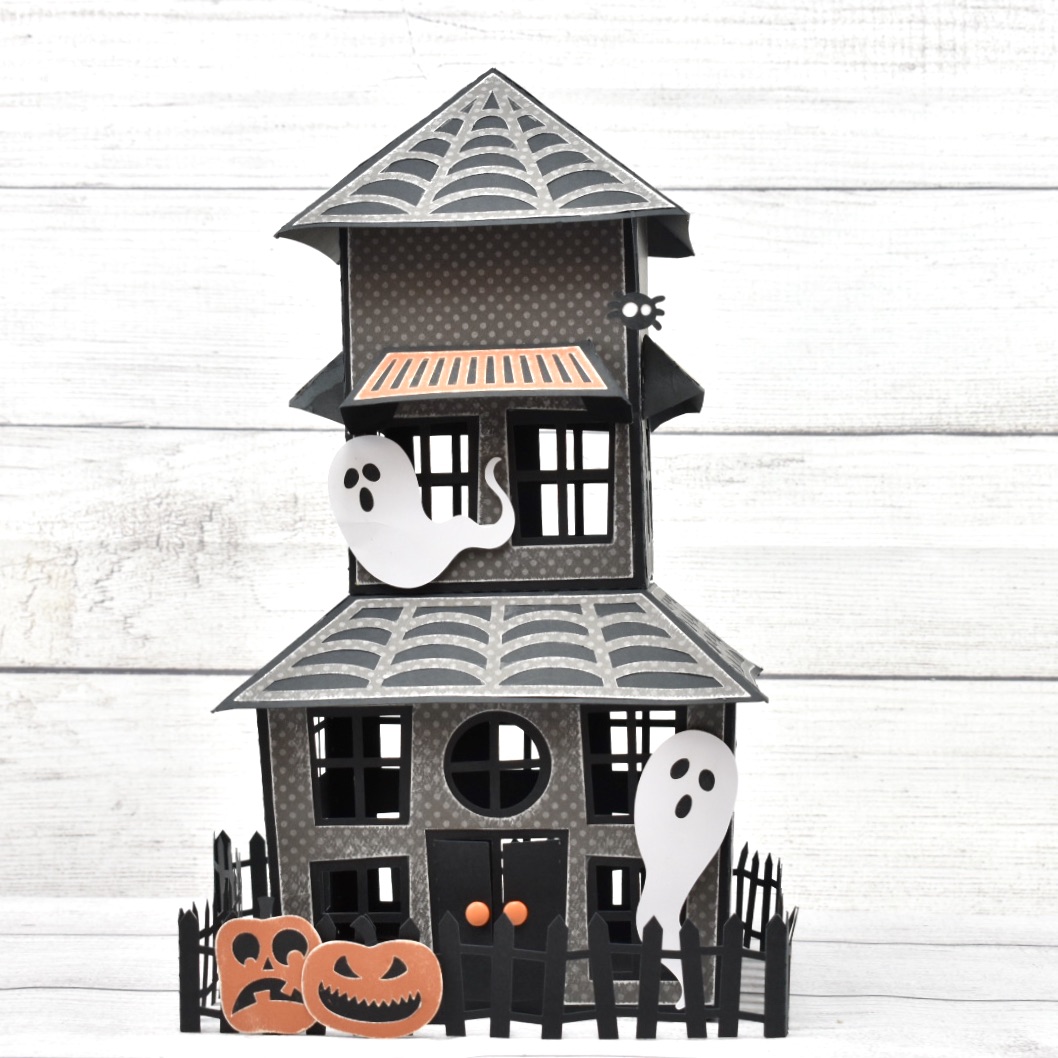
After sanding the pumpkins a little, I used foam tape to adhere them to the fence that goes around the house.  I used foam tape on the ghosts as well.  For the finally touches, I tucked the spider under the webbing on the roof and added orange brads to the doors.
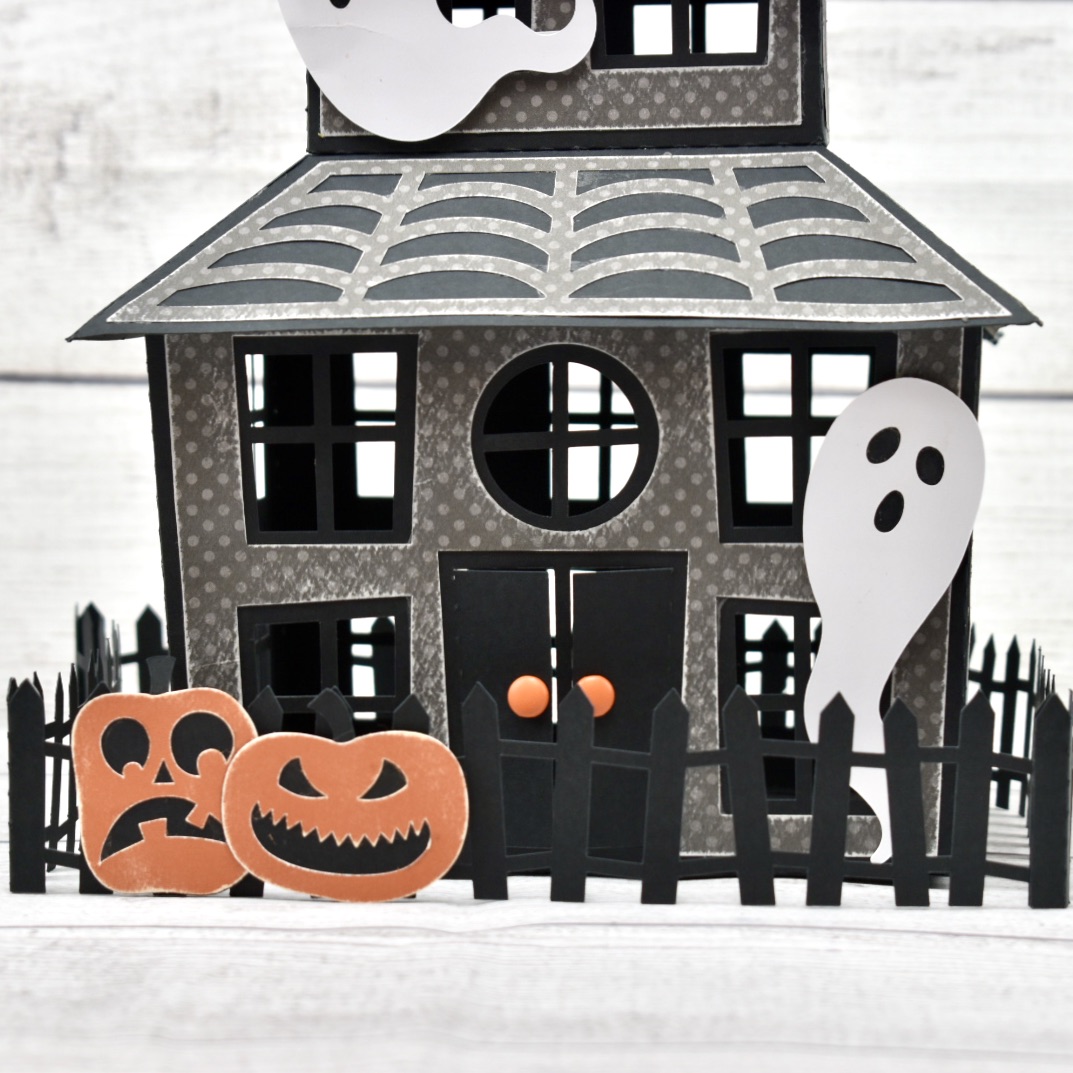
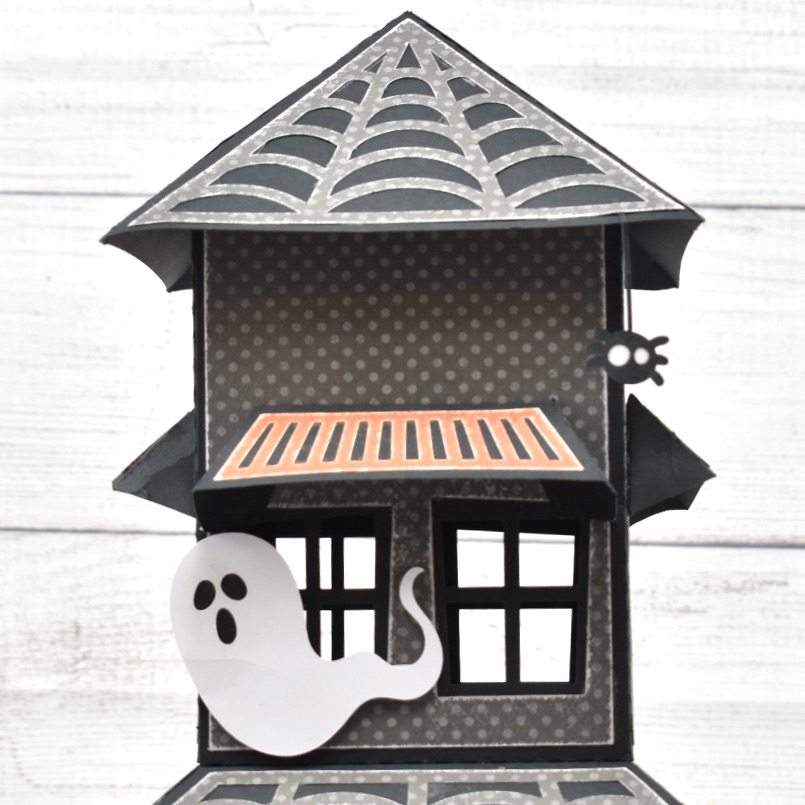
I found the project to be fairly easy to put together once I had all the pieces cut.  However, Lori has a great tutorial for this project on her YouTube channel.  Lori gives some great tips for this project in her tutorial, including how you can adjust the file to be able to add a tea light candle inside the house.  I wish I had watched it before I started!

In addition to the Haunted House Centerpiece, Lori has several 3D projects for Halloween that would work really well with the Haunted House to create a spooky scene including the 3D Haunted House Bundle (available as individual files in the Silhouette Design Store).  I can’t wait to pick them up and continue building my Haunted Village for Halloween.

Until next time,

Michelle

Witch Hat Handle Box Tutorial

Hello everyone! Marcia here today. Are you one of those people that go all out for Halloween? I love decorating for Halloween! Since it’s almost October, I thought I would share a Halloween treat box with you today. This Witch Hat Handle Box can be found here (SVG / Silhouette ). I used the Echo Park I Love Halloween paper collection also designed by Lori for my box.

Let me show you how I put it all together. First select your papers and cut everything out. Before assembling, I like to ink the white edges of my pattern papers with ink. I do this with cardstock too if it has a white core.

When making a box, I prefer to adhere the panels to the box before folding on score lines and gluing the sides shut.

To add glitter to the witch hat star and buckle cut file pieces, run them through a sticker maker face down. You want the glue on the front side. I like to use a bone folder to rub across the back side of the pieces making sure all the glue transfers to the paper.

Sprinkle the glue side with glitter, or press the glue side down into the glitter in a container.

Assemble the witch hat and adhere to the front of the box along with the Eat If You Dare print and cut label. Fill with your favorite candy before gluing the handle together, a glue dot works well.   I love adding bling to projects to make them extra special!

There are four new Halloween themed handle treat boxes in Lori’s Shop and the Silhouette Store giving you lots of options. Go check them all out! Thanks so much for stopping by.
~Marcia