This awesome Friday $5Bundle is available until midnight and when it’s gone it’s gone. These SVG files can be used with Cricut Explore, Silhouette Studio (with the Designer Edition upgrade), Scan N Cut, and any other cutter that will work with SVG files. Help spread the word by telling your friends and announcing it on social media!
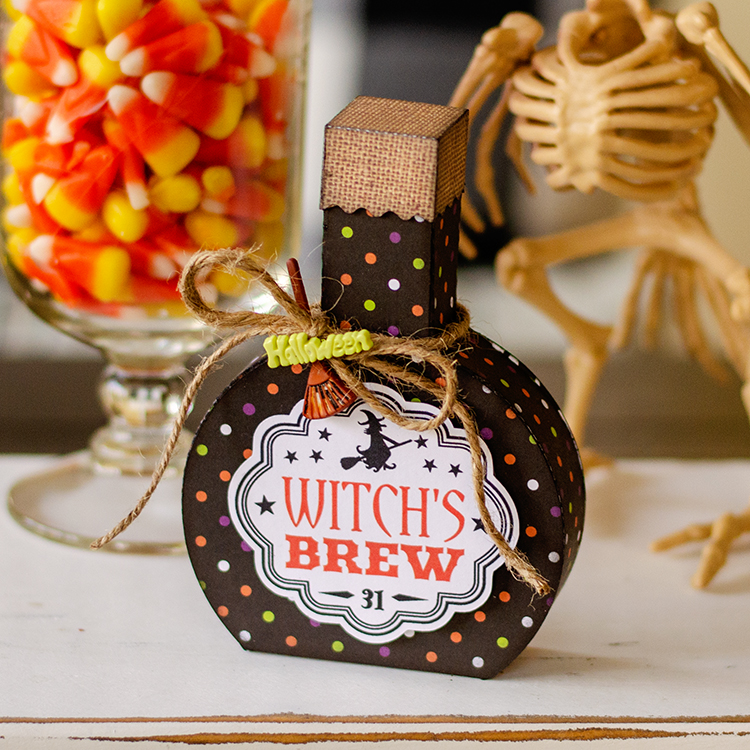
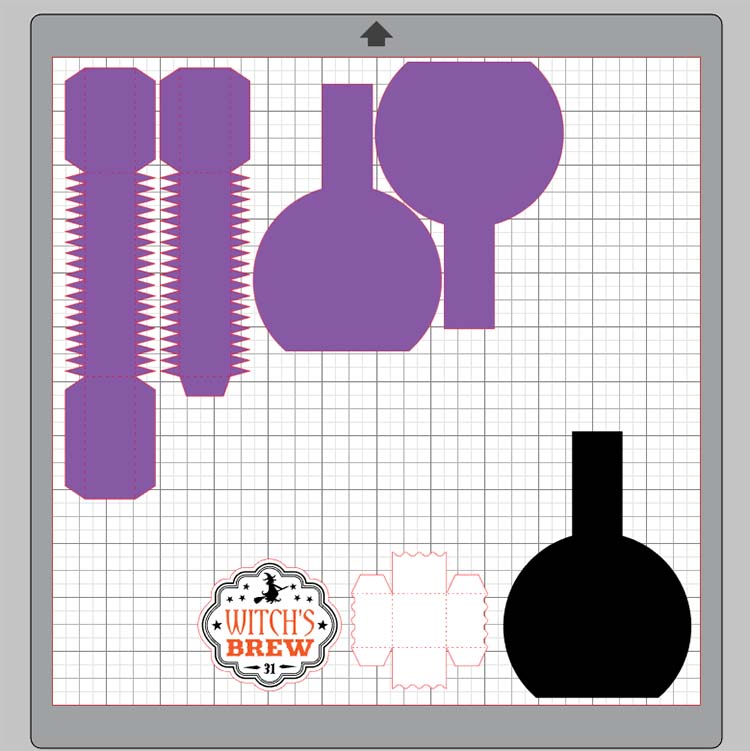
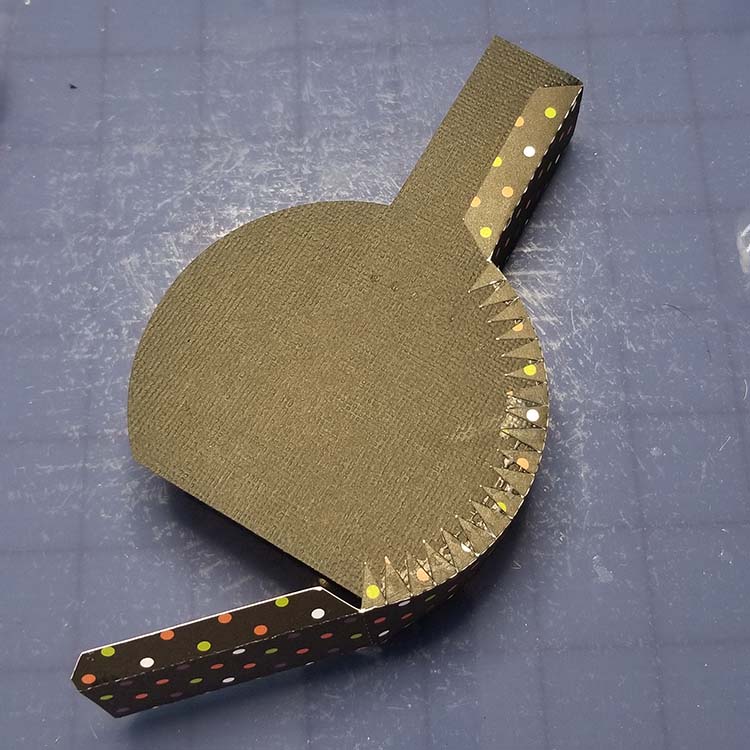
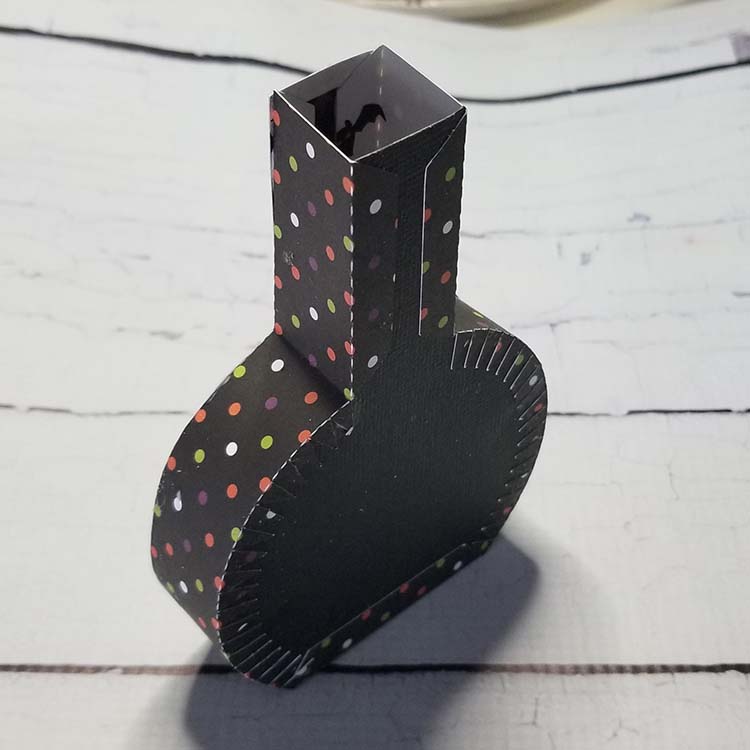
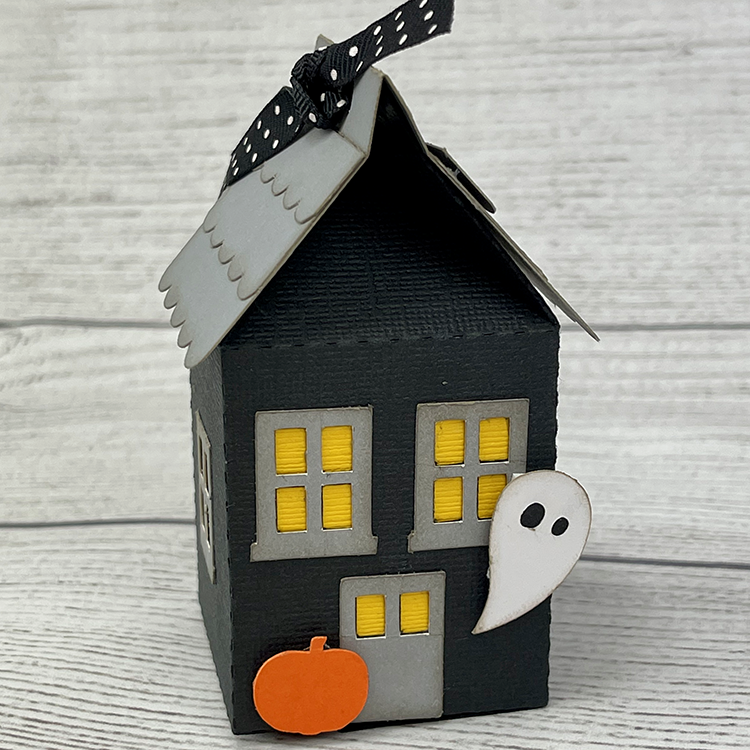
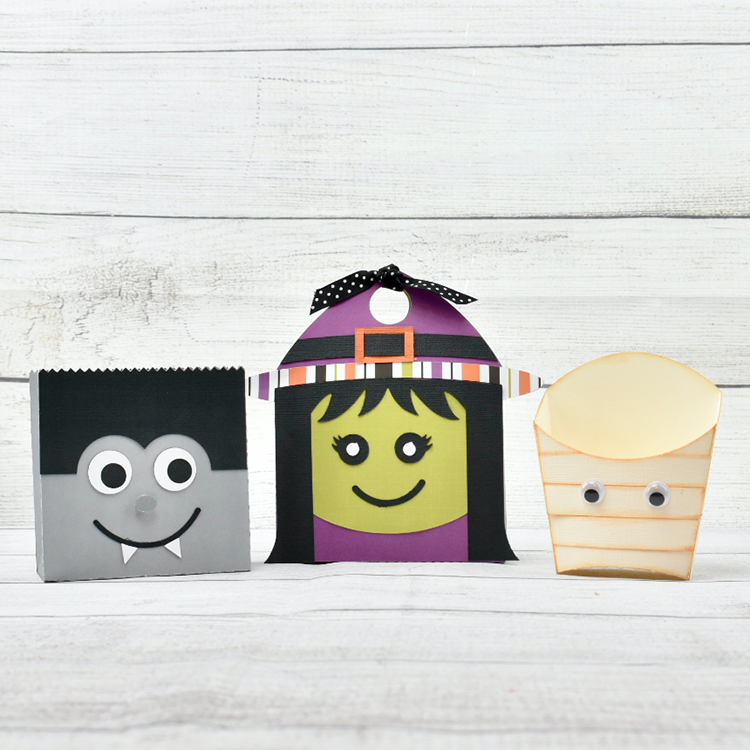
Be sure to pick up this Halloween Mason Jar Box Bundle including 5 SVG files for just $5**!
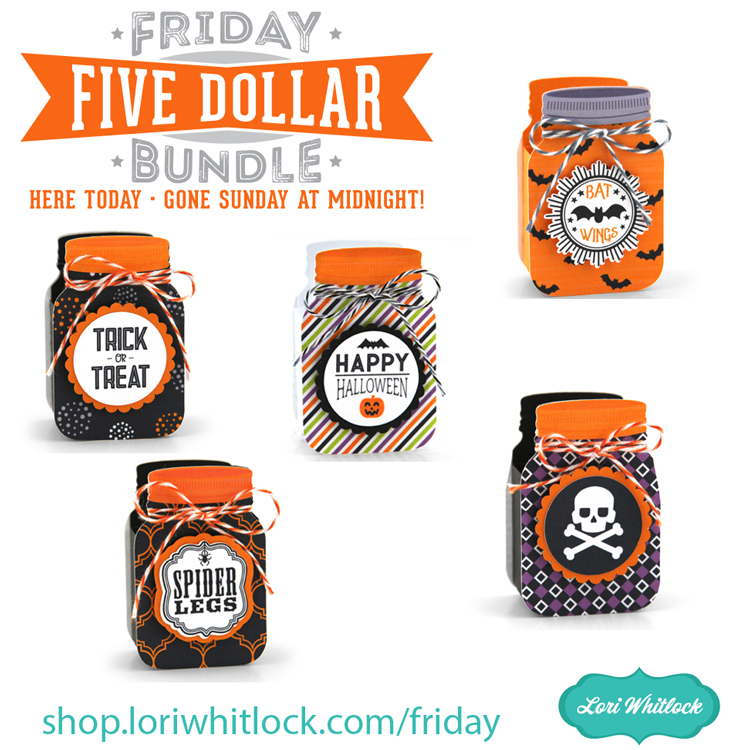 The cost of this bundle is $5, for $9.95 worth of SVG files, over a 49% savings! But don’t wait, this bundle will only be around until TODAY at midnight!
** Because Friday $5 Bundles are already heavily discounted they are not eligible for further discounts including monthly, seasonal and flash sales.
Have a great day!