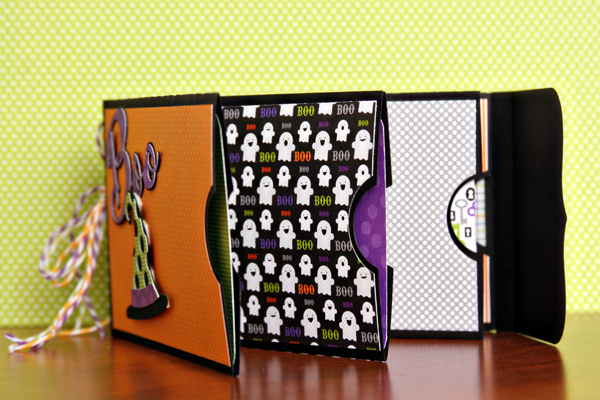
Ghost Gable Box with Corri

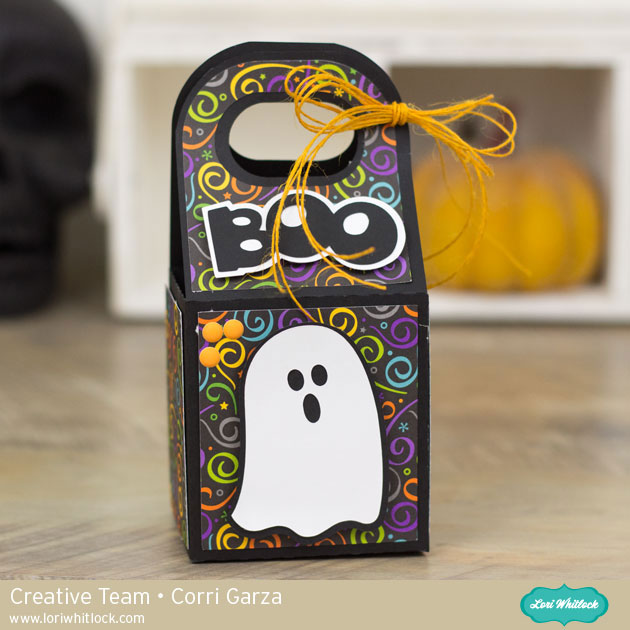
Hi everyone!  Corri here today sharing my version of Lori’s adorable Ghost Favor Box.   This little box is perfect for classroom Halloween party.  It literally assembles in minutes so you could easily make several in no time.

I used paper from Doodlebug Designs.  Head on over to Lori’s shop to see all her cute new Halloween files.


Shadow Box Pumpkin Tutorial with Kathy

Hi Everyone!  It’s Kathy today with a fun and easy tutorial showing how to make a Shadowbox Pumpkin!

First, gather your supplies….  You will need a craft pumpkin.  I purchased one at Michaels that already had the opening carved into the front, but you could also purchase an un-carved one and cut a hole in the front using a craft knife.  You will also need some modeling clay the same color as the inside of your pumpkin, a glue gun, some wooden craft sticks, some clear thread or fishing line, a tea light, and a cut out of a haunted house from a heavier black cardstock (at least 80lb).  Lori has a few haunted houses in her SVG Shop  here,  and in the Silhouette Store here.  I used this one for my design (here in Silhouette)

Before you cut your house, make sure to measure the inside area of your pumpkin.  I resized my design to be 8″ wide to fit in my pumpkin.  Next, glue one of the craft sticks to the back of your design.  Make sure it’s towards the center, and not showing through any the windows.  You want a small portion of the craft stick to hang over the bottom of the house design.

Using the modeling clay, make a “hill” of clay in the center of your pumpkin.   I put the clay in so that it went all the way across the width of the pumpkin.  This will be the base for your house.

Put your house cut-out into the pumpkin, inserting the craft stick into the clay.  Adjust your clay as needed, you don’t want large gaps along the bottom.

Attach the bats and moon to the fishing line.  Hot glue the line to the top of the pumpkin so that they look like they are floating in the air.  Place the tea light behind the house inside the pumpkin.

That’s it!  You have a shadowbox pumpkin!

That’s it for me today, thanks for stopping by to peek!


Monster EOS Holders with Kathy

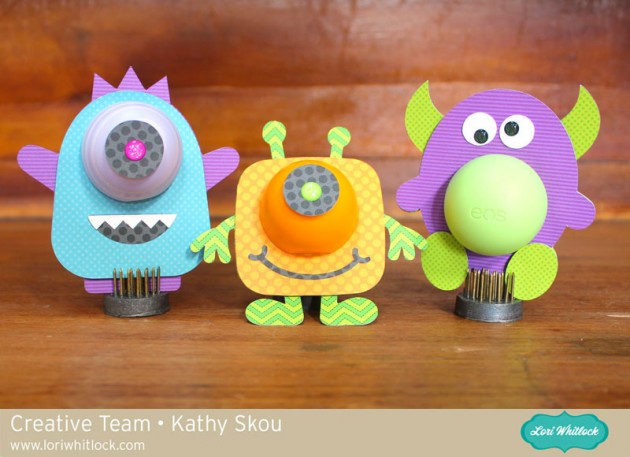
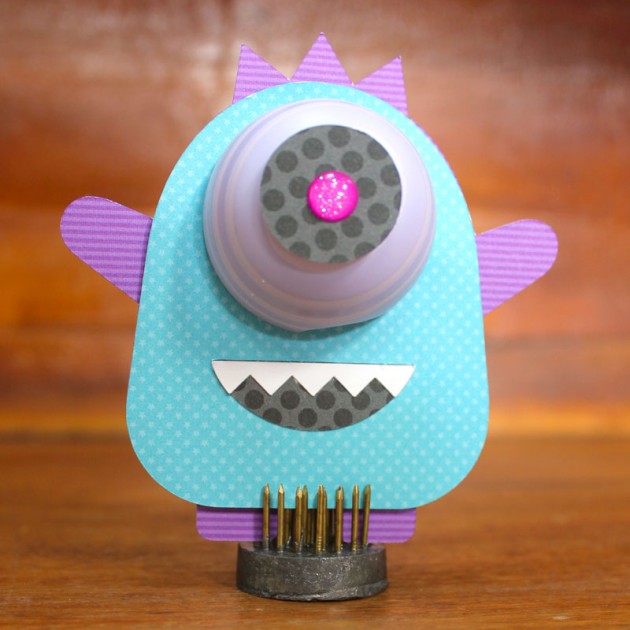
Hi Everyone, it’s Kathy today with a really fun idea for Halloween.  I know it’s early, but I just couldn’t resist these cute Lip Balm Monsters that are New in Lori’s shop!  Take a peek…

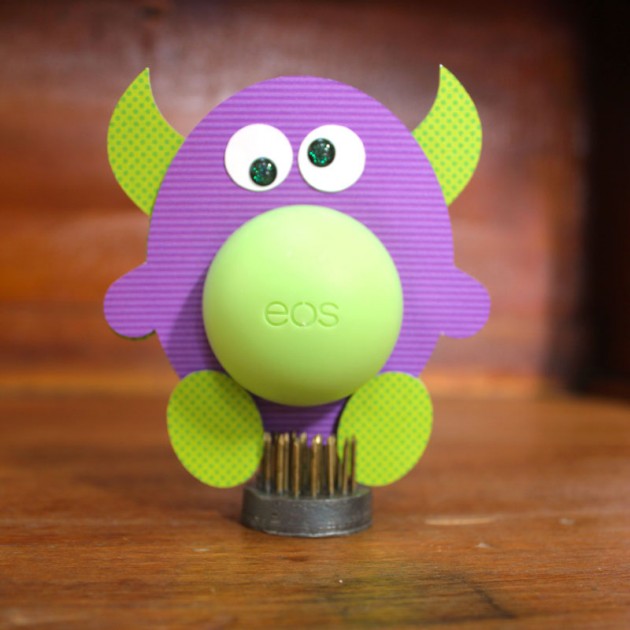
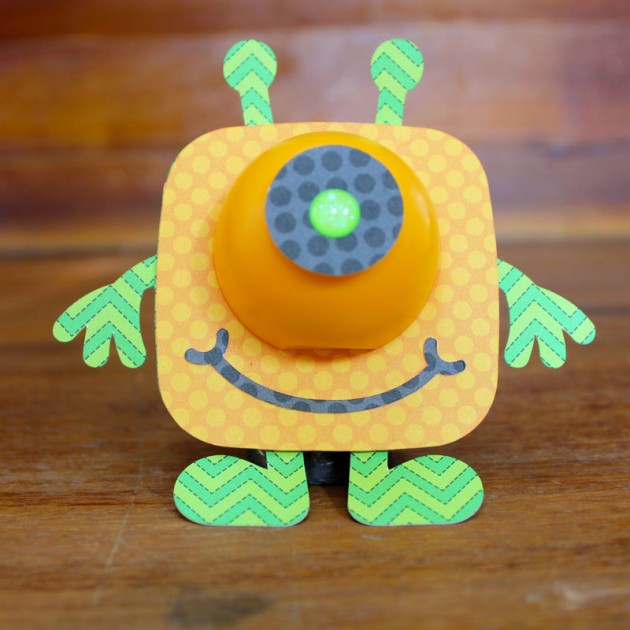
Aren’t they adorable??? These would be great for Halloween or Monster themed parties or for those special trick-or-treaters in your life!  They go together really quickly too!  Here are some close-ups of the individual monsters… I call them Moe, Larry & Curley…

here in Silhouette Store

here in Silhouette Store

here in Silhouette Store

That’s it for me today, thanks for stopping by!


Creative Team Member Amanda

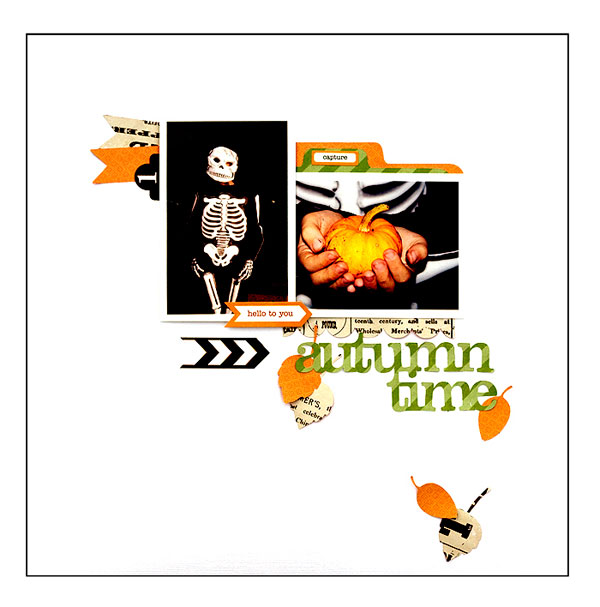
Today we have Amanda sharing with us this beautiful layout.  It doesn’t really have a black line around it, but it got lost in the background of the blog. I LOVE the white space Amanda has surrounding her photos. This turned out lovely Amanda Thank You!

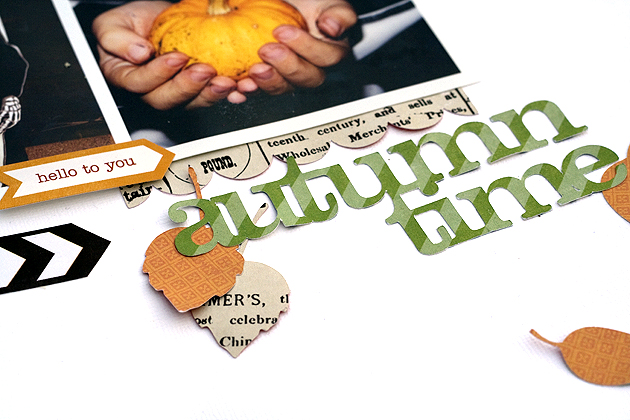
Amanda used “5 Fall Titles,”  “8 Fall Leaves,” “Labeled Tabs,” and “14 Labels” from the Lori Whitlock Shop, Echo Park For the Record 2 collection designed by Lori and Bazzill card stock.


Creative Team Member Christine

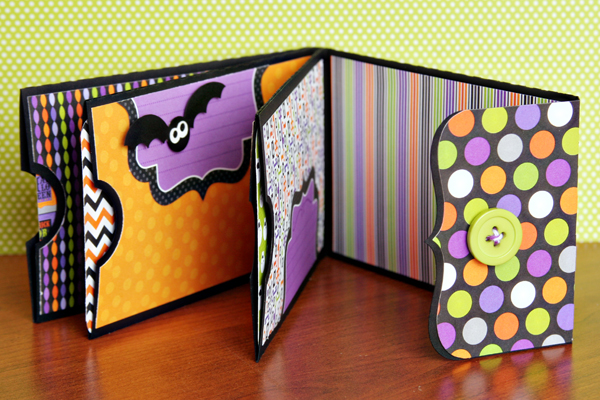
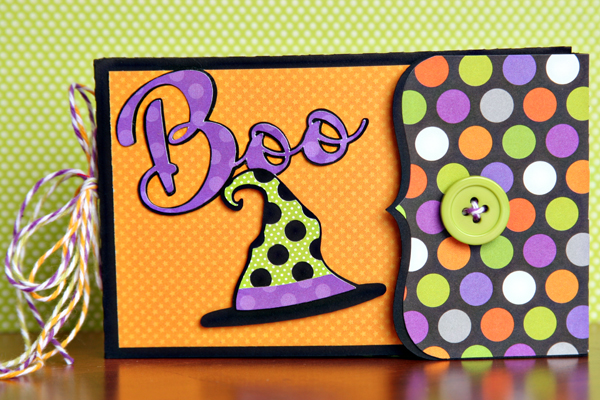
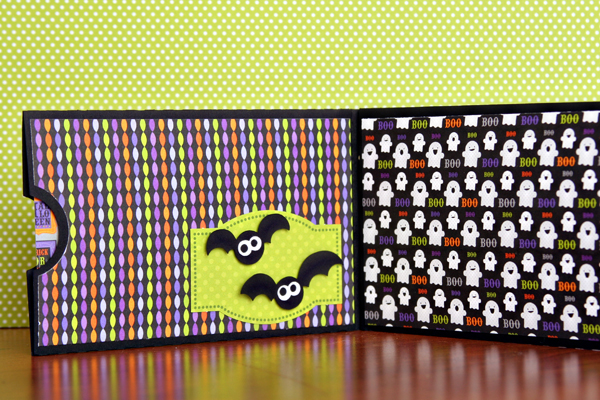
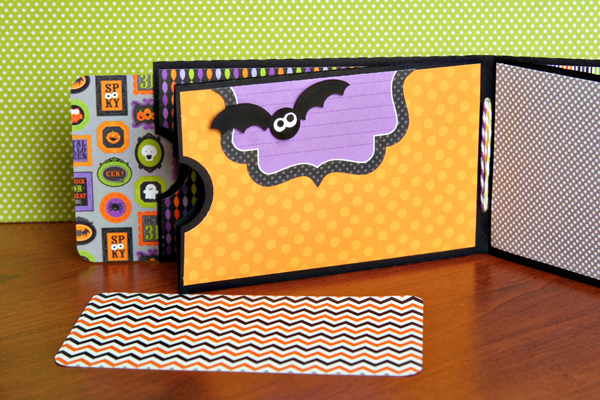
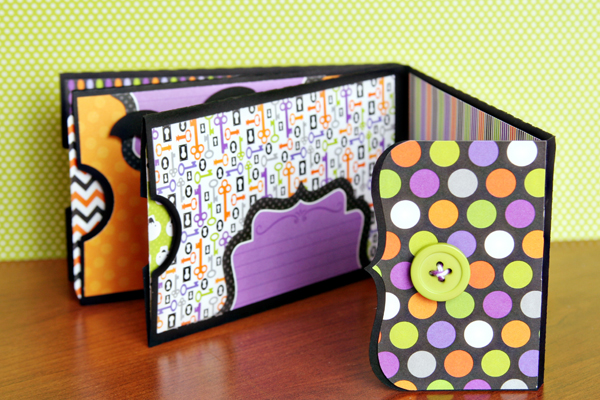
It is eye candy day! Are you as excited as me? I love seeing our creative team members projects and today is no different. Christine has THEE cutest mini book to share. She used Lori’s “Mini Album with Pockets,”  “Halloween Bat Set,” “Halloween Words,” and “Witch Icons” for the hat,  to create a Halloween Album showcasing her cute little man in his Halloween costume.  I will quit talking now and let you just enjoy the project.

I LOVE how she added a different pattern paper in the pockets so they pop too. Christine, this is beautiful! Thank you! Go check out her blog here for more info.

Other Supplies:  Patterned Paper: Haunted Manor, Doodlebug, Button:Doodlebug, Adhesive: Scor Tape, Cardstock: Bazzill