New Chipboard Village Halloween Add-on & 30% Off Ends Tomorrow!

Did you create my Chipboard Village last Christmas?  Now we have 3D Chipboard Village Halloween Add On (SVG, Silhouette – coming soon)  which is full of cute little trick-or-treaters, spooky trees and lots of bats and pumpkins!  Take a peek…

The add-on is a one page print and cut file, and meant to be printed on sticker paper and backed with cardstock or it can be printed directly on cardstock.  These all coordinate perfectly with the Chipboard Village Houses that I created in conjunction with Silhouette America last year. You can find the Christmas Village along with links to supply lists and tutorials in my SVG Shop here.  The houses are also available individually in the Silhouette Store (Farmhouse, Manor, Church, Cottage, General Store).

If you are interested in making your own village, it’s the perfect time!  All SVGs, Fonts, Pattern Fills and Commercial Licenses are 30% off through tomorrow in my SVG shop when you use code OCT2022 at checkout!

Have a great day!

Halloween Scene Décor Tutorial

Welcome to Tutorial Thursday.  Lori as added several Halloween scenes to the shop.  Most of the collection are just a single color.  The one I’m sharing today uses multiple colors in the extra pieces and is slightly larger than the single color versions. You can find it in Lori’s SVG Shop and Silhouette store. It’s fun and easy to put together, I’ve outlined the steps below.

1. Cut all the pieces.  Each panel needs two 12×12 sheets.  I used black for the back of the panel and gray for the top layer.  You can use the same color for the panels too.

front panels
back panels


colored scene pieces

2. Now assemble each panel. Start with the back panel, layer the front panel.  Then add the Halloween pieces.

3. Apply adhesive to the glue tab and connect two panels together.

4. Attach the third panel.

5.  This is such a fun décor piece.  It’s just under 12 inches tall and 20 inches wide.


Have a great day!

Ashley

New Halloween Scene Bundle

Halloween decorating just got easier with my new Halloween Scene Bundle.  There are 5 new panels, they are adorable together or alone… take a peek…

Halloween Scene Cat (SVG, Silhouette)

Halloween Scene Candelabra (SVG, Silhouette)

Halloween Scene Witch (SVG, Silhouette)

Halloween Scene Pumpkin (SVG, Silhouette)

Halloween Scene Skeleton (SVG, Silhouette)

These are great to add to a mantel or shelf in a group… they look so cute together! They would also be fun as a table centerpiece!


Don’t forget, all new files, including these Halloween Scene files are all 25% off this week in my SVG shop!  It’s the perfect time to start decorating for Halloween!

And just a note to let you know that I will be teaching a free virtual class today from the Silhouette Headquarters, for Michaels Stores!  It will be at 3pm EDT.  I will be showing how to assemble this fun card, along with how to change up the sentiment in Silhouette Studio.  I hope you can join us.  Click here to sign up for the class, and you can find the file free in the Silhouette Store here!

Have a great day!

Ghost Haunted House Tutorial

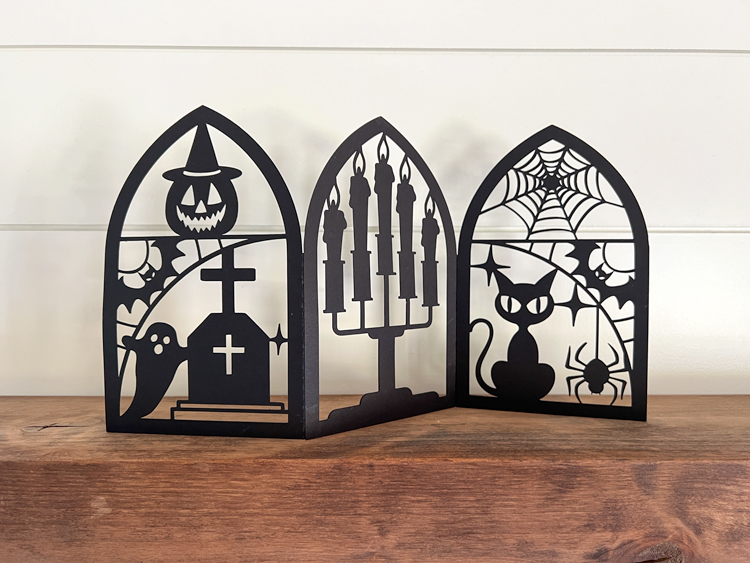
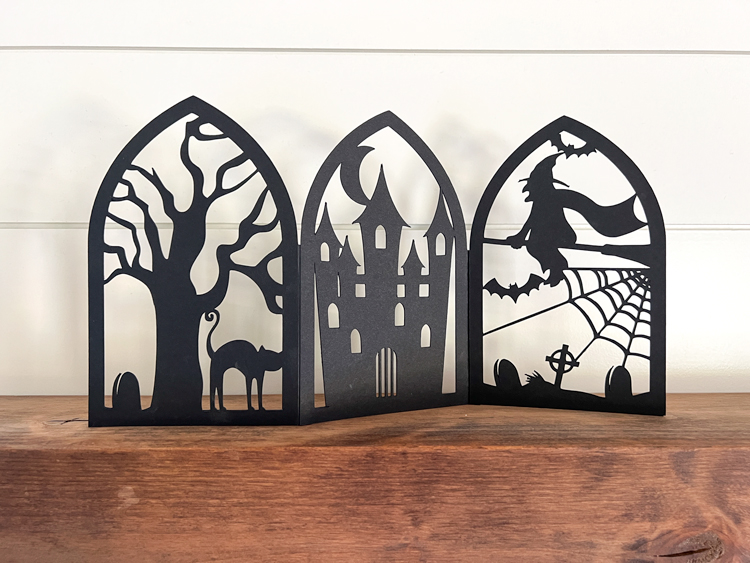
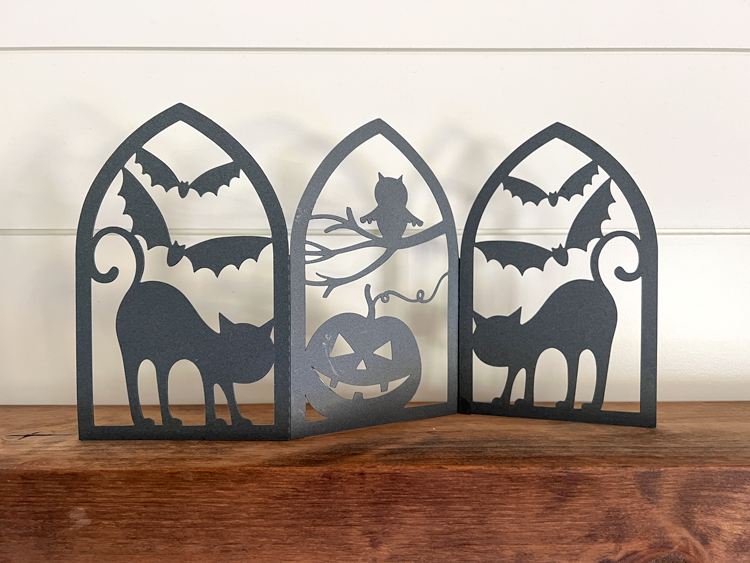
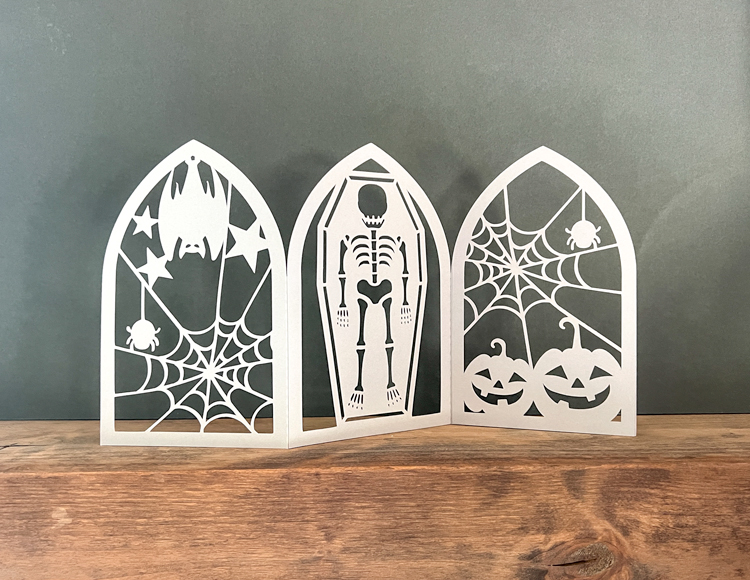
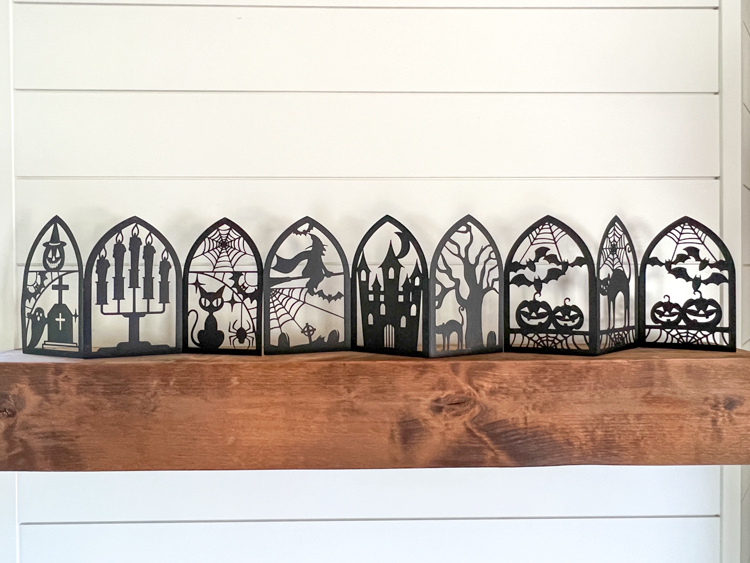
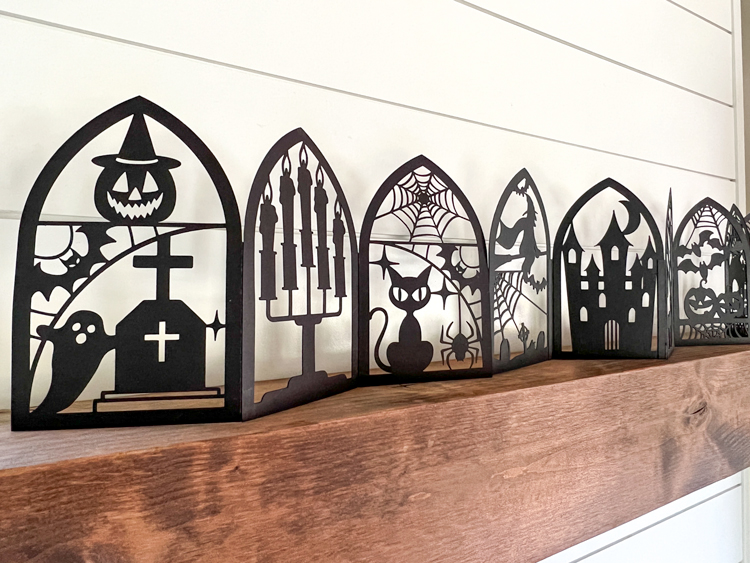
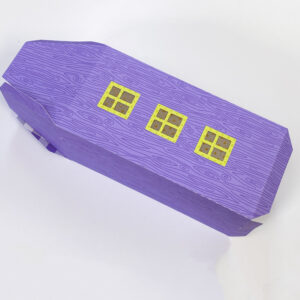
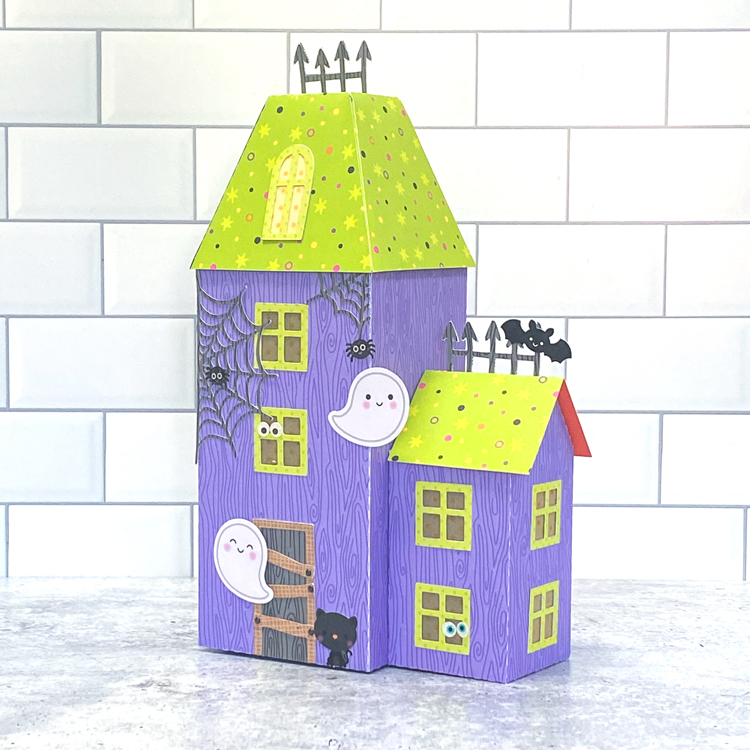
Have you seen the new Halloween Décor Bundle??  It’s full of super-cute files perfect for Halloween decorating!  I fell in love with the new Ghost Haunted House (SVG, Silhouette).  Such a spooky-cute way to celebrate the season!!  It’s really easy to assemble, I’ve put together a quick tutorial for you below.

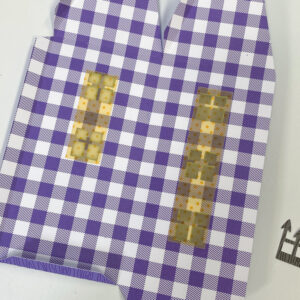
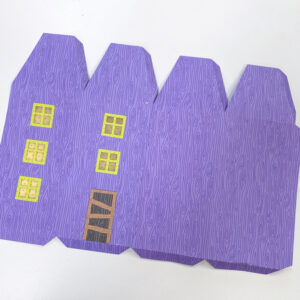
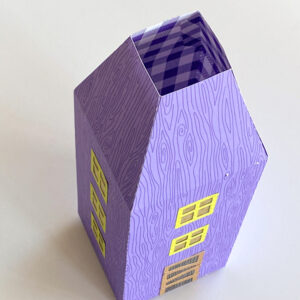
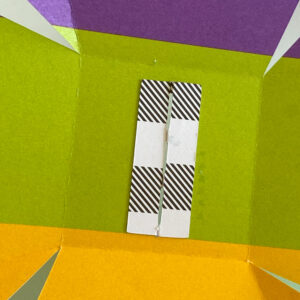
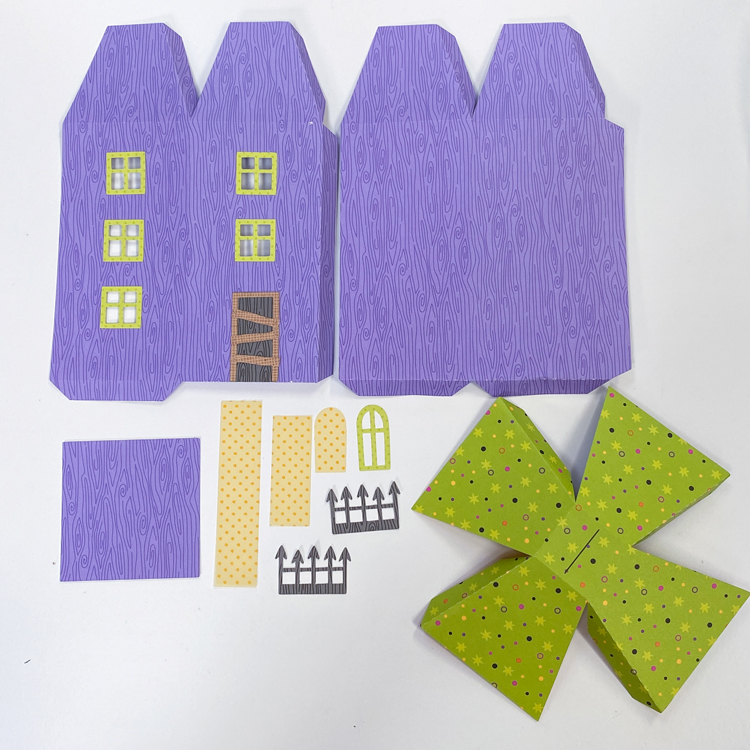
The house is made up of two smaller houses that are attached together.  I started with the larger side.  The pieces for that part are shown below. In this photo I have already added the window frame pieces to the main house piece as well as the door.

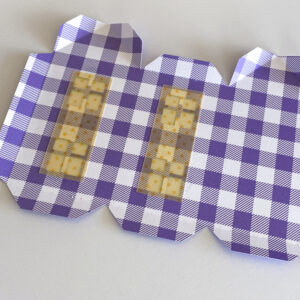
To assemble this part of the house, start by adding the strips of paper behind the windows.  You could use cardstock.  I chose to use vellum in case I want to add tea lights to the house later.  I then glued together the two main parts of the house, folded into a box shape and glued using the tab.

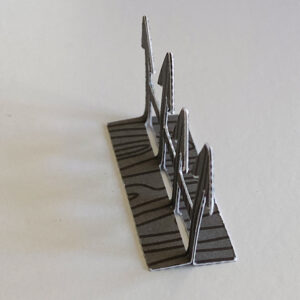
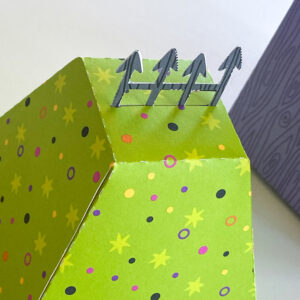
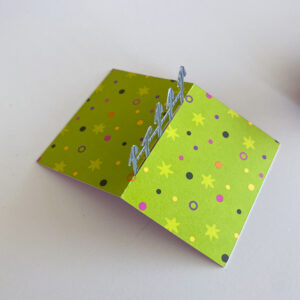
Next, fold in the upper sections and glue as shown.  I then started to assemble the roof.  There are two sets of “spires”.  Glue them together for strength.  Do not glue the section below the score lines.  Insert the glued spire pieces up into the roof piece so the spikes stick out of the top.

On the bottom side of the roof piece, fold out the flaps and glue to the inside of the roof.  Fold the roof along the score lines and glue together into a dome shape.  Add to the top of the assembled house piece.  I then added the rounded window to the roof piece.  You can then add the bottom piece to the house.  I chose not to add this piece, I wanted to add a tealight to the bottom.

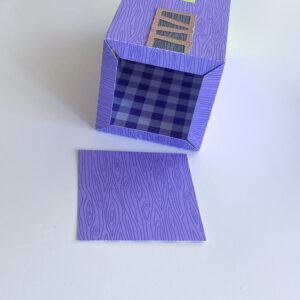
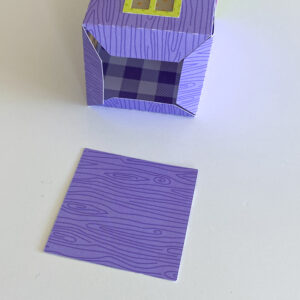
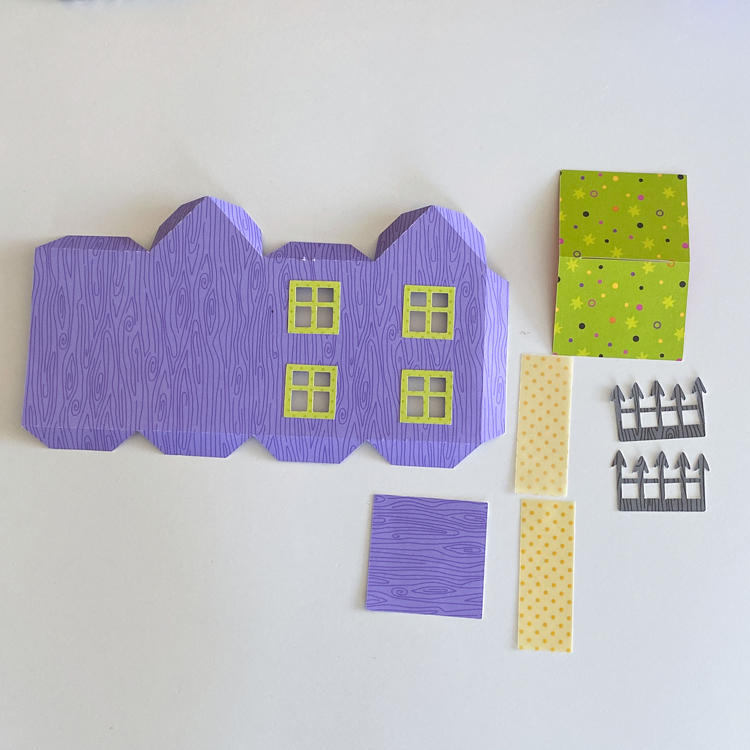
The second half of the house is assembled in a similar manner as above.  The pieces are shown below.

I started by adding the vellum to the inside of the windows.  I then folded the house into shape and glued (not shown).  There are two more spire pieces.  I glued them together, and added them to the roof as I did above.

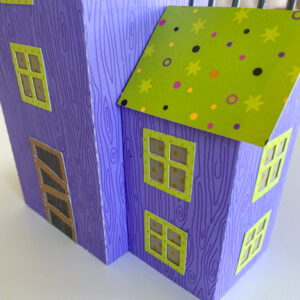
At this point you could add the bottom.  I chose not to.  To attach the 2 house pieces, glue the smaller house to the larger as shown. (make sure your windows are as shown) I then added the roof to the smaller piece using the tabs on the top of the house base to glue.  It’s easier to do it this way since the roof needs to be flush with the side of the larger house.

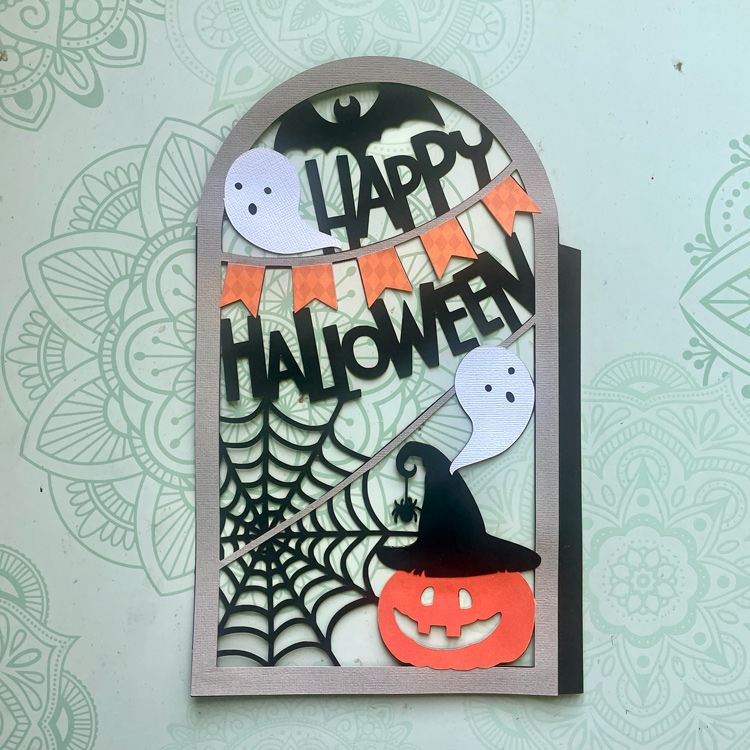
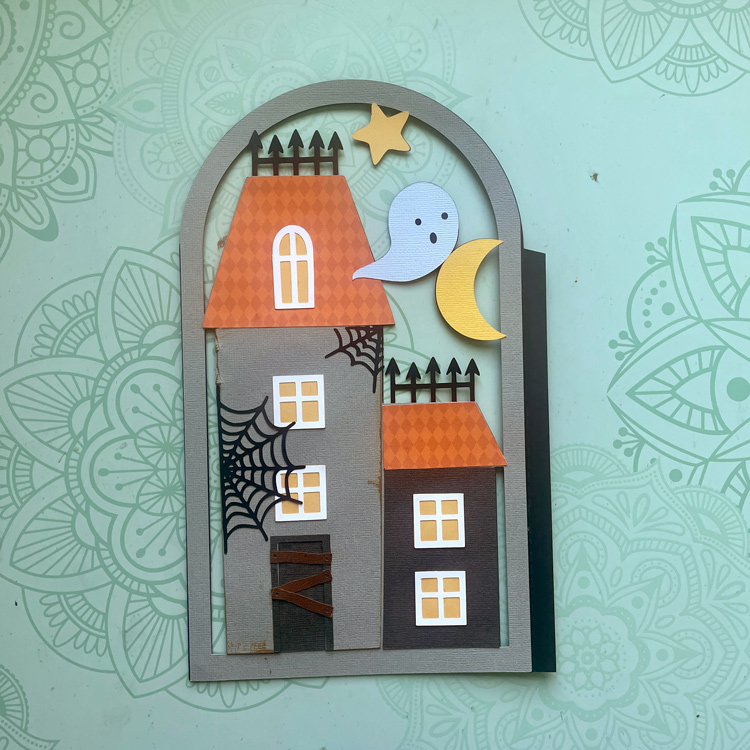
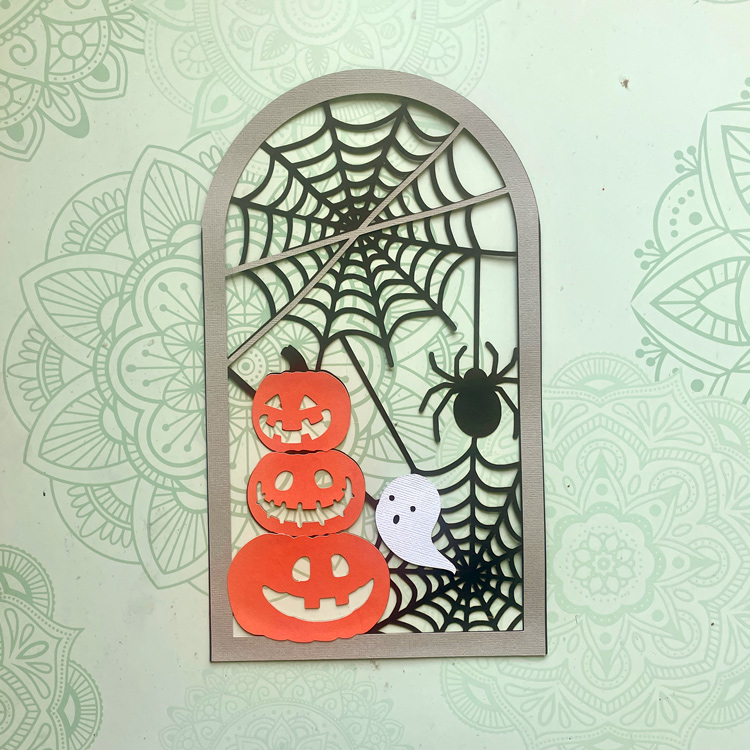
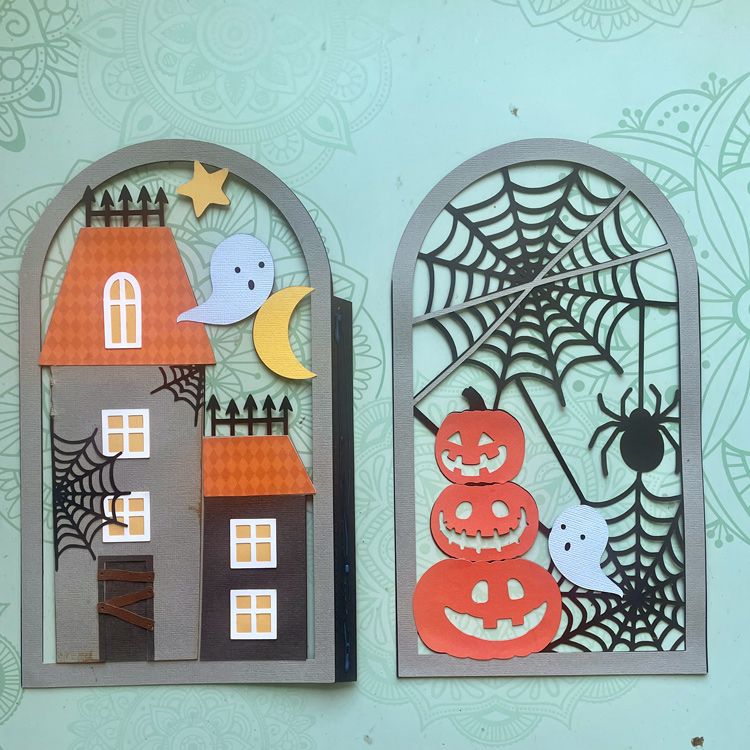
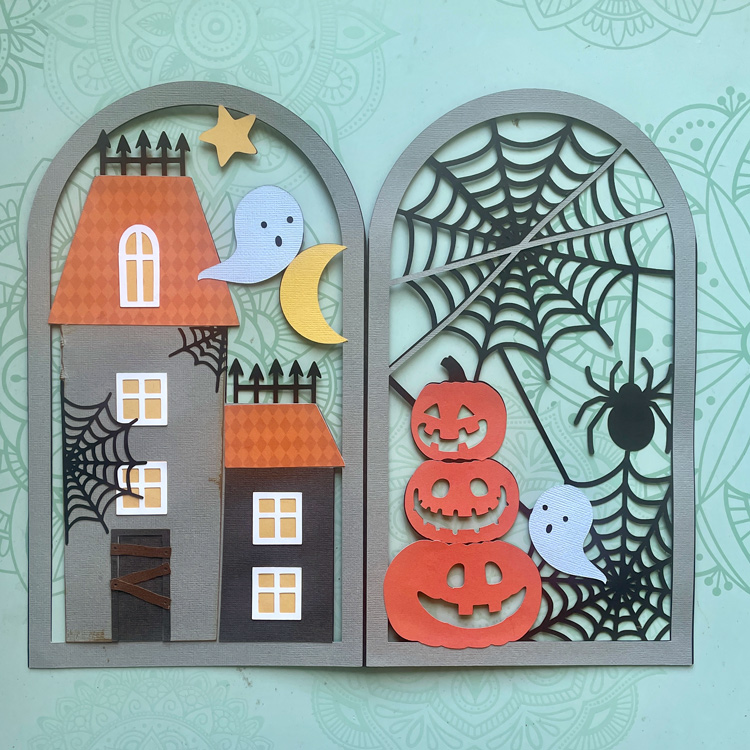
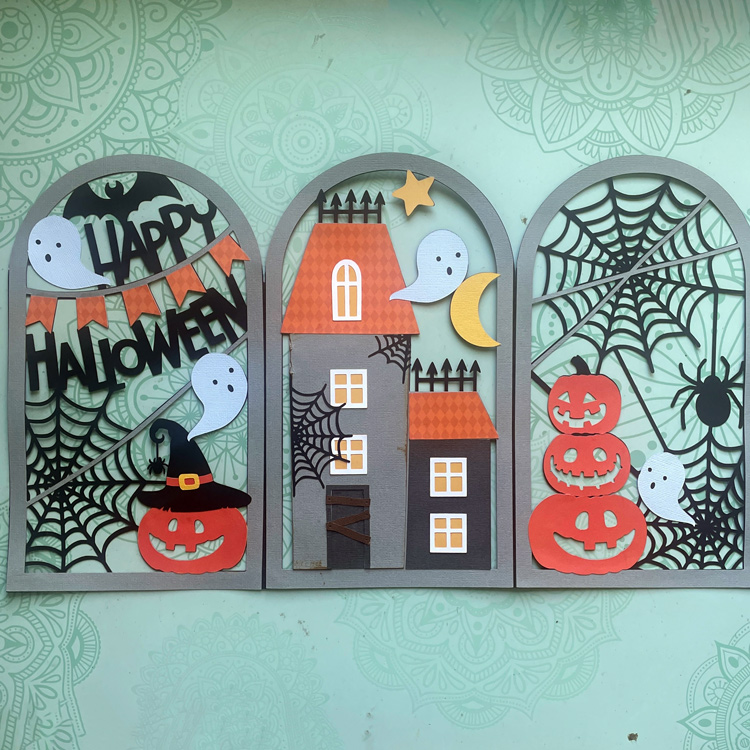
Lori’s file comes with the spider webs.  It also has a couple of ghosts, and a black cat that are super cute! (not shown here).  I decided to decorate the house with some embellishments from my stash. The ghosts, cat, spiders, bat and eyes (in the windows) are all from the Doodlebug Happy Haunting Collection.

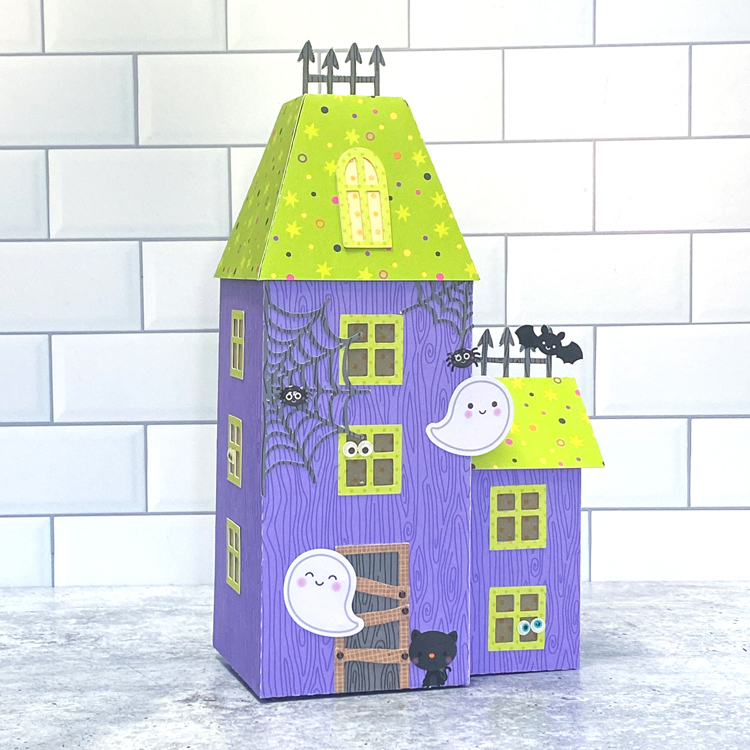
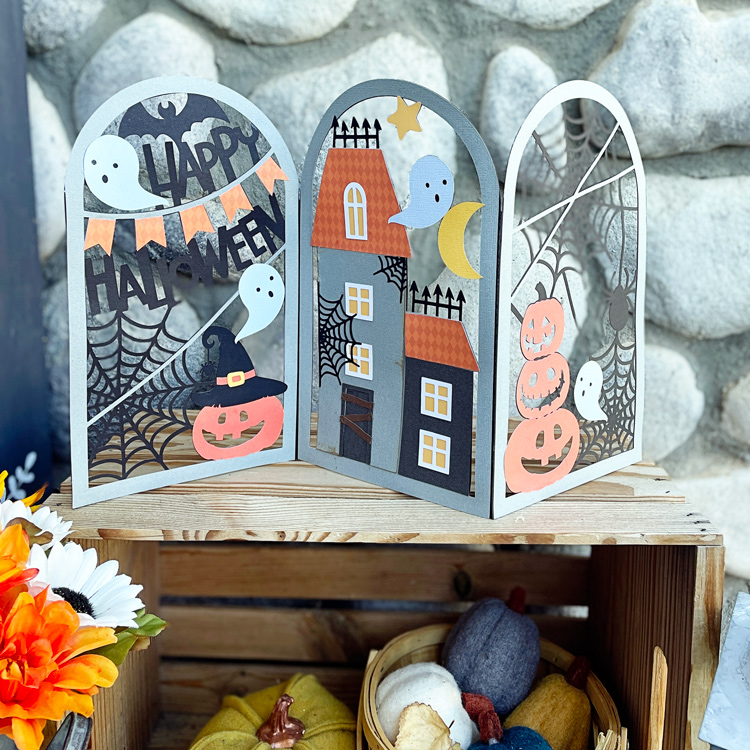
I ordered some fun tea lights, and plan to place them under the house so that the light shines through!  That’s it for me today, thanks for stopping by to peek!

BLOG | INSTAGRAM


3D Witch Hat

Hello everyone, I have another Halloween décor project to share today! I used the new 3D Witch Hat 3 (Silhouette, SVG) and the Witch Boots (Silhouette, SVG) to create this decorative piece.

Such a fun and easy project to put together, would also look great on a tiered tray, I sized mine a little smaller so it would fit on mine.

Here’s a closer look, I added one of Lori’s 3D Flowers (Silhouette, SVG). I used paper and embellishments from Echo Park’s Halloween Magic Collection, the project was cut out on my Silhouette Cameo 4.

Thanks for stopping by and have a wonderful day!