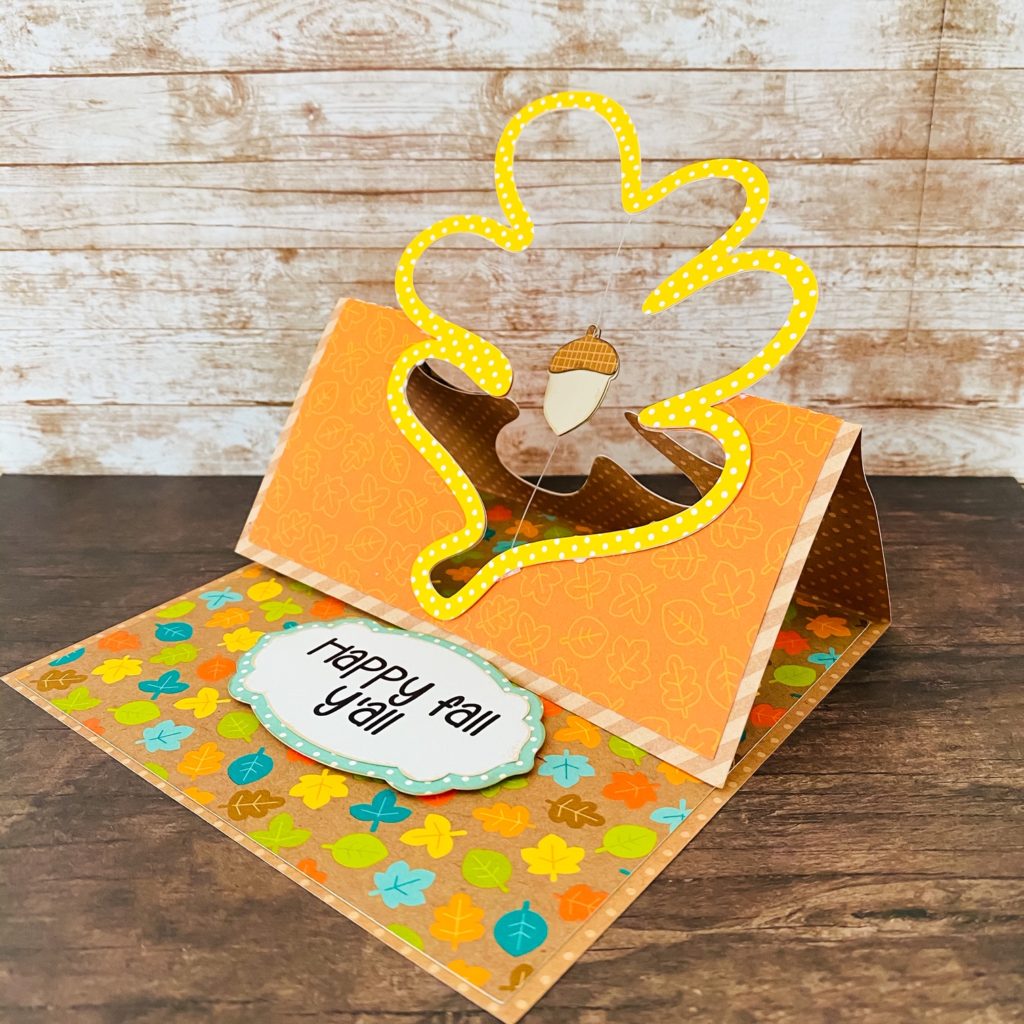
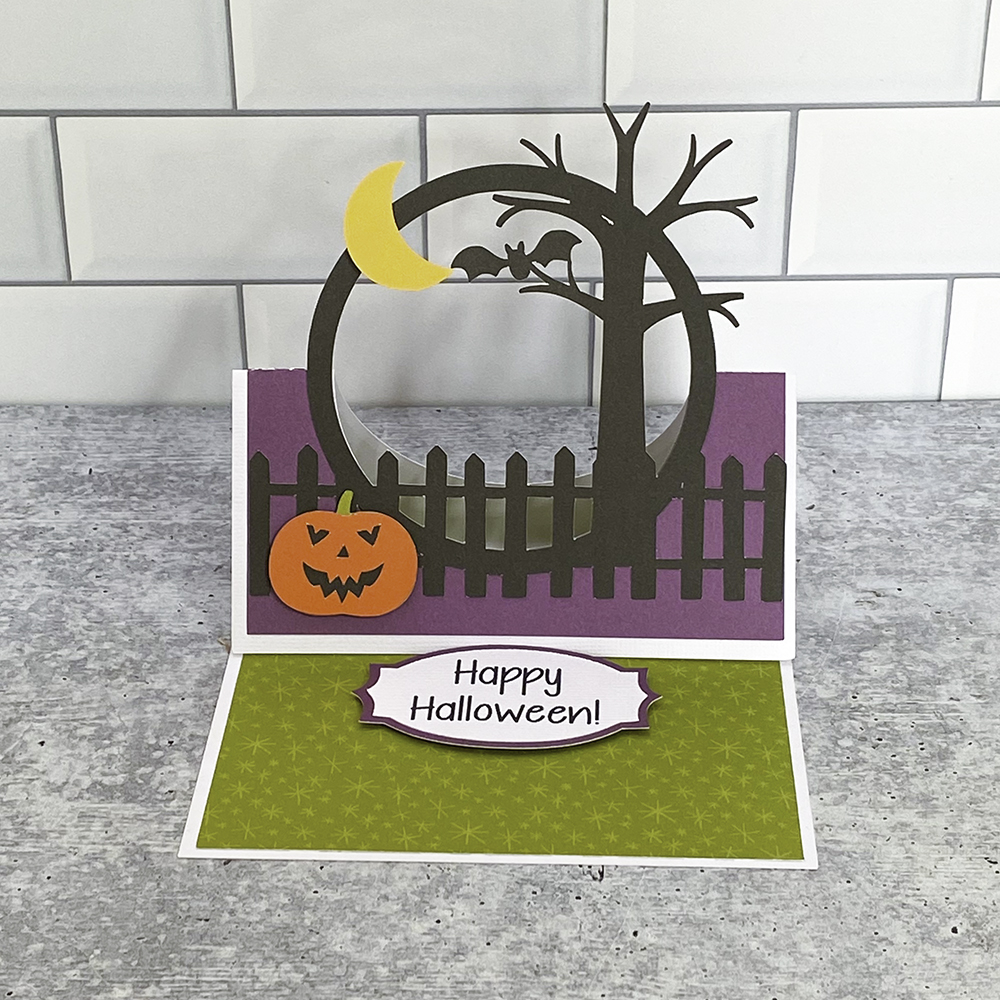
I love Halloween… When my daughter was little, I loved having parties with the kids, and of course who can resist the candy? Halloween will surely look different this year, but we can still send some spooky-fun cards! The new Halloween Floating Easel cards are the perfect solution. There are two new versions, the Floating Easel Card Spider Web (SVG, Silhouette) and the Floating Easel Card Haunted House (SVG, Silhouette). Take a peek…


I put together a quick tutorial for the floating easel cards using the Haunted House version. It’s really pretty simple.

Start by cutting the pieces and piecing together the ghost face and the pumpkin. I also glued the solid square into the inside of the card as shown. The sentiment is done using the print and cut feature of your cutting machine. To assemble you will also need a piece of fishing wire or clear jewelry thread.

- Add strong adhesive ( I used score tape) to the blank ghost piece. Lay the piece of fishing line over the center.
- Cover with the ghost “face” piece.
- On the haunted house frame without the fence (call this the back frame) Add some score tape or strong adhesive to the center of the top and the center of the bottom. Center the ghost inside the frame and pull the fishing line tight and stick the ends to the tape on the frame. Cover with the top frame (the one with the fence, not shown)
- I secured the fishing line a bit more by folding it over the back of the frame and securing with some washi tape. I then trimmed the extra fishing line.

- Fold the card base closed. Add the decorative panel to the outside, making sure to align the openings.
- Fold the top in half along the score lines. Attach the frame to the bottom half of the card only. Make sure you do not add adhesive to the top half of the house.
- Add the little pumpkin to the front.
- Using some foam tape or pop dots, add the sentiment to the inside of the card about 2/3 up the card so that when the card top rests against it the house stands up.
One more note… if you wish, you can add a second string going horizontally to secure the ghost further and make sure it does not twist.

When you fold the top of the card and stand it against the sentiment, it looks like the ghost is floating in the house!

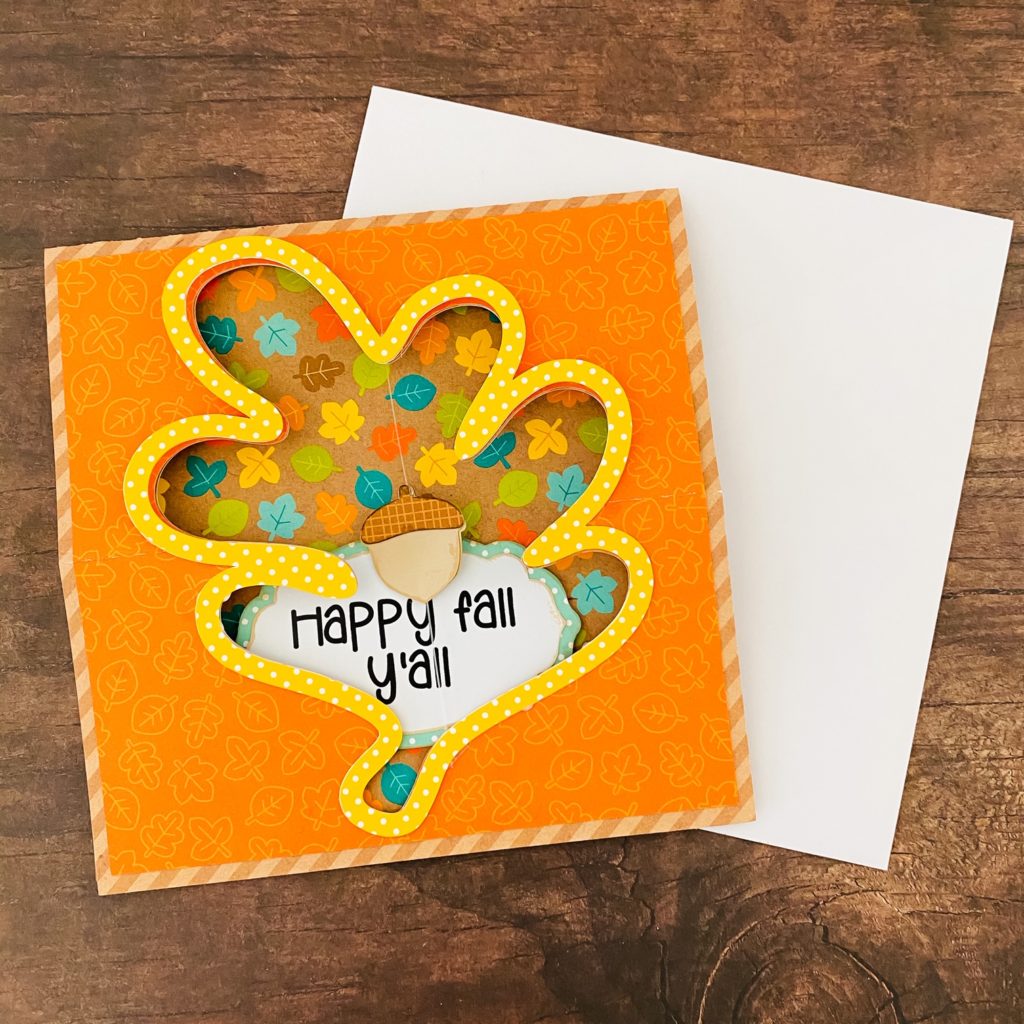
The card also folds flat and will fit into Lori’s Center Box Card Envelope here. That’s it for me today, thanks for stopping by to peek!
 BLOG * INSTAGRAM