4 Candy Drawer #1 Dad Sports Tutorial

Hello friends!  Traci back to share a simple gift box project with you!  What dad wouldn’t want to receive this sweet treat box on Father’s Day?  You can find this one here (SVG, Silhouette).

I love how simple this design is and such a fun idea for tiny gifts or candy!


Here are a few tips for assembling this project.  First, use a medium weight card stock for the boxes and the “drawer”… probably less than 100#.  If the card stock is too thick, it might make the drawer a little tight.  I used Bazzill 80# (Jade) and it worked perfectly.  


Tip #2:  If you fold all of the score lines on the little boxes correctly, as in the photo above, you will hide all of the glue tabs and end up with a nice solid base. 


I love how the little boxes are removable!  This way you can use 1,2,3, or all four.  This design is great for a sports loving dad, but Lori has other styles too (SVG), so be sure to check out her other new designs.


Thanks for stopping by the blog today!  Have fun making a handmade gift for a dad in your life! Father’s Day is on Sunday, June 18!  

Blog * Shop * Facebook * Instagram * Pinterest


New Style Card Released Recently

In the last few weeks, we’ve released this new style, the A2 Curved Pop-Up Card. Have you seen them? They’re super easy to assemble and lay flat for mailing. I’ve also made a tutorial video for them. They come in several styles including Father’s Day, graduation, birthday, summer, and even a simple everyday style. They come individually and in the A2 Curved Pop Up Bundle. Here is the link for the tutorial


Thanks for stopping by! Happy crafting!

Lori

30% Off SVGs Ends Tomorrow!

Are you crafting this weekend?  Maybe working on some last minute Father’s Day cards?  Don’t miss out on the June Sale in the Lori Whitlock SVG Shop! All SVGs, Fonts, Pattern Fills and Commercial Licenses are 30% off when you use code JUN2022 at checkout! Don’t wait! Sale ends tomorrow!

Need a card for dad?  Check out these fun designs!

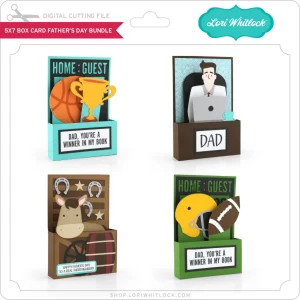
5×7 Box Card Father’s Day Bundle
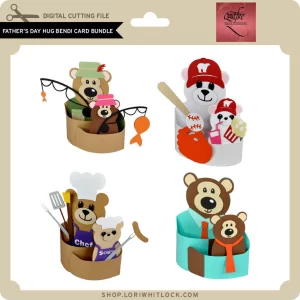
Father’s Day Bear Hug Bendi Card Bundle


Have a great day!

Father’s Day 3D Camper Tutorial

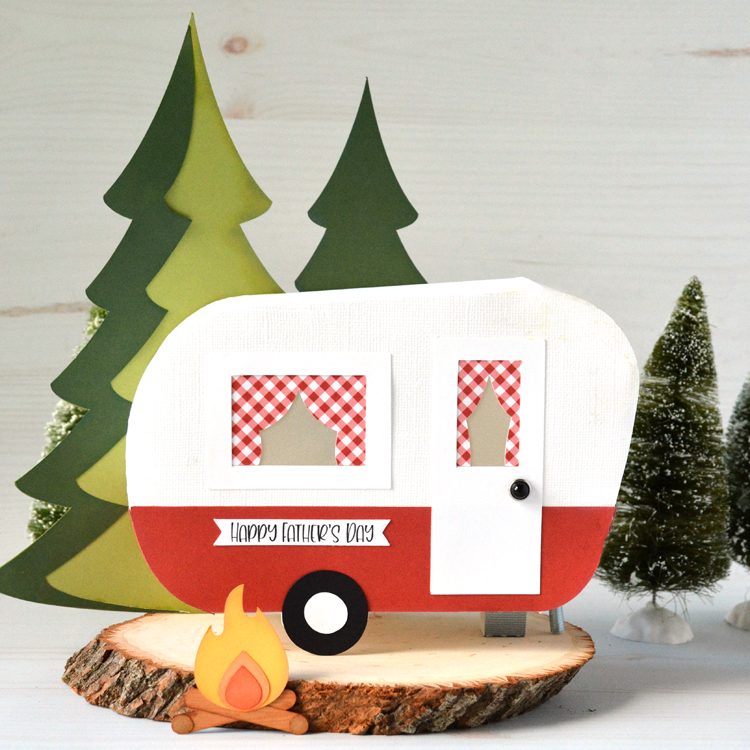
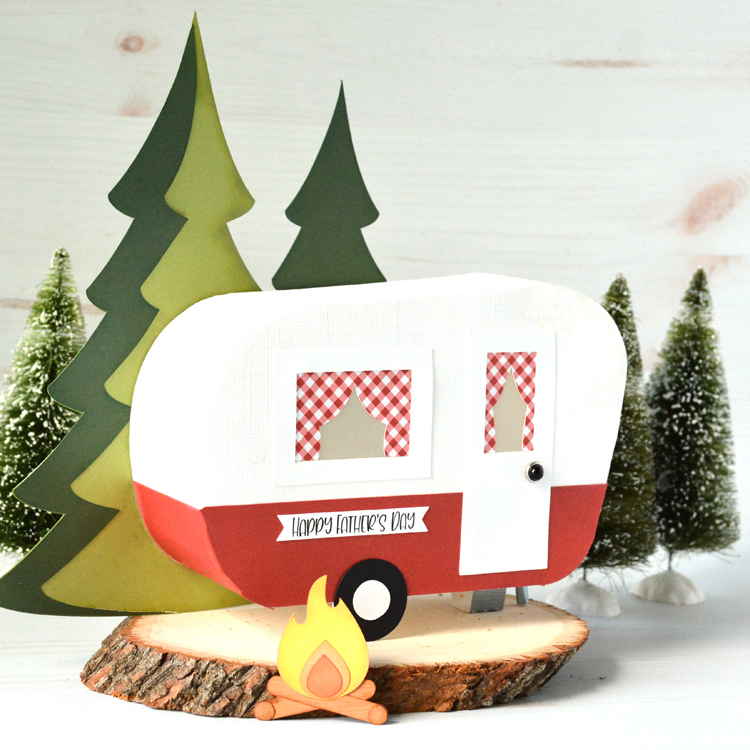
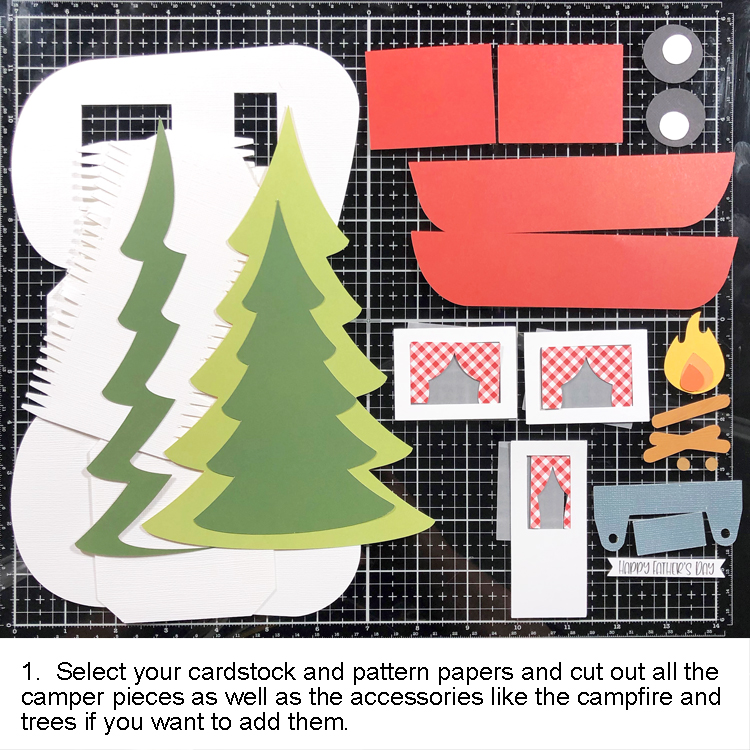
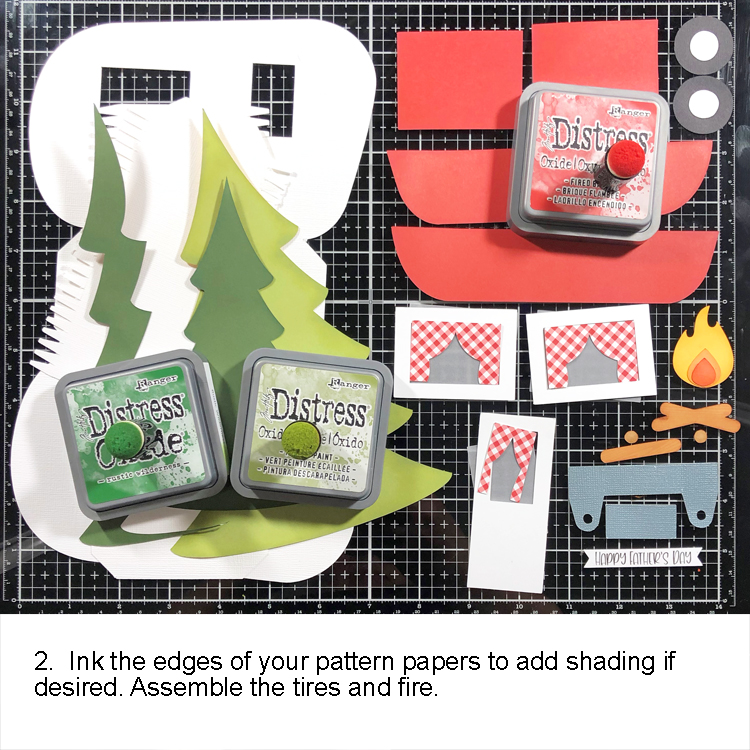
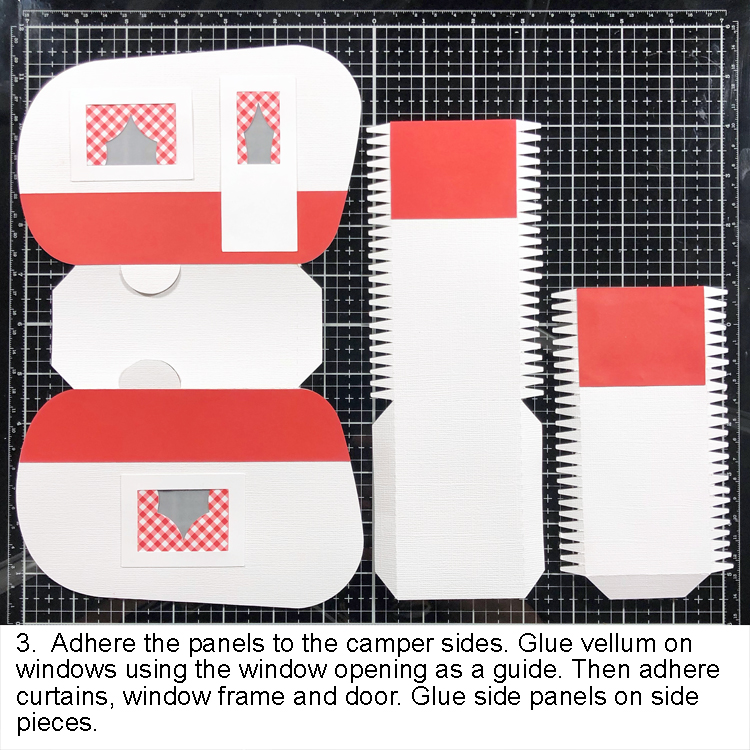
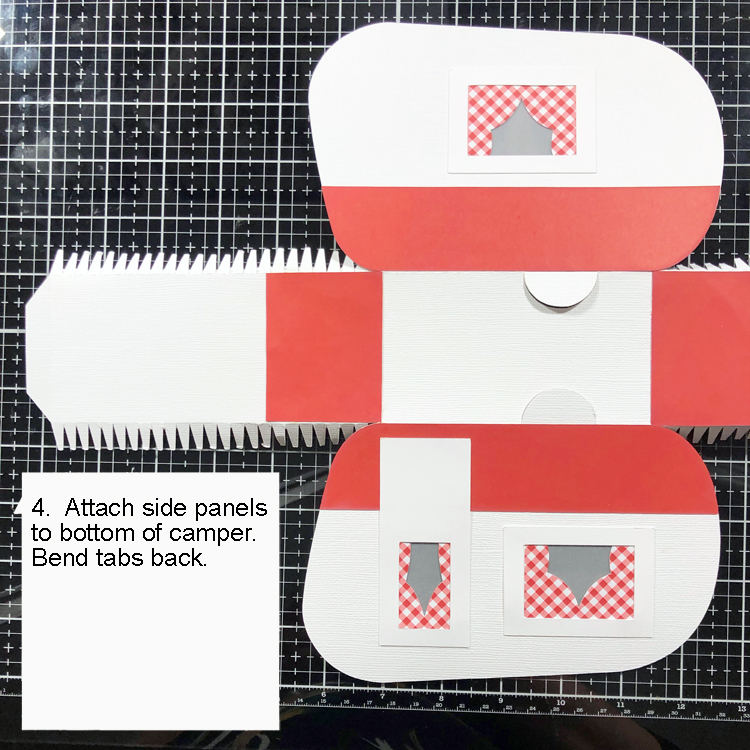
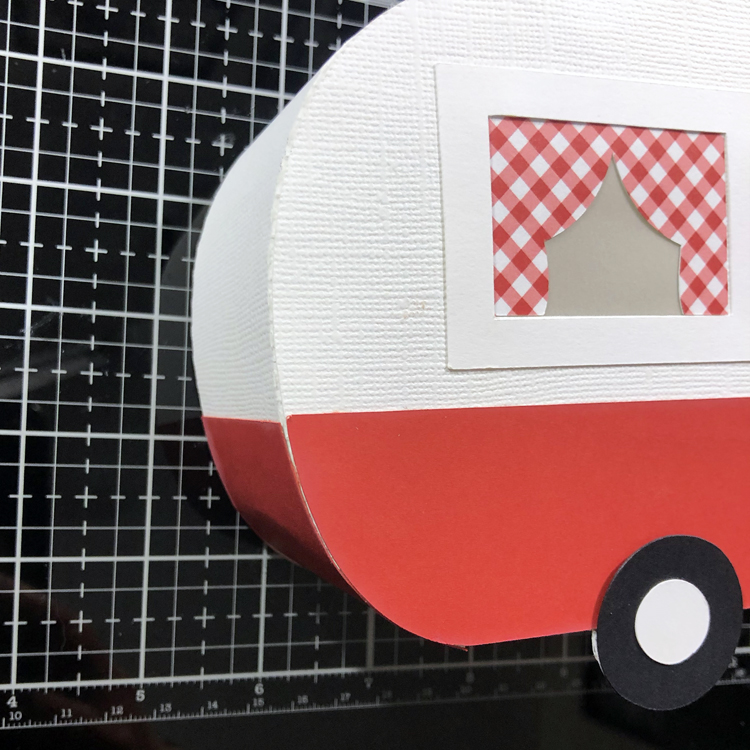
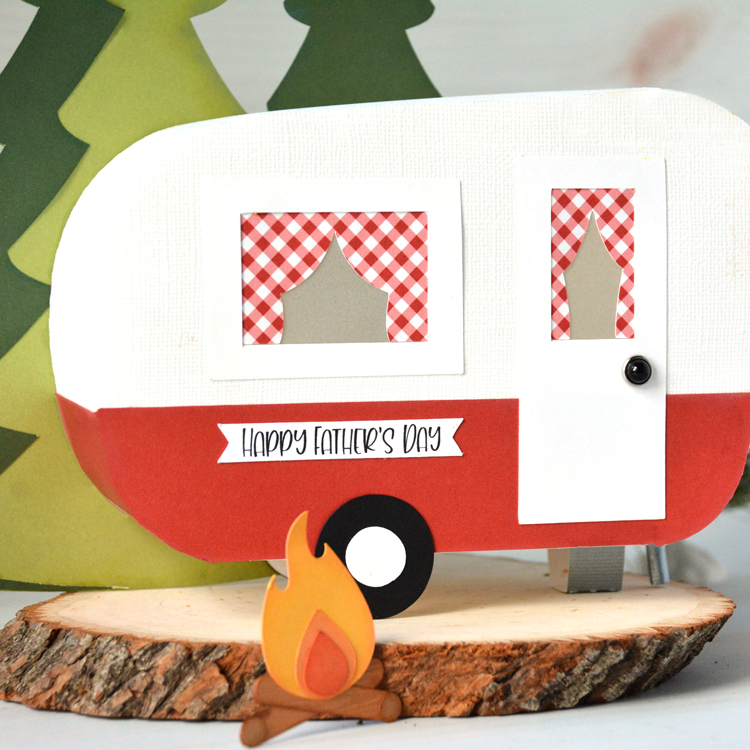
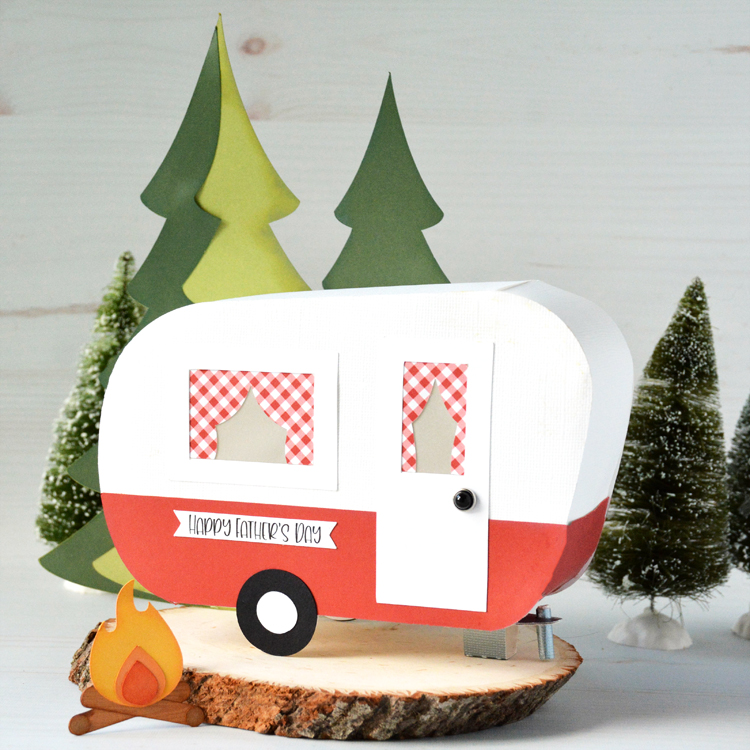
Hello everyone! Marcia here today.  With Father’s Day approaching, I wanted to make something special for my husband. He loves to camp, in fact we just returned from a camping trip in Northern Minnesota. He also loves all things vintage. We have talked about fixing up an old camper one day. When I saw Lori’s Father’s Day 3D Camper (SVG, Silhouette) I had to make it for him.

Let me show you how you can make one too.

5.  Starting on one side, slowly adhere the tabs around the curved edges of the camper. Using a quick drying glue helps. When one side is done, flip the camper over and do the other side.

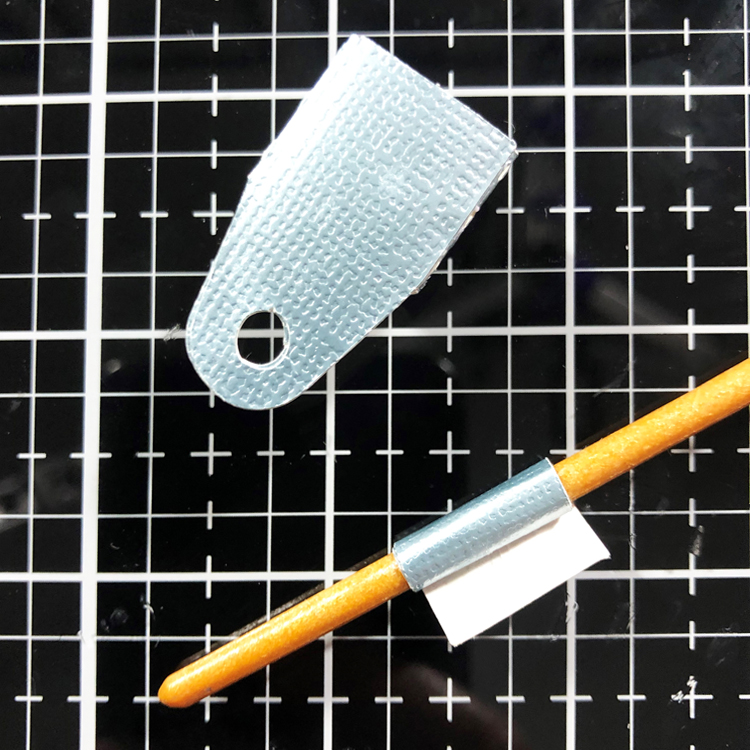
6.  Assemble the hitch. The post must be rolled up small enough to fit through the hole. Adhere hitch to the bottom of camper extending the hitch post out in front.

7.  Adhere tires. Add a self stick brad for a doorknob. Add trees in back and the fire in front of the camper. Use the Father’s Day sentiment if you want, or change it up to suit your needs.

Lori has lots of Father’s Day ideas in her shop. Go check them all out and have some fun making your own 3D Camper!

Thanks so much for stopping by.
~Marcia

Father’s Day Apron Box Card

Hello crafty friends and welcome to another Thursday tutorial! Today I want to give a quick little walk through on how to assemble the adorable Apron Box Card Father’s Day card (Lori’s SVG, Silhouette). With Father’s Day right around the corner, this is a great addition to your gift to show your appreciation to Dad! You can’t really tell from pictures but that “Best Dad Ever” piece on the front is a pocket which will hold a gift card to any of Dad’s favorite stores.
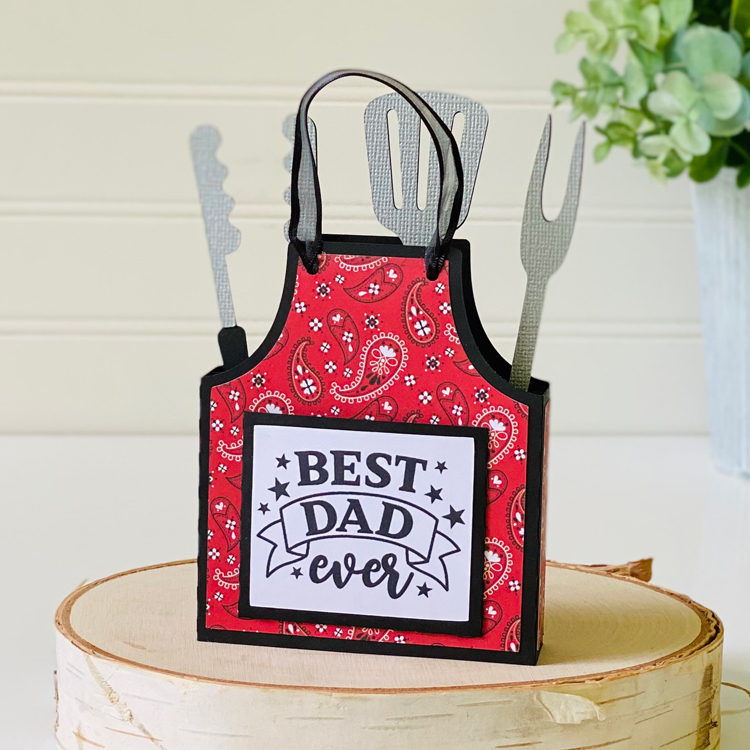
So, let’s get started making this awesome box card!

First is to gather your papers and cut out all of the pieces. That lovely red bandana print? That’s from the new collection called Fun On The Farm and I thought it perfect for this card! The sentiment is done using the print and cut feature of your cutting machine.  Lori has quick print and cut tutorials for Cricut (here) and Silhouette (here).
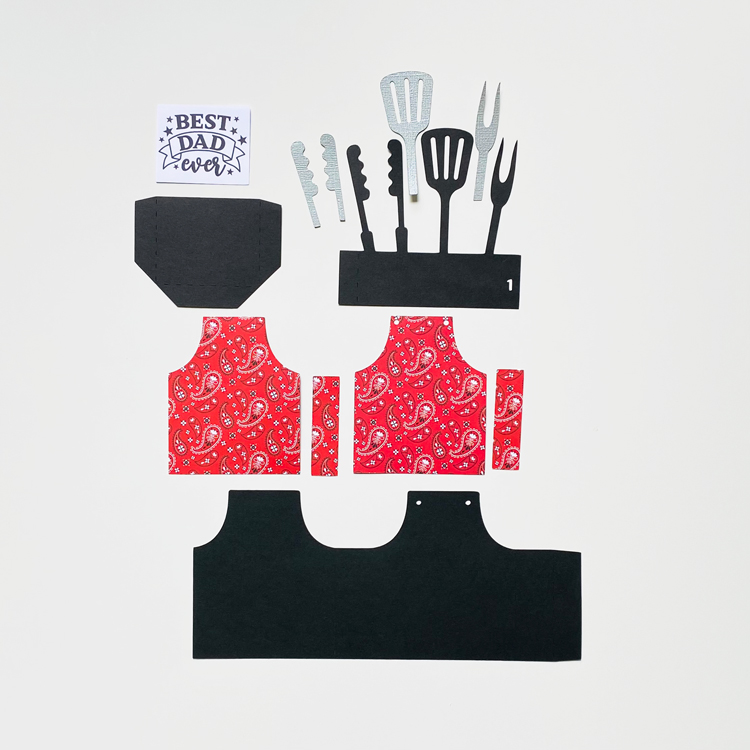
Next step is to adhere all of the extra pieces to the main pieces of the project.
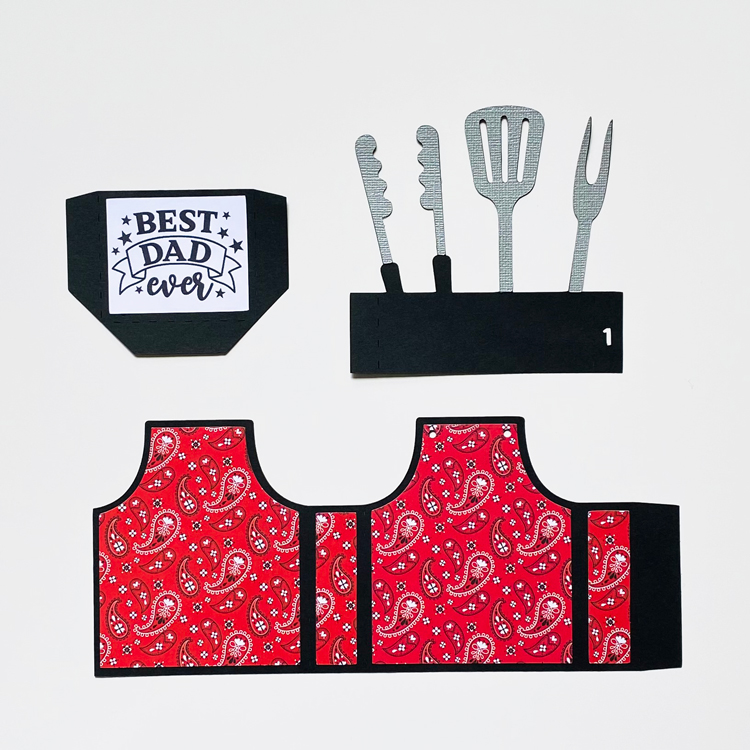
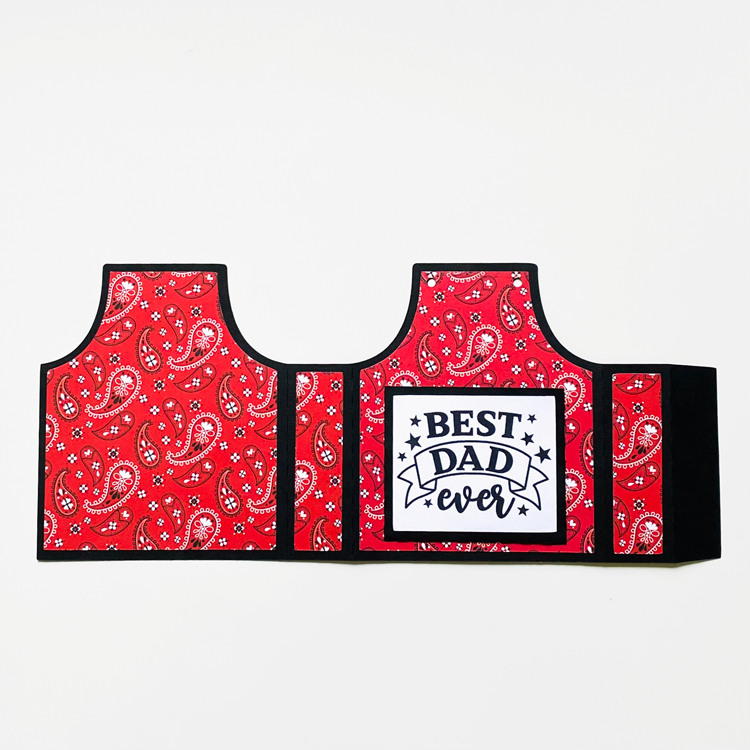
Now fold on all of the perforated lines.
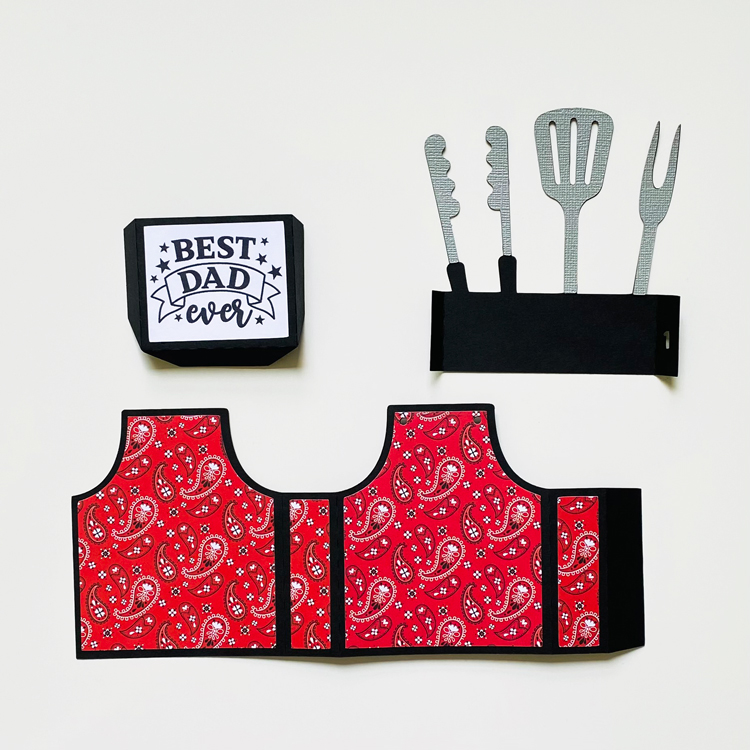
Adhere the pocket to the front of the card. Make sure that you adhere it to the side with the holes at the top of the apron.
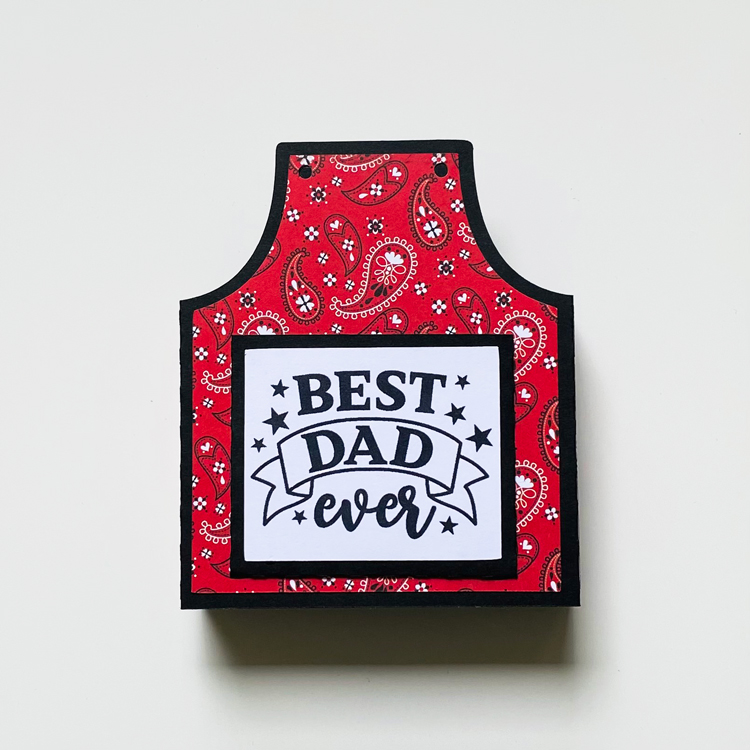
Next adhere the box side tab together.
Now you will want to adhere the “tools” piece to the inside of the apron box.  The tabs are glued to the sides of the box.
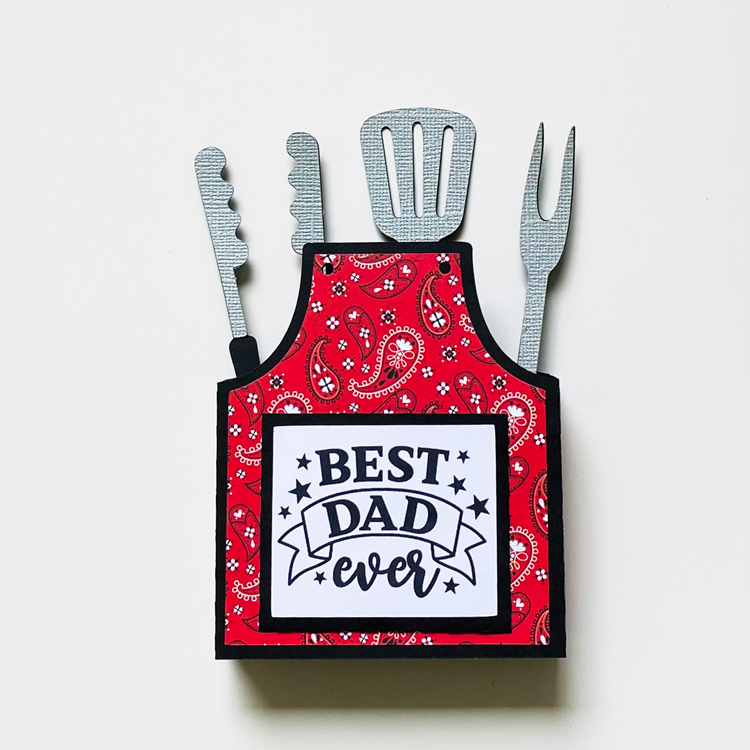
And lastly, you will want to decorate your box card. I choose to add some black grosgrain ribbon to the top holes of the apron box. Now it’s ready to give to Dad!

Thanks for stopping by today! Hope you enjoyed my small tutorial and give it a go…Dad will love it!

Aimee