6×6 Fall Birthday Wiper Card

Happy Wednesday everyone! Aimee here with you today sharing an adorable new “surprise” birthday card from Lori. She has put out a fabulous new collection of 6×6 Wiper Cards for Birthday and Christmas. I created the 6×6 Wiper Card Happy Birthday (Lori’s ShopSilhouette Design Store) with her new My Favorite Fall collection. I have a sweet friend who has a birthday in October so I thought I would combine this cut file with the new Fall papers to wish her a Happy Birthday!

 These cards are already adorable just from the front panel but when you slide it to the right there is a sweet balloon surprise that pops up! I added some white pen lines to the balloons to give it a look of dimension.

And there is a special back panel in the cut file for writing your message to the recipient. I added a stamped and foiled sentiment to add a little more pizzazz.

I love how this fabulous card turned out and ready to make some more! There will definitely be some given away at Christmas.

Thanks for stopping by today! Hope everyone is enjoying the last of their Summer!

Aimee

Very, Very Not-So-Scary Autumn Paper Houses with Michelle

Thank you for joining me, Michelle, in sharing some Autumn crafting with Echo Park Paper’s Celebrate Autumn collection. Autumn is my favorite time of year to craft. I love all of the colors and textures of the Season.

Autumn Paper Houses

To make my Celebrate Autumn houses, I used Haunted House Smaller and Haunted House Tall svg files. As you can see, my houses aren’t scary at all! I just snipped the cobwebs of with my scissors.

Lori Has a great assembly video where she explains step by step how to put them together. You can find the files for the Haunted House Smaller at the Lori Whitlock SVG Shop, or at the Silhouette Design Store.

You can also  find the files to make Haunted House Tall at the Lori Whitlock SVG Shop or at the Silhouette Design Store.

There’s a total of five houses in the series, so you can craft an entire village!

Have a crafty day!

Michelle

<3

Reverse Canvas With Ashley

Reverse canvas projects have been floating around.  Have you made one yet?  You start with a canvas that can be found at your favorite craft store, and you unstaple the canvas from the frame.

Next pick your favorite Lori Whitlock file from her shop or the Silhouette Design Store.

Get to work making your design in your software.  I used these files: World Where there are Octobers ( SilhouetteSVG);  Pumpkins (SilhouetteSVG) ;  Decorative Pumpkins (SilhouetteSVG), 3 Pumpkins (Silhouette, SVG)  Flourish (Silhouette, SVG)

I laid down the canvas, then the frame, then placed all the Heat Transfer cut files and arranged them. Now they are ready to iron on.

I painted the frame and stapled the canvas to the back.

I’m ready for October (well maybe) with this fun Anne Shirley inspired project.

Give Thanks Pumpkin Card

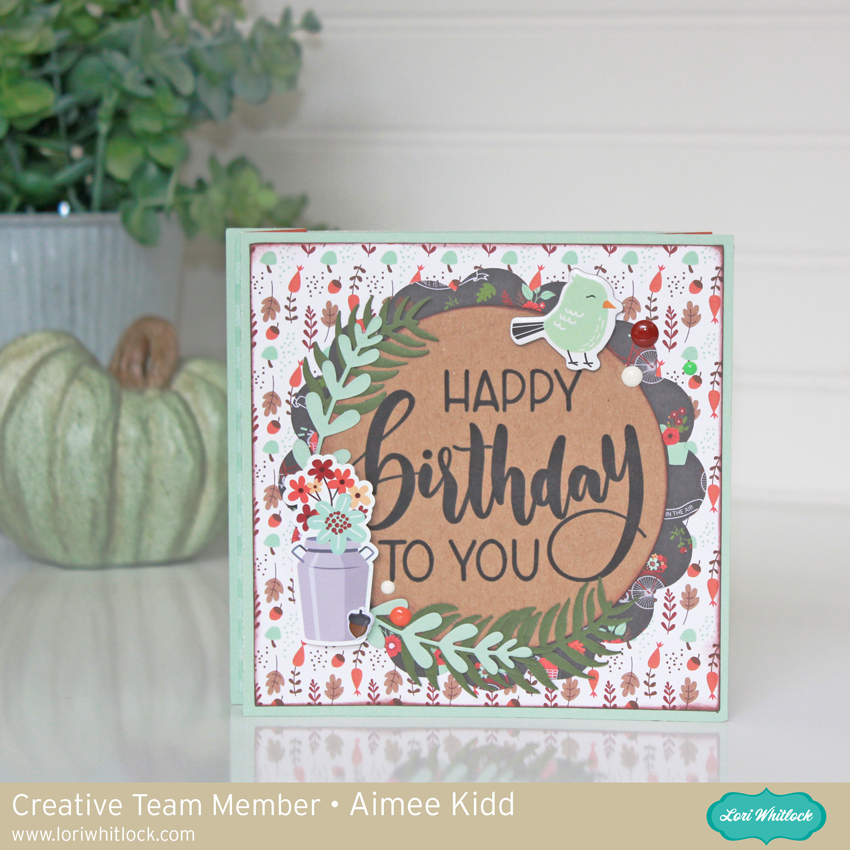
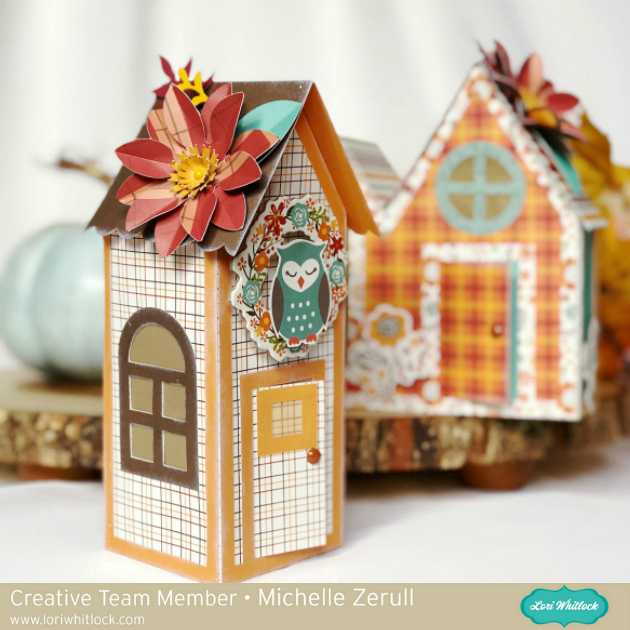
Hi, Crafty Friends!! Creative Team Member, Mitsyana Wright, here. It’s a new month and I’m not going to lie, I’m missing Halloween already.  It’s ok, I have lots to look forward to and lots to be thankful for. And speaking of thankful… Today, I’m bringing you this Give Thanks, Pumpkin Card.

Let me show you how I made it…

Here are the supplies you need:

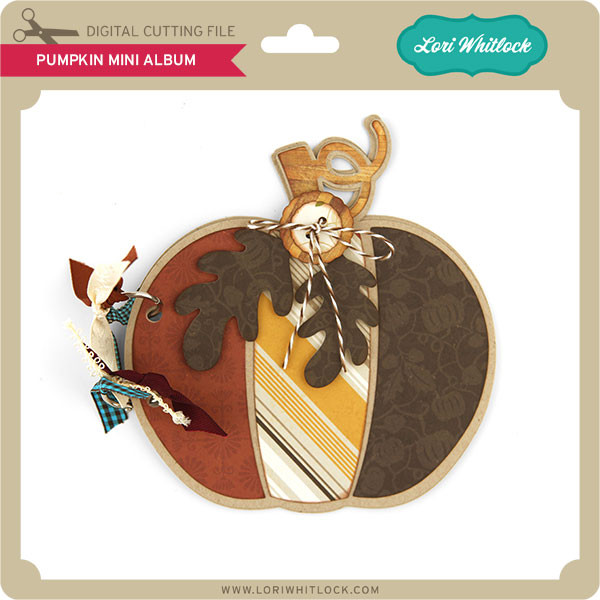
  • Pumpkin Mini Album (here in the Silhouette Store)
  • Give Thanks (here in the Silhouette Store)
  • Patterned Cardstock (Autumn Leaves Stack- DCWV)
  • Xyron Creative Station
  • Tim Holtz Distress Ink- Vintage Photo
  • Hemp Twine
  • Glue Pen

I used Lori Whitlock’s Pumpkin Mini Album to create my card base.

I opened the SVG file using my ecal software.

Then “UNGROUP”ed the holes from that are in the pumpkin base and files.

Then, I cut and pasted the window base onto a new page.

I made a mirror image then slightly had them overlap at the center. Then I highlighted the whole and “WELDED” the two pumpkins together.

Once the welded pumpkins were cut, I used my bone folder to crease my card.

Then I die cut the panel pieces, stem, and accessories that come with the file.

Next, I ran the patterned paper through my Xyron Creative Station Lite. Then I inked up the edges with Tim Holtz’ in Vintage Photo. Then All I simply did was peel and stick! Easy-Peasy!!

I also used Lori Whitlock’s Give Thanks Title for my cards sentiment.

I sized it to fit the pumpkin cover in my ecal software. Then opened a new window and cut and pasted it there.

After cutting these words out, I left them in their negative space and inked the edges. Keeping them in the negative space helps to reduce bends and tears.

I used a glue pen to attached my sentiment onto the front cover.

Then, I  added the leaves and button. I  fastened them together with hemp twine.

I also used a micron pen to add details to the words and swirls for a little definition.

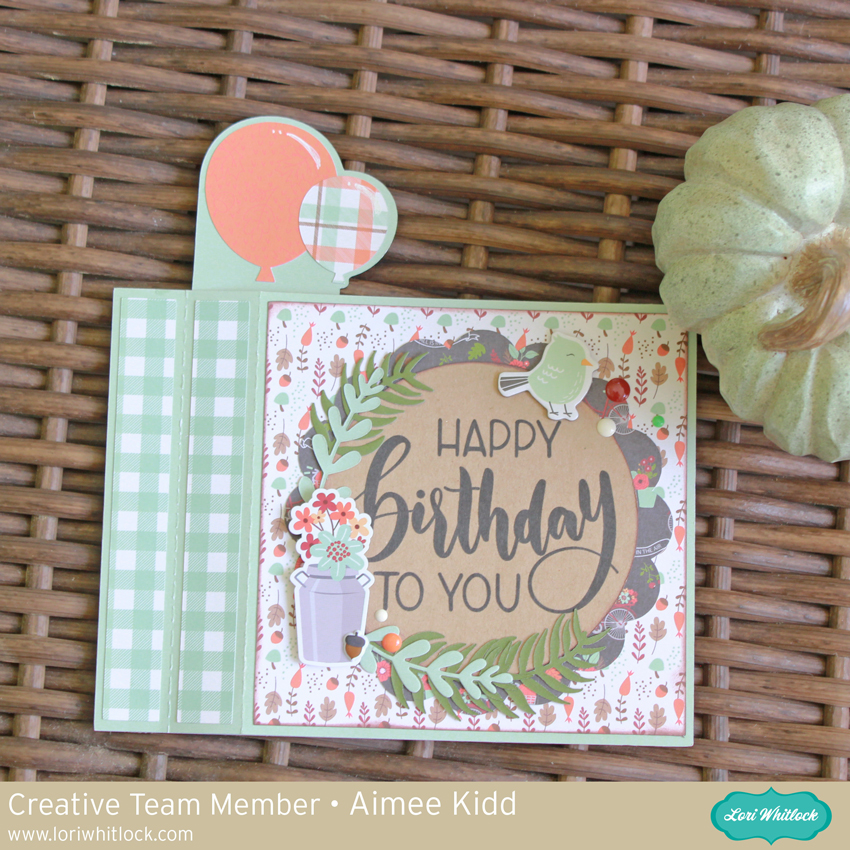
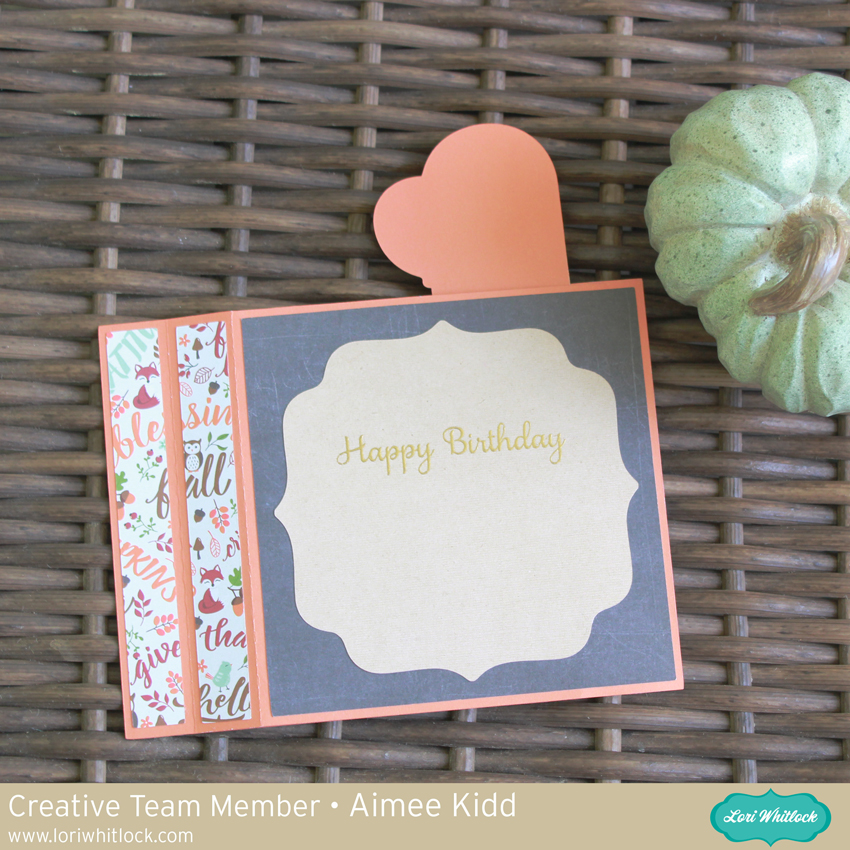
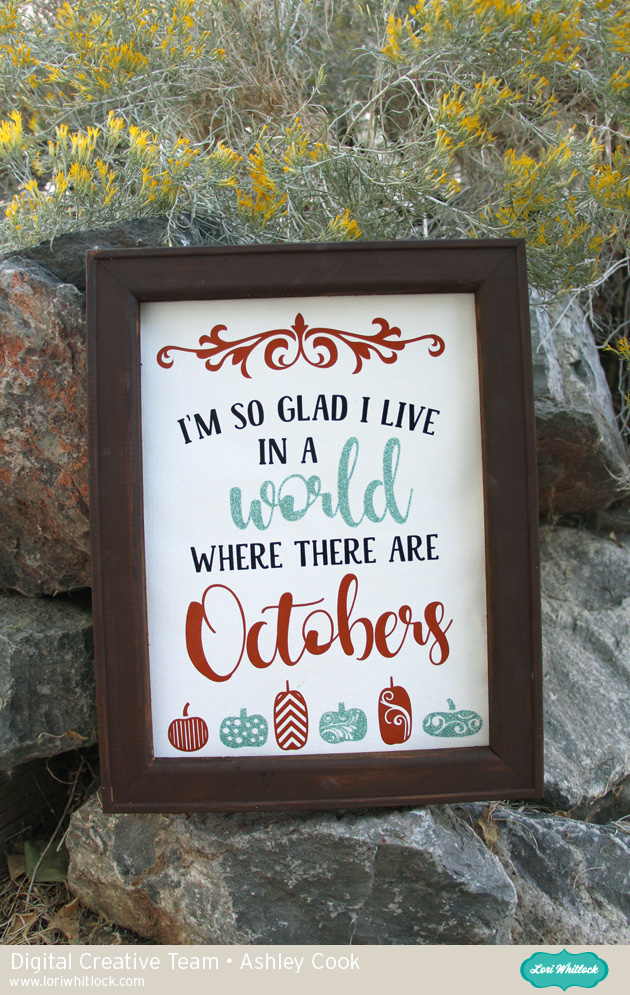
And here is my finished card…

Now, it’s ready to give to someone I am very thankful for…

It’s so hard to choose!! I’m going to have to make more!! There are too many people I am incredibly thankful for! I guess that is a good problem to have!

Hope you all enjoyed my project for today!! See you soon!!

~Mitsyana

3D Pumpkin with Kathy

Hi Everyone!  It’s Kathy today with a cute 3D Pumpkin, perfect for Fall and Halloween gift giving or decorating!  Take a peek…

I used Lori’s 3D Pumpkin Short  (here in the Silhouette Store)  to make this adorable box.   This box also comes in medium and tall (here and here in the Silhouette Store.)  Lori also has great assembly directions for these pumpkins here.  The best part, the pumpkin opens up to hold some goodies!

This would make a fabulous gift for a friend or coworker.  It would also make a great seasonal centerpiece!  That’s it for me today, thanks for stopping by to peek!