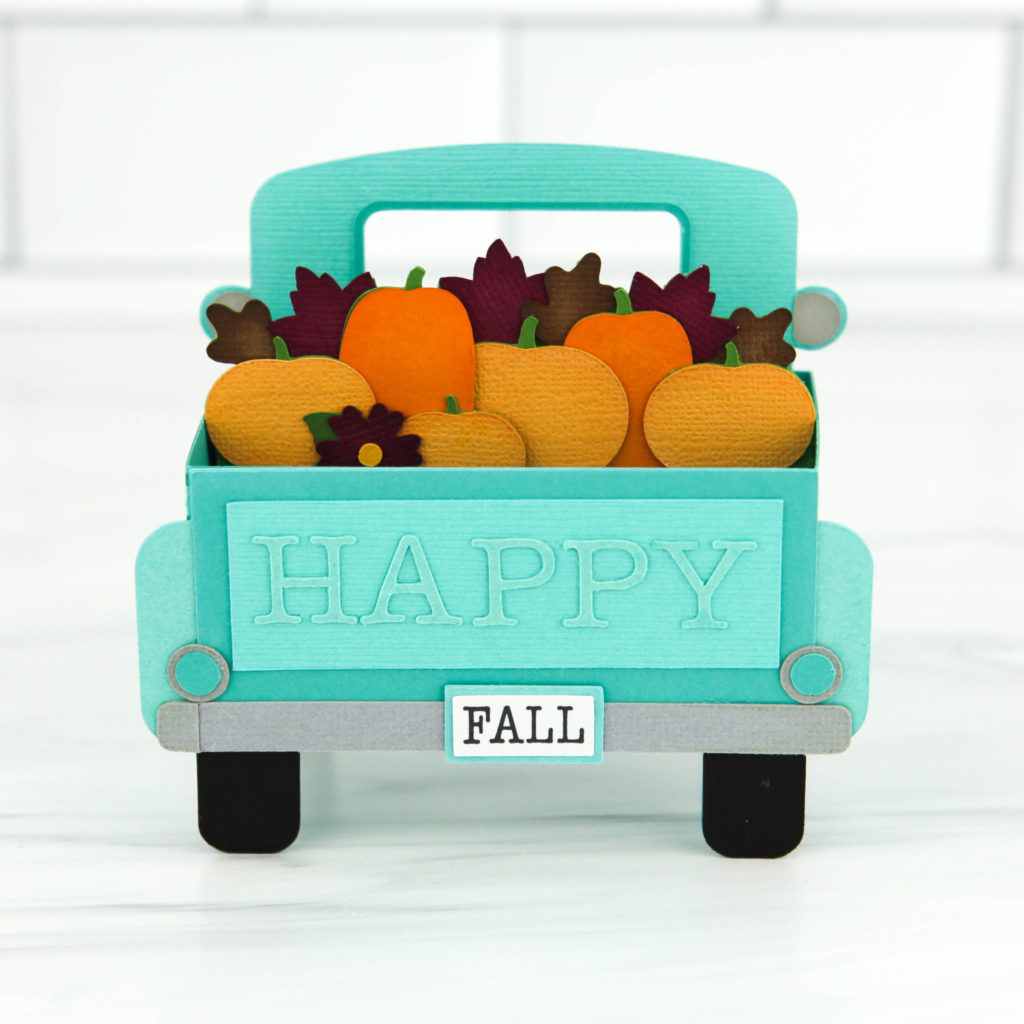
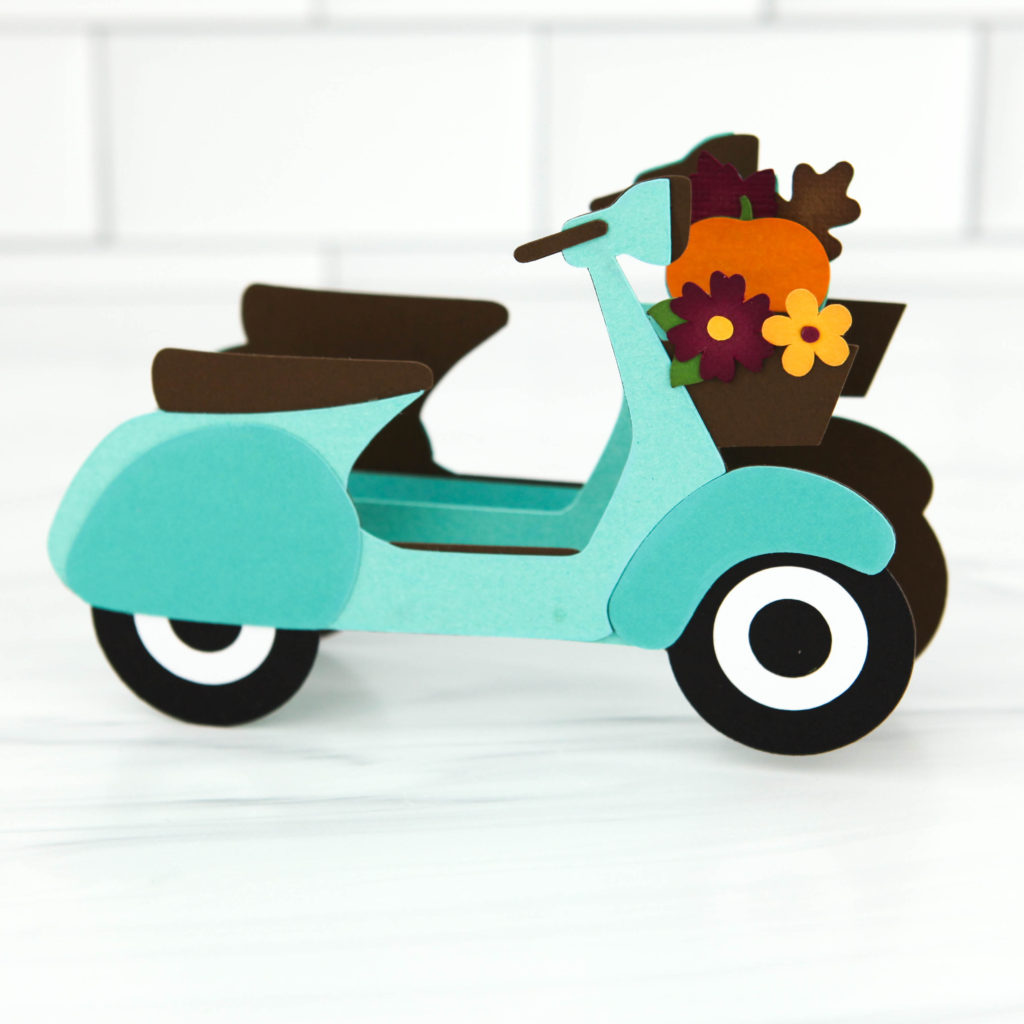
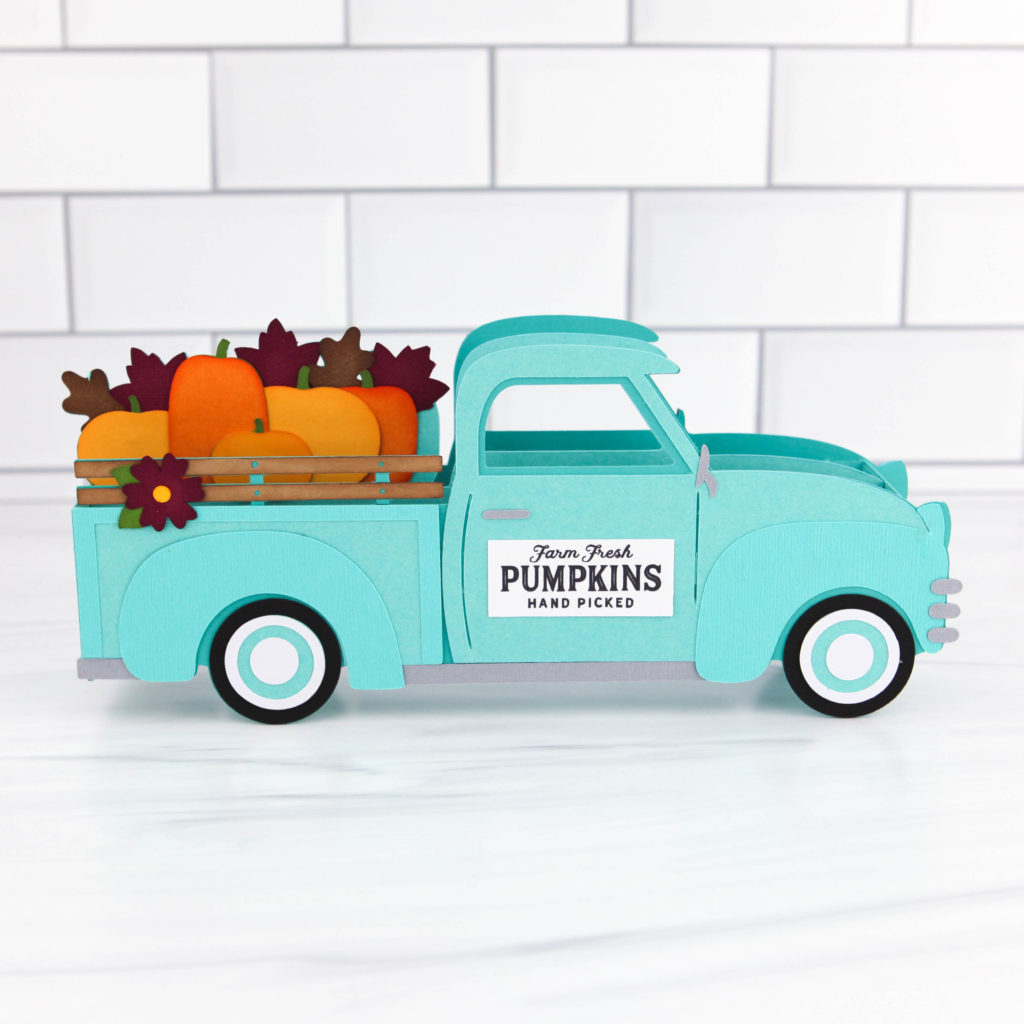
Fall Acorn Box Card

Hey, crafty friends! Ready to say goodbye to summer? The little signs of Fall popping up in stores have me excited for cooler days, pumpkins, and seasonal crafting. For today’s tutorial, I worked with the Acorn box card (SVG, Silhouette).
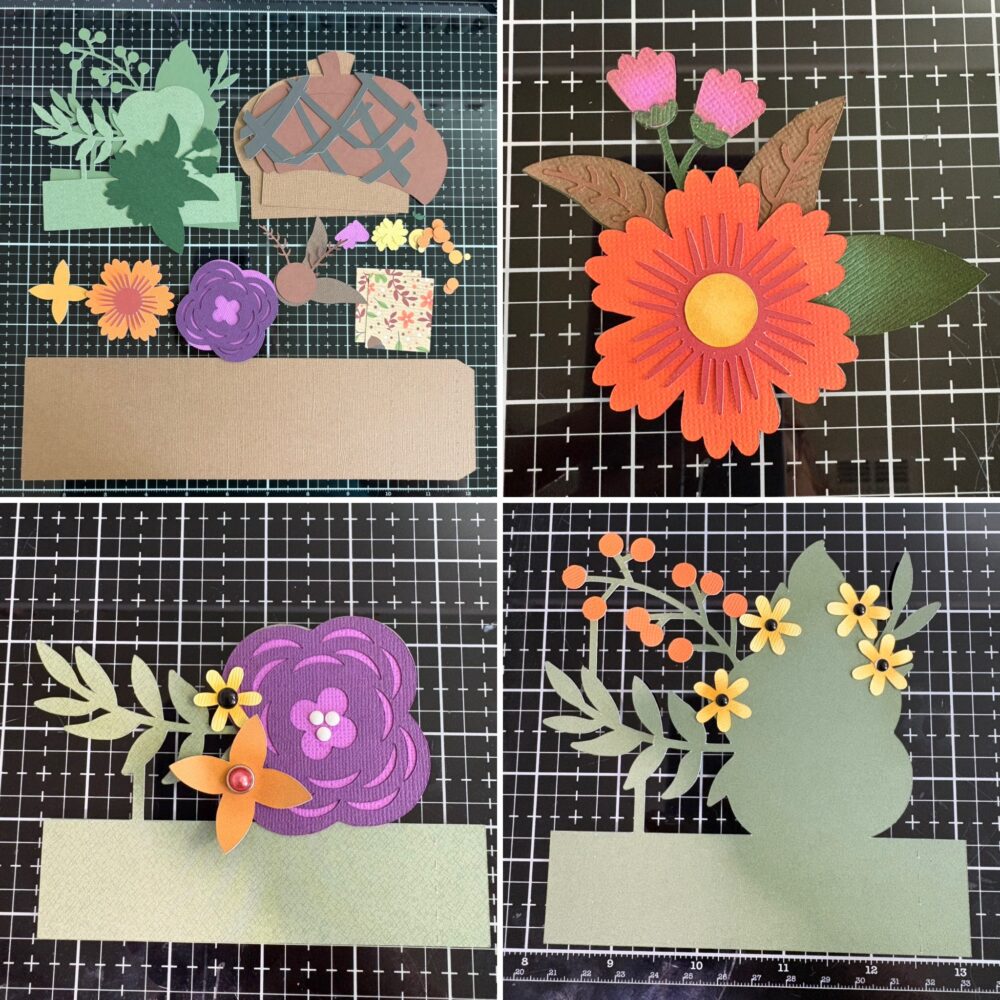
This box card features two insets, two acorn covers, and a flower cluster on the front. I began by adding ink to most of the elements to give them dimension. The large flowers have two main layers plus a center, while the smaller flowers have one layer and a center. For several flowers, I swapped the paper centers for enamel dots or brads. The suggested placement for the small flowers works well, but if I could, I’d move the small orange flower out and up along the green stem. Once assembled, the acorn stem covers it.
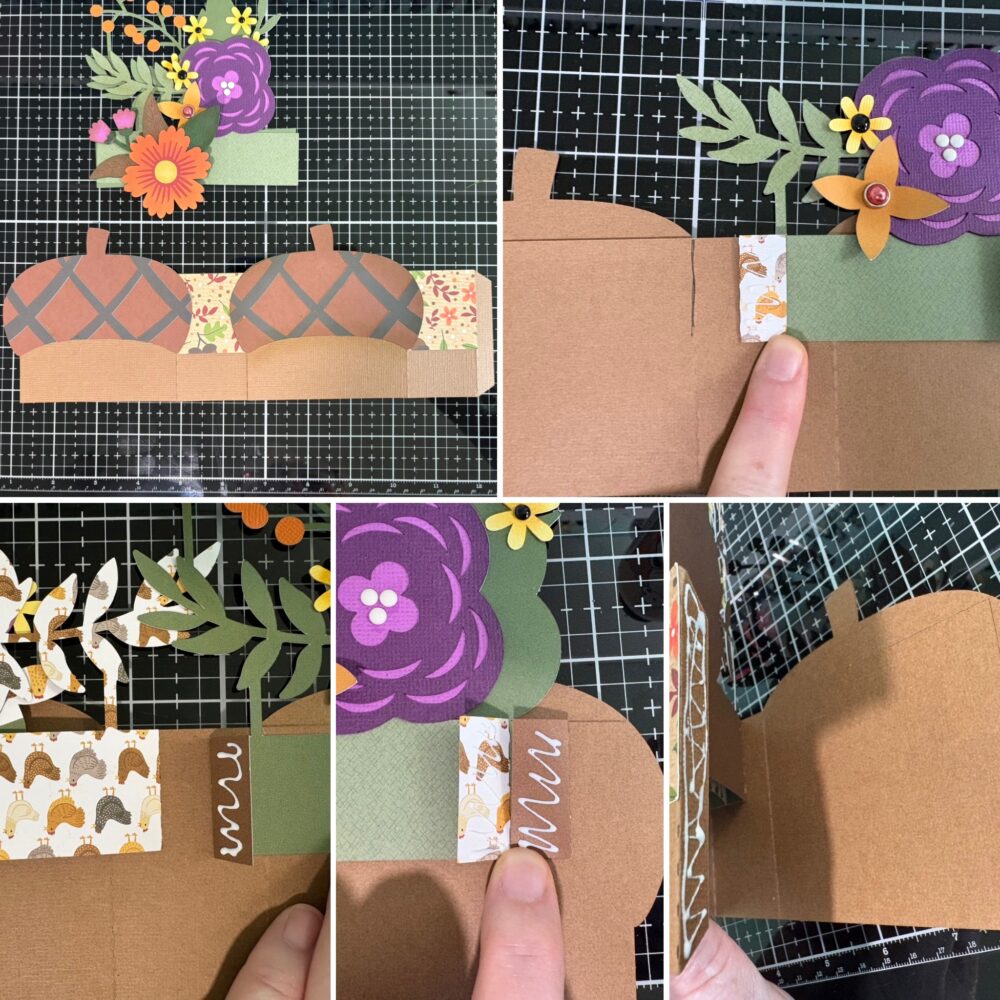
The main body of the box card is a simple box with two acorn covers and two small, patterned paper covers. Each acorn has three layers: one for the body and two for the cap. The score lines are folded into mountain folds, with the acorns attached to the long sides of the box and the patterned papers on the short sides. For the inserts, I folded the score lines as valley folds. I flipped the card base over, added glue to the back of the tab on the purple flower insert, and lined it up with the top of the box and the score line. I repeated the process for the second insert, aligning it with the top of the box and the back of the first insert. Then I flipped the inserts back over, glued the back side of the tabs, and closed the card base over them, making sure everything was aligned. Finally, I glued the box tab and closed the card, carefully lining up all the edges.
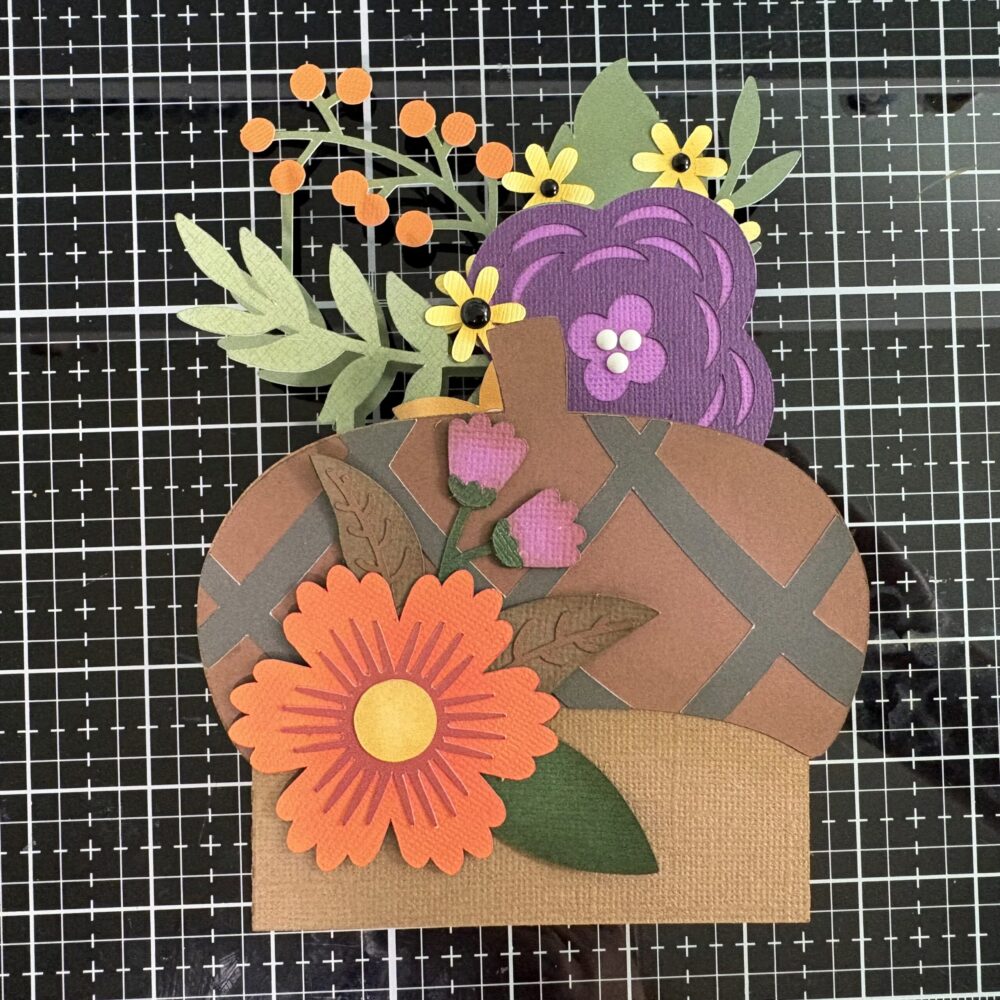
With the acorn box, I attached the orange flower cluster to the front of the box. I also added a “Hello” sticker and a small acorn sticker from my stash of supplies.
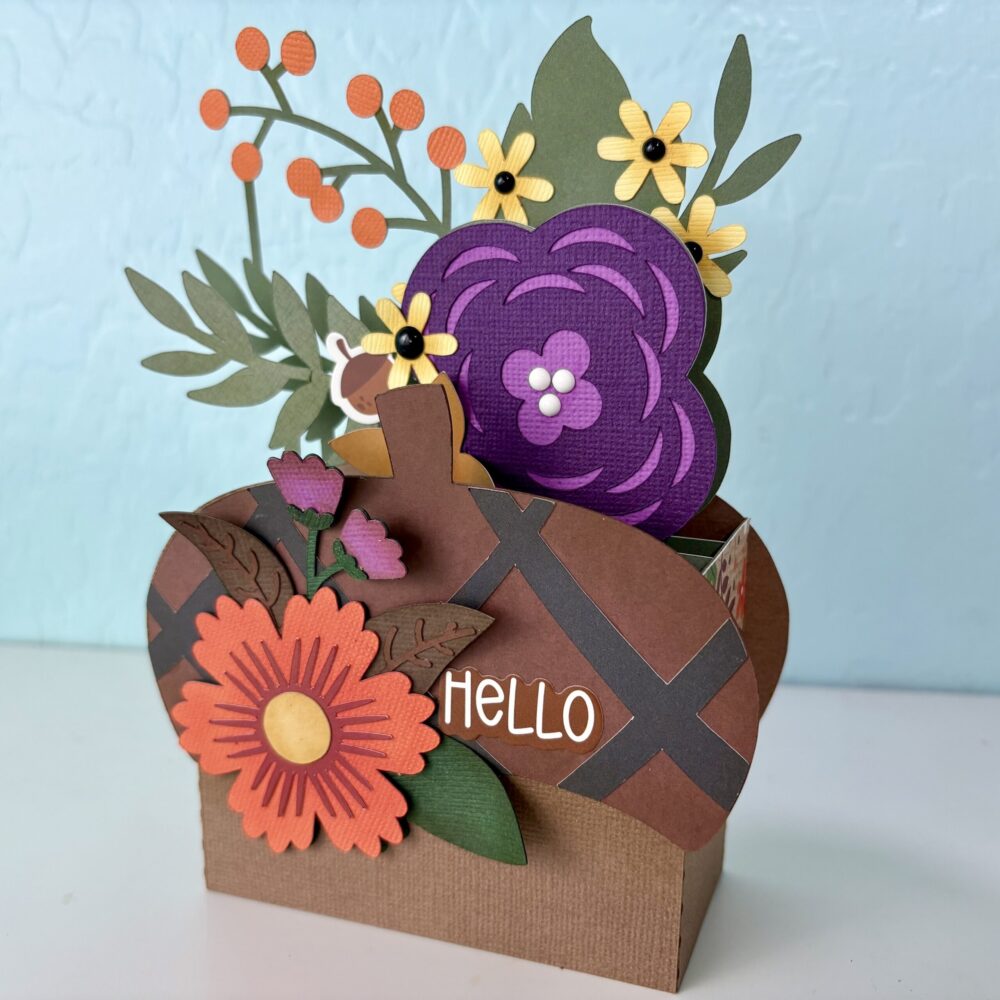
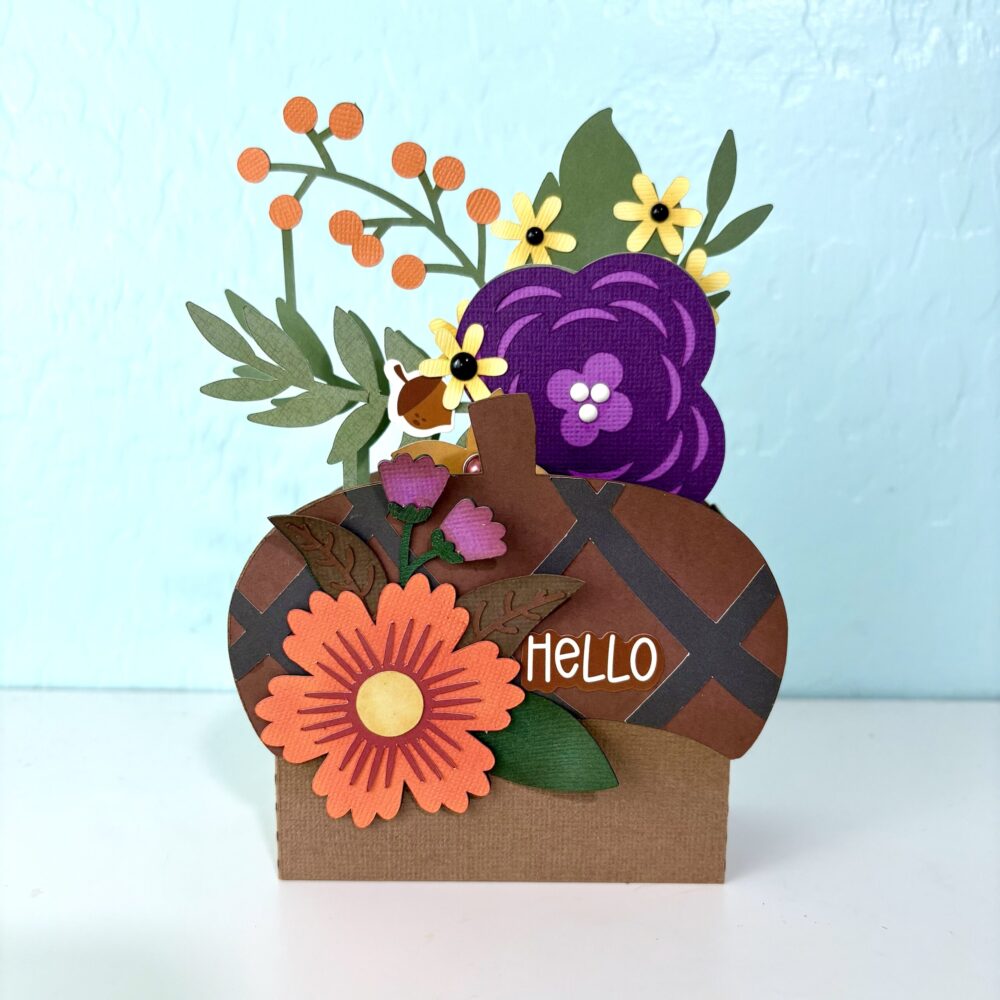
That’s all for me today, thanks for stopping by!
Brandie

Big Box Card Basket Sunflowers

Hello friends! Today I am sharing a tutorial for the Big Box Card Basket Sunflower card (SVG, Silhouette). This basket is much larger than a standard box but still folds flat for easy storing. These basket cards are perfect for a cute display or gift to brighten someone’s day. I used papers from the Farmers Market collection by Echo Park Paper.

This basket has two separate box pieces and three inserts. For my flowers, I used an embossing folder to give the middle of my flowers some more interest. I also inked the edges of the flowers and leaves to add dimension. I also shaped the flower petals to help give the flowers some added volume. For the box I folded all of the score lines into mountain folds and added the decorative panels to each side of the outside of the box. I then glued the two box panels together at the tabs.
Moving on to the inserts; Insert number one has two sunflowers. I glued one small sunflower and one medium sized sunflower and shaped the leaves a little. Insert number two is the basket handle and has two decorative panels that I glued into place. The third insert has three sunflowers; I used two small sunflowers and one medium sunflower then shaped the leaves on this insert as well. I also glued the basket all together forming the box shape.
Next, I glued the inserts into the basket. I folded the tabs into valley folds and added glue to the back side of the tab. I made sure to line up the insert with the top edge of the basket and bumped the front edge of the tab to the inside front of the basket on both sides. Before the glue is set I also folded the basket flat to make sure it would lay flat for storage.
I then repeated the steps for the remaining inserts but lining up the tabs to the insert in front of it instead of the basket front.
To finish the sunflower basket, I glued one of the large flowers to the front of the basket and the last flower I glued to the handle insert. I also added a sticker from the collection.
I love how this project turned out. Thanks for stopping by today!
Brandie

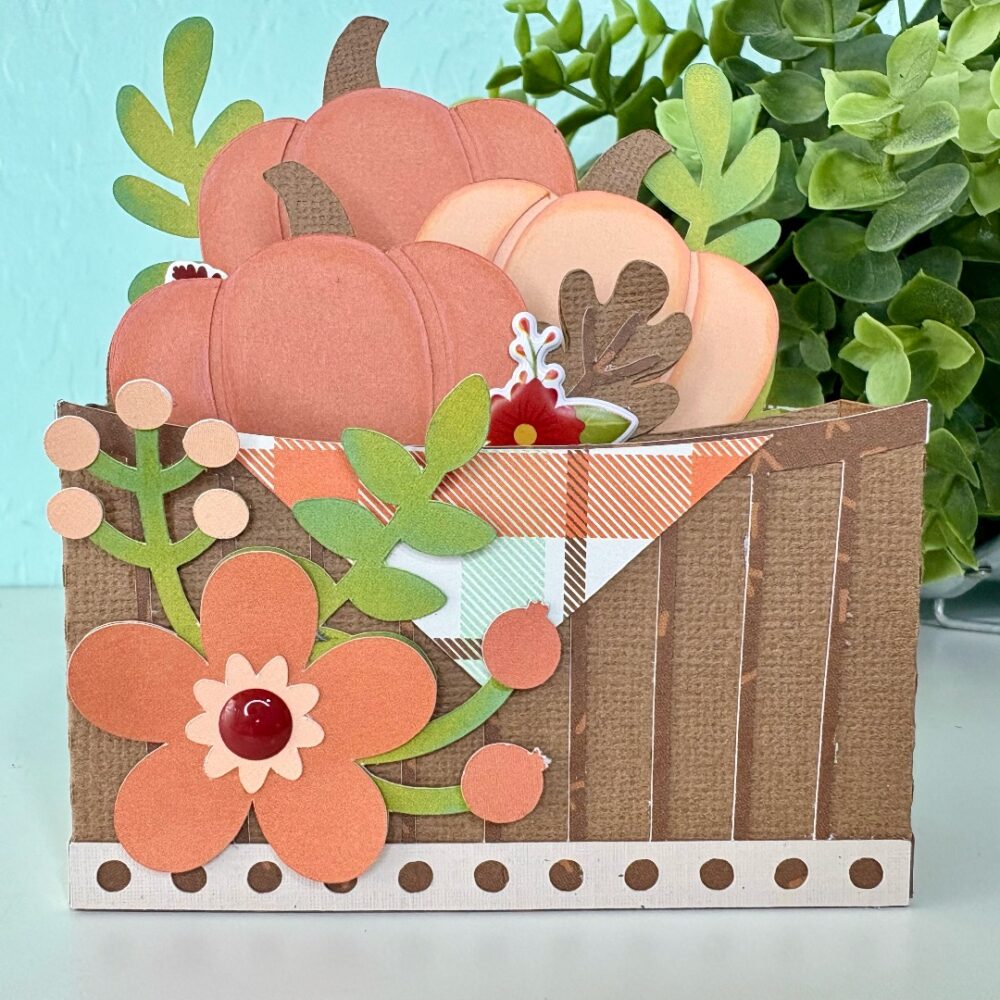
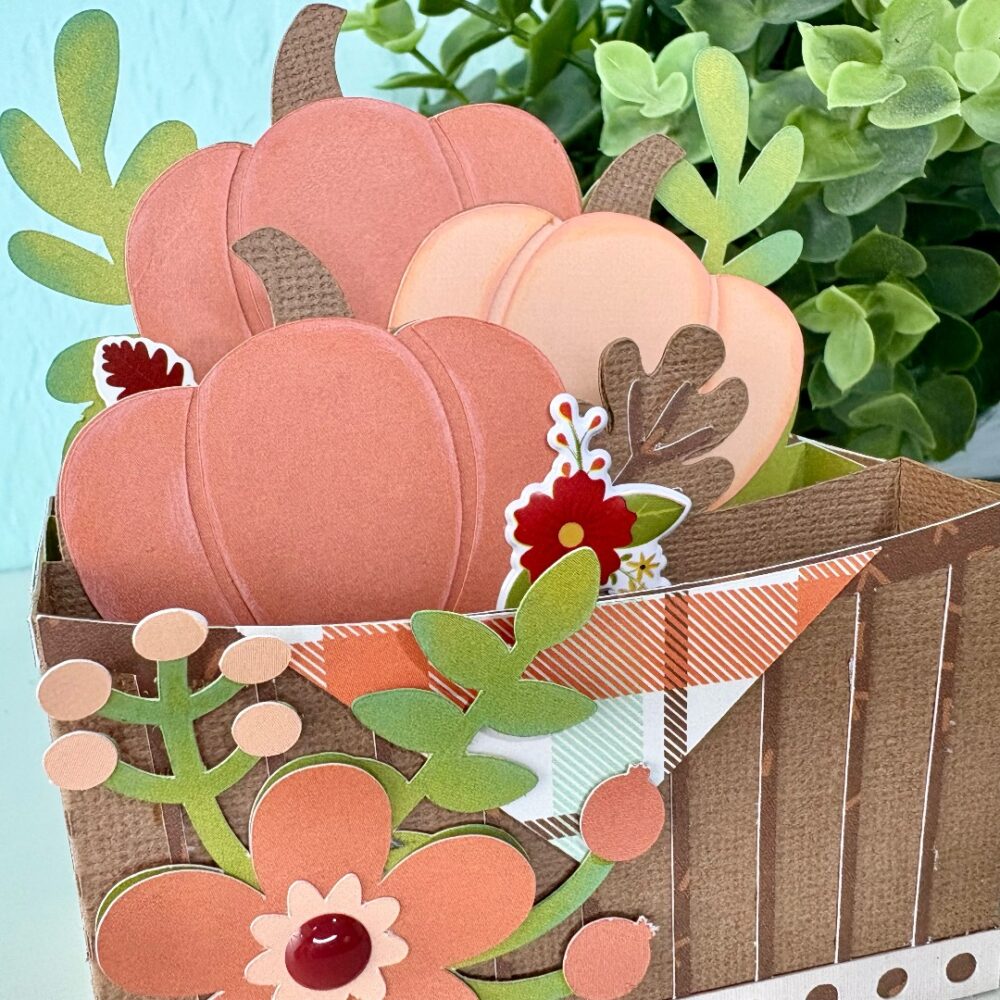
Pumpkin Barrel Box Card

Happy September! Today I am sharing the Box Card Pumpkin Barrel (SVG, Silhouette). This box card is so warm and sweet. I love this time of year and this pumpkin box card fits perfectly. The barrel is a cute twist on the standard box shape. I also added a few stickers from the I Love Fall paper collection by Echo Park Paper. This card is also part of the A2 Box Card Autumn Bundle that you can find here.
Thanks for being here and happy Labor Day!
Brandie Adams

Box Card Teacup Fall Raccoon Tutorial

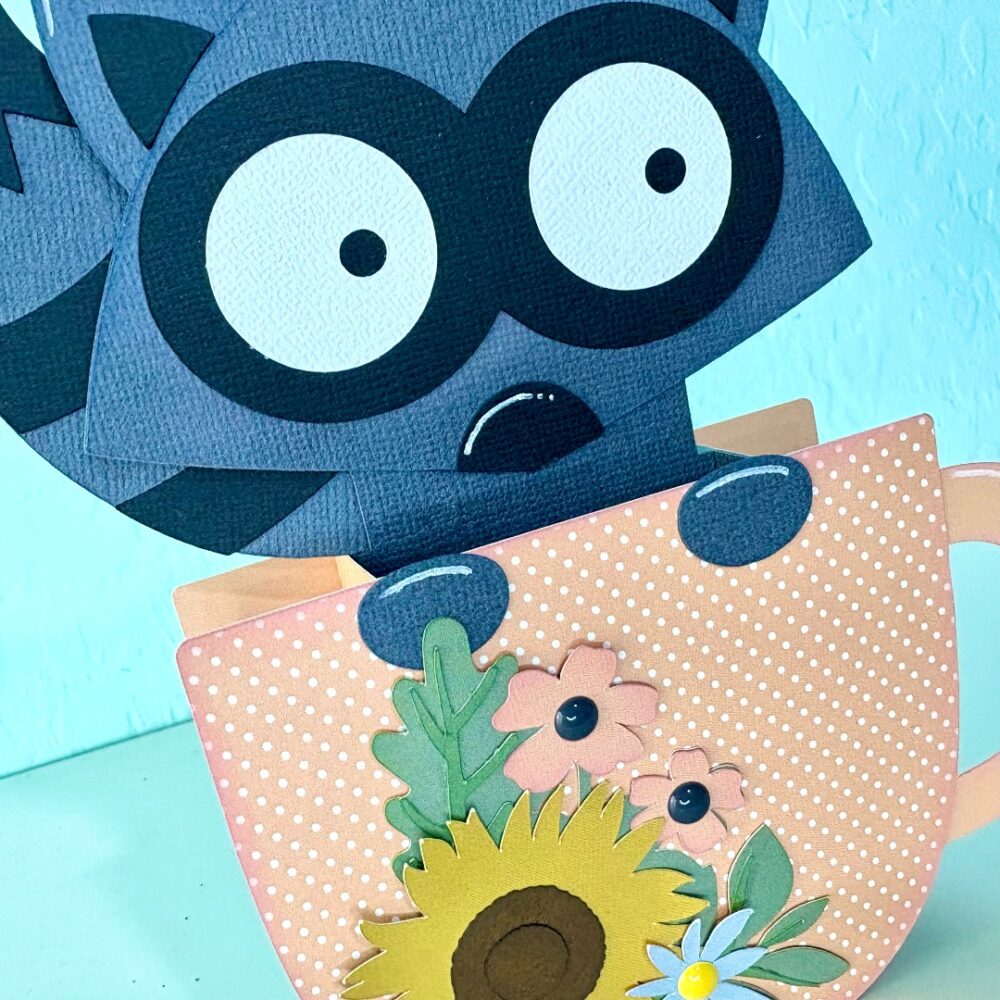
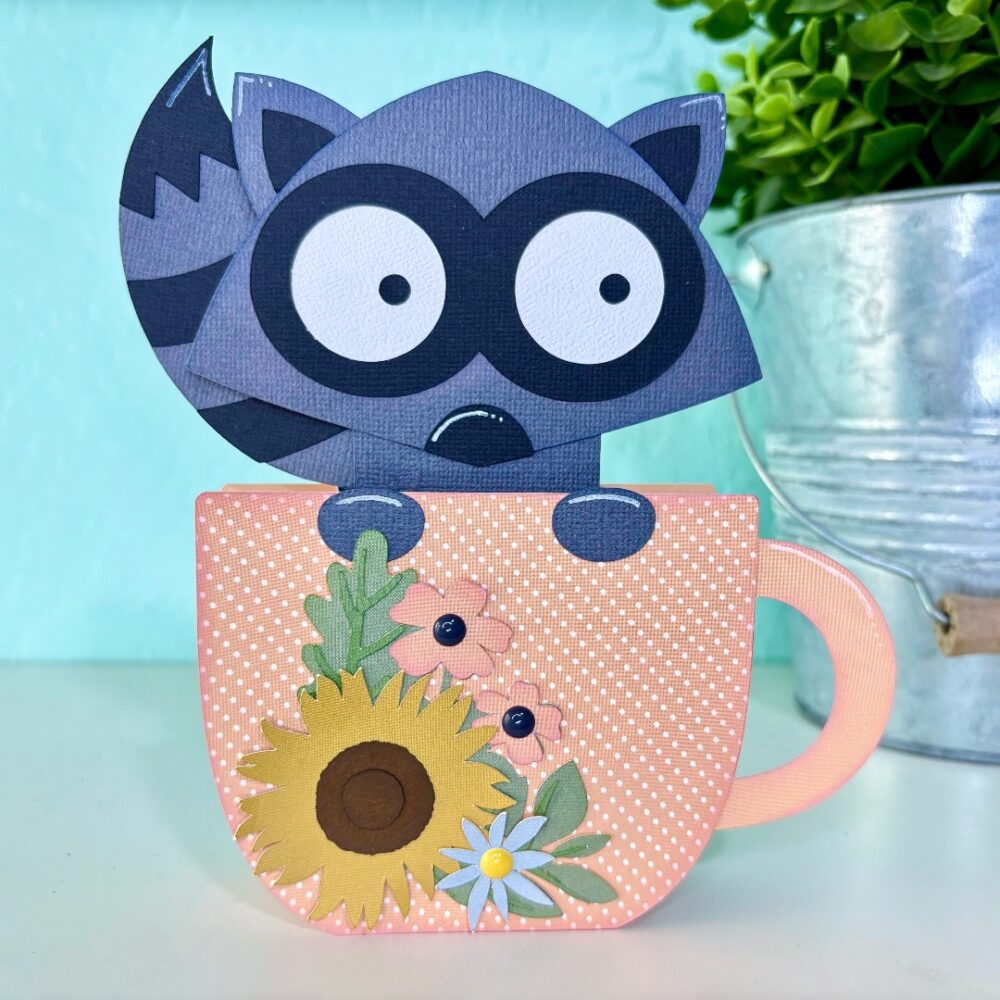
Hello friends! Today I am sharing an assembly tutorial for the Box Card Teacup Fall Raccoon (SVG, Silhouette). This box card works well for any fall occasion, but I will be using it as a birthday card.

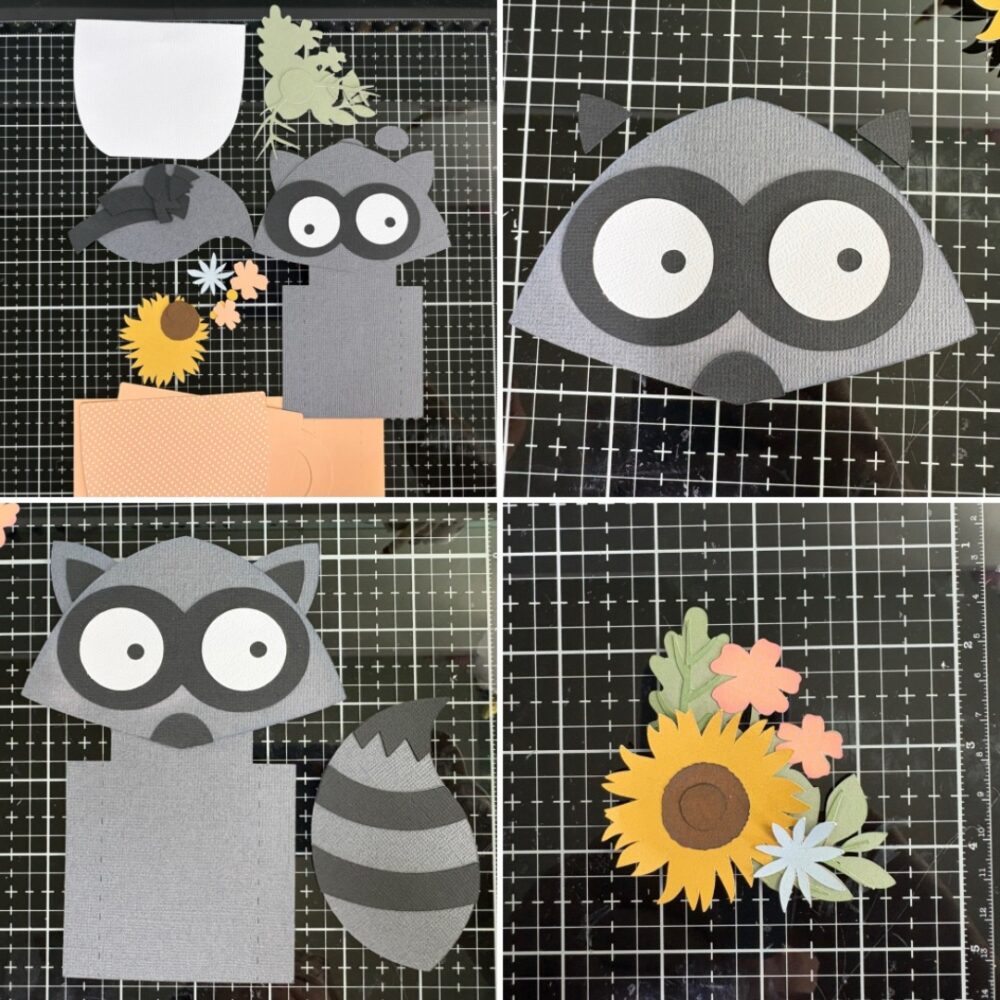
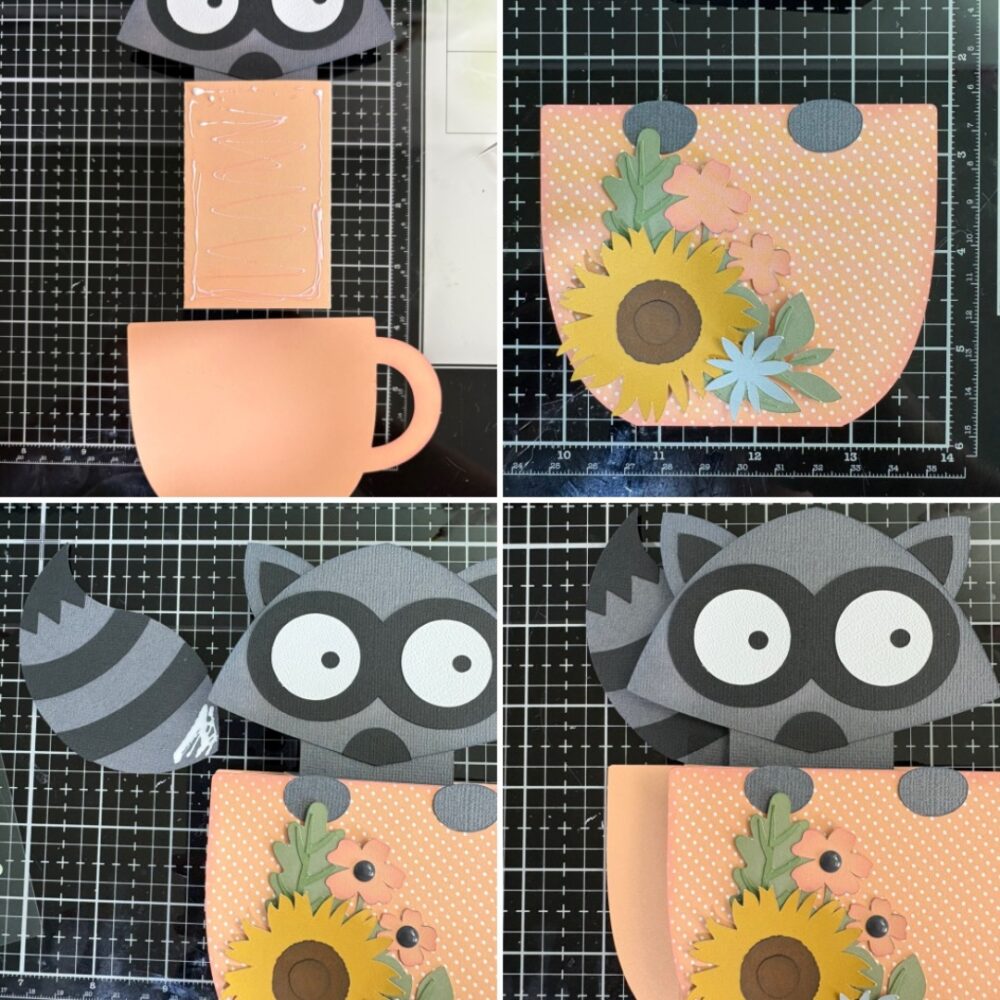
I used the Firefly collection by Echo Park Paper to cut most of my pieces; I also used some cardstock from my stash. Before I started the assembly, I inked the edges of my pieces. The raccoon is the only insert in this box card, and he comes together pretty easily. I glued the eyes and nose to the face piece, and the inside of the ears were glued to the body piece of the raccoon. The tail is separate from the body and will be glued to the back of the insert.
The flowers are all a single layer, except for the middle of the sunflower. There are three circles for the middle of the sunflower, but I lost one and didn’t recut the missing circle.

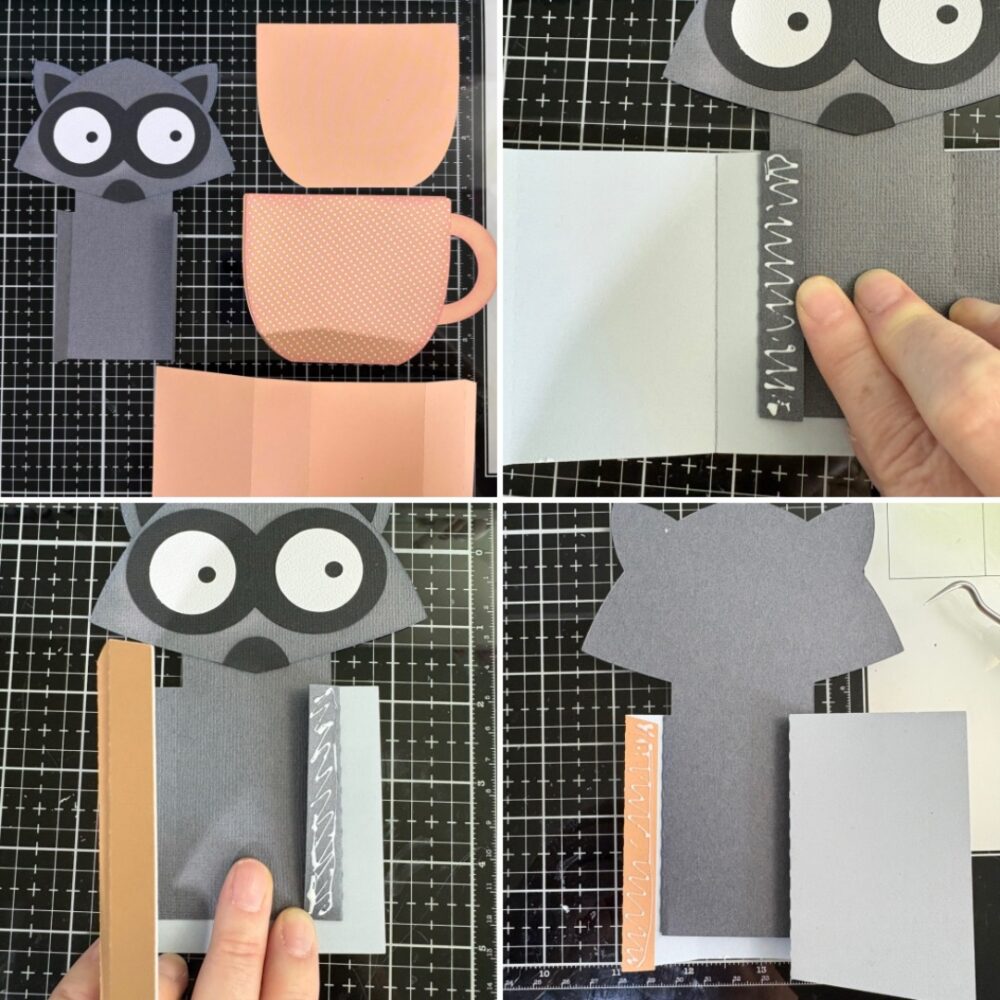
For the teacup I cut an extra cup piece without the handle to give my cup a two-toned look. I folded the score lines of the box portion of the card as mountain folds and the racoon tabs as valley folds. The raccoon insert tabs are glued to the shortest sides of the box. I lined up the tabs of the insert with the score lines and the top of the inside of the box. With one side secure I added glue to the back of the second tab of the insert then folded the box over making sure everything was lined up. Once the tab was secure, I flipped the card over and added glue to the box tab and folded the back of the box over making sure everything was lined up before the glue set.

I then added glue to the front of the box and lined the bottom edge of the cup with a handle to the bottom edge of the box making sure the corners line up. With my extra decorative cup piece, I glued the raccoon hands and flowers into place and glued it to the front of my card. Then I glued the back piece of the cup to the back of the box. Lastly, I glued the racoon tail to the back of the racoon insert making sure the card would fold flat. I also used a white acrylic pen to give my raccoon some highlights.

I love how this card turned out. It is perfect for a fall birthday. Thanks for stopping by today!
Brandie

New 3D Fall Projects!

Have you seen the new 3D Fall Projects in the shop?  They are fall versions of some of my most popular cards!  They are perfect to send to friends and family this season!  Take a peek!

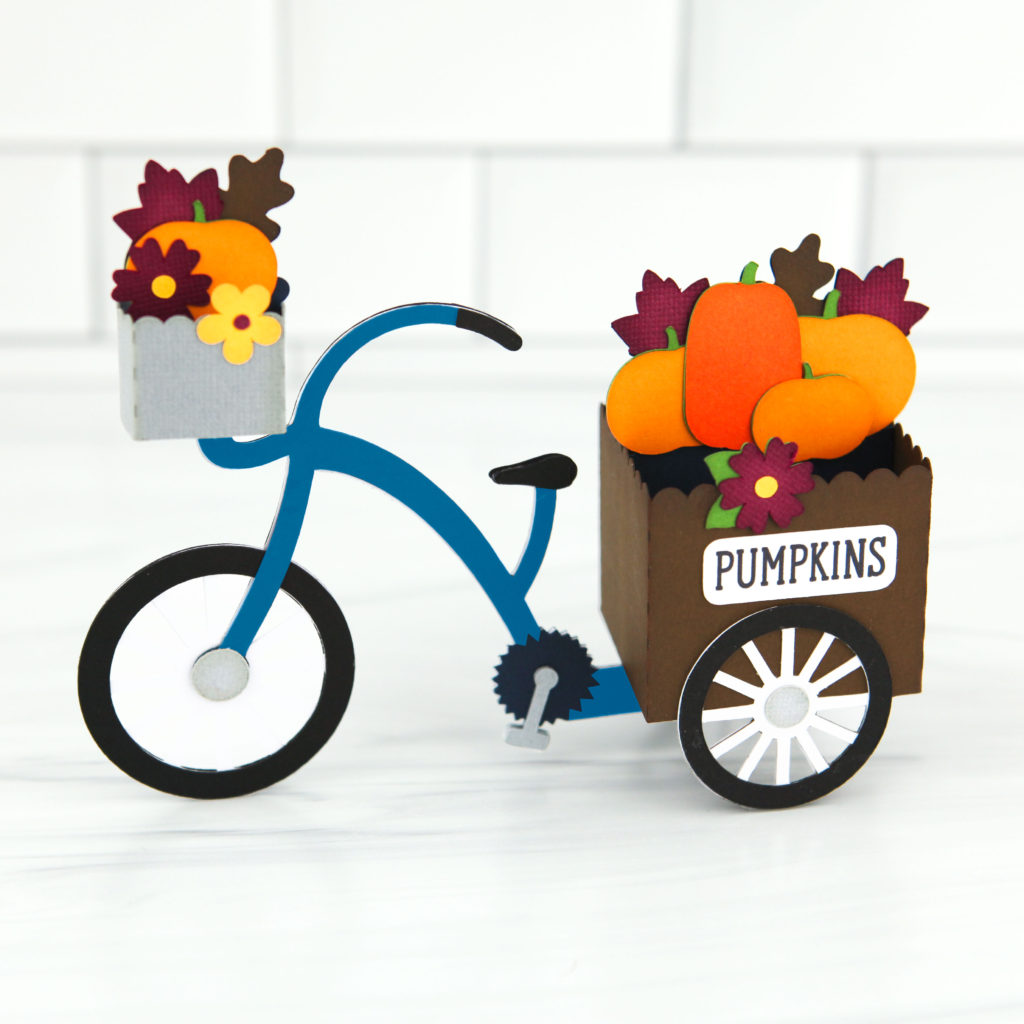
Box Card Pumpkin Tricycle (SVG, Silhouette– coming soon)
Tutorial

Box Card Pumpkin Truck Back (SVG, Silhouette – Coming Soon)
Tutorial

Box Card Vespa Pumpkins (SVG, Silhouette – Coming Soon)
Tutorial

XL Box Card Pumpkin Truck (SVG, Silhouette – Coming Soon)
Tutorial

Don’t these cards just make you want to grab a pumpkin latte and go apple picking?? Better yet they are all 25% off this week, along with all of the other new files.  Stop by to check them out!

Have a great day!

Lori