Flag Day Banner Tutorial With Anita

Hi Everyone:

Happy Flag Day.  Anita here with a banner that you can use for Flag Day as well as for the Fourth of July, Memorial Day and any other day that you want to celebrate our great country.  I used several different cut files of Lori’s to create this banner.

Happy Birthday Banner – 2   SVG,  Silhouette
Layered Pinwheel     SVG,  Silhouette
3D Lori Whitlock Spiral Flower   SVG,  Silhouette
5X7 Box Card 4th of July   SVG , Silhouette
American Flag   SVG,  Silhouette
3D USA Décor Blocks   SVG, Silhouette

I love mix and matching Lori’s cut files to create new projects.  I am going to show you how I prepared the fabric for cutting in my Silhouette machine. 

Here are the supplies that I used for this project.  Terial Magic is a wonderful product that comes in a spray bottle and you can get it on Amazon or at your local quilt shop.  I sprayed the fabric liberally and checked the back side to make sure that it was soaked on both sides.  I hung the pieces on my shower rod  to let them drip to just damp.  I recommend you put something under where you hang the fabric so that it doesn’t make a mess.  It’s sticky, and rubber gloves might have been helpful to use as well.


Here is a photo of the fabric as I was in the process of ironing it.  You can see the bottom left looks still darker and wet and the right part is done and the fabric feels like paper.  I ironed my fabric on a towel to absorb any extra of the Terial Magic Fabric Stabilizer.

You can see how this fabric stands up once it is ironed.

I used the strong grip mat from Cricut and a brayer to make sure that the fabric didn’t move.  You will want to slow down your cutter in addition to choosing fabric as your material to be cut.

I laid out the blocks to see how they would look and switched around the banners and embellishments.

Earlier in the week on Tuesday we had our June blog hop and I have included a photo with the quilt block centerpiece and the banner that I made.  I am going to put this out for the 4th of July.

Hugs,

Anita


Using Glitter Heat Transfer Vinyl with Kathy

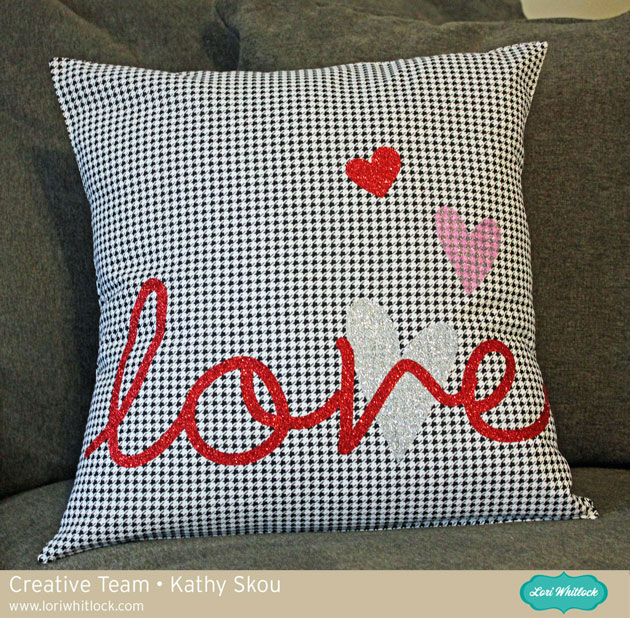
Hi Everyone!  It’s Kathy today with a fun tutorial using the new Silhouette Glitter Heat Transfer Vinyl.  This medium is perfect for making custom t-shirts, and bags but I thought it would be fun to do a pillow for a friend!  Take a peek…

I found a great, easy tutorial to make an envelope pillow cover here on YouTube.  I followed the directions but before I stitched the pillow cover together, I did the following to decorate the front.

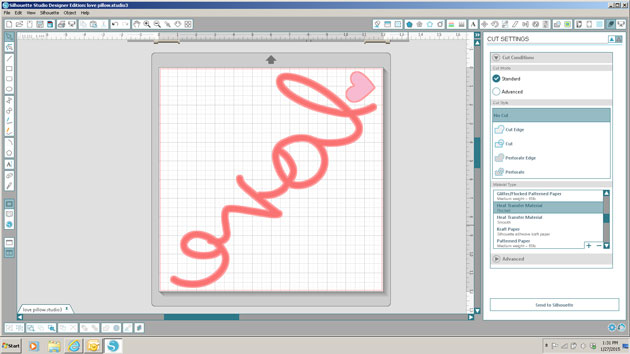
 First, I decided on my design and laid it all out in the Silhouette Studio.  I used the word “love” and some hearts from Lori’s Homespun Hearts collection.  When cutting words from heat transfer material, make sure to mirror the image (select Object from the menu, then Mirror) because you cut the back of the transfer material.

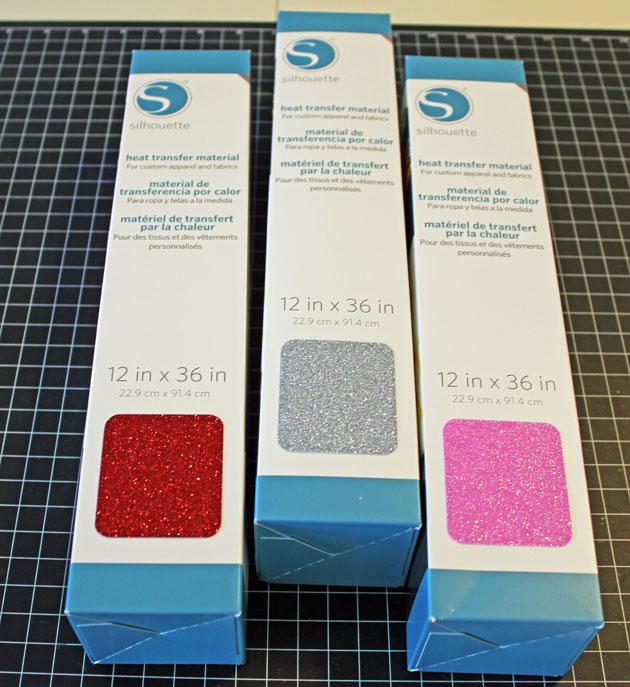
I chose to work with the White Silver, Red and Hot pink Glitter Heat Transfer.

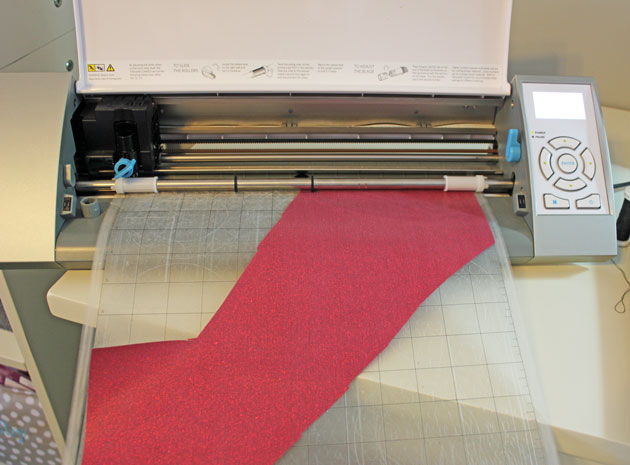
If you like, you can load the Glitter Heat Transfer material directly into your Silhouette without a mat, using the Load Media button.  I chose to use my mat, since I was using smaller pieces of the material.  The load media is great if your cut is larger than 12 x 12.    Change your cut settings to Heat Transfer Material, Flocked. (It’s the same for the Glitter) and your blade to a depth of 3.  Be sure to put your material on your mat shiny side down (you’re cutting the back).

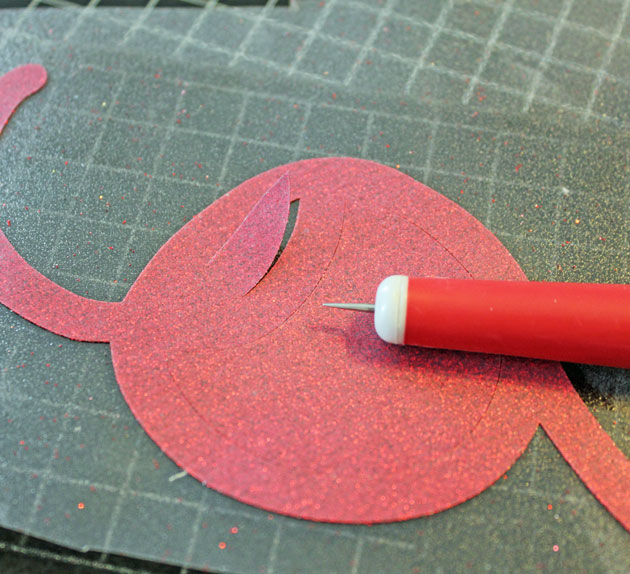
Once you’ve cut your image, you want to peel off the “negative” sections of your material so that only your image remains on the plastic transfer sheet.  If you have small sections that are hard to peel with your fingers, you can use a piercer or hook to snag those sections.  I did this with my letters, putting the image over a piercing mat to make it easier.

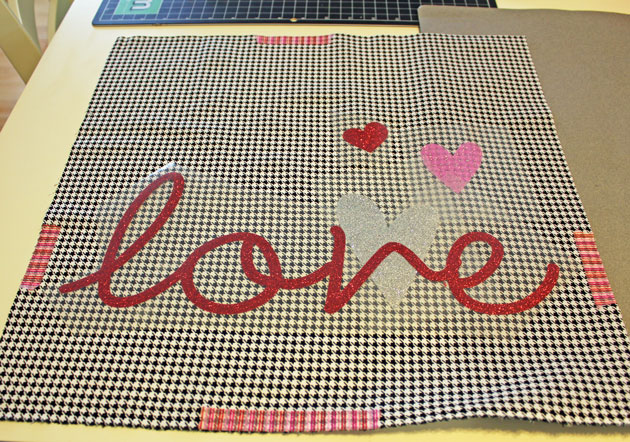
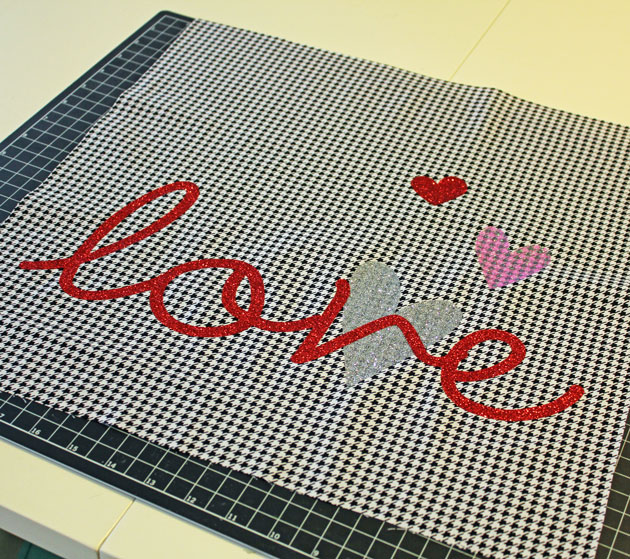
Next, I laid all my cut pieces out on the cover fabric to get the perfect placement.

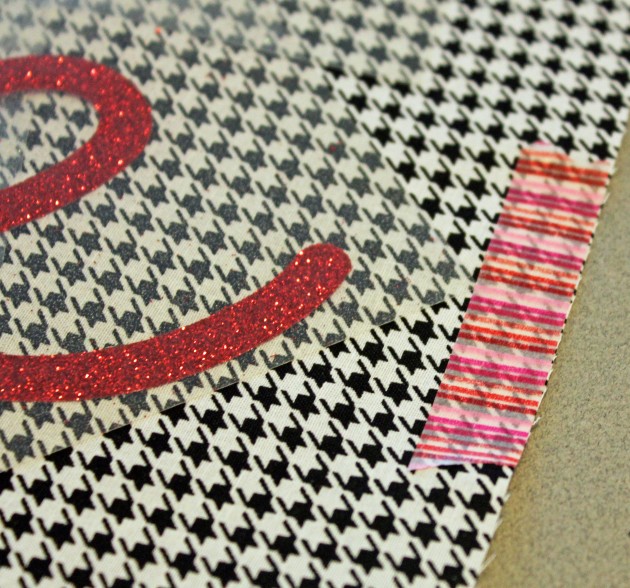
A little trick…to make sure you leave space for your stitching seam allowance ( in my case 1/2 inch), put some 1/2 inch washi tape around the edges.  This way you can see exactly how much space you have!

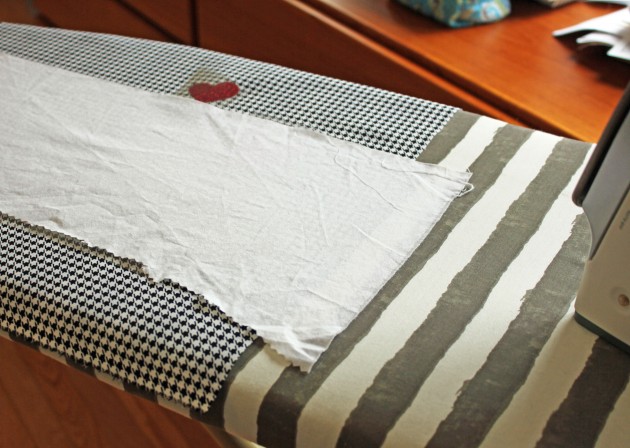
Now for the fun part…Ironing the design to the front of the pillow cover!  I preheated my iron to the cotton setting. (no steam)  Place your design on your fabric.  When layering it is best to do one layer at a time starting with the bottom. (my silver heart for example).    Cover the transfer material with a scrap piece of fabric and iron the design for 45 – 60 seconds.

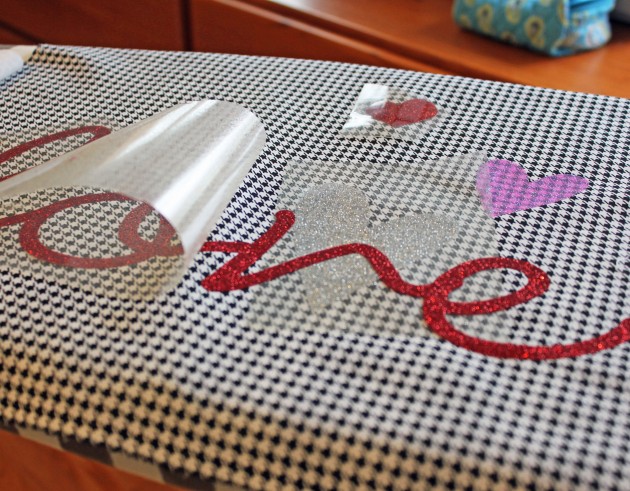
Check to make sure all of your design has transferred to the fabric by carefully lifting the transfer sheet. (it can be hot!!) If it doesn’t peel off easily, place it back down and iron for a bit more time.

Once your design is all ironed on, you can finish stitching your pillow cover together according to the instructions above.

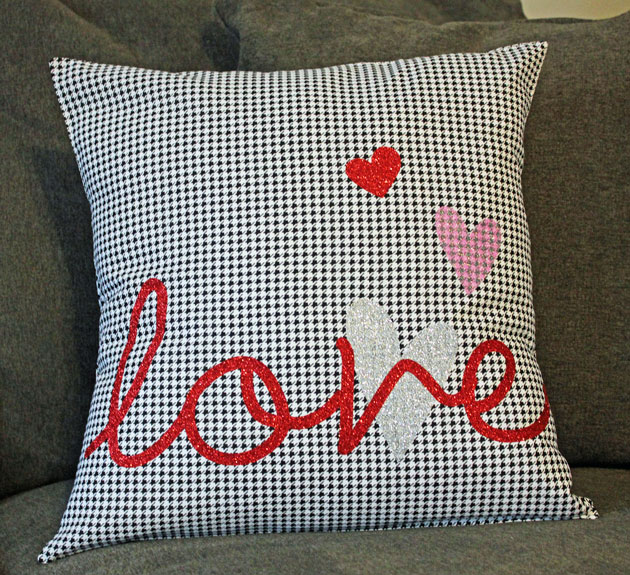
Here is the finished pillow!  It was really easy to make, I don’t sew fabric a lot but it’s really just a series of straight lines!  My friend doesn’t know this is coming her way…I’m wondering if she’ll know it’s for her!!

That’s it for me today!  Thanks for stopping by!